New project

Collapse
X
 
  • Time
  • Show
Clear All
new posts
  • JWLaRue
    Managing Editor, SubCommittee Report
    • Aug 1994
    • 4281

    #121
    <<Originally posted by "DrSchmidt">>

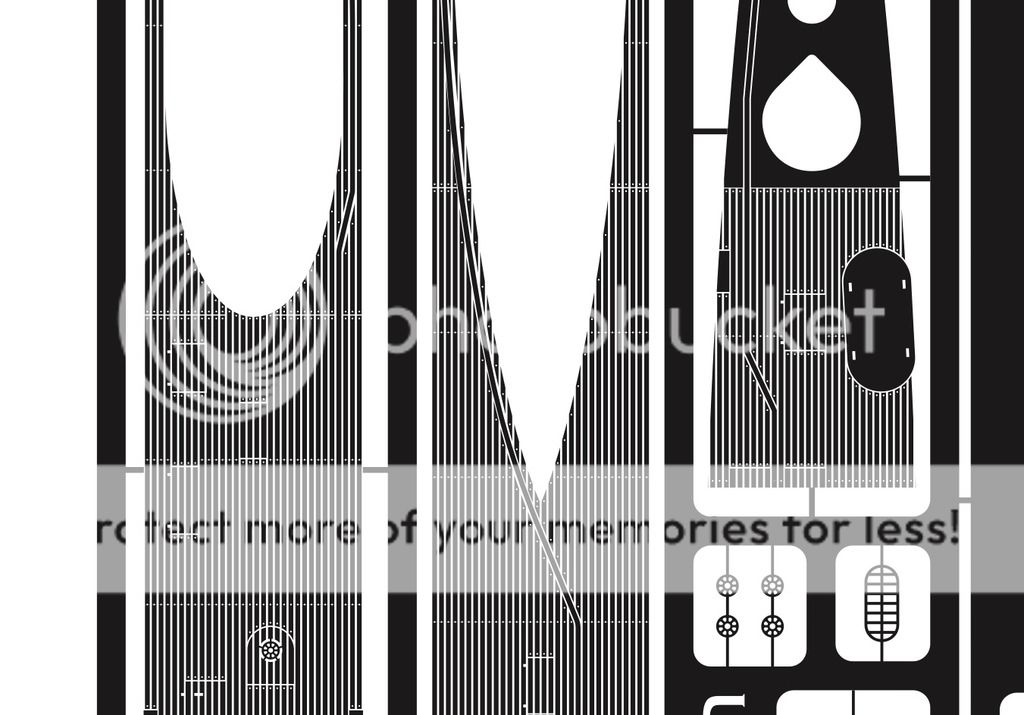
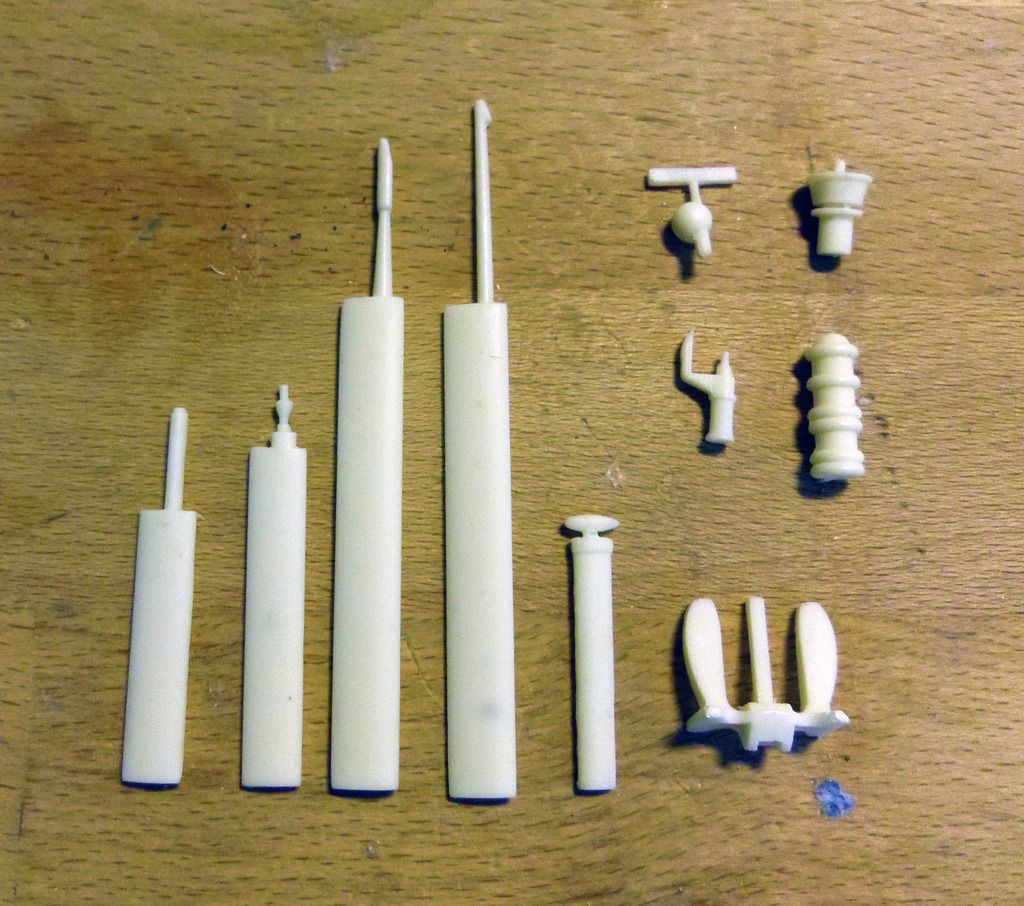
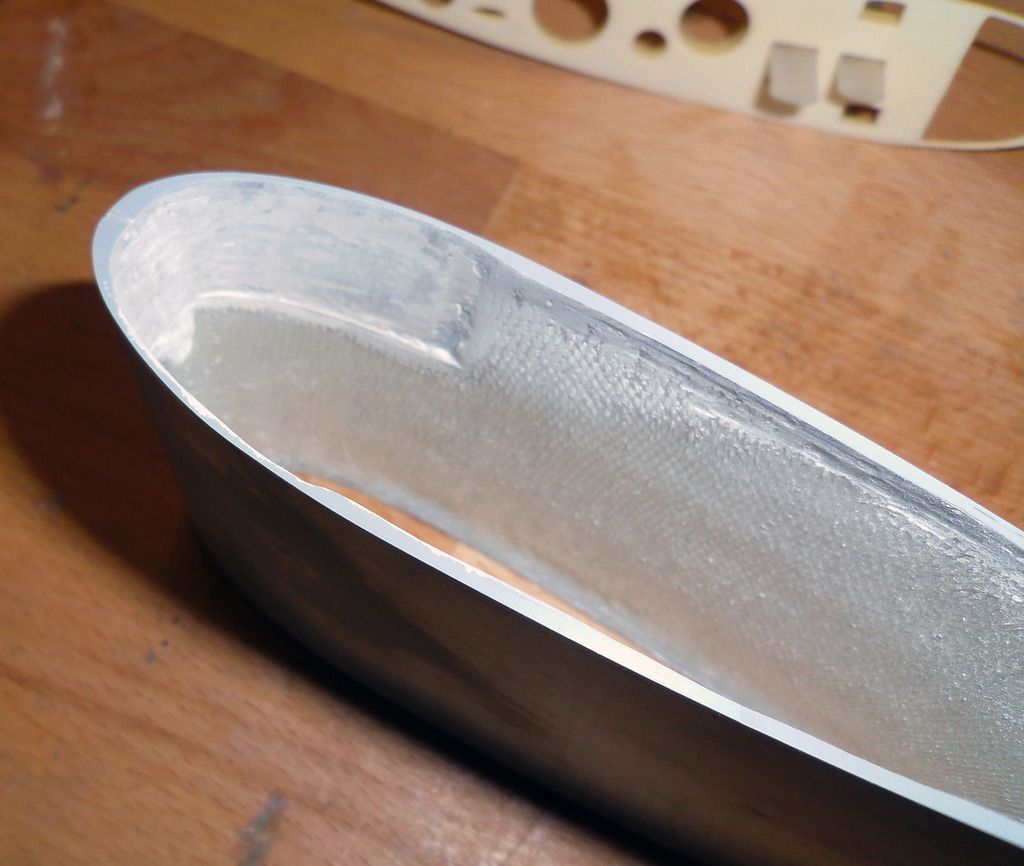
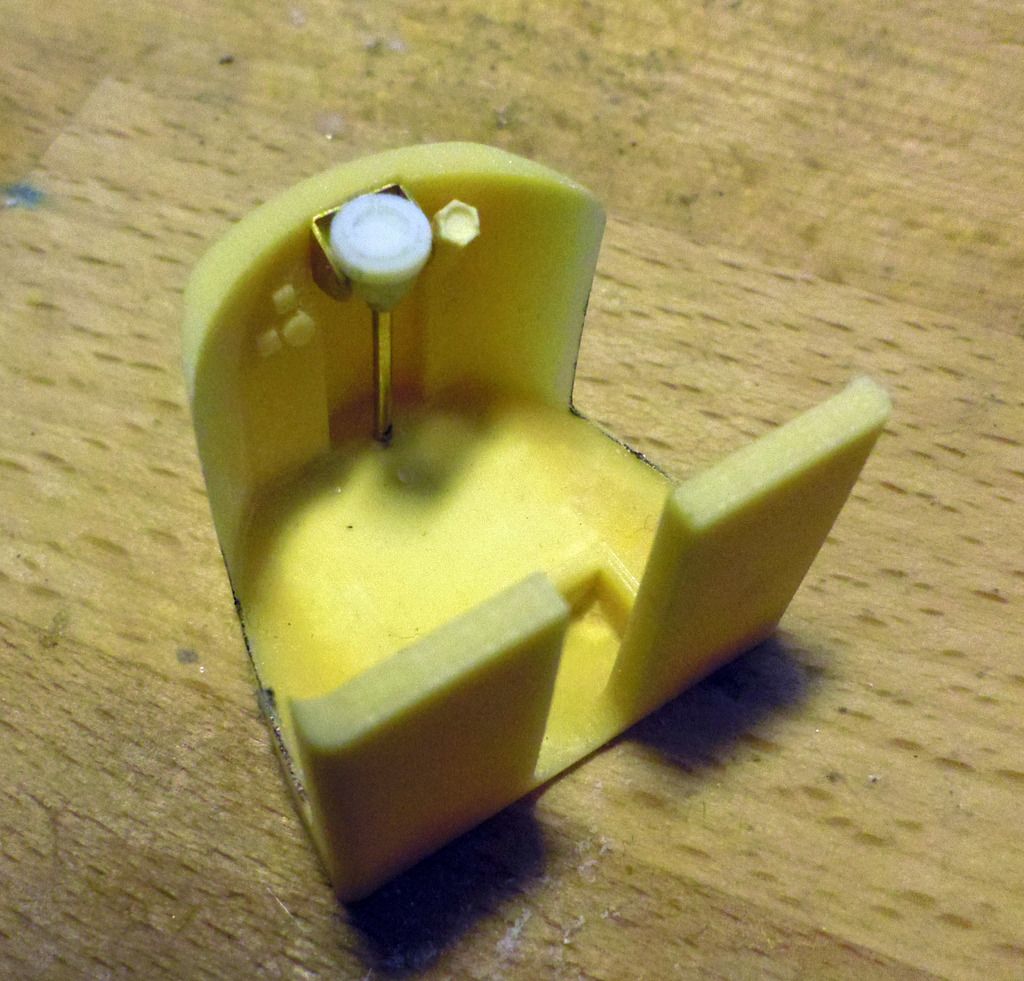
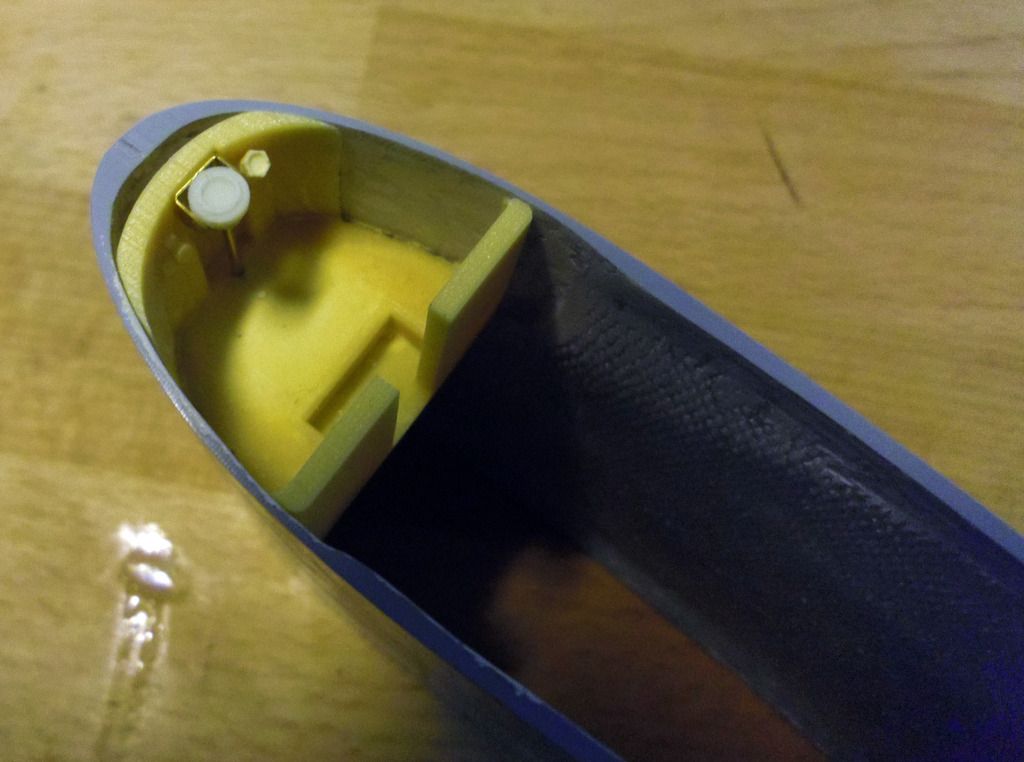
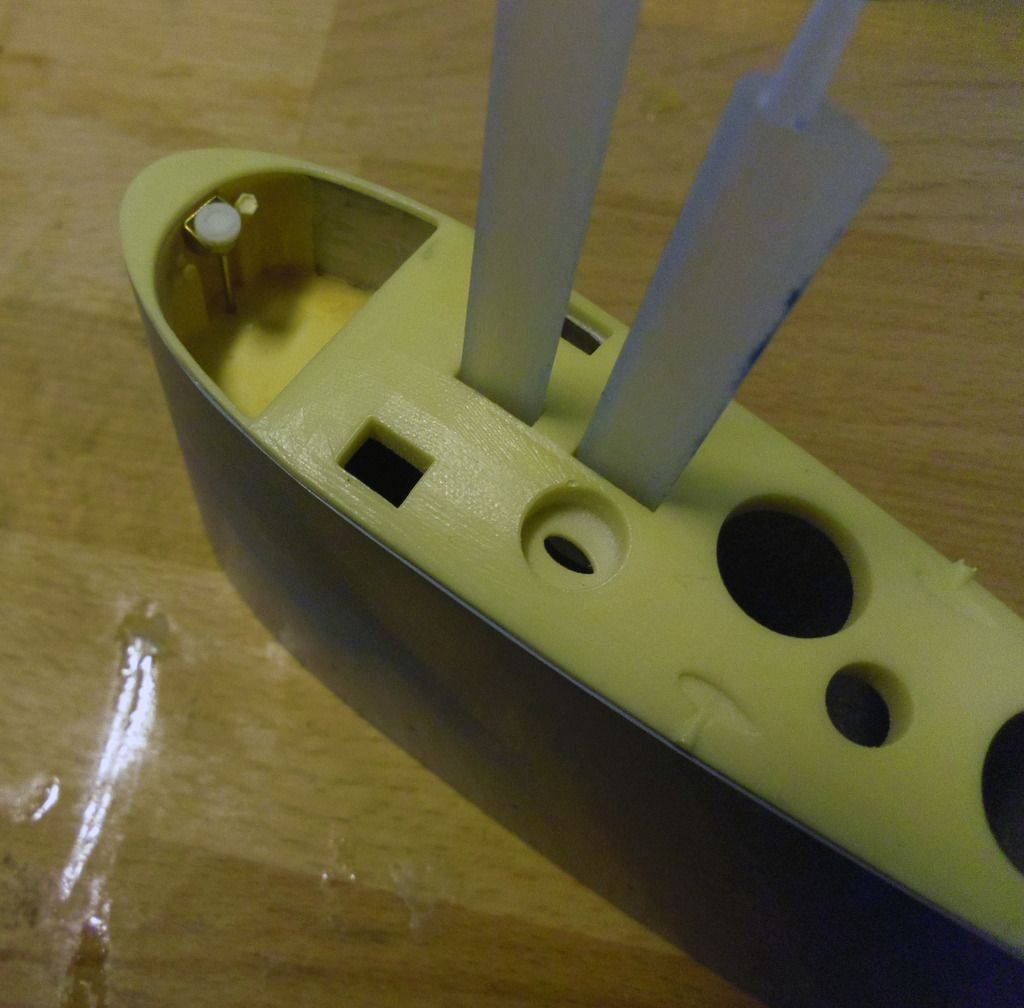
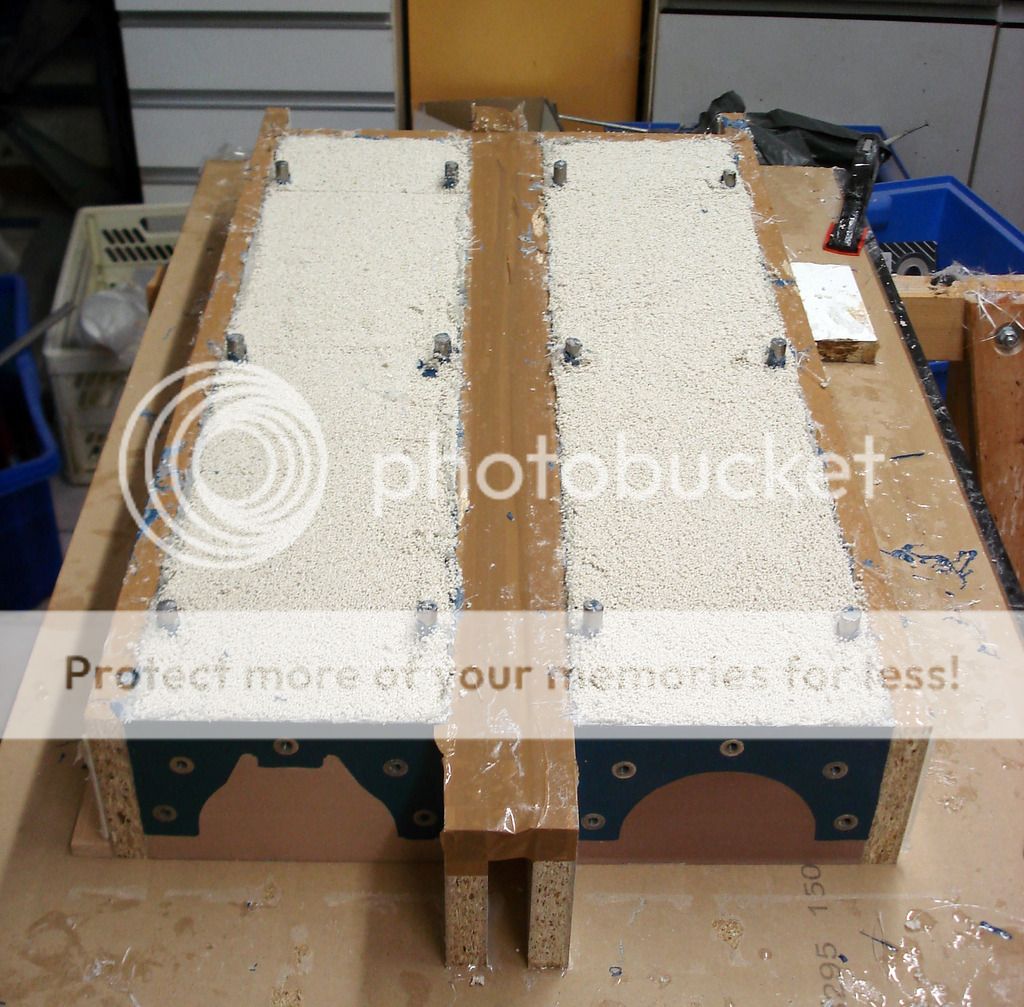
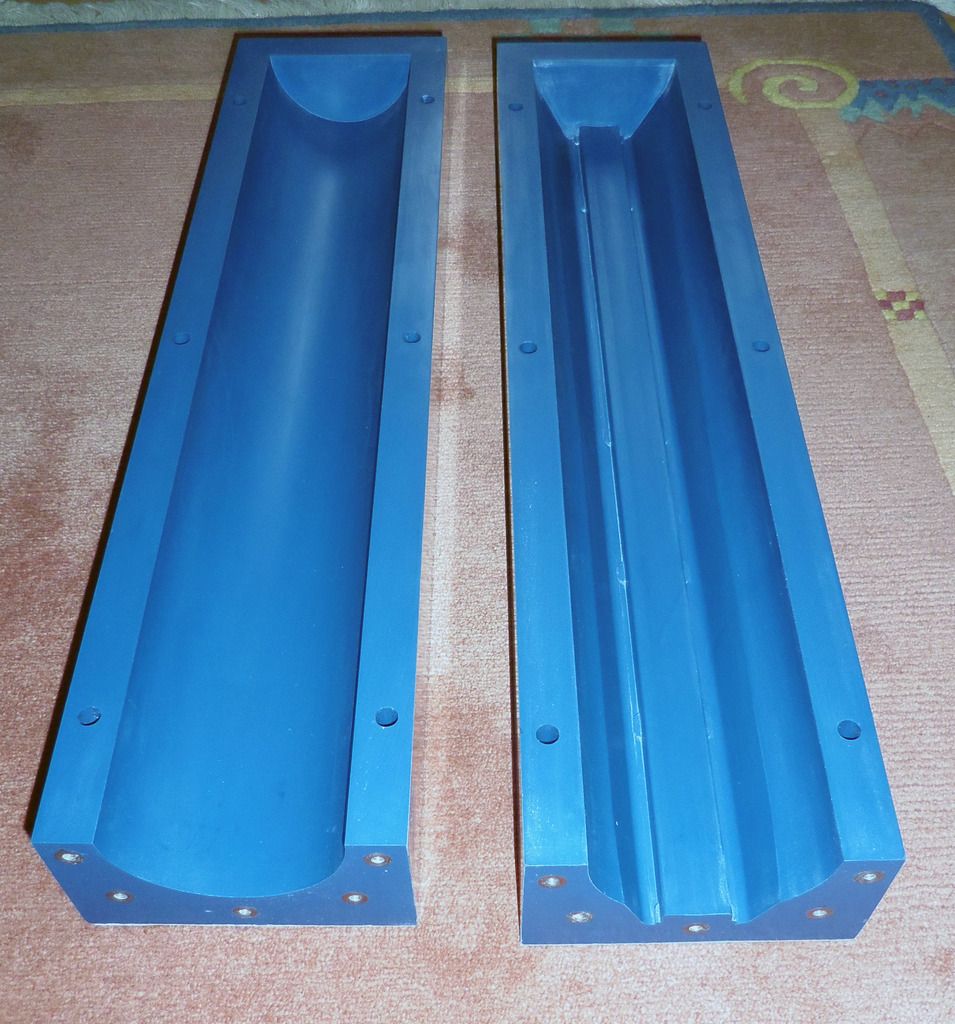
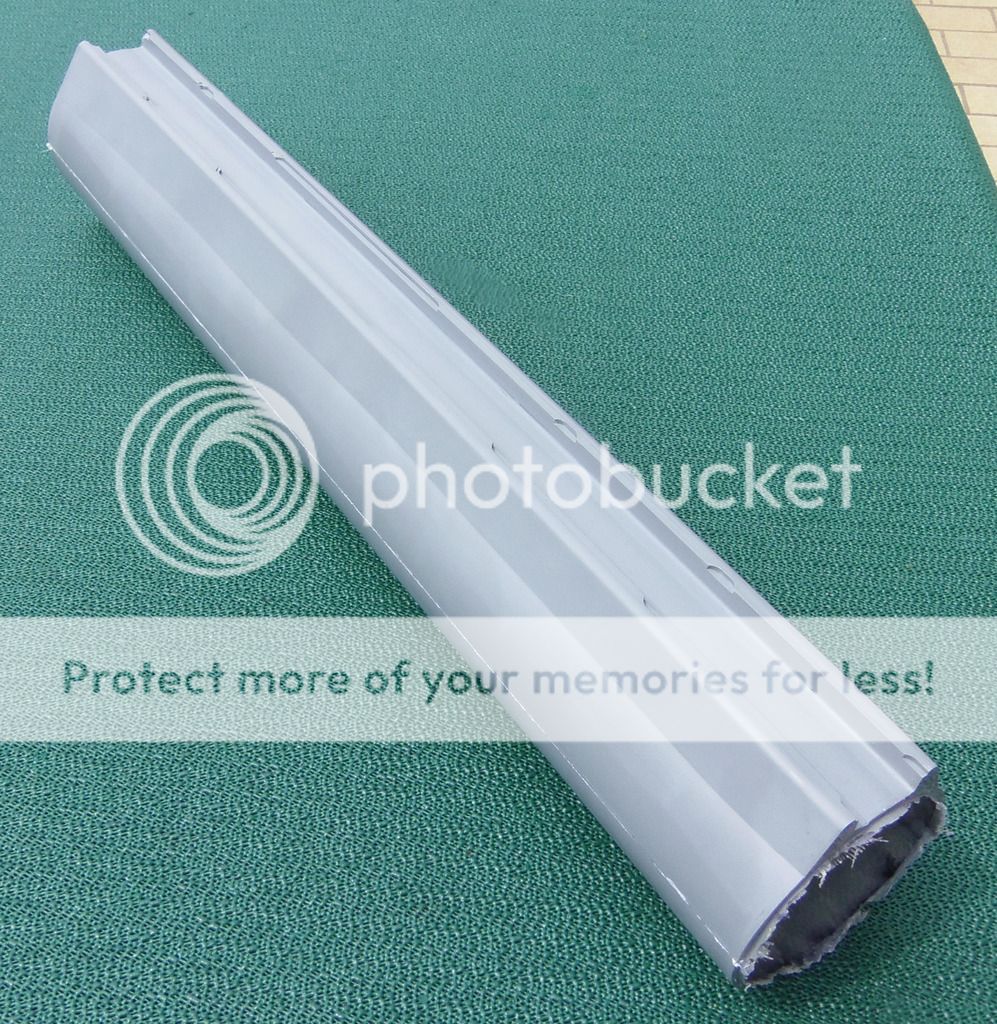
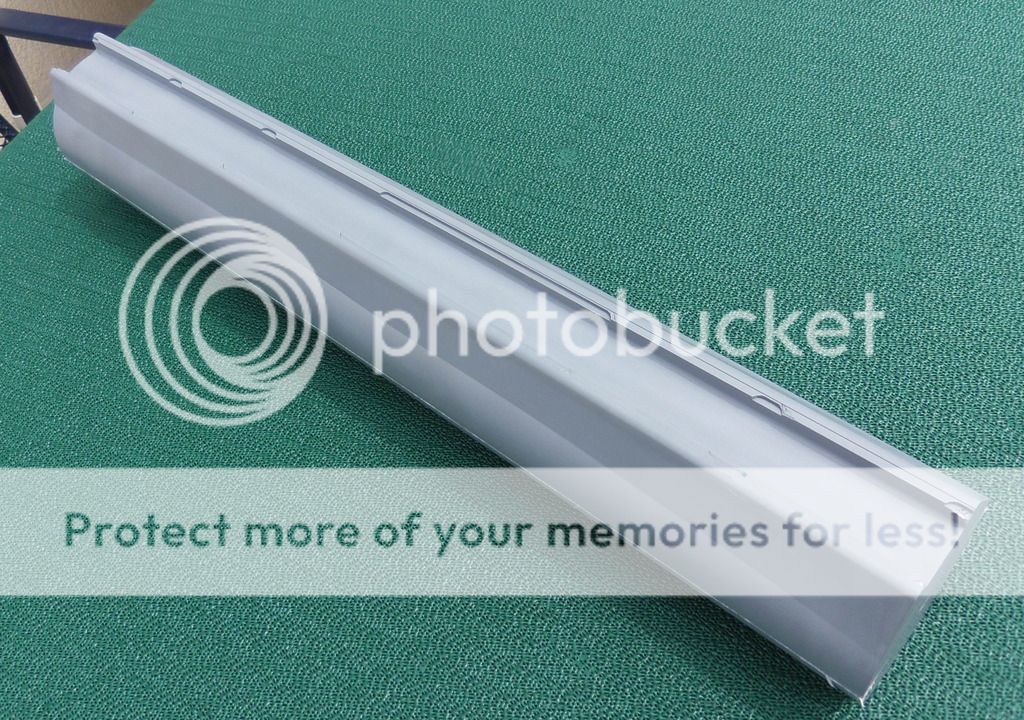
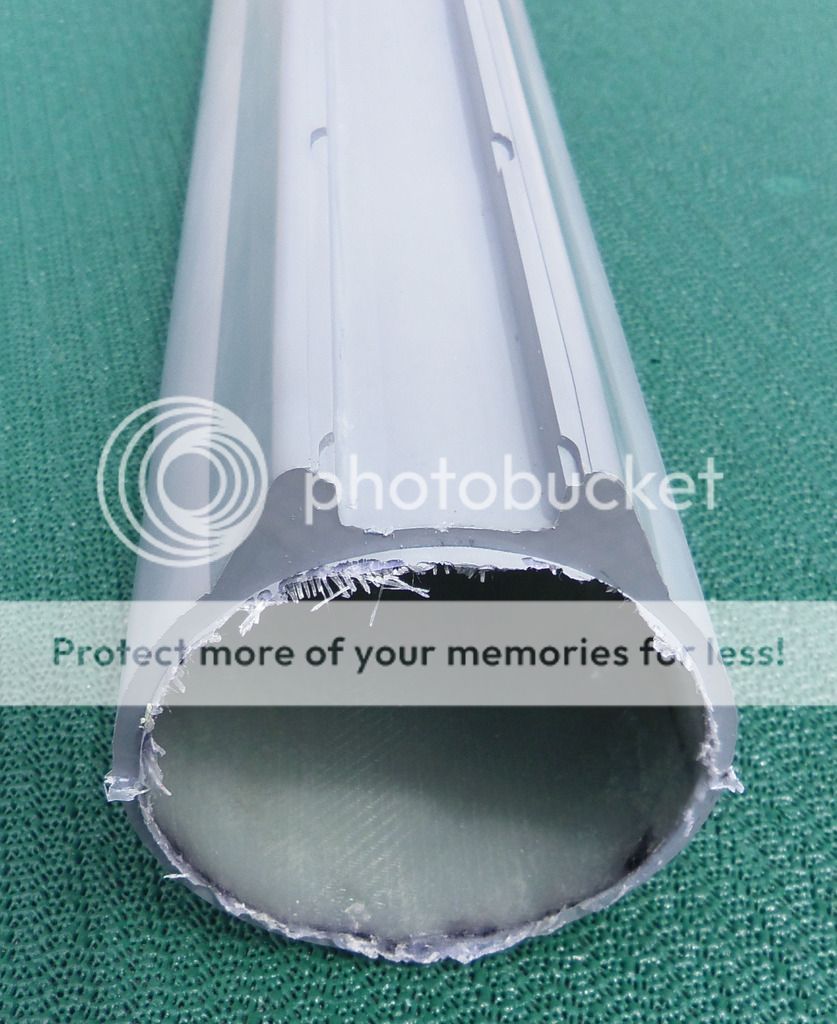
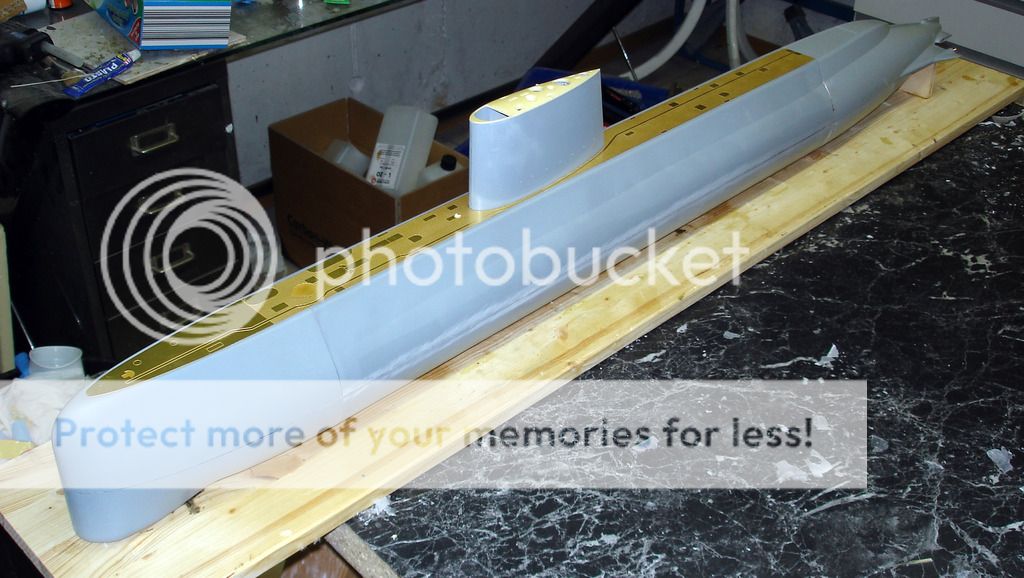
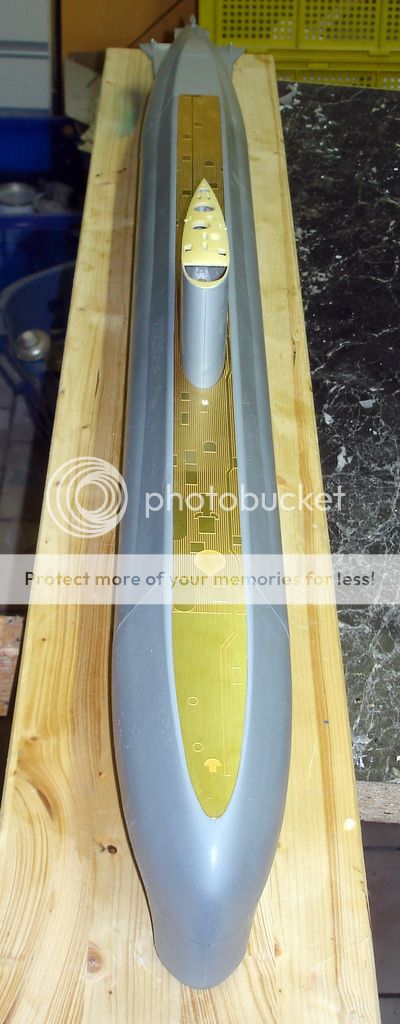
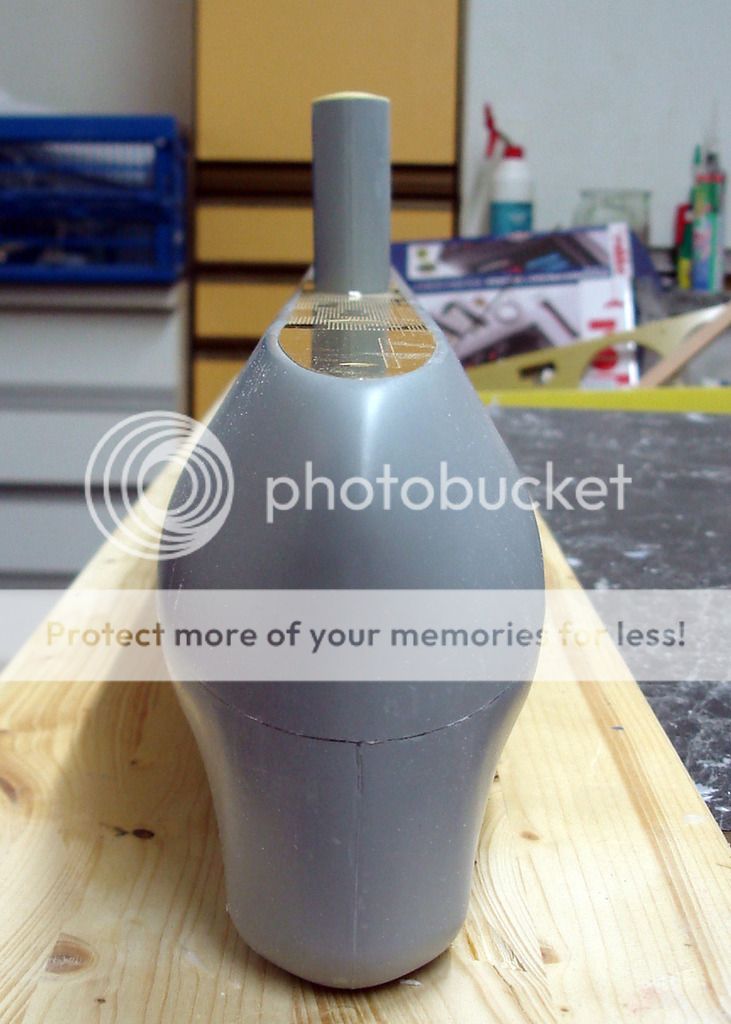
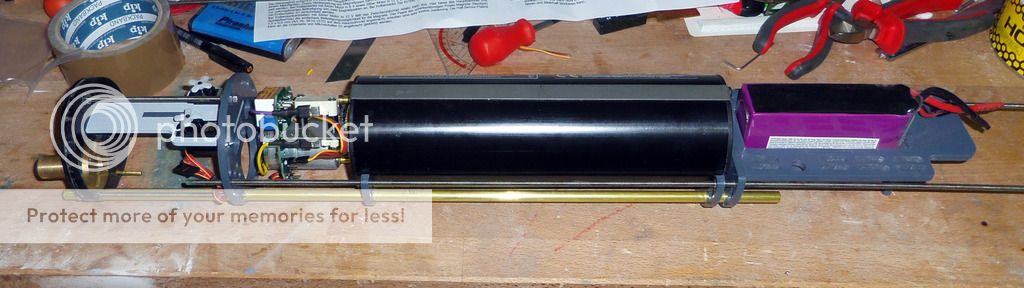
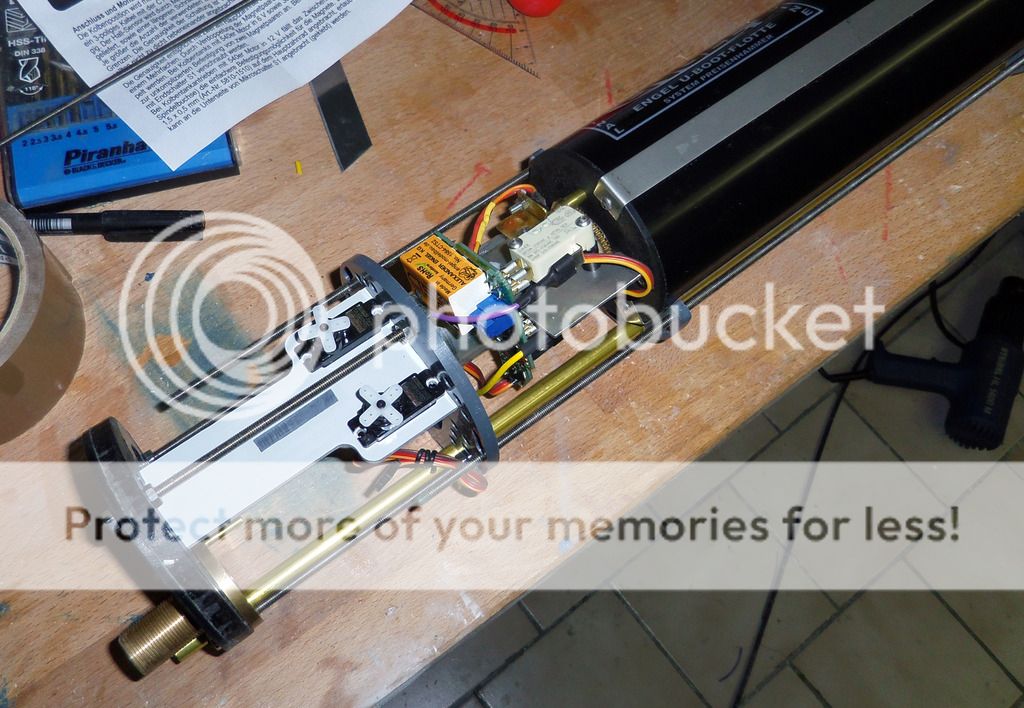
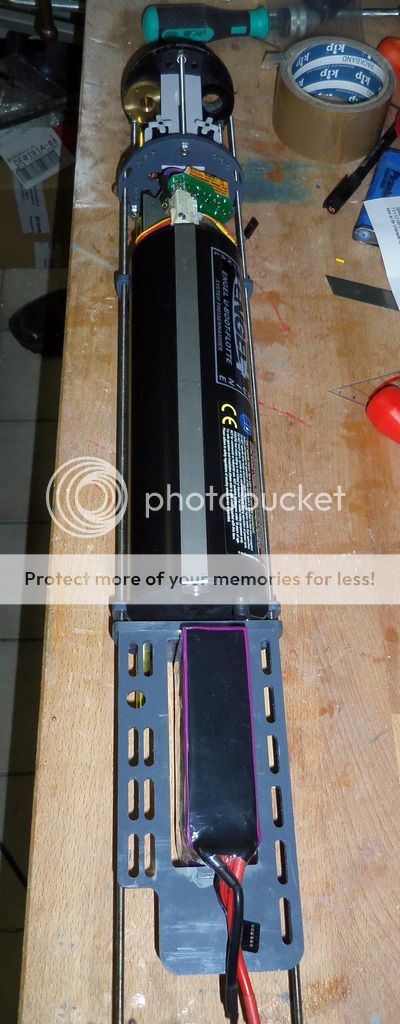
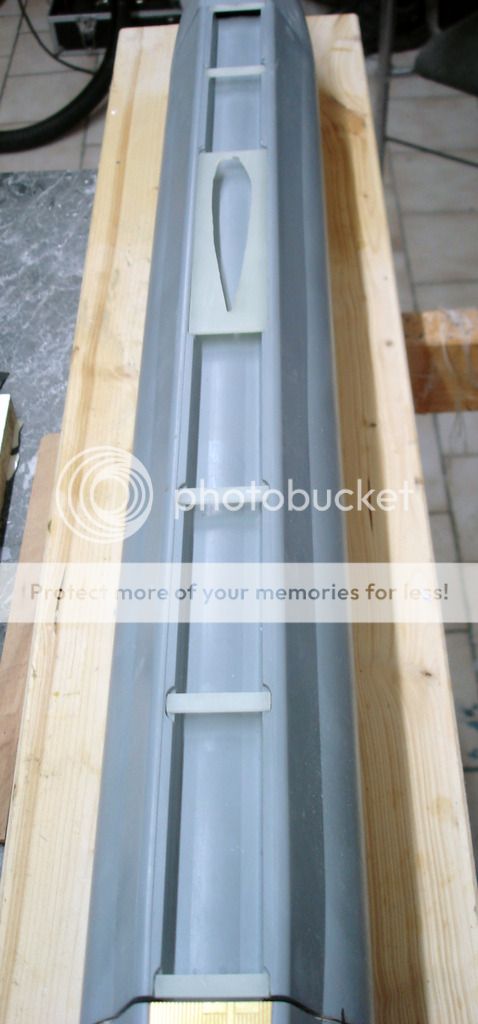
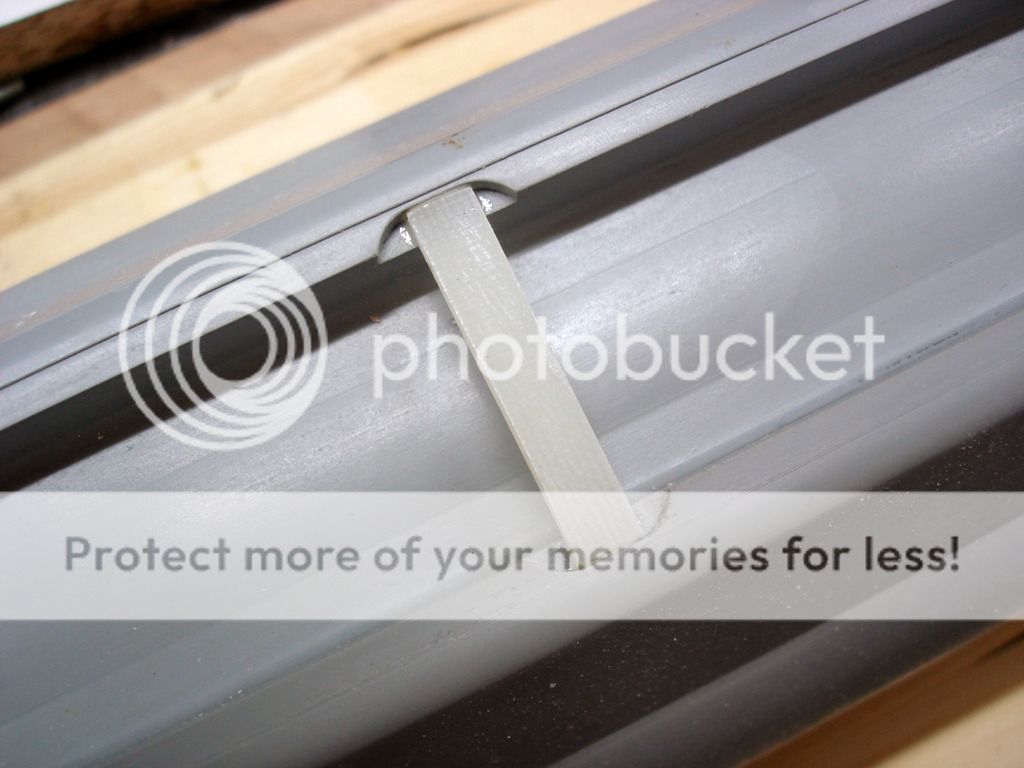
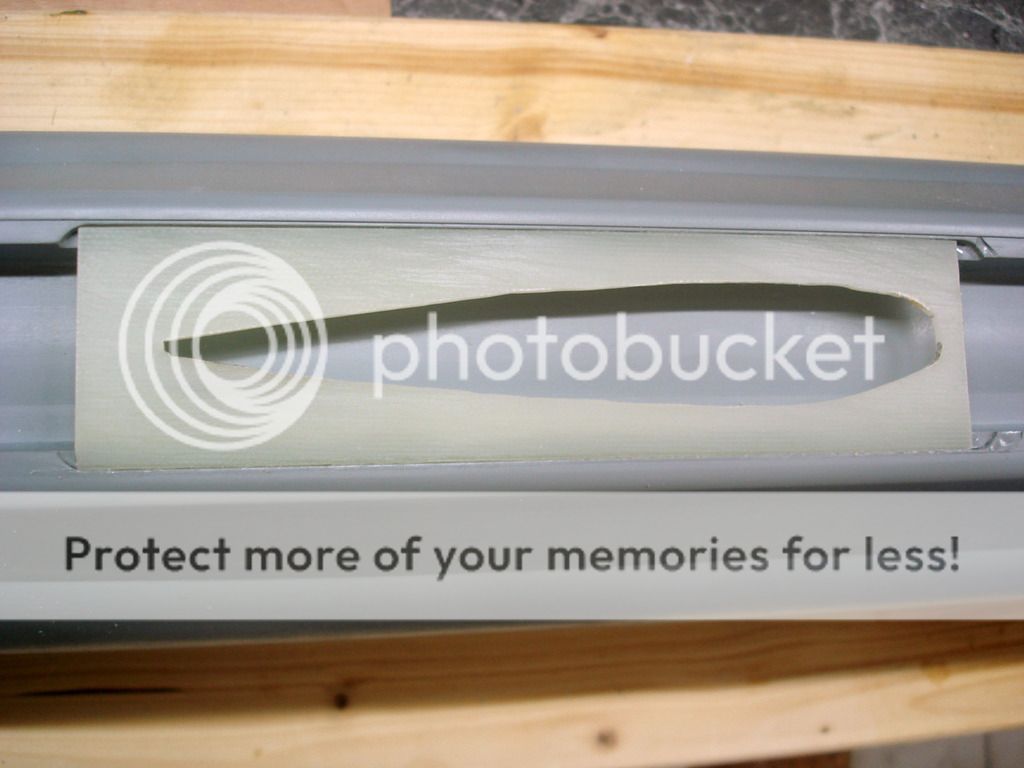
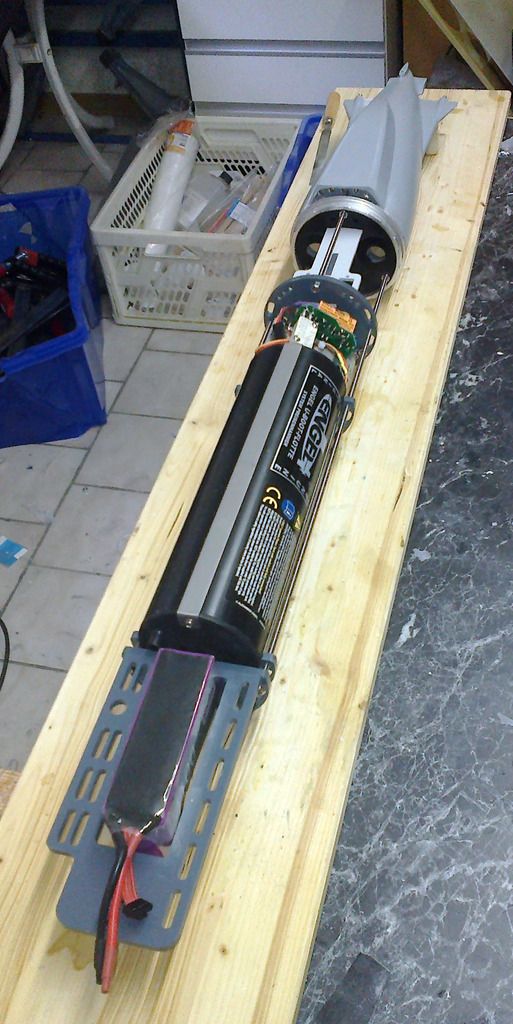
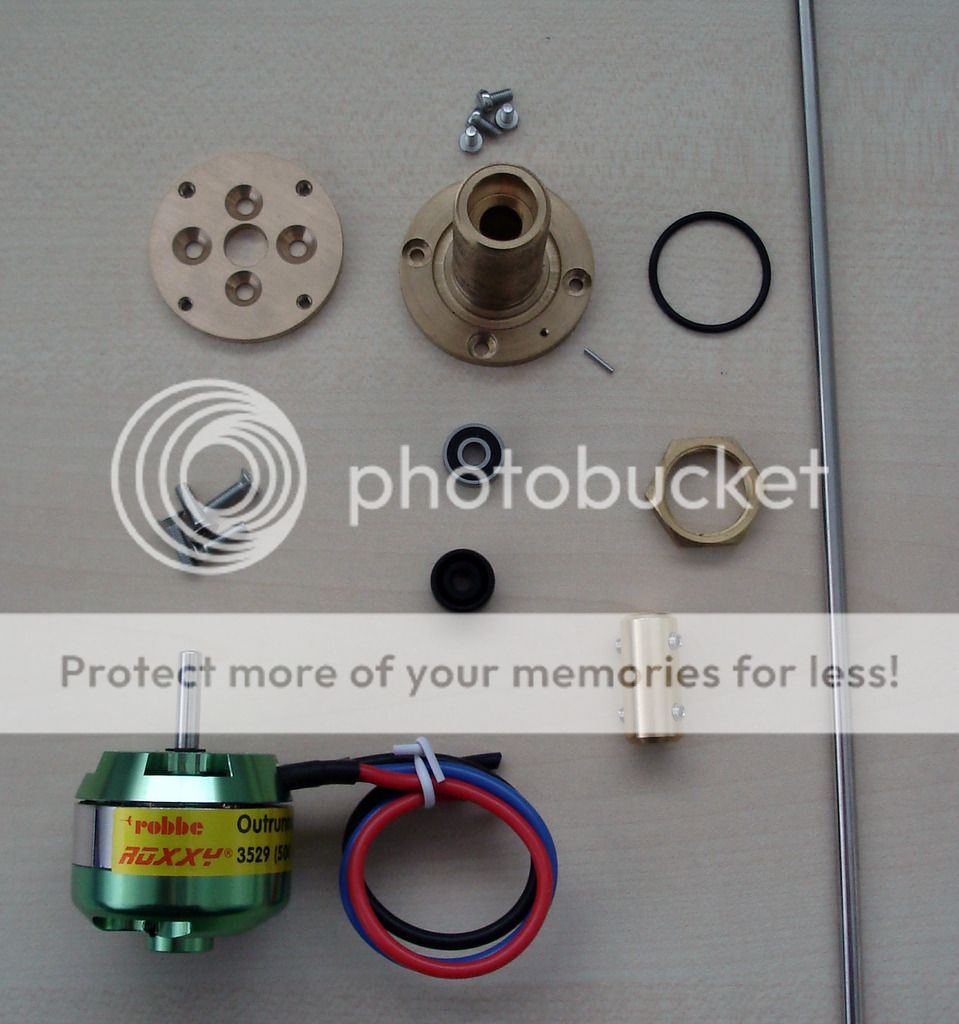
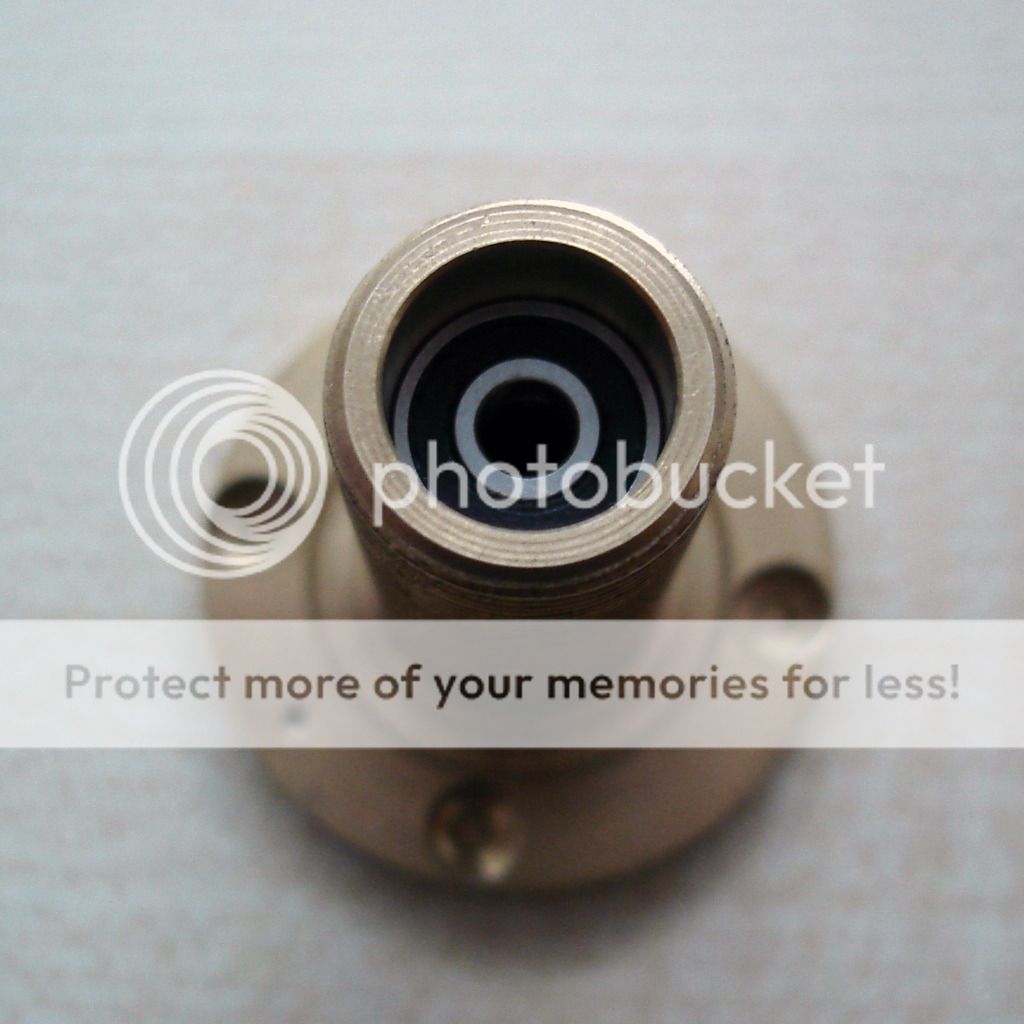
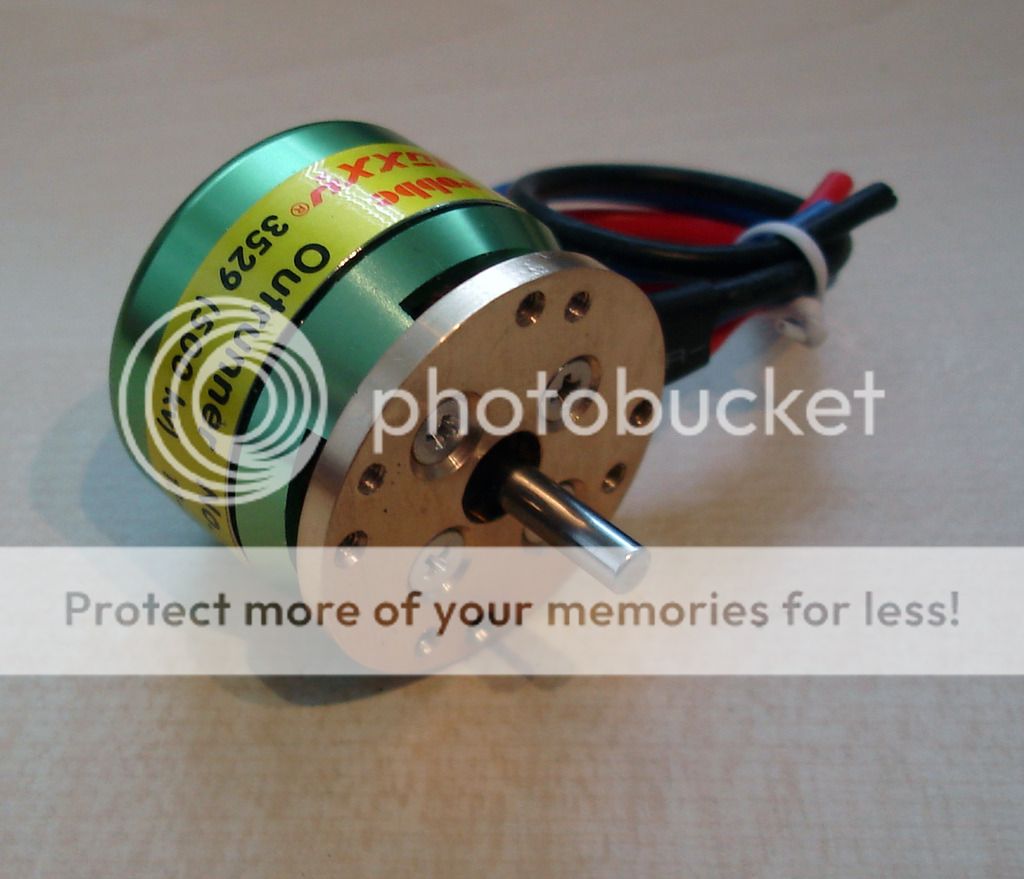
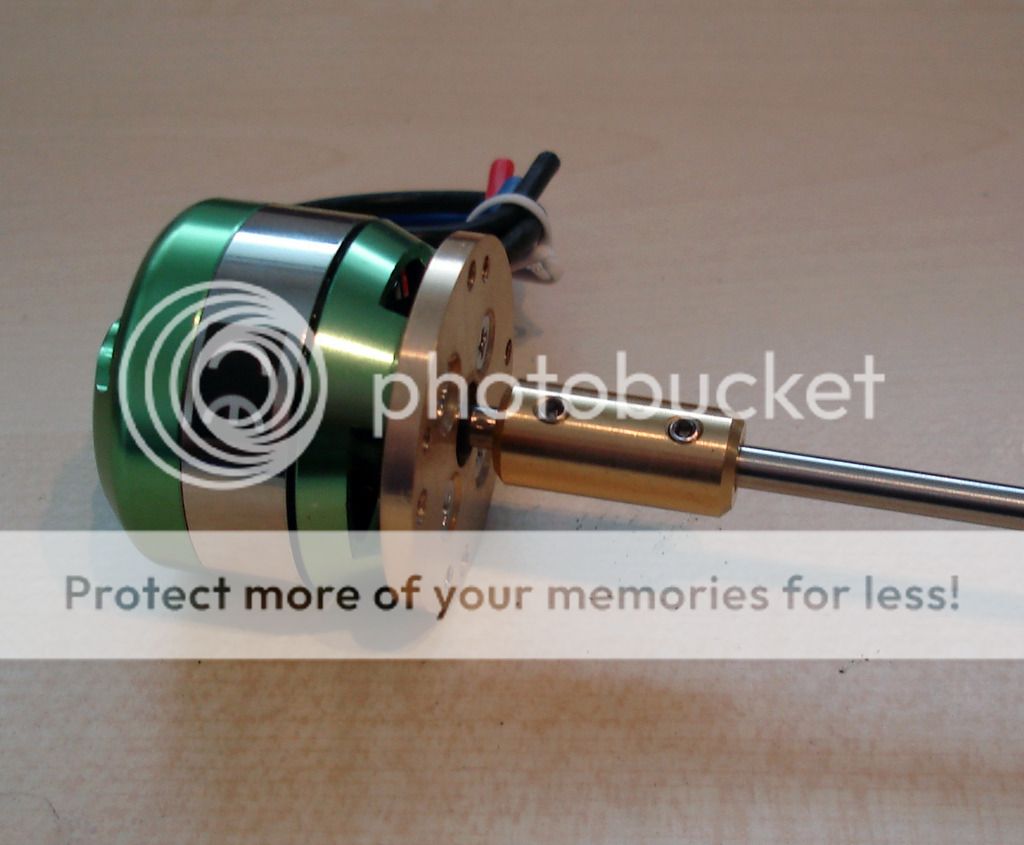
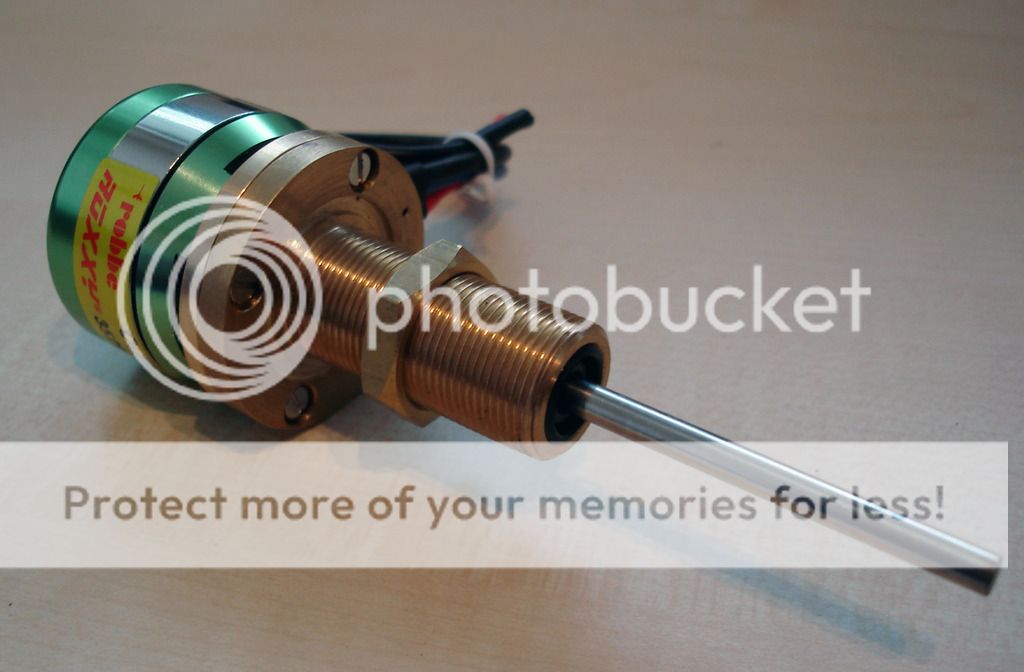
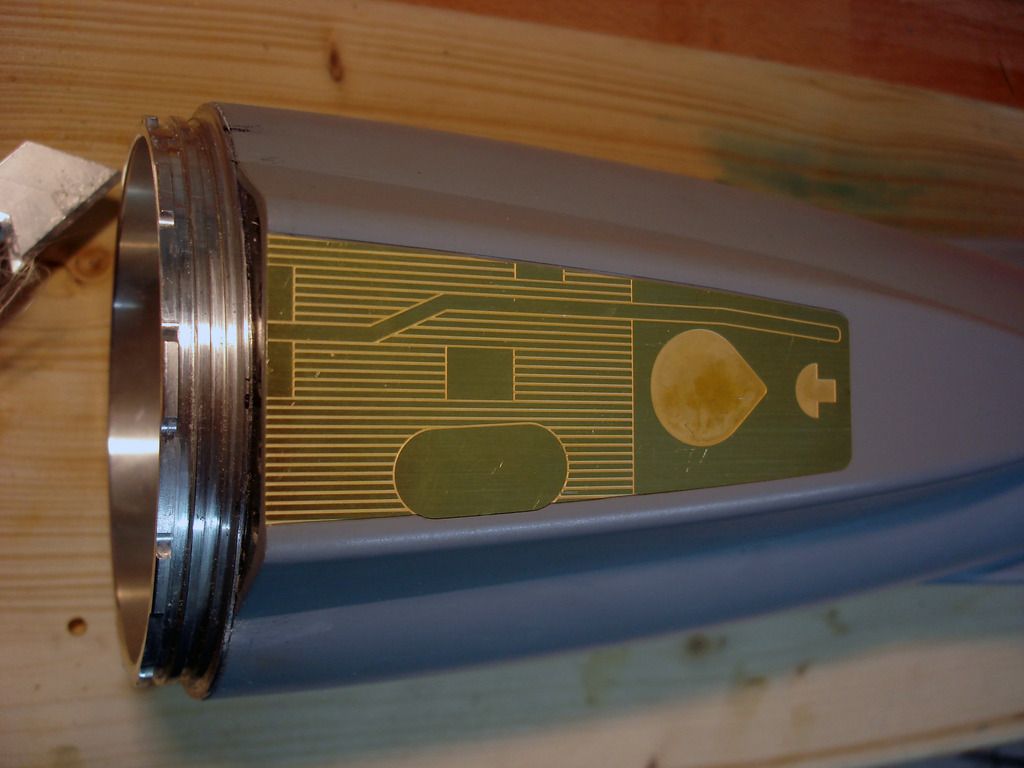
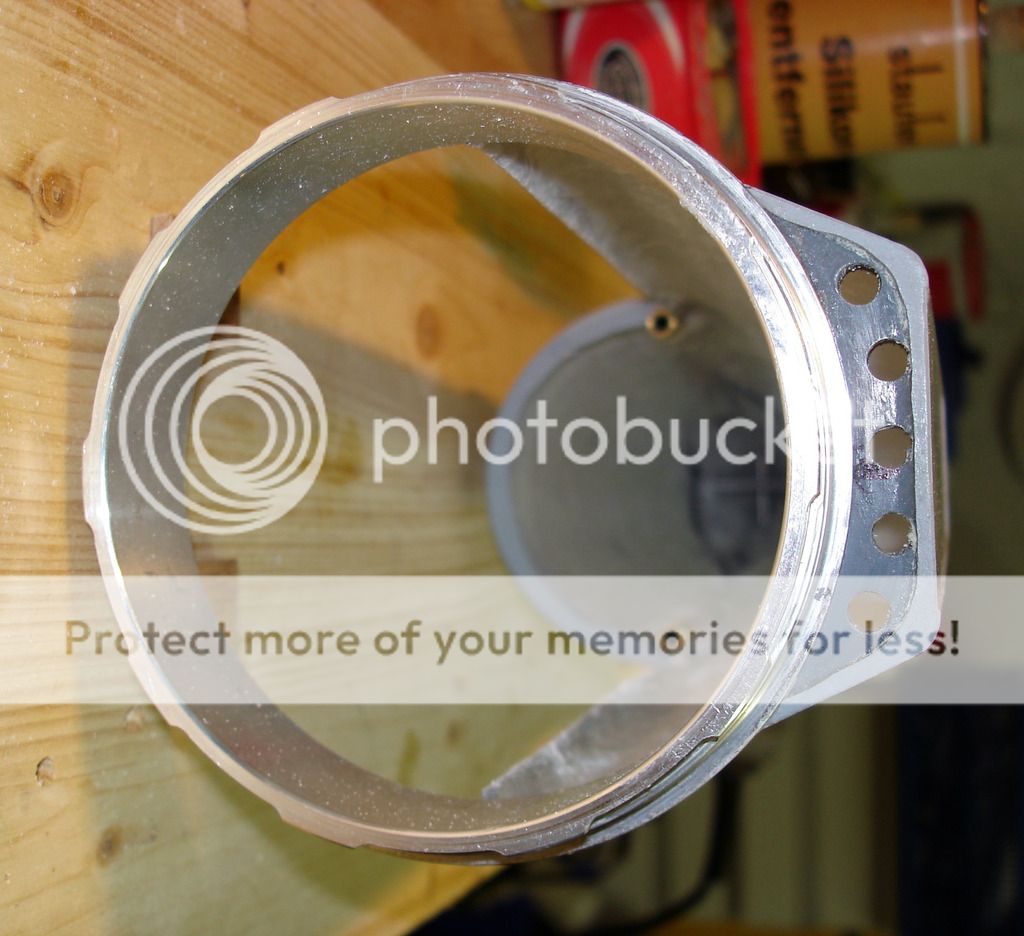
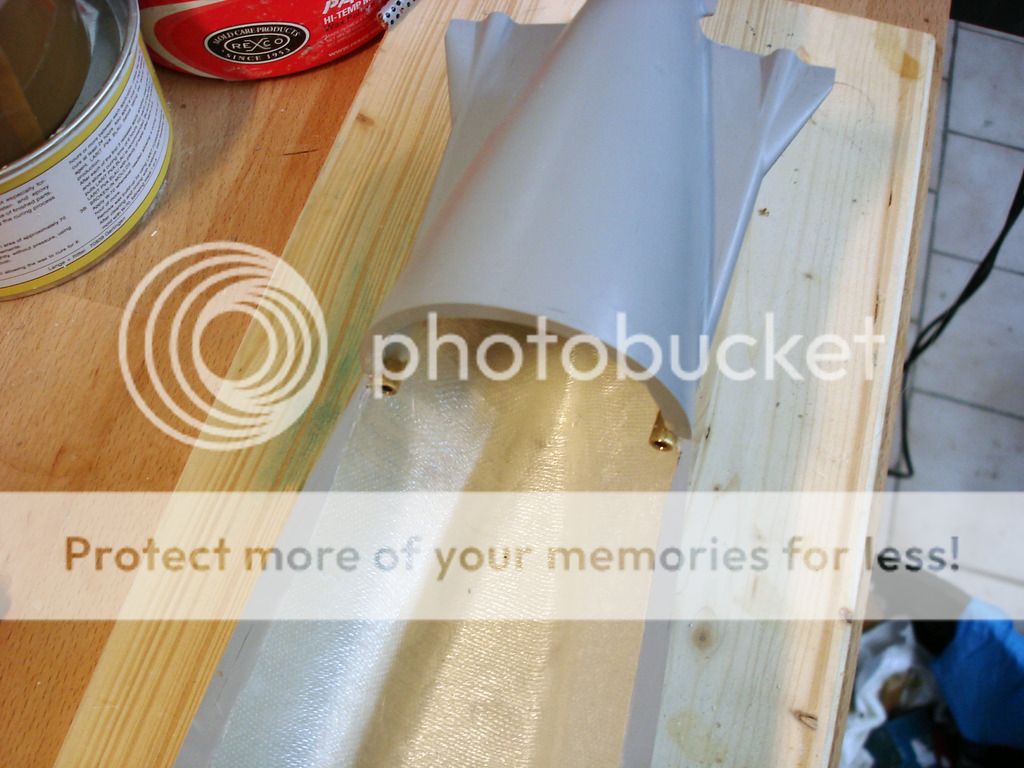
    While waiting for the milled parts for the middle section I started gluing the prop shafts, the bayonet catch, the rudder bearings into the stern section. Here some pics. I'm currently reworking the photo etched deck but version one already fits quite perfectly.....


    Rohr 1.....Los!

    Comment

    • JWLaRue
      Managing Editor, SubCommittee Report
      • Aug 1994
      • 4281

      #122
      <<Originally posted by "Dr Schmidt">>

      O.K., new deck design is done.....

      Rohr 1.....Los!

      Comment

      • JWLaRue
        Managing Editor, SubCommittee Report
        • Aug 1994
        • 4281

        #123
        <<Originally posted by "Dr Schmidt">>

        Still waiting for the new milled parts. So on with small stuff:

        PU cast parts - masts and anchor:


        Sail: milled to the right size and filled inside:


        Bridge assembly:


        Bridge in the sail:


        And that's how it's going to be:
        Rohr 1.....Los!

        Comment

        • drschmidt
          Member
          • Jul 2014
          • 424

          #124
          Design......


          ...milled:


          Comment

          • drschmidt
            Member
            • Jul 2014
            • 424

            #125
            First steps of the moulds are done.....

            Comment

            • drschmidt
              Member
              • Jul 2014
              • 424

              #126
              O.K., moulds for the middle section are done. Will let them sit for the better part of next week at decent temperature so that everything fully sets.....

              Comment

              • drschmidt
                Member
                • Jul 2014
                • 424

                #127
                First hull out of the new moulds. 3 mm GPR...also suitable for self defence ;-)


                Comment

                • seawolfsailor
                  Junior Member
                  • Sep 2012
                  • 13

                  #128
                  I am not easily impressed, but your work does, great job.

                  Comment

                  • drschmidt
                    Member
                    • Jul 2014
                    • 424

                    #129
                    Thanks, I try my very best

                    Comment

                    • drschmidt
                      Member
                      • Jul 2014
                      • 424

                      #130
                      Roughly put together....nevertheless, it starts to look like a boat:


                      Comment

                      • drschmidt
                        Member
                        • Jul 2014
                        • 424

                        #131
                        Just snapped together the support frame. 750 ml Engel tank, 12V, with Hall sensor and compact control unit. Makes the thing controllable like a servo. In the front: 4 x LiFePo


                        One also can nicely see the v-shape of the stern bulkhead:


                        Comment

                        • drschmidt
                          Member
                          • Jul 2014
                          • 424

                          #132
                          the grp-bridges on which the photo-etched deck will rest:


                          Comment

                          • drschmidt
                            Member
                            • Jul 2014
                            • 424

                            #133
                            That's how it's gonna look like:

                            Comment

                            • drschmidt
                              Member
                              • Jul 2014
                              • 424

                              #134
                              O.K, assembled the watertight motor feedthrough.

                              The parts:


                              Ball bearing installed:


                              Seal installed:


                              Motor fastened to the motor flange:


                              Drive shaft installed:


                              Assemby of the whole thing:


                              And with the o-ring it's just one M16 nut to install the whole thing in a boat:

                              Comment

                              • Ralph --- SSBN 598
                                Junior Member
                                • Oct 2012
                                • 1417

                                #135
                                That is such and nice clean solution to mounting the motor and shaft connector.

                                Comment

                                Working...