The coupler may not be really not necessary. Most of these brushless motors disassemble quite easily with only a few set screws holding the entire assembly together. The shaft is very easily replaced with a longer version which negates the requirement for the shaft extension. That not withstanding, this is a very clean design. Well done.
-
-
Very nice workmanship. Looking forward to seeing the final assembly and first trial runs!
I went the shaft extension route for the two outriders that will (eventually) go into my Type II. As Matt said, very straight forward.
-JeffRohr 1.....Los!Comment
-
I'd like to see a how-to for replacing the stock shaft with an extended one. Perhaps an Engineering Deck column?Warm regards,
Paul Crozier
<><Comment
-
For some reason, I thought Matt did one, maybe on his site?If you can cut, drill, saw, hit things and swear a lot, you're well on the way to building a working model sub.Comment
-
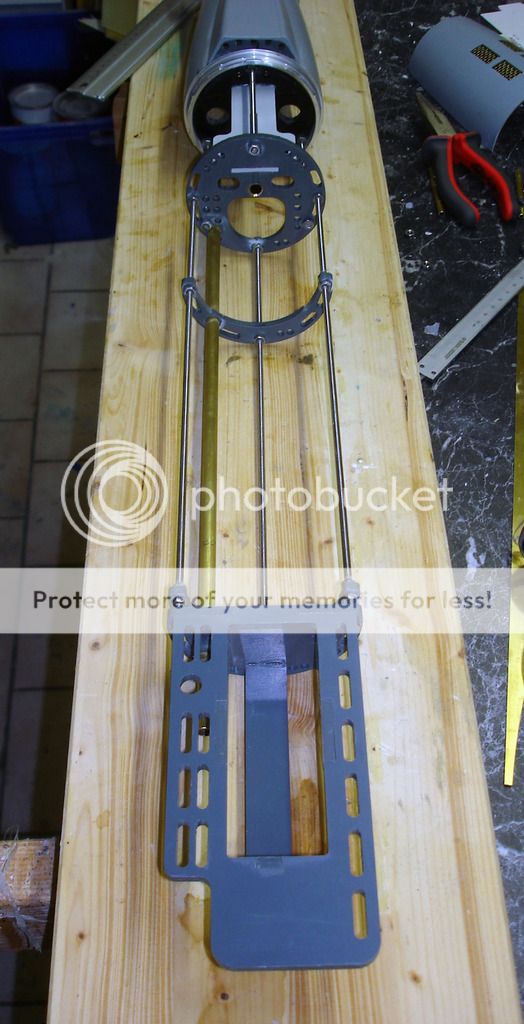
As I consider to make a small series of these feedthroughs, I wanted to keep the design universal, also adoptable for standard motors. One just makes another motor flange and that's it. With shaft replacement one could actually make the feedthrough much shorter.Comment
-
-
Thank you Tim! An excellent tutorial Matt!Last edited by salmon; 06-29-2015, 05:33 AM.If you can cut, drill, saw, hit things and swear a lot, you're well on the way to building a working model sub.Comment
-
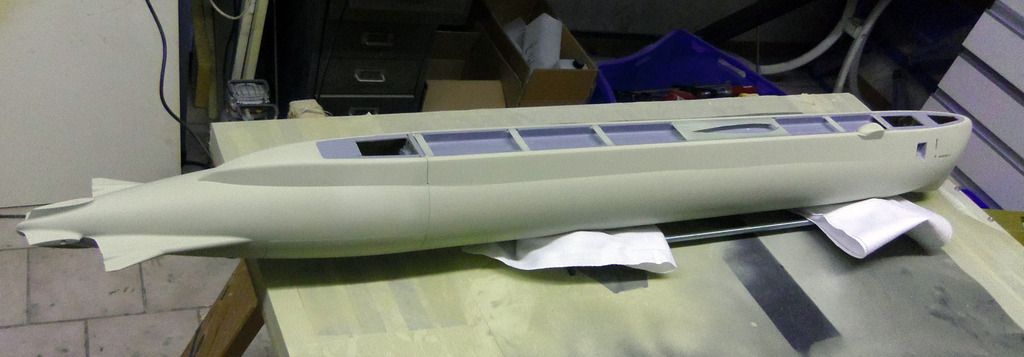
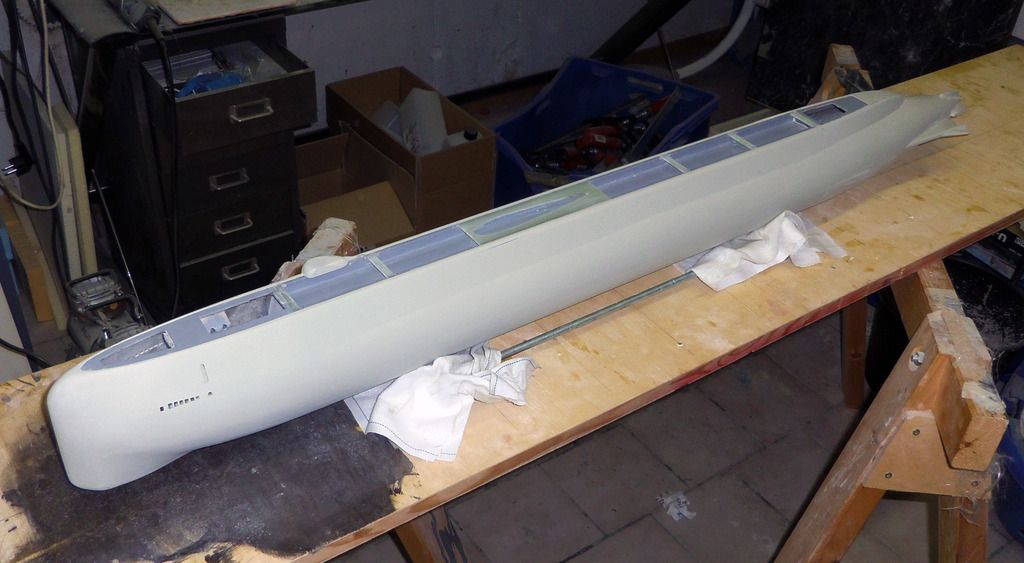
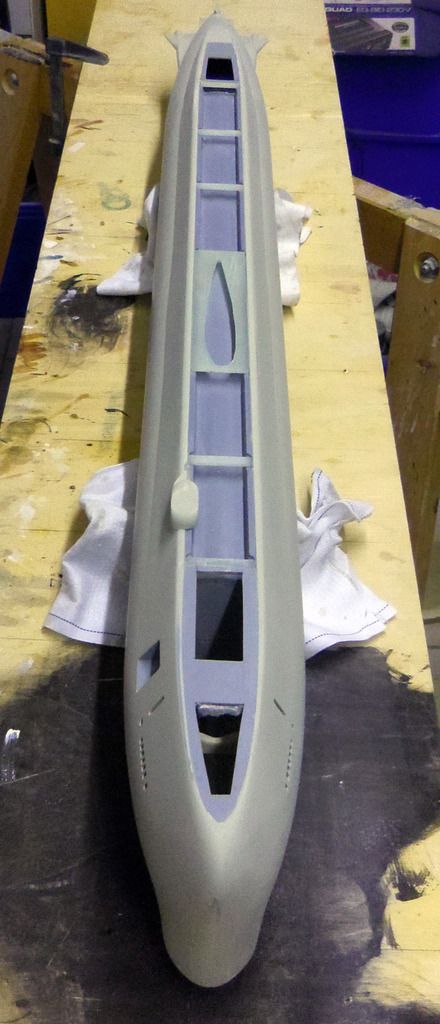
O.K., my notebook is fit again. I made some progress with the boat, too:
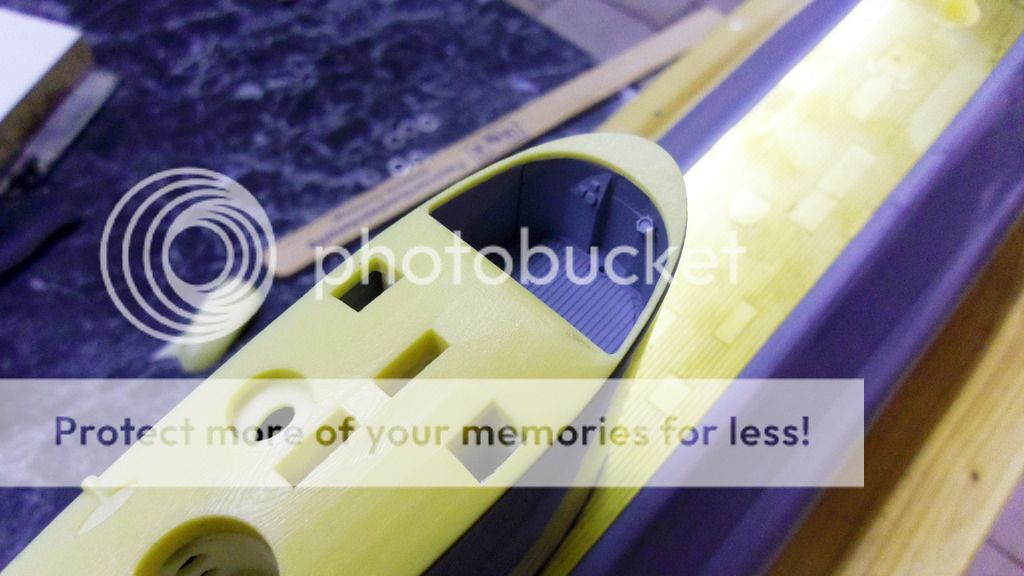
Anchor housing:
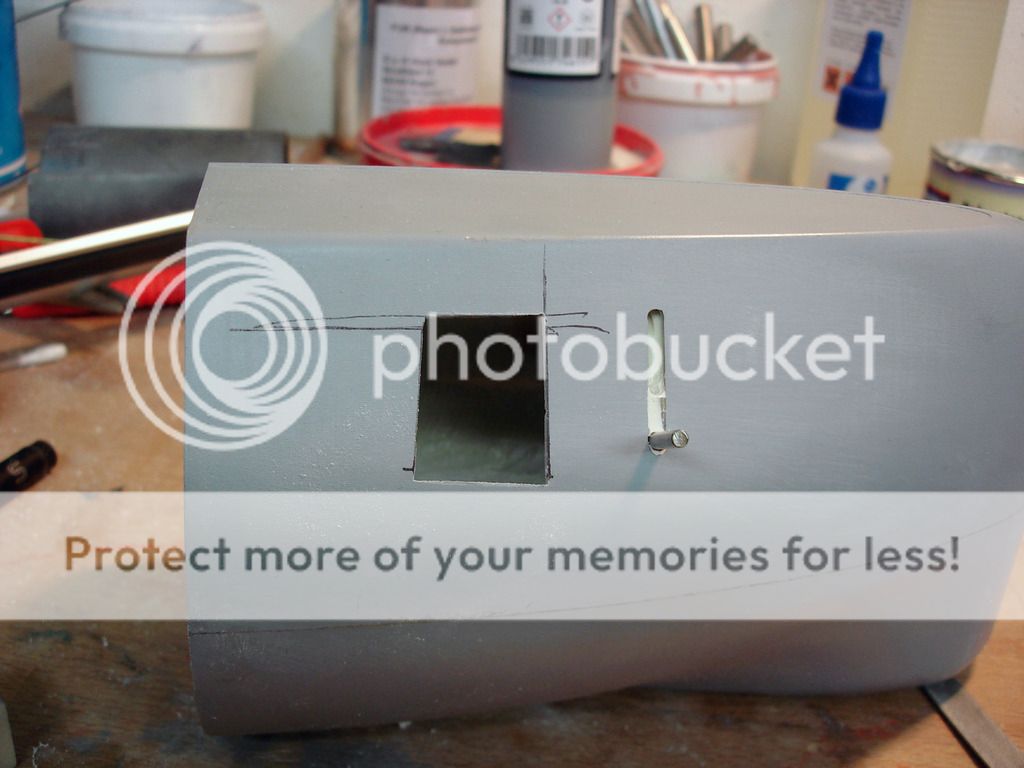
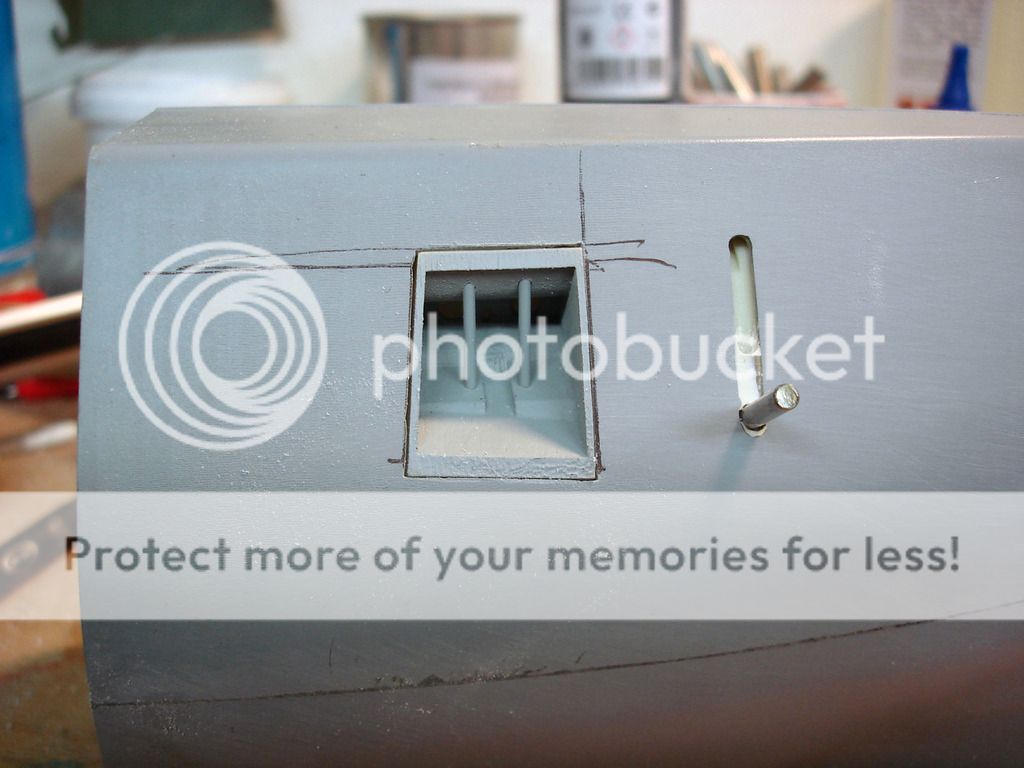
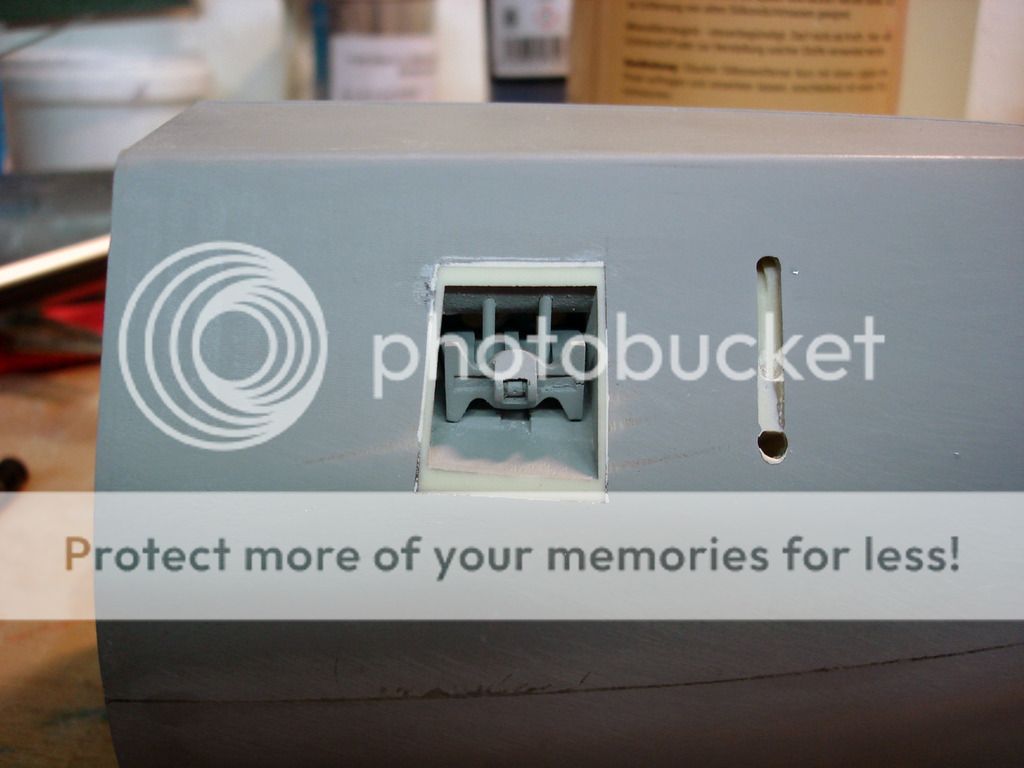
First details on the sail:
Evened out:
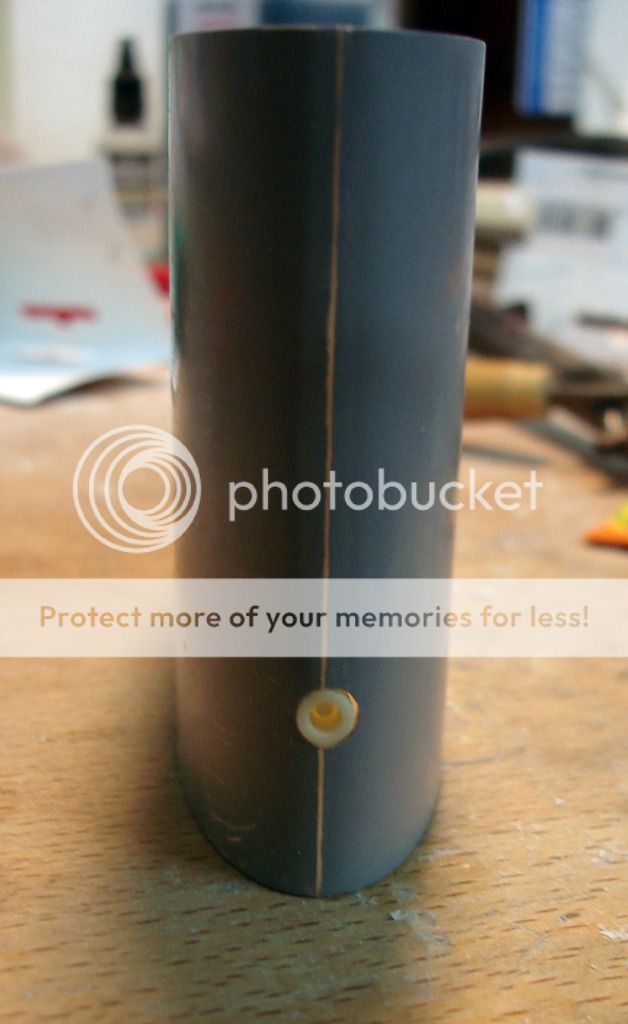
Mast base light-weighted:

And glued to the sail cover:
Comment
-
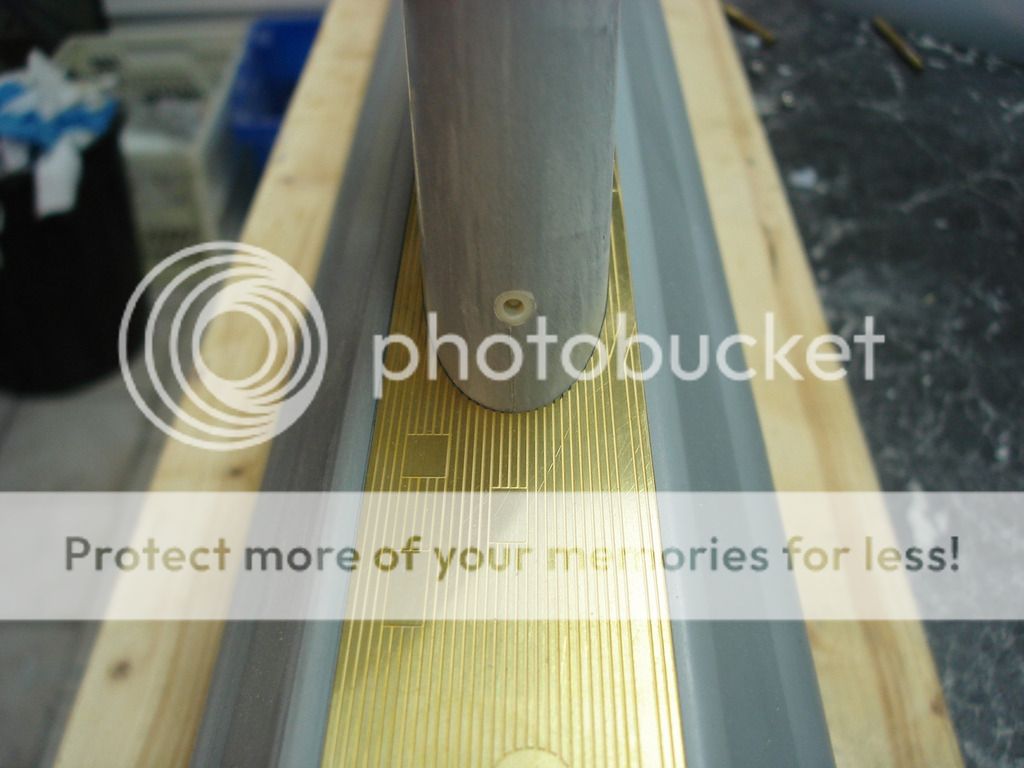
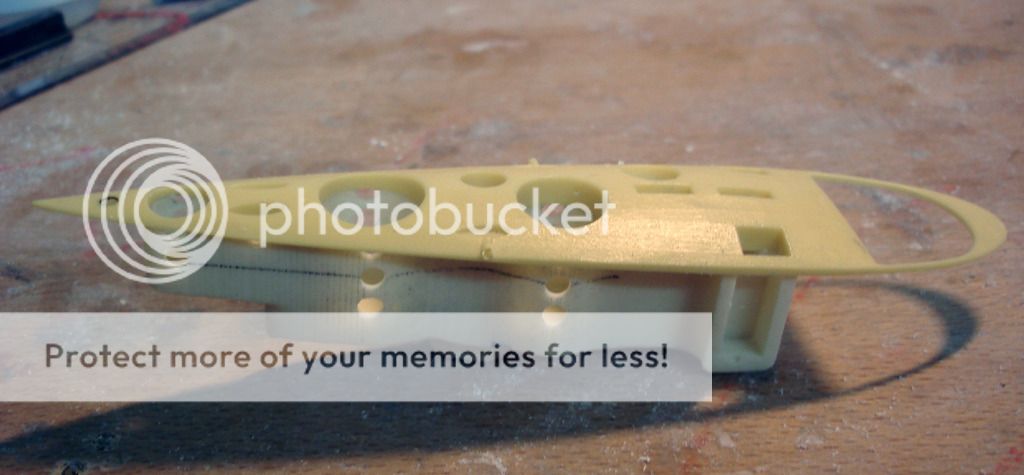
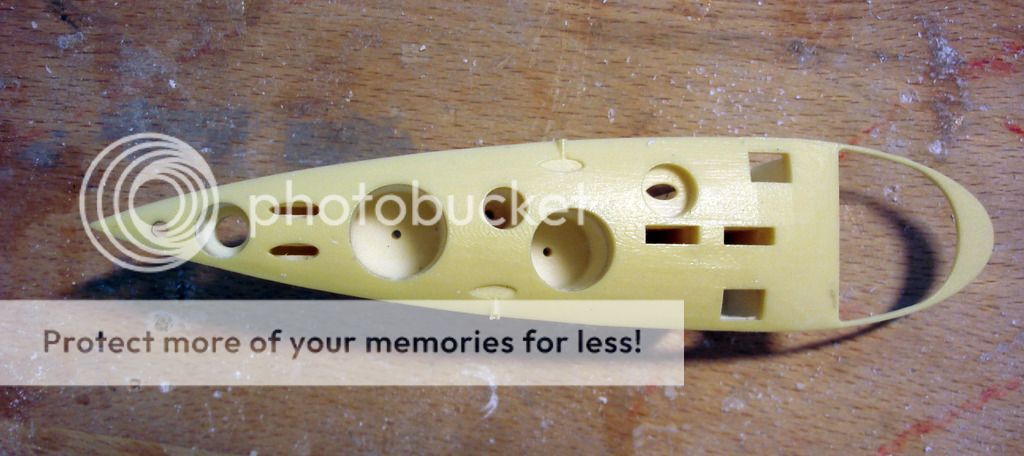
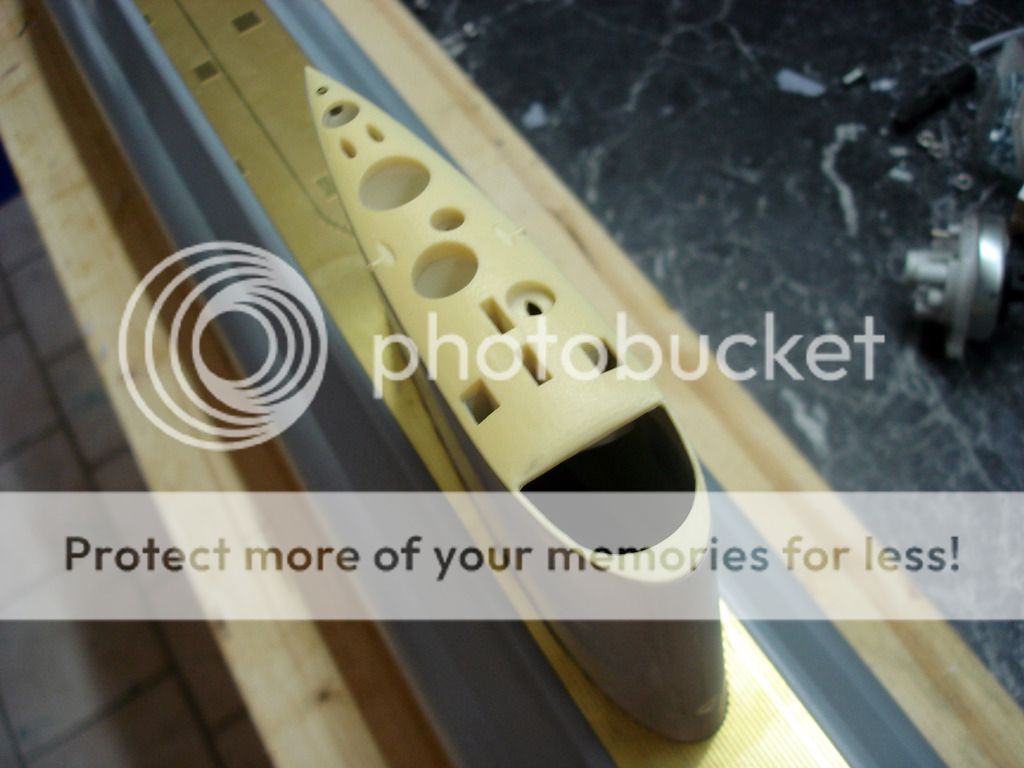
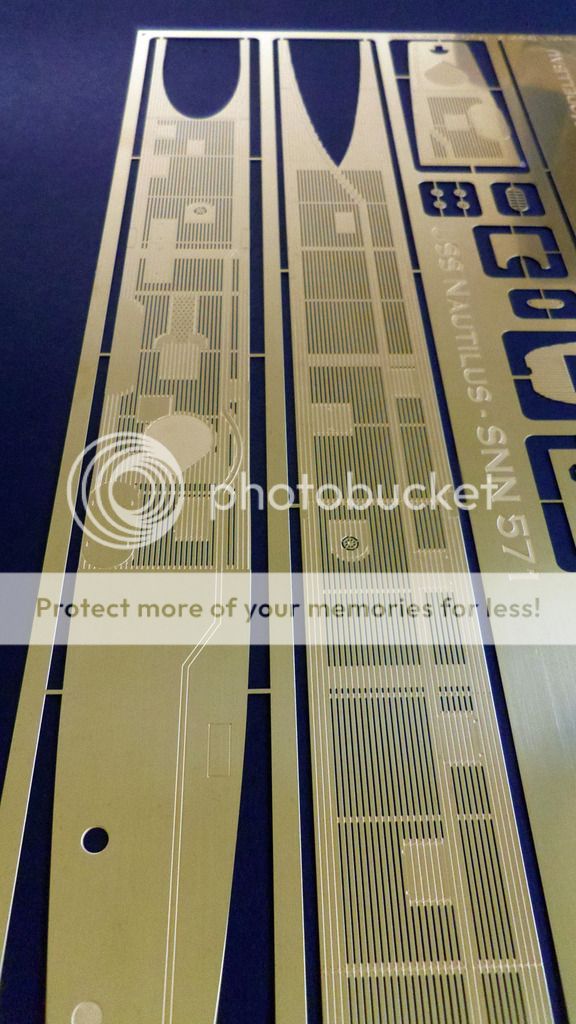
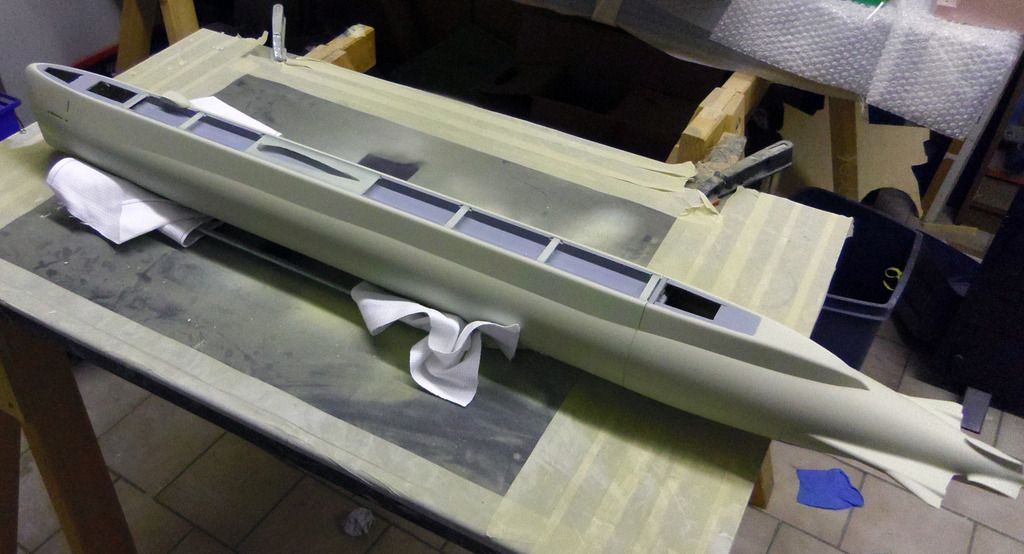
On we go:
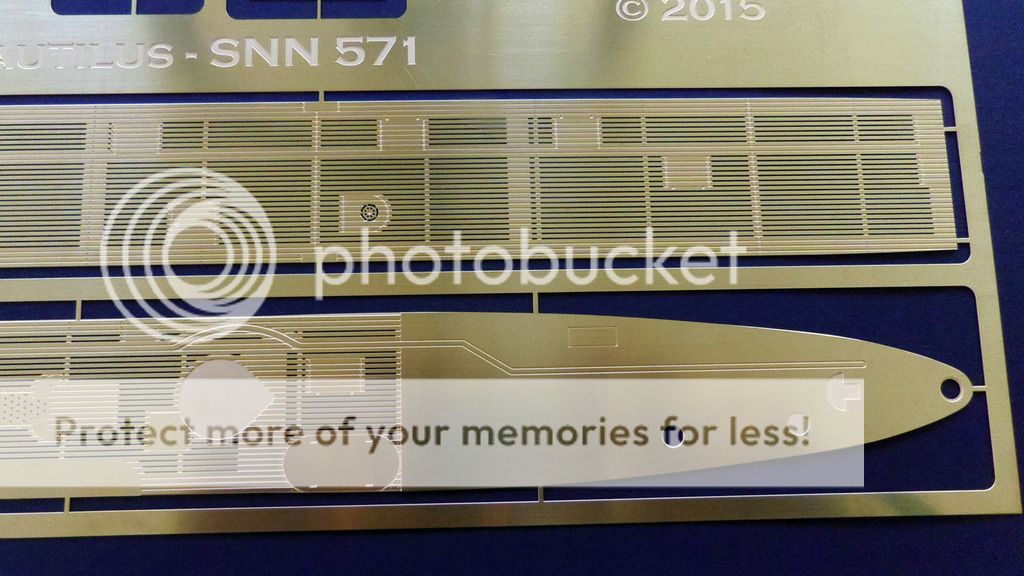
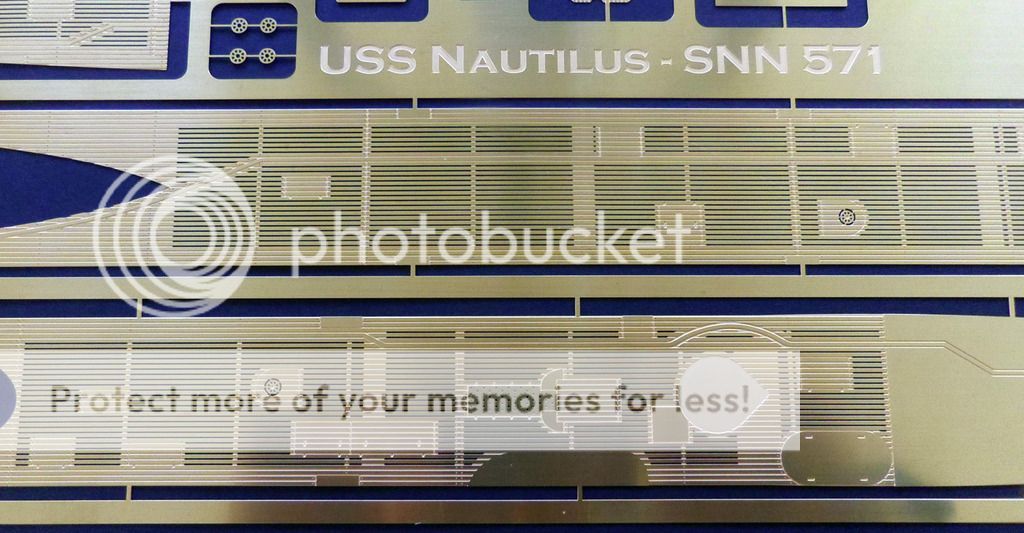
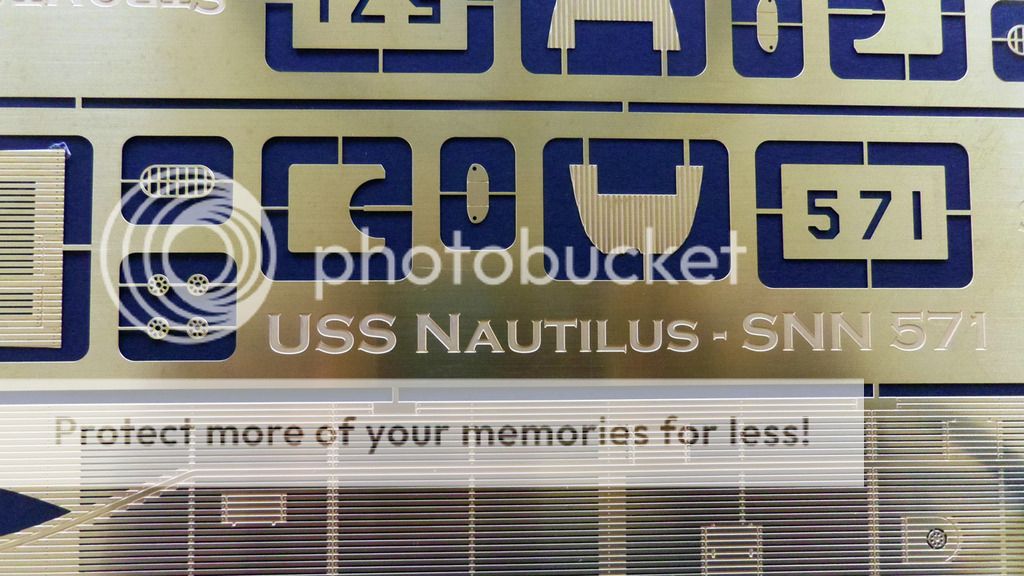
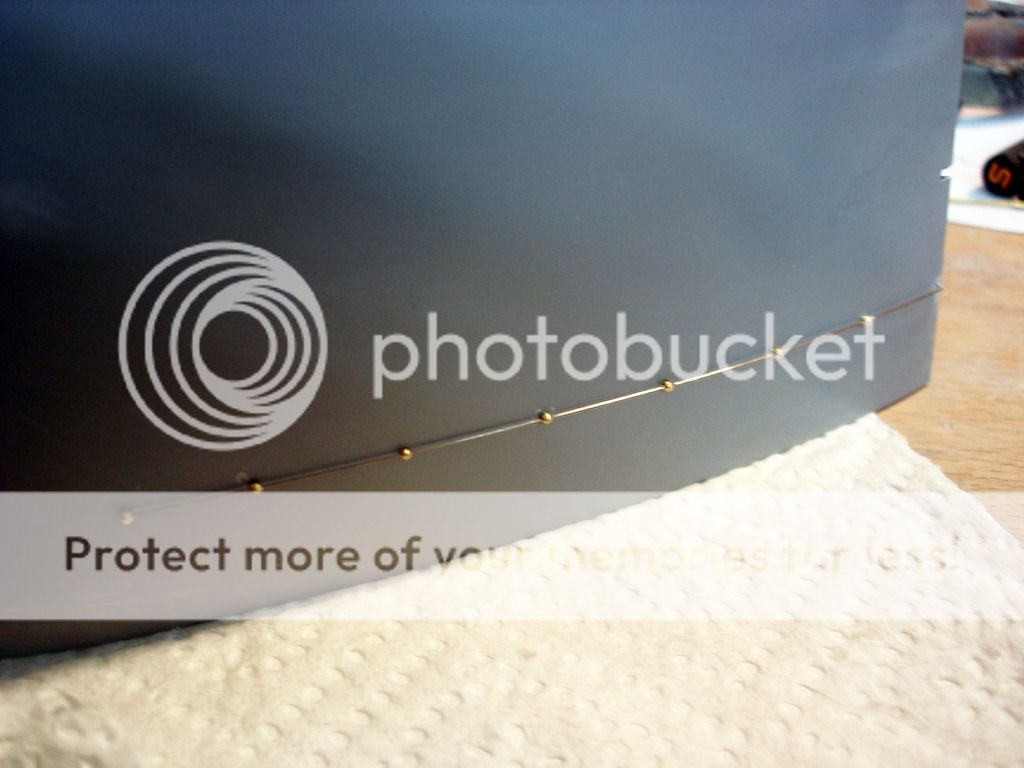
New decks and small brass parts; photo-etched:


Fins on the sail:
Bridge with brass deck:
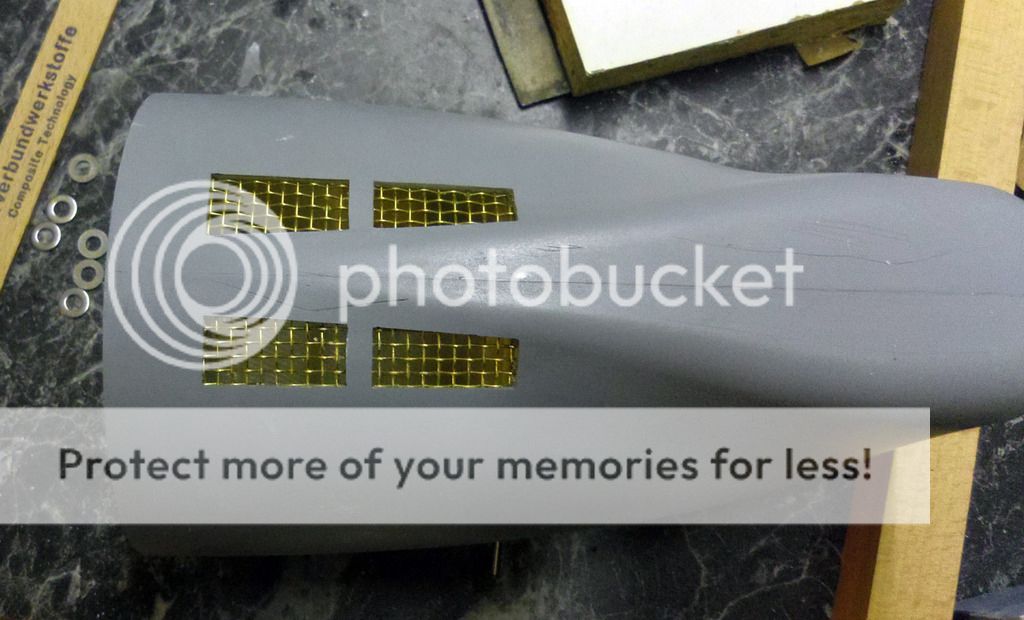
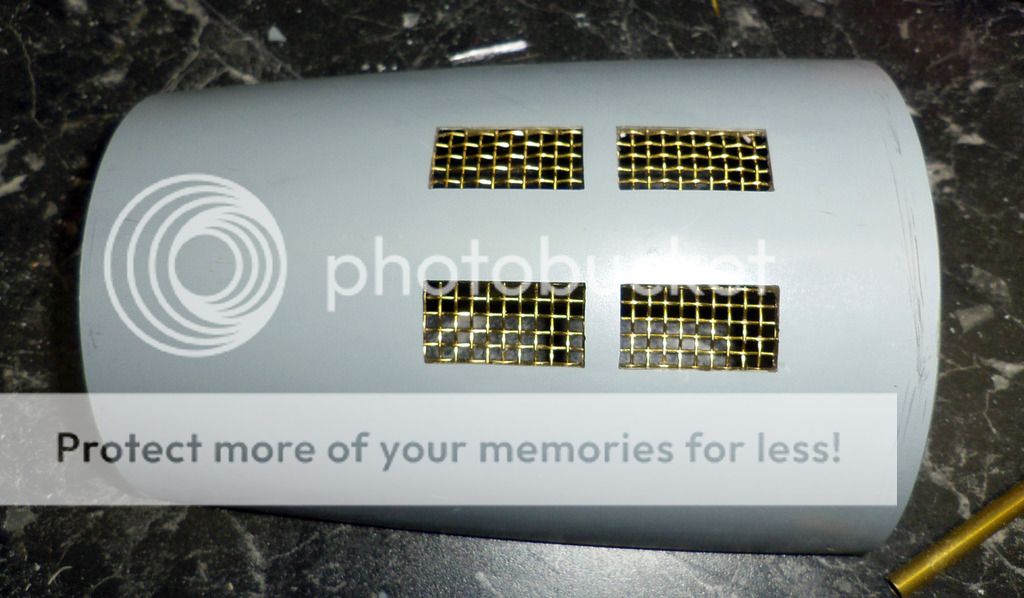
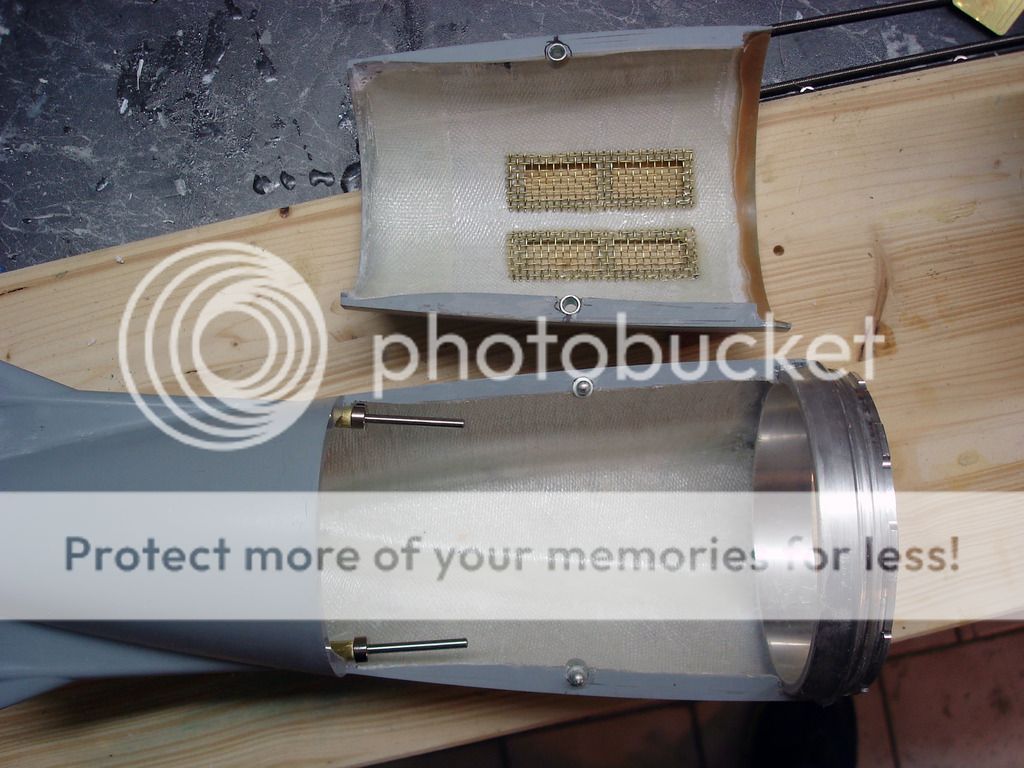
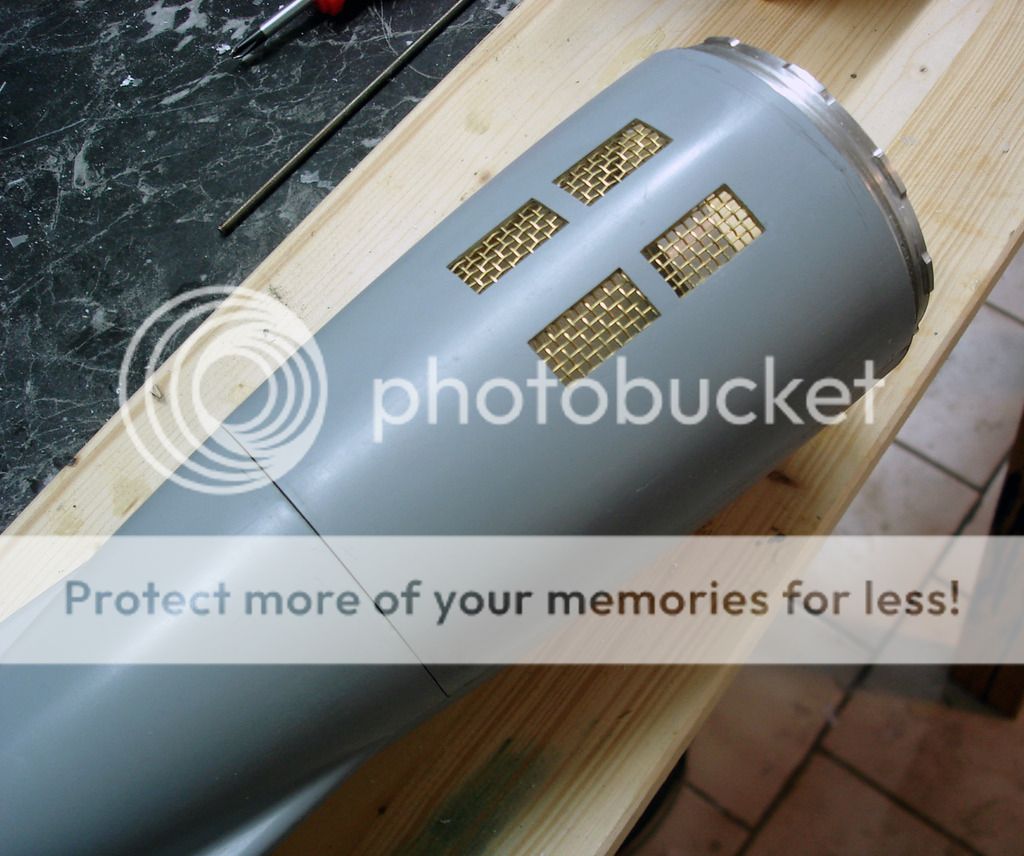
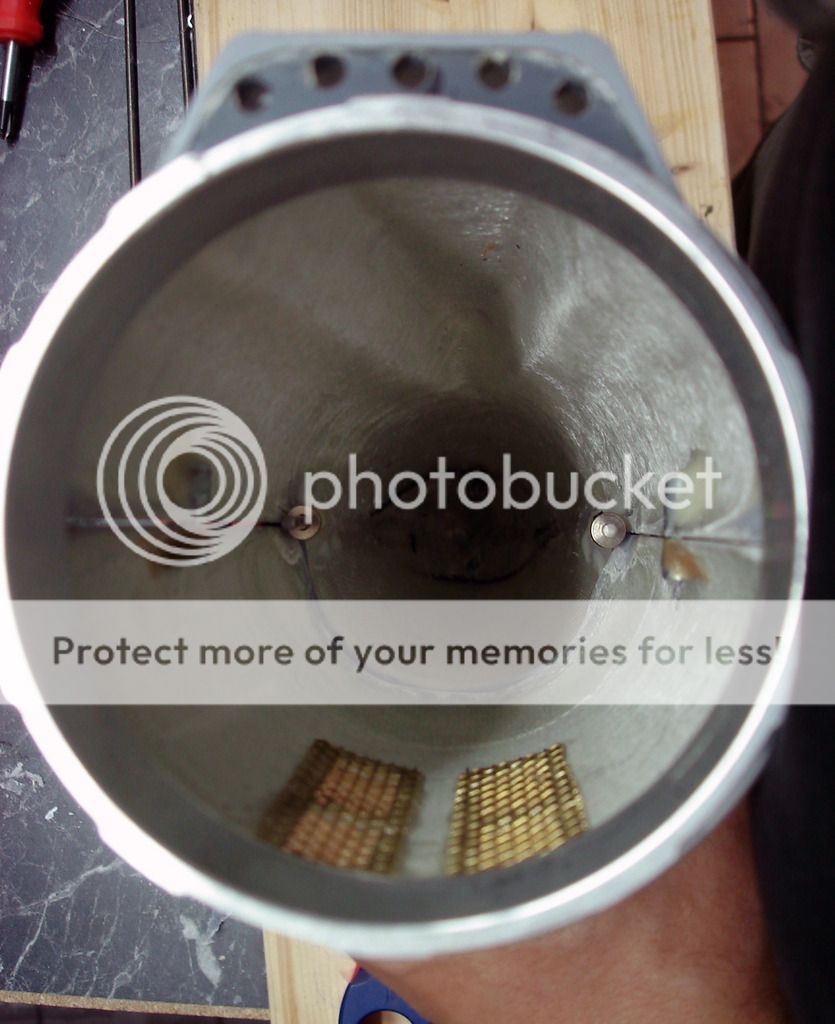
Flood holes with brass grids::
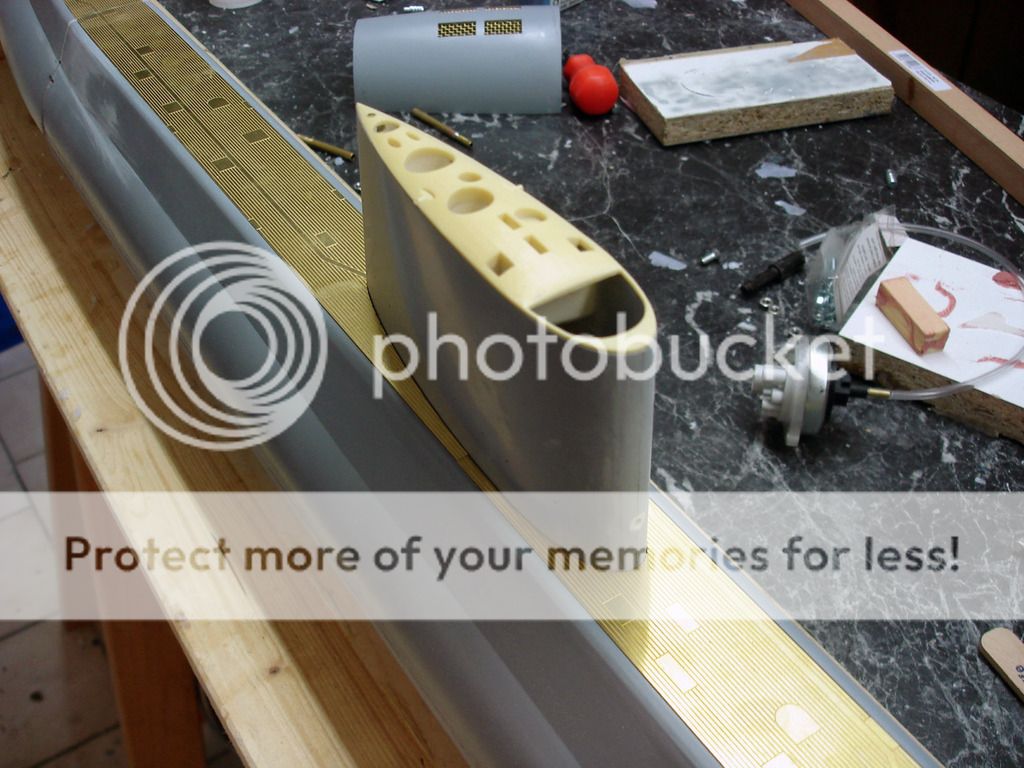
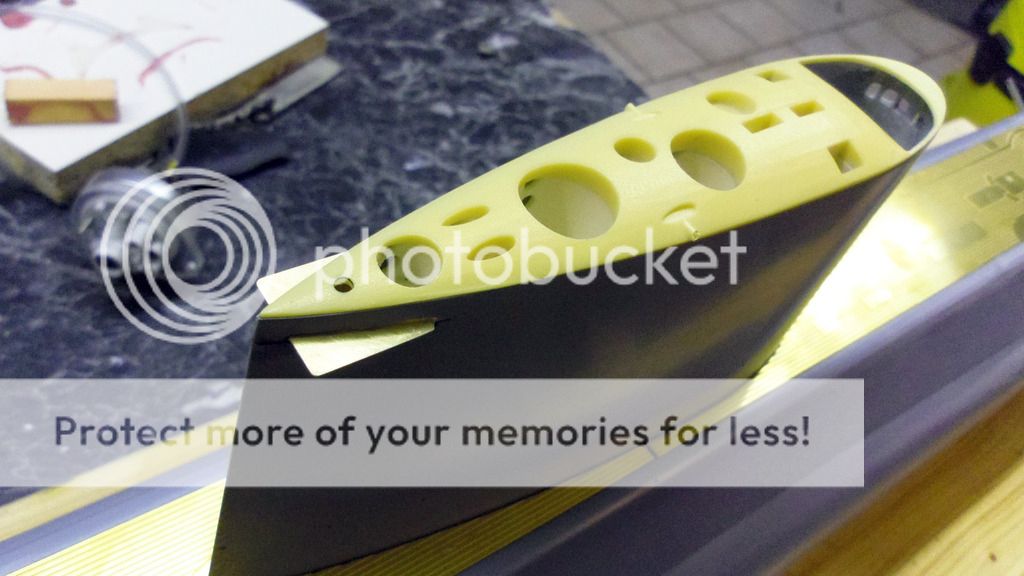
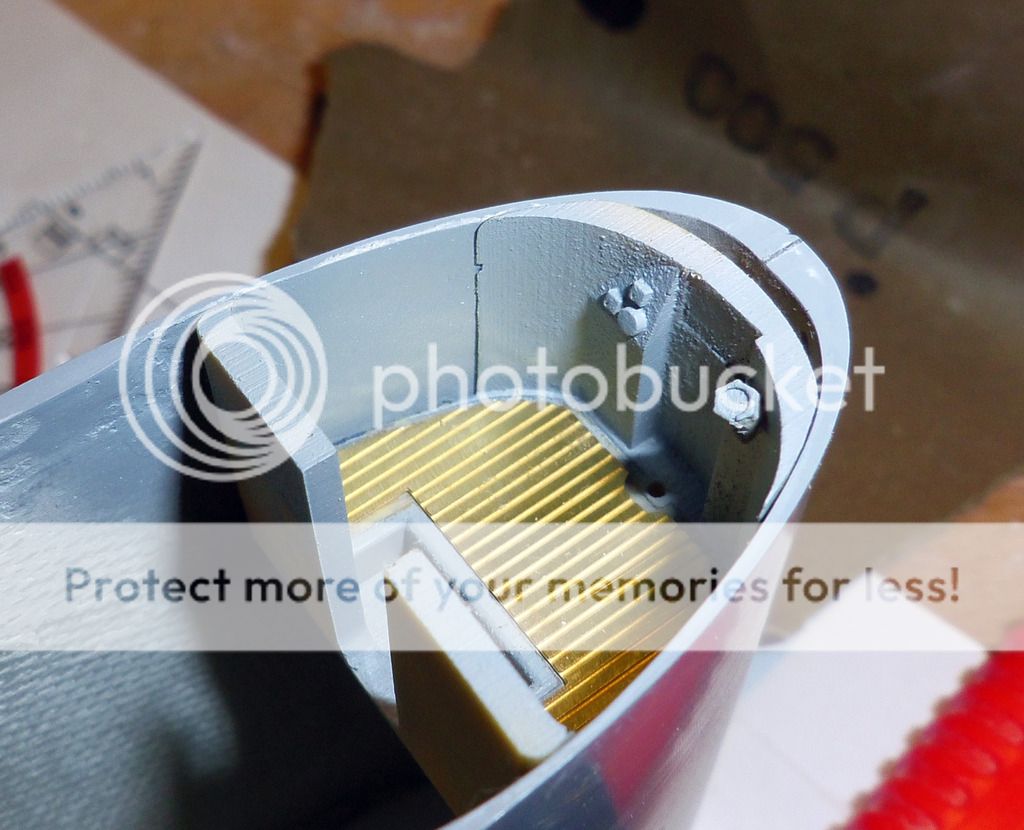
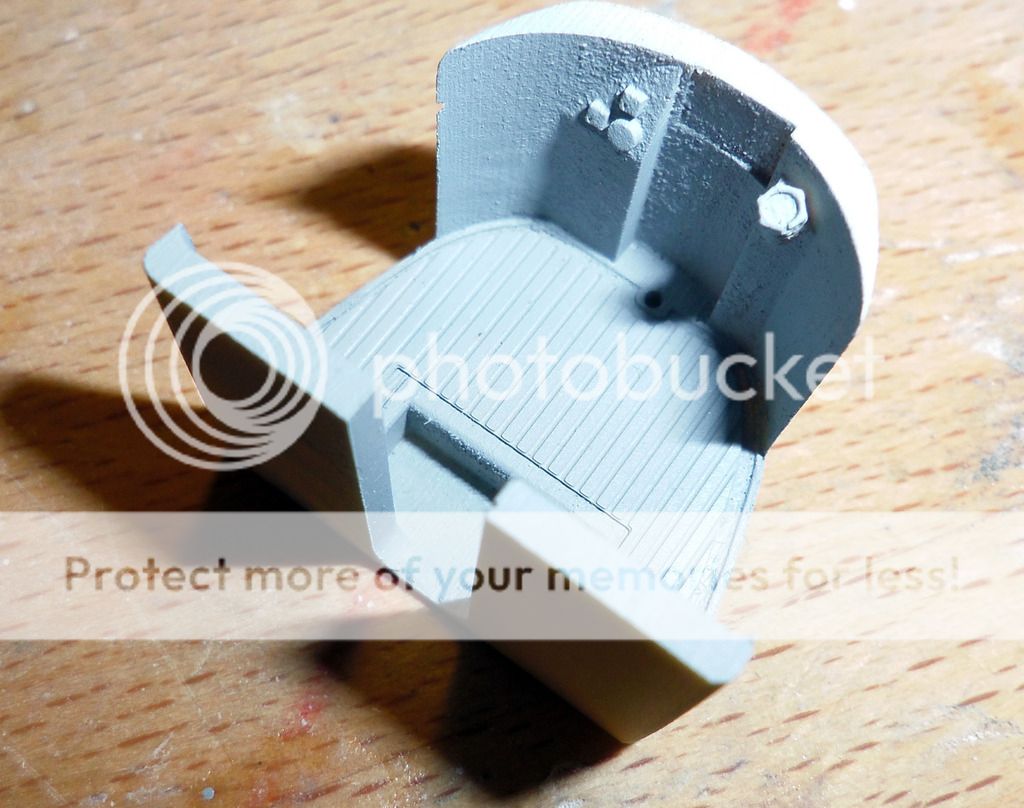
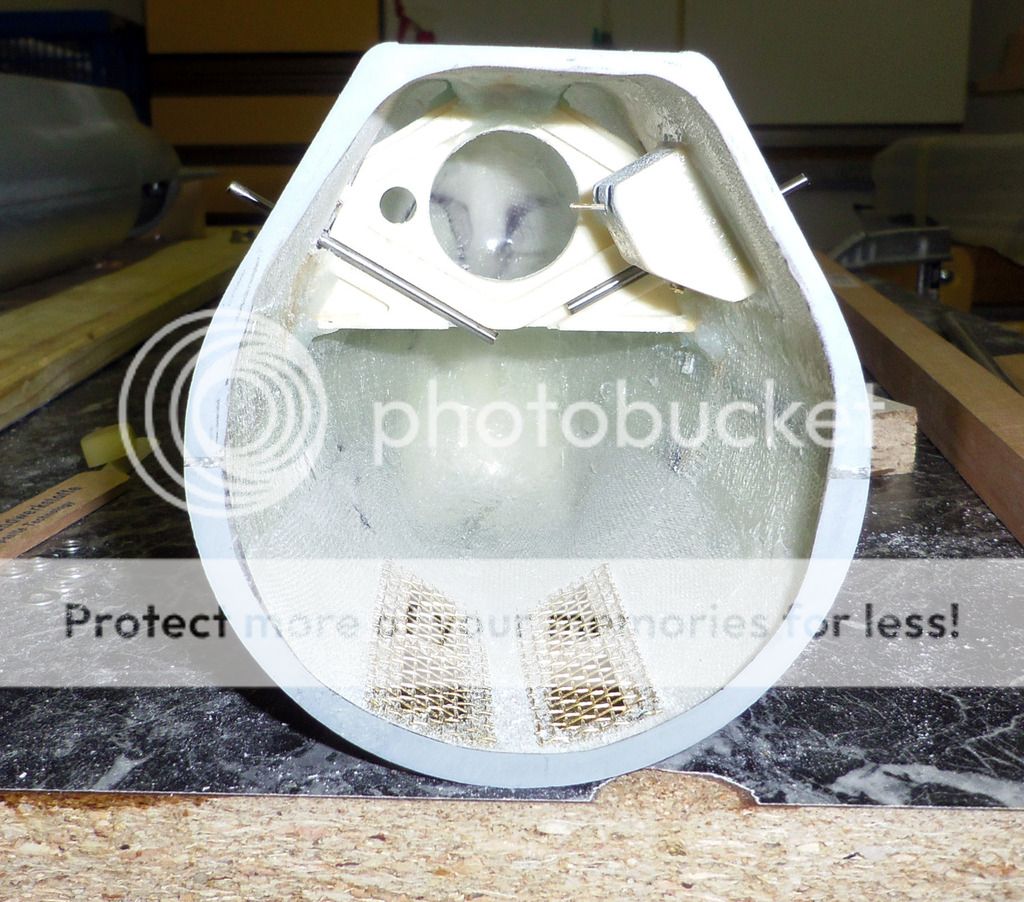
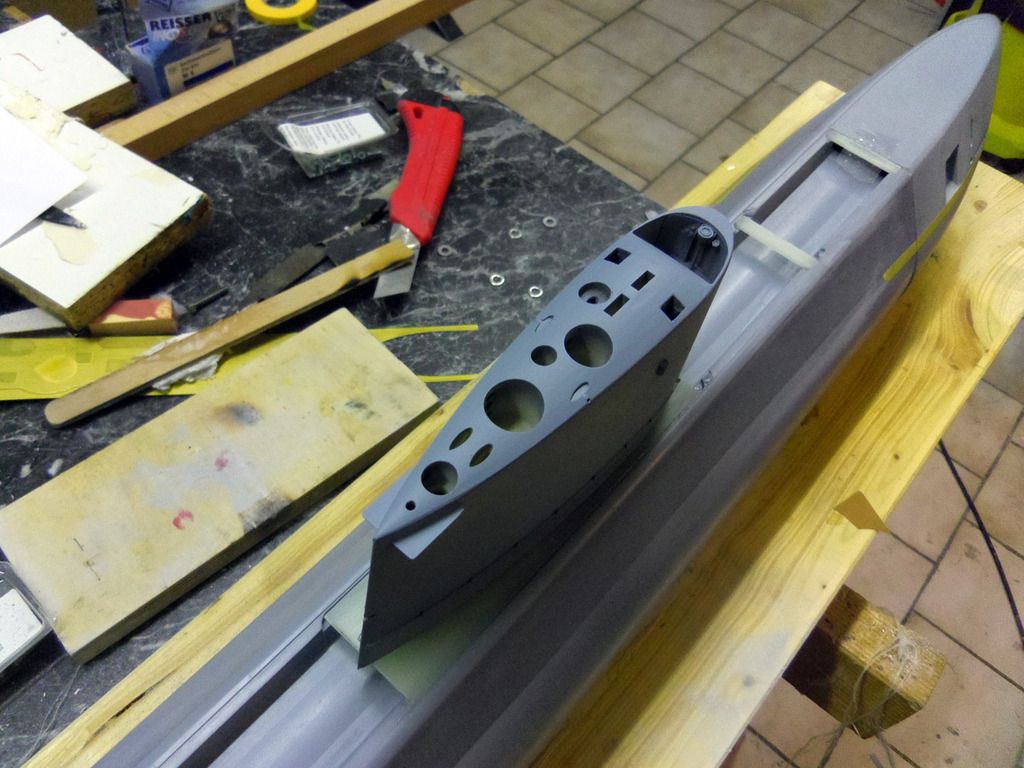
Interior in the bow:
Sail windows::

Comment
-
More detail work. The handrail on the sail is installed. I used 0,5 mm brass railing posts. The rail itself is made of 0,3 mm steel wire.


The stern service hatch with positioning bolts:
The v-shaped stern bulkhead was aligned to the stern tubes and glued into place. The bras tubes force the bulkhead into the right position:

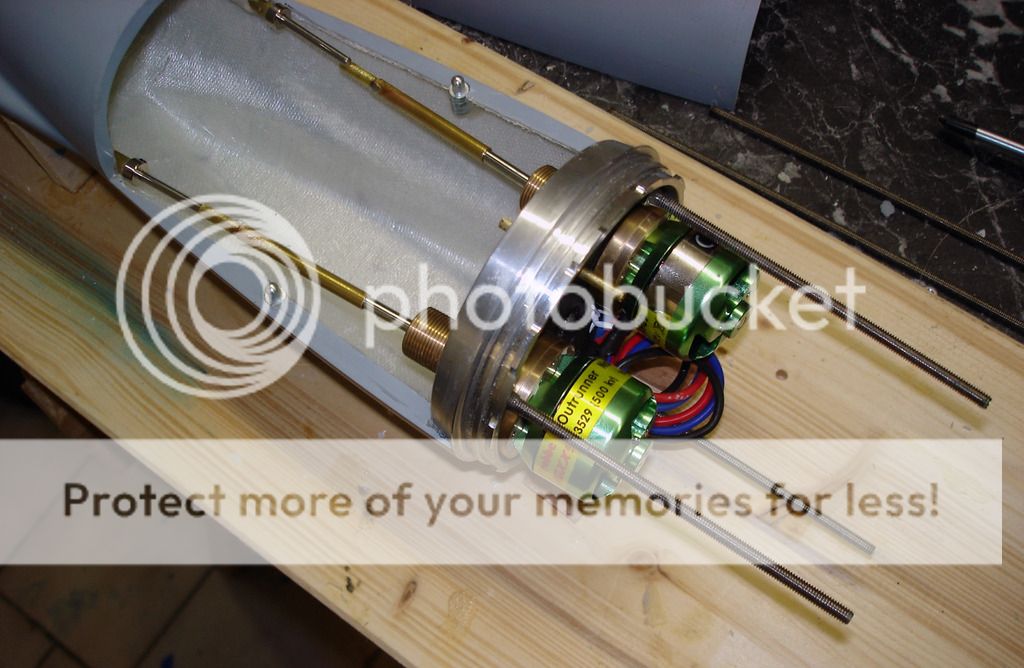
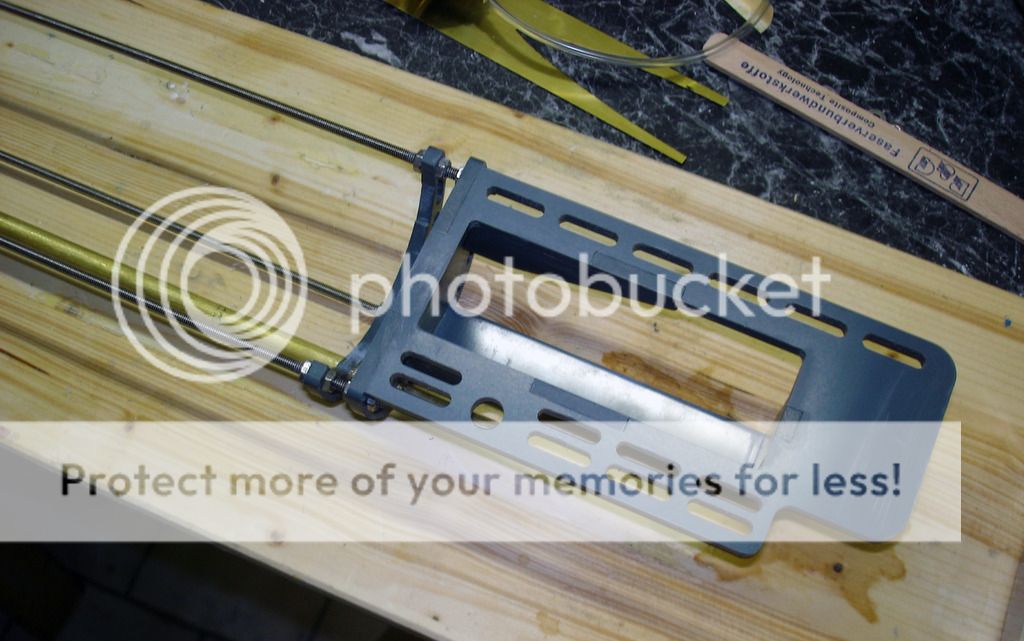
The technics frame then was an easy fix. M4 thread rods and nuts. The 8 mm brass tube is the feed for the piston tank:
Comment
-
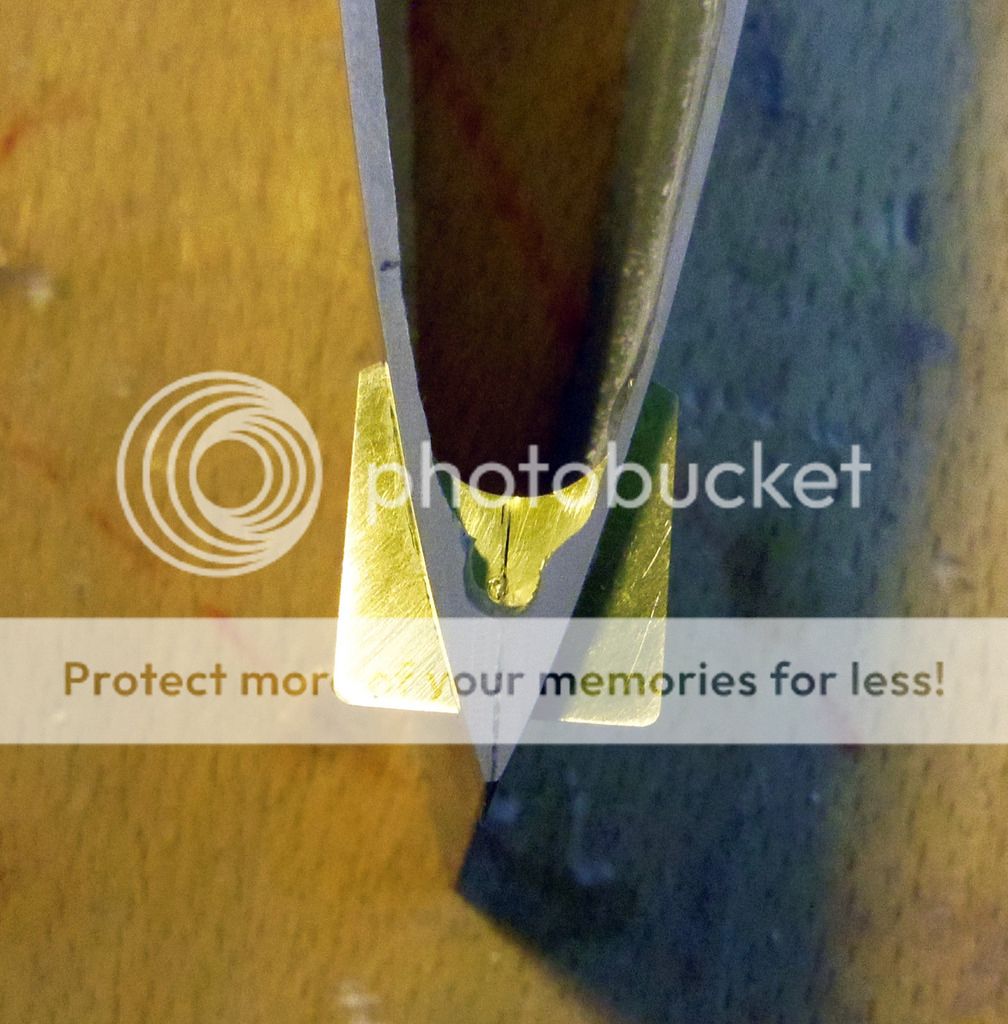
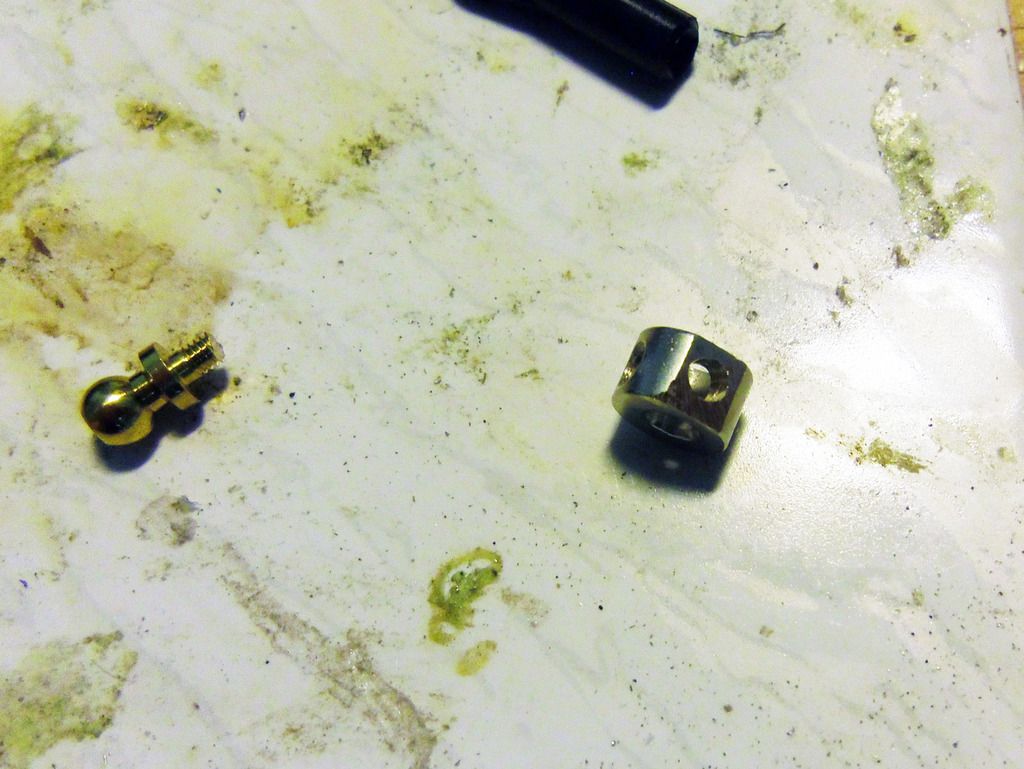
Not too mach space in the back in the boat, but I want a linkage without play. That's my sollution:
Make a flat on the side of a brass set collar and rill a hole (90° to the thread). Take a brass spherical joint and shorten it:
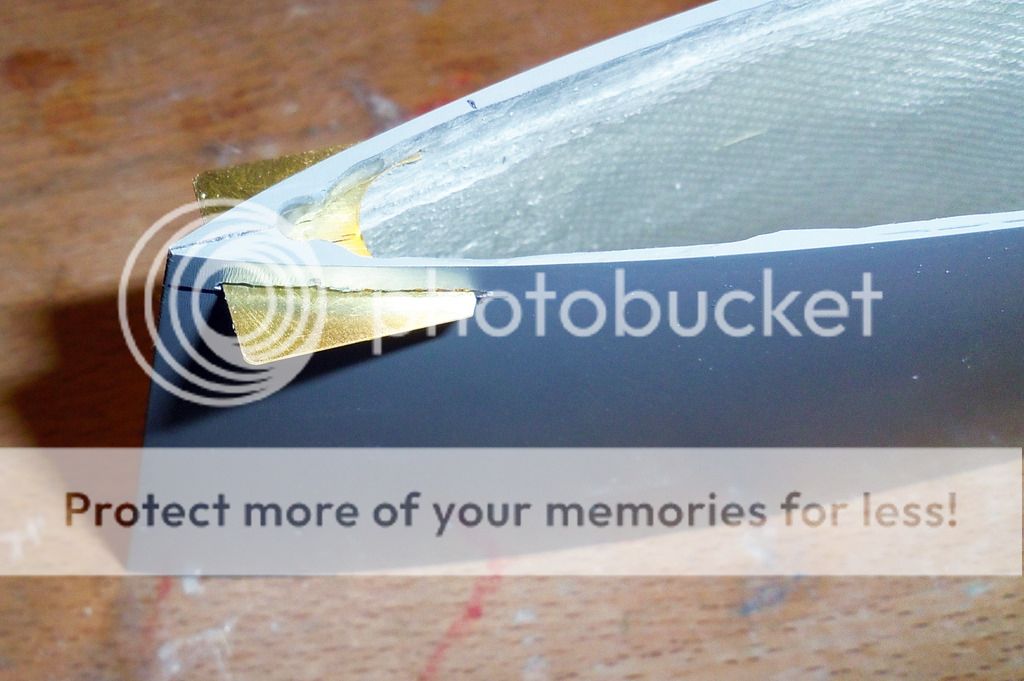
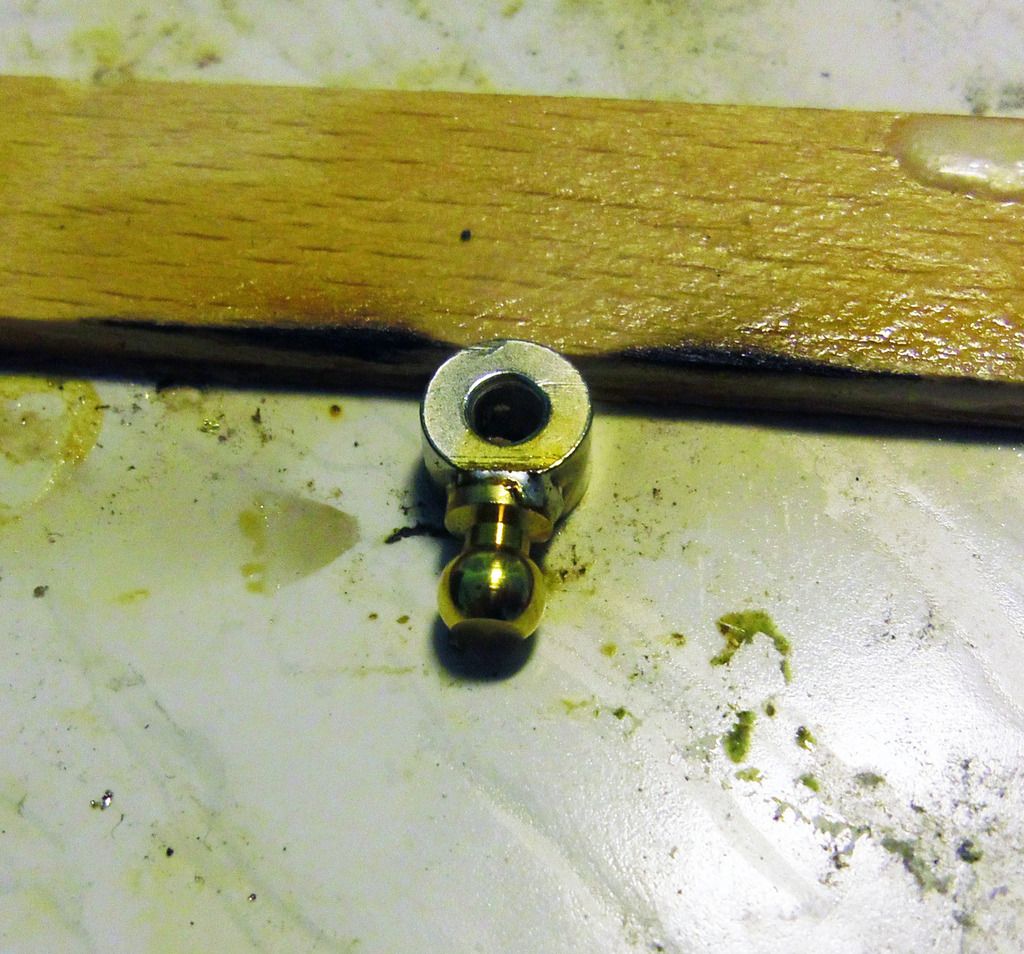
Solder sperical joint into the set collar and re-drill the center hole of the set collar:
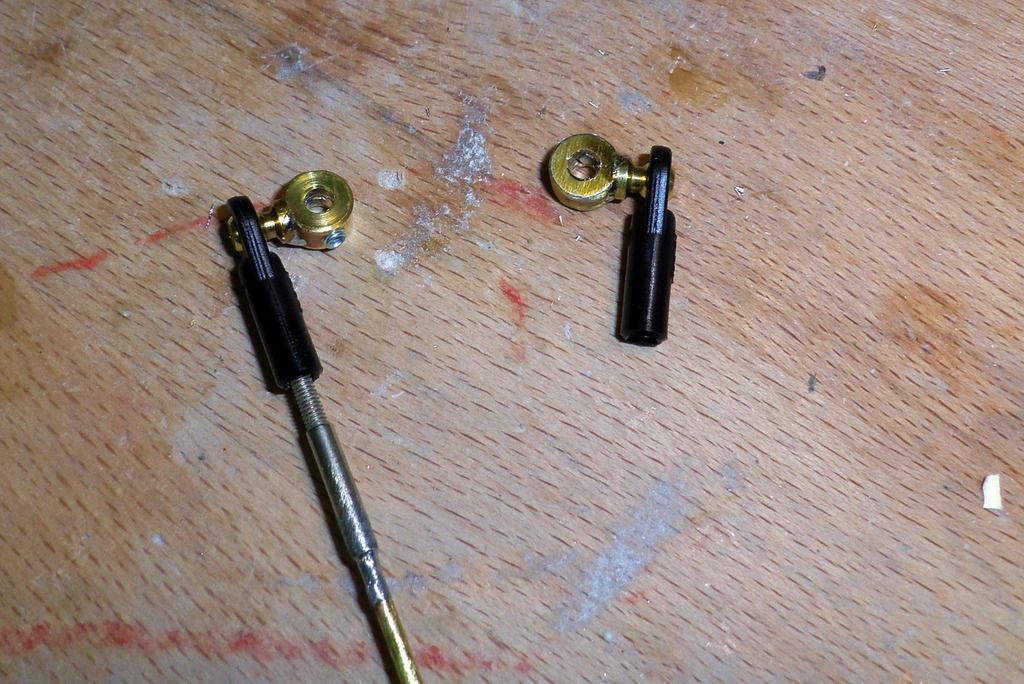
Done:
Comment
-
Decided to base my Nautilus model on this paint scheme:
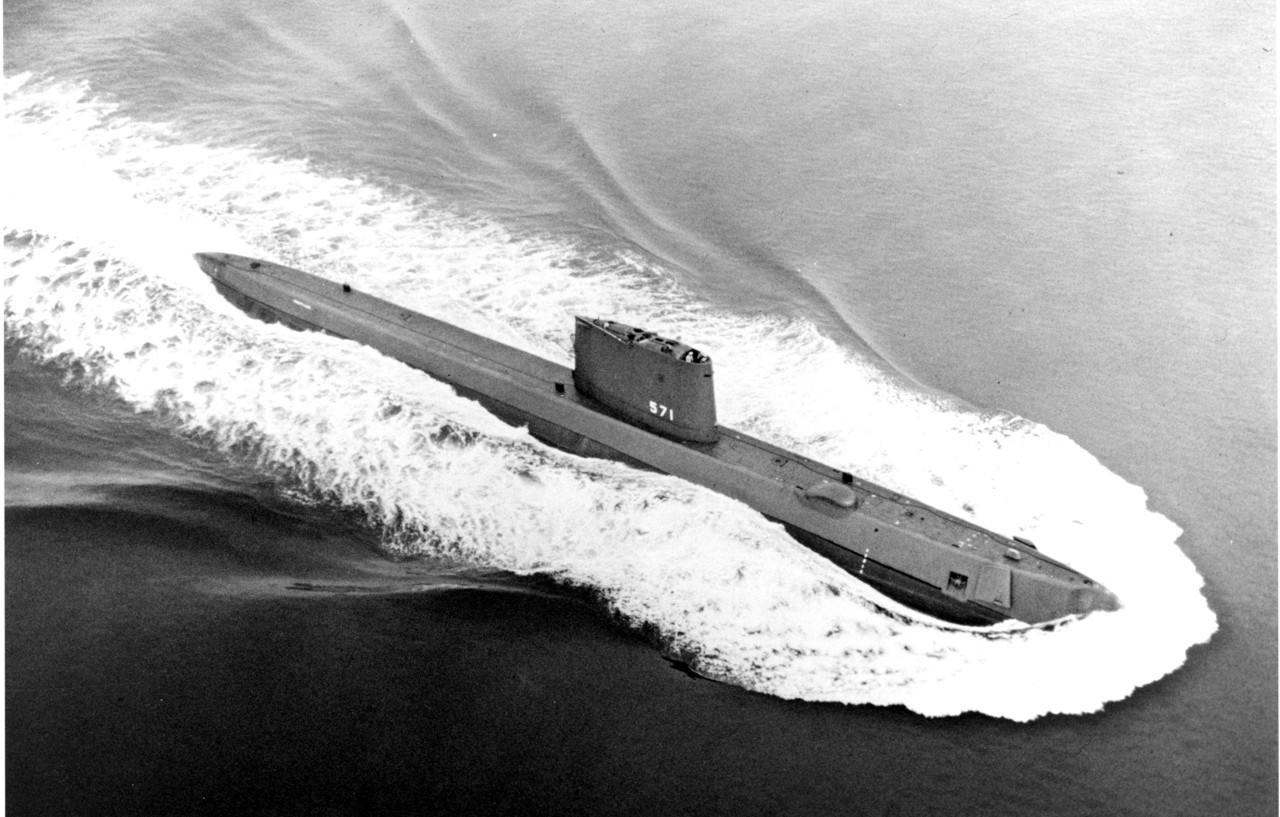
Does anyone have infos about the true colors? Lower hull is black I guess, the upper part ocean grey, the deck seems to be darker (might be an optical illusion because of the planks, though).Comment
-
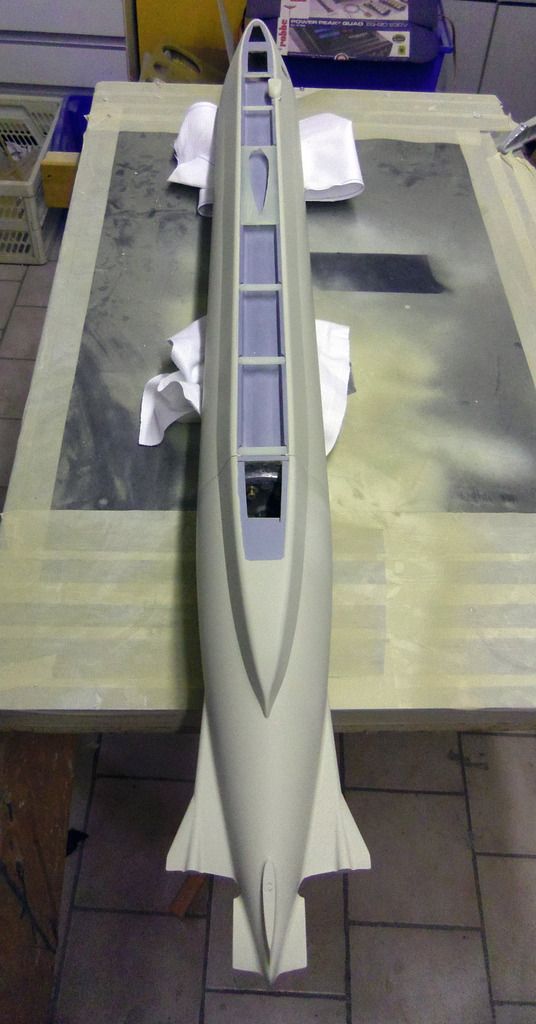
Worked allot on the sail, and some filling and grinding on the hull. Here's the current status:
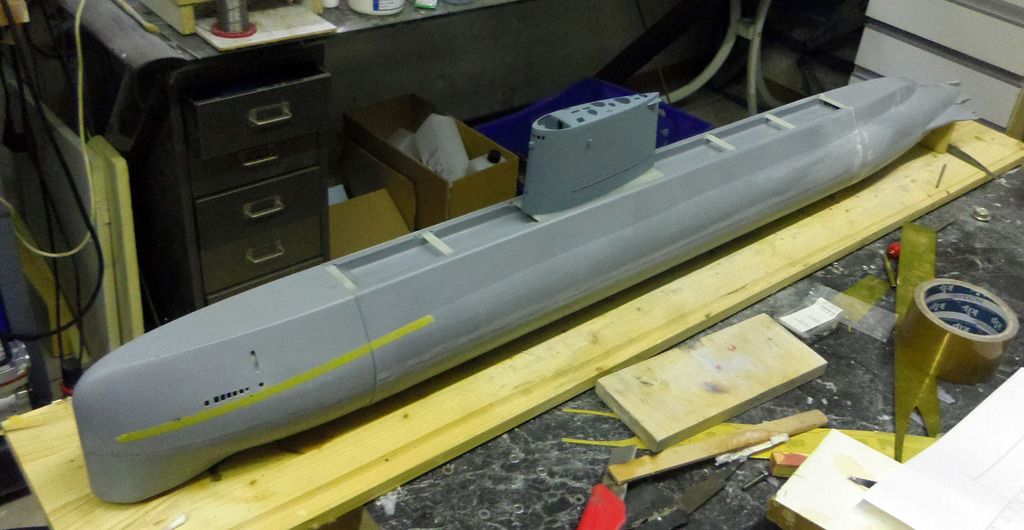
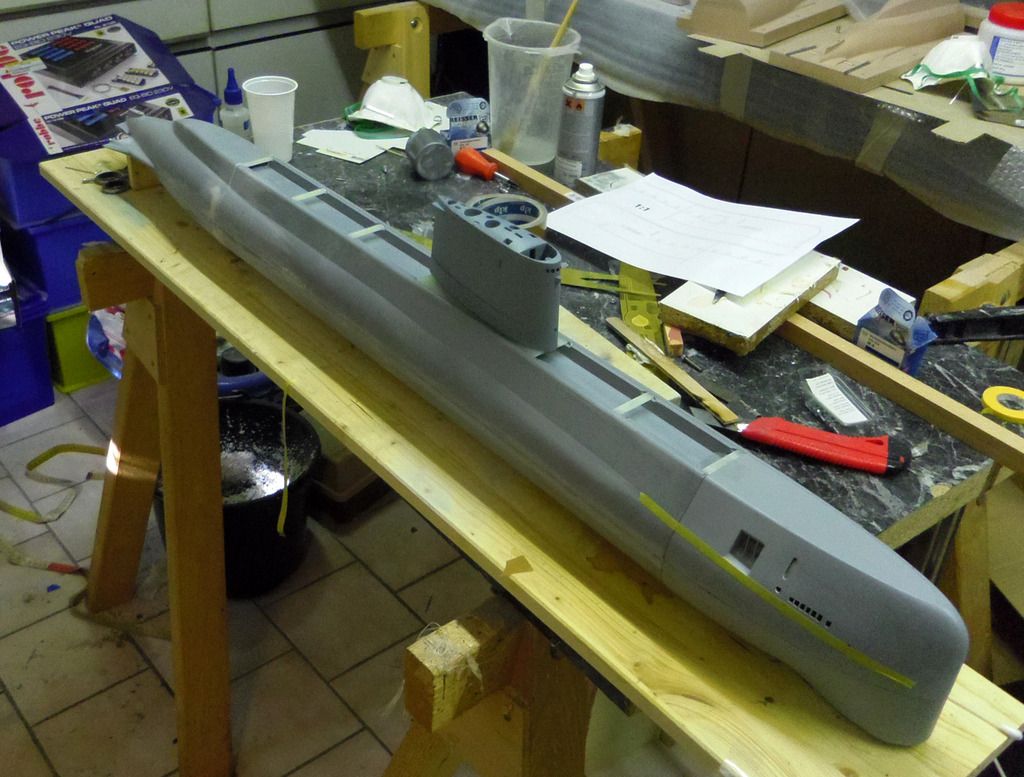
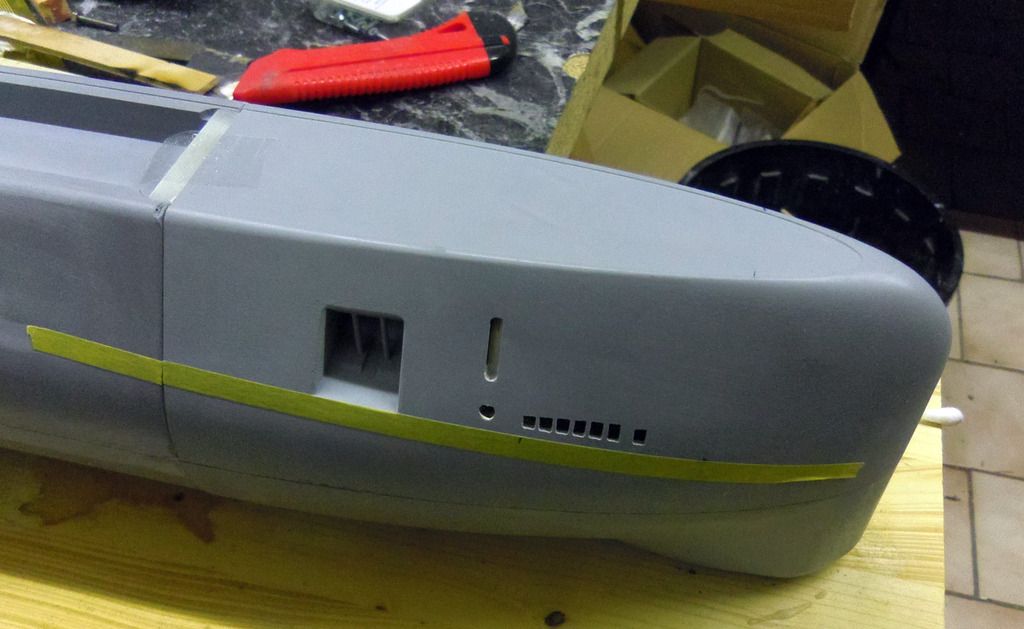
The bow got its flood holes:
The sail is 90% assembled, primed and painted in its base color:

Comment
-
First half of the last mould for my boat is done.....going to be the bow planes. Now the second half and the tool making should find an end by Sunday:

Comment
-
O.K., I didn't post for a while because filling and sanding is not only no fun but also doesn't look good on photos. But one can put on a big smile after finishing it....next are weld beads from Archer:


Comment

Comment