
Re: 1/144 Scale USS Batfish (SS310)
UPDATE 15
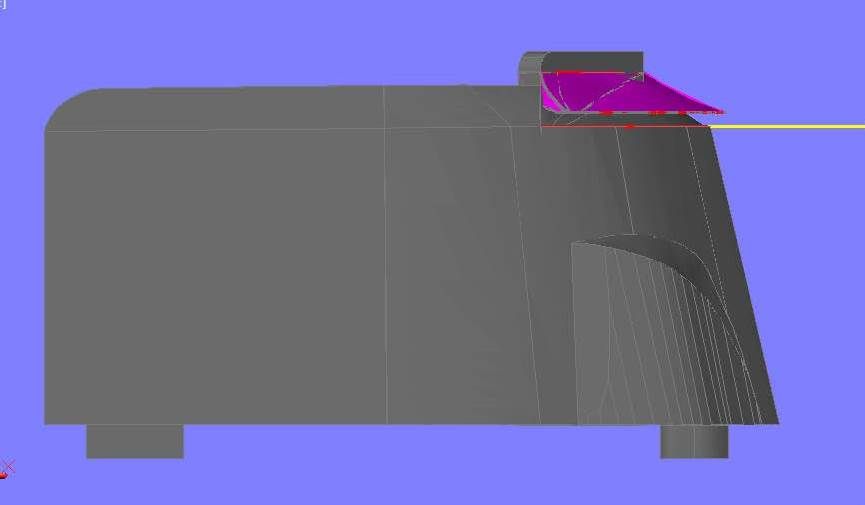
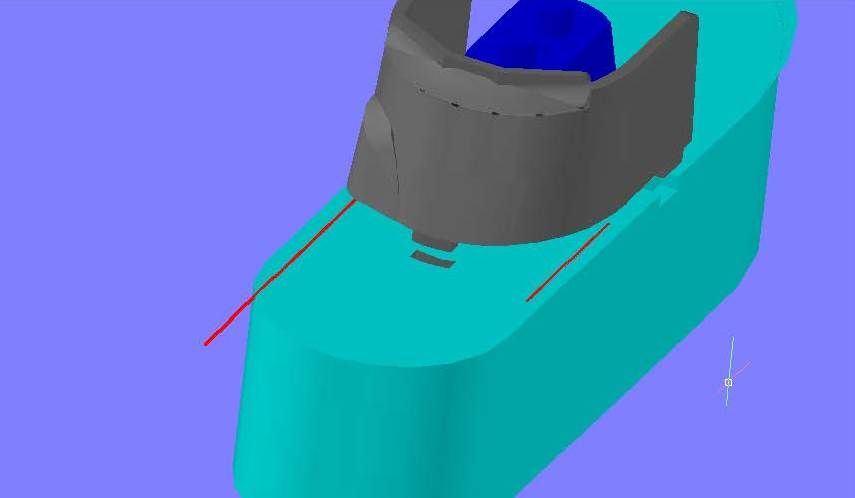
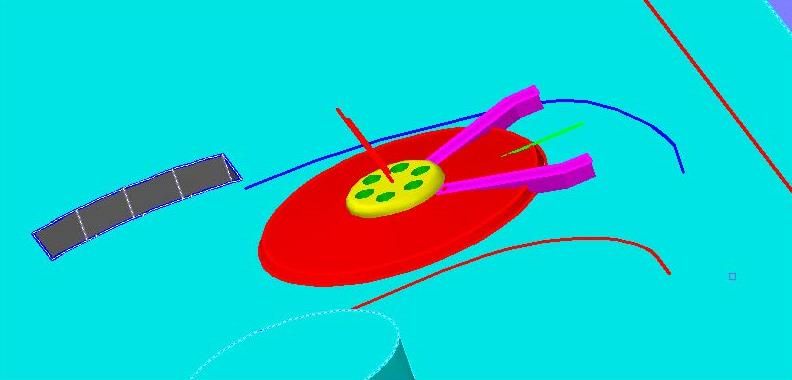
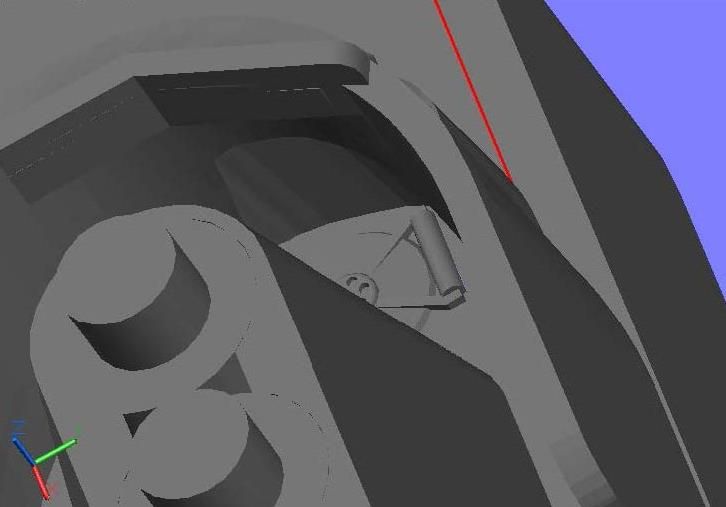
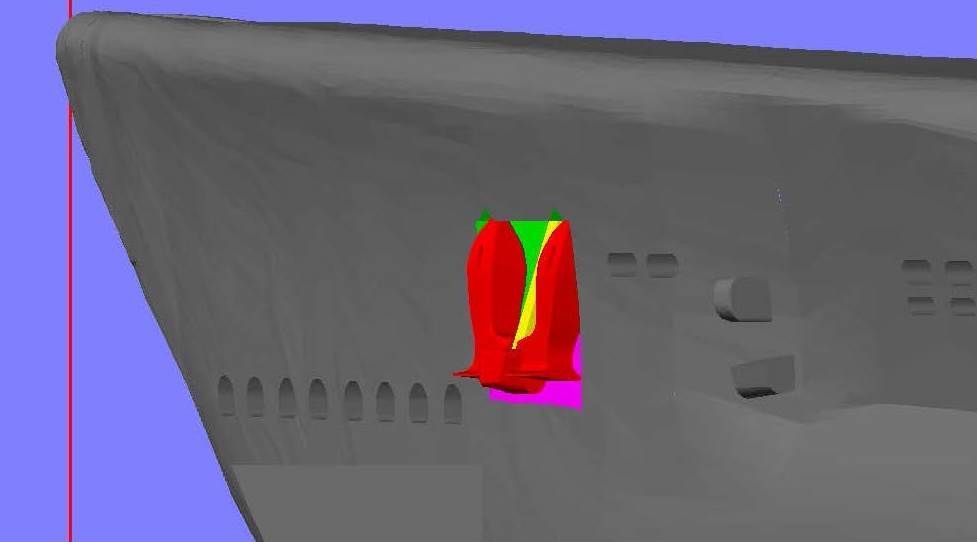
Here we go again… Another go at the venturi.
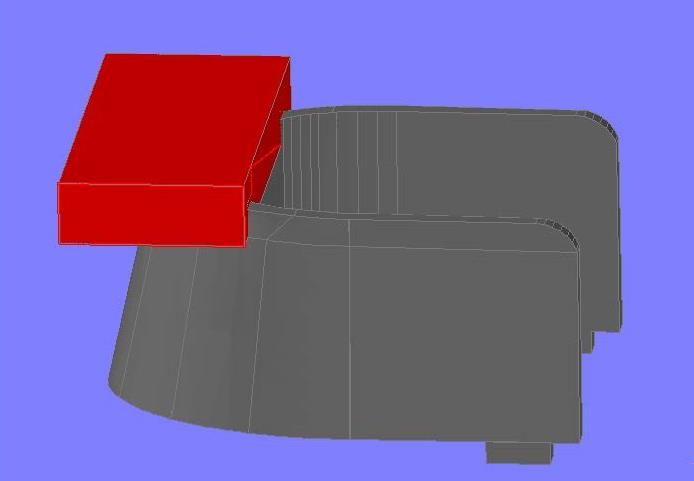
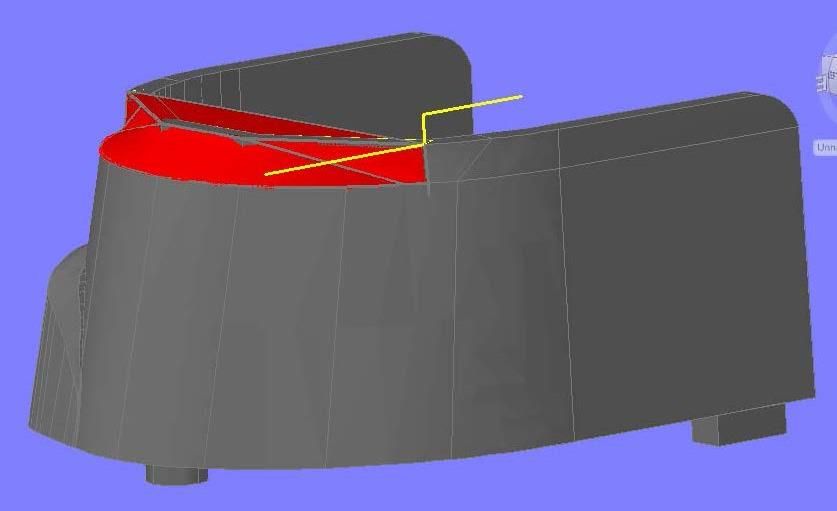
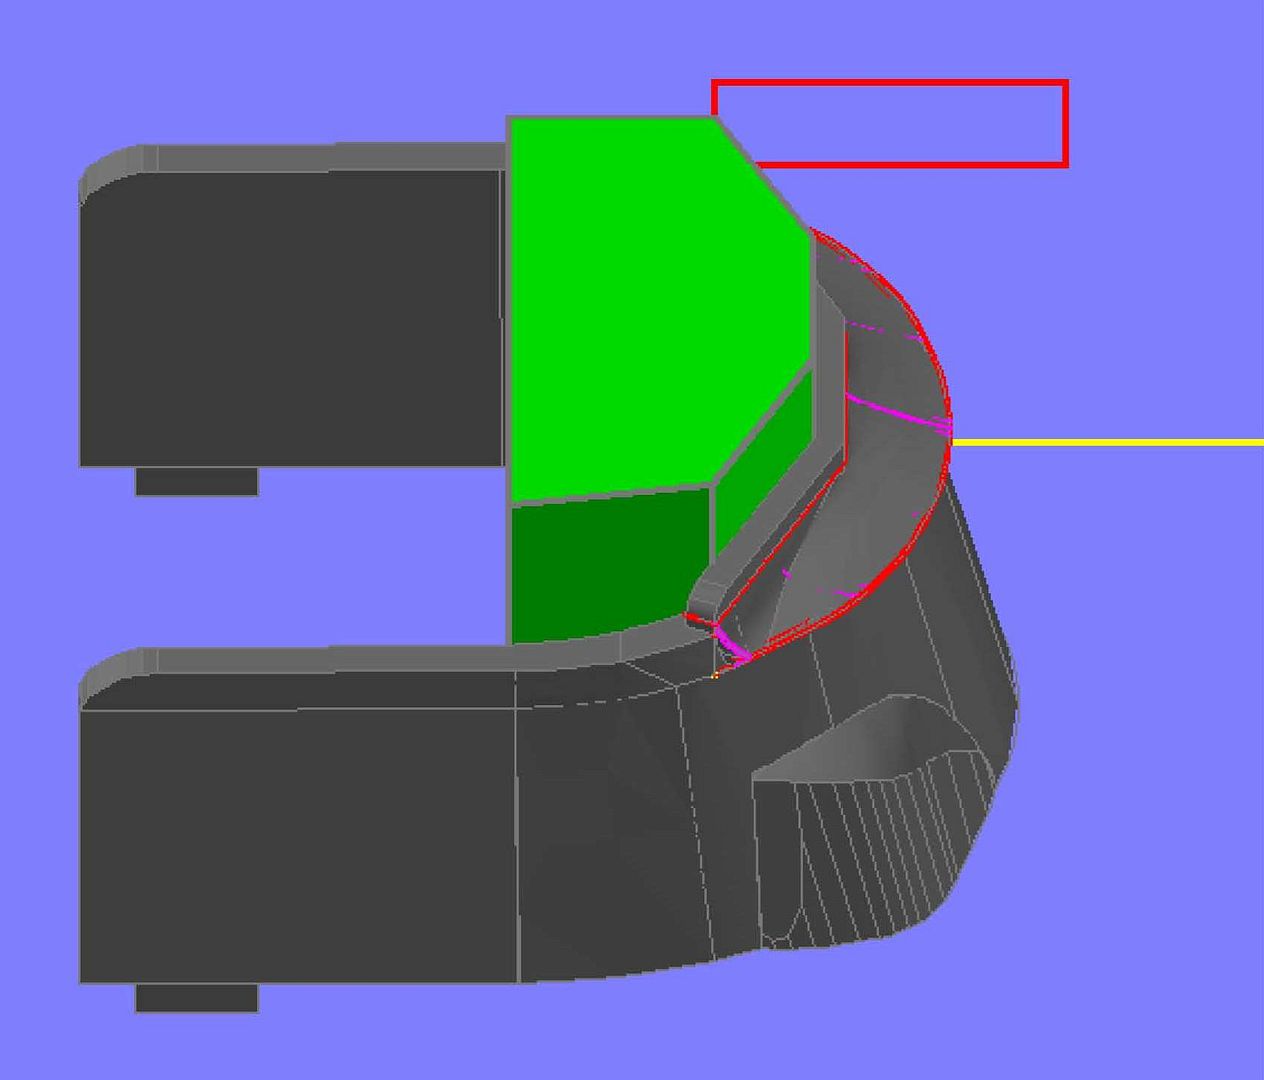
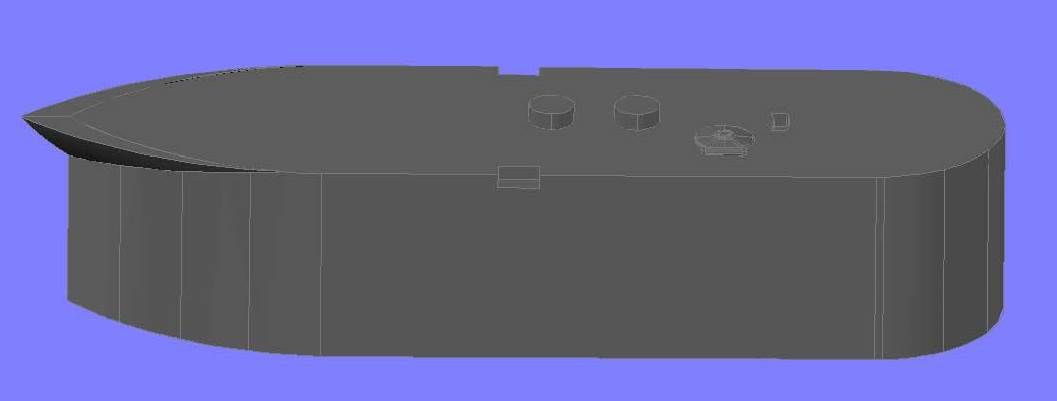
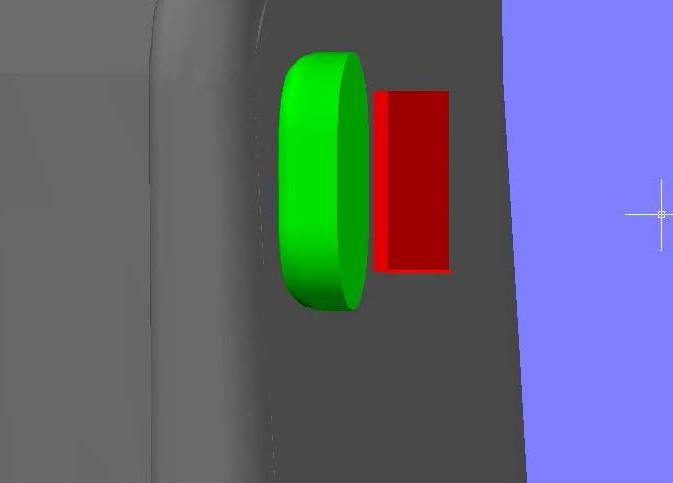
Once again, I started by lopping off the top.
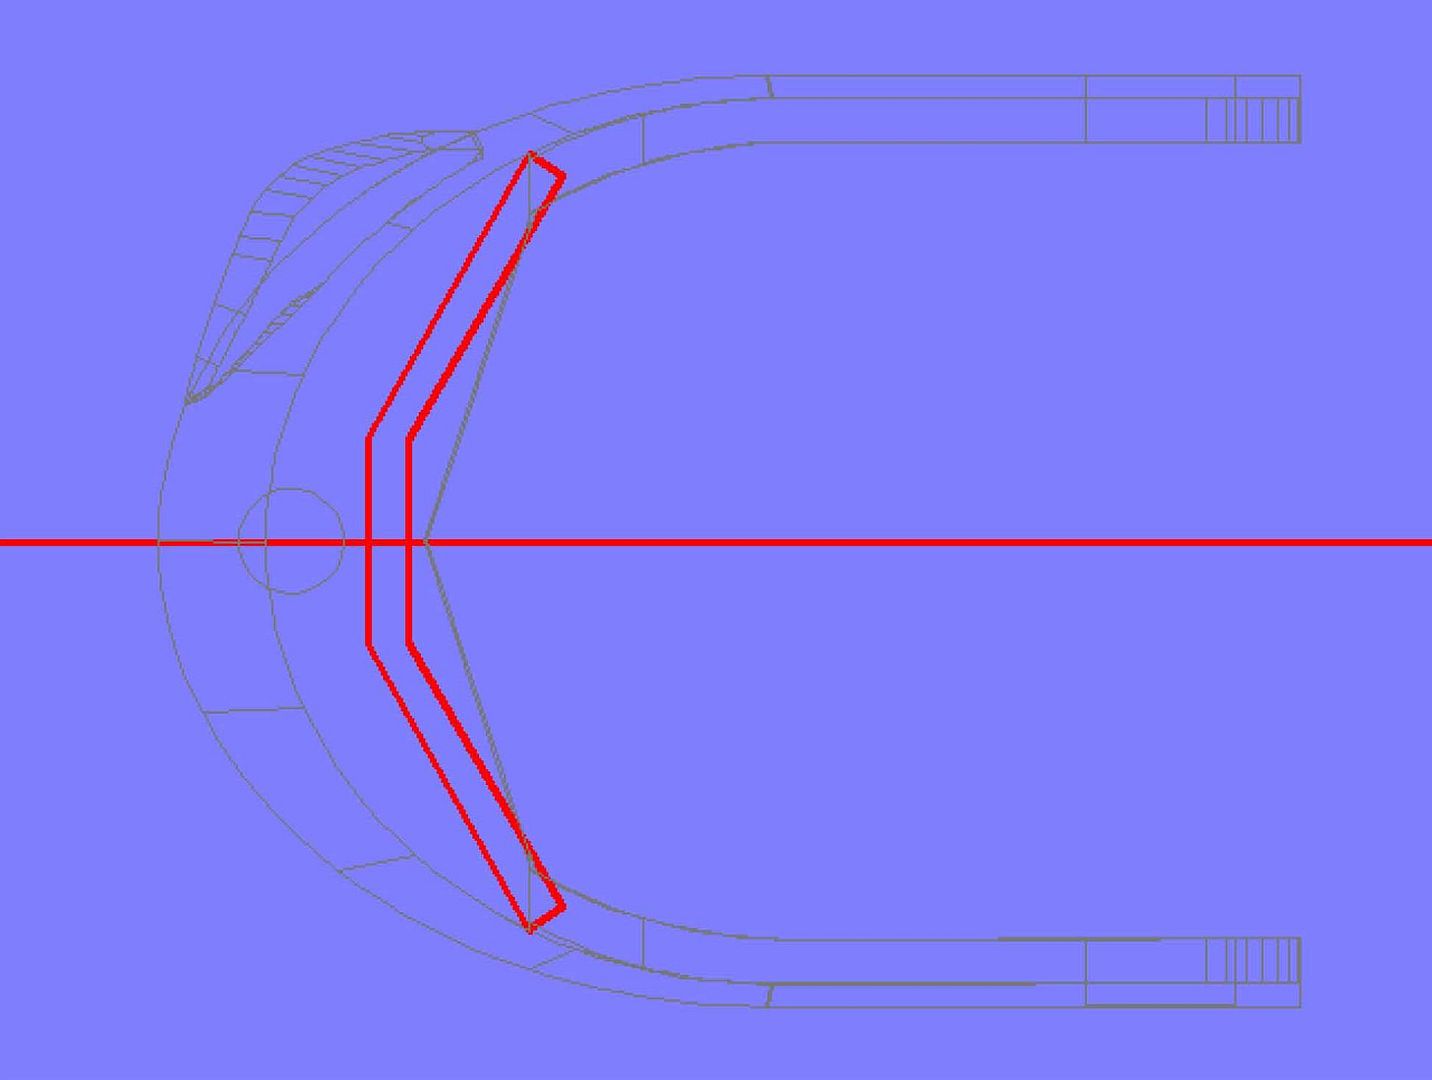
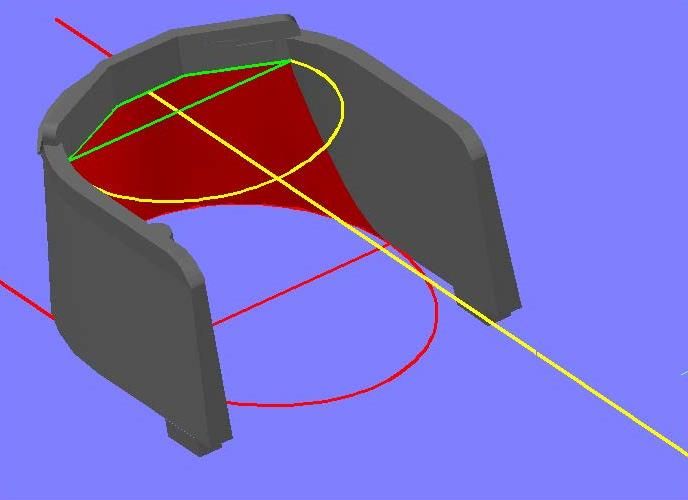
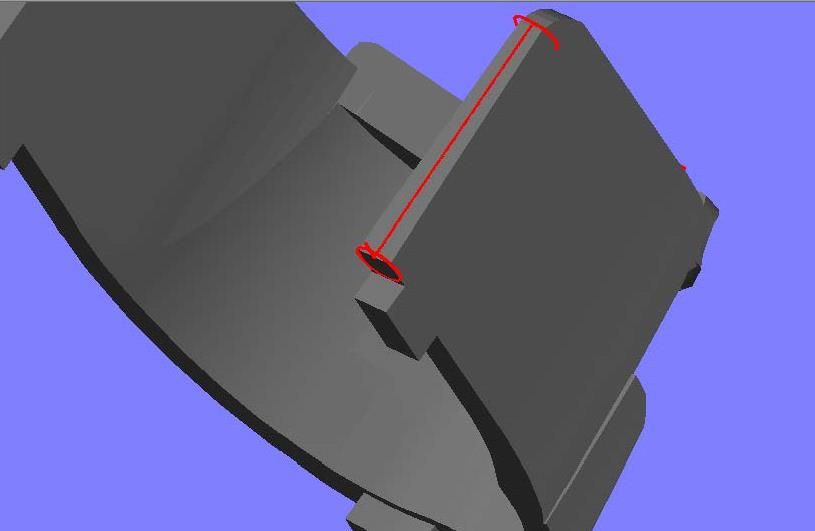
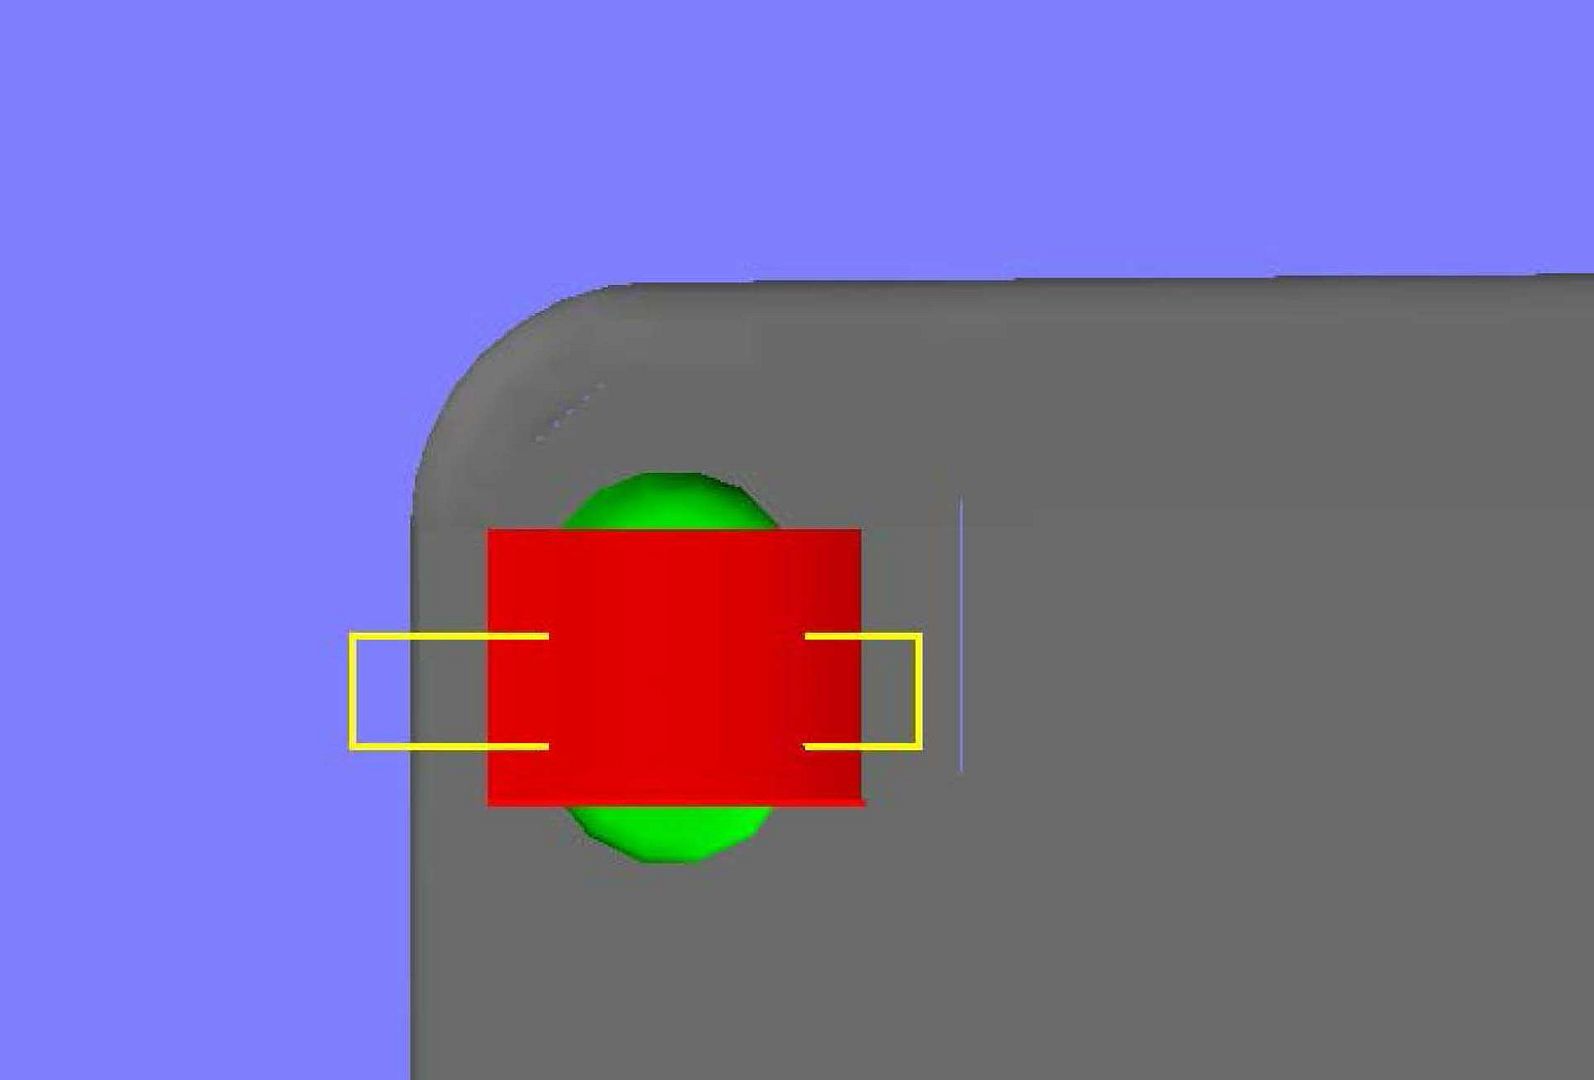
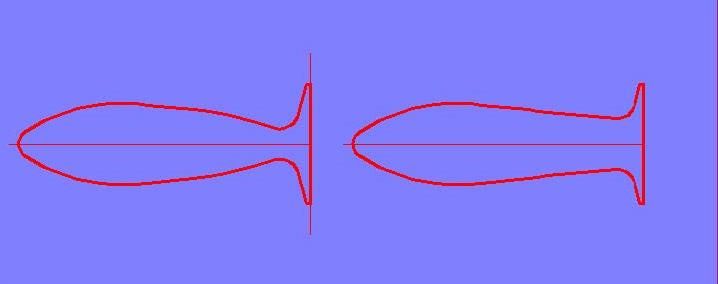
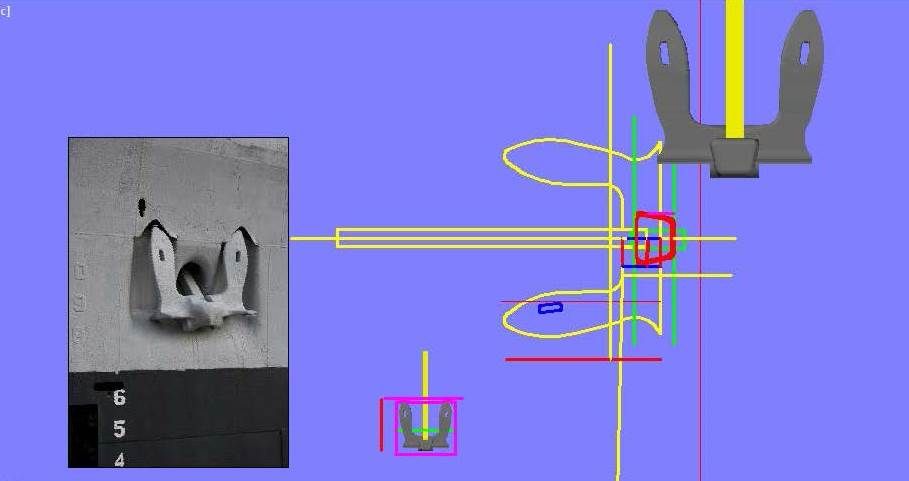
Then I drew what I thought looked like the correct profile of the venturi. As Tom D pointed out, the center section is shorter than the side sections.
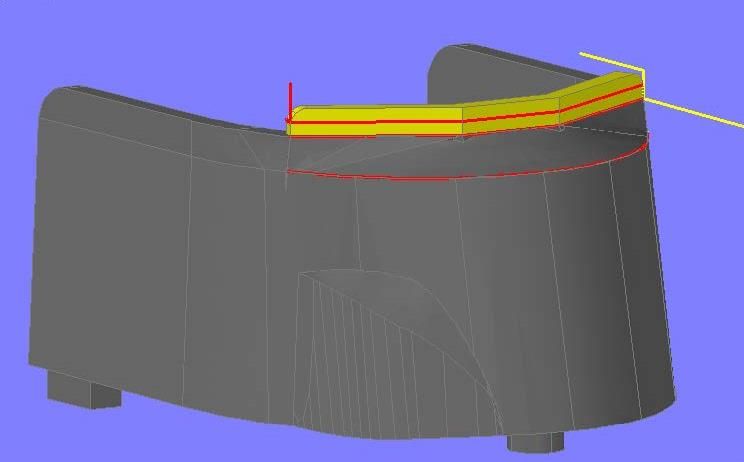
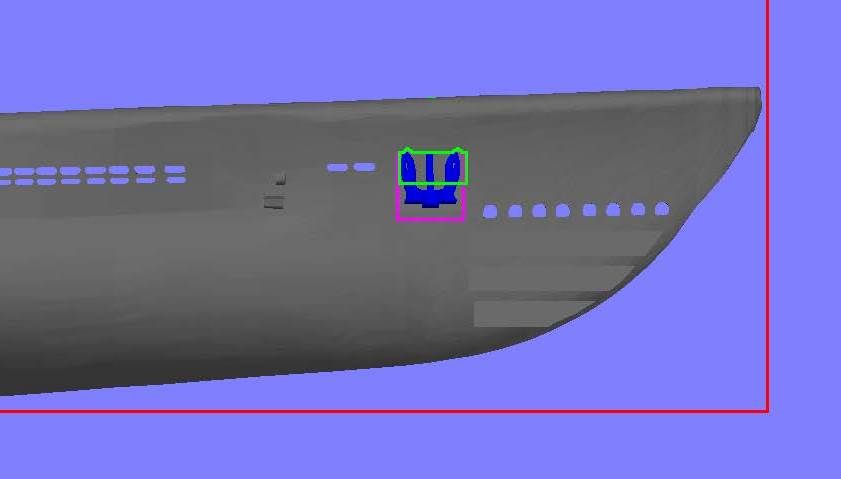
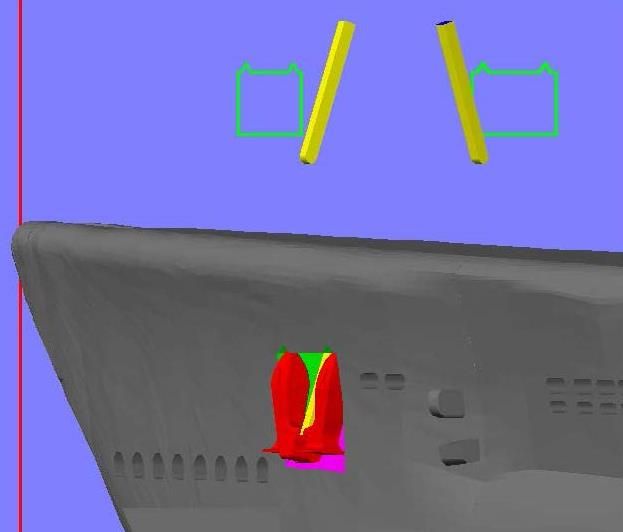
And lofted it to the top of the fairwater.
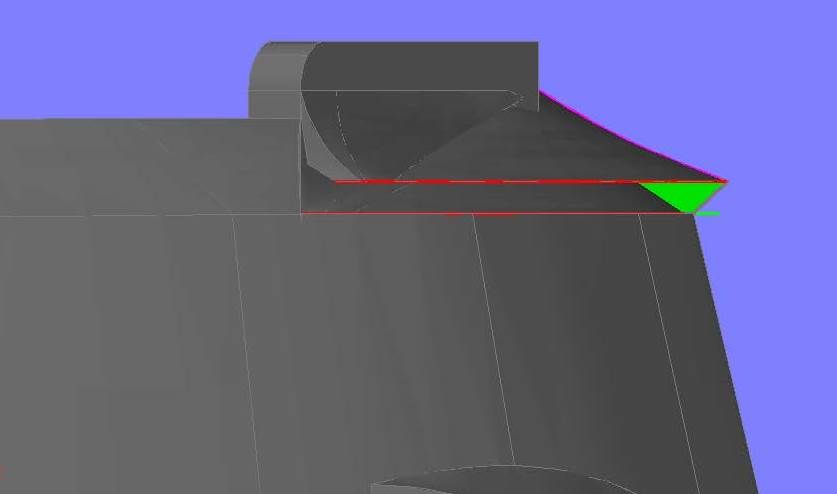
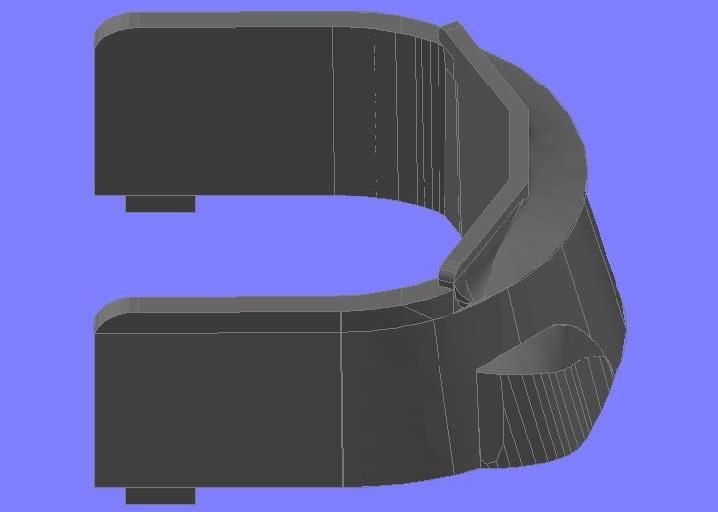
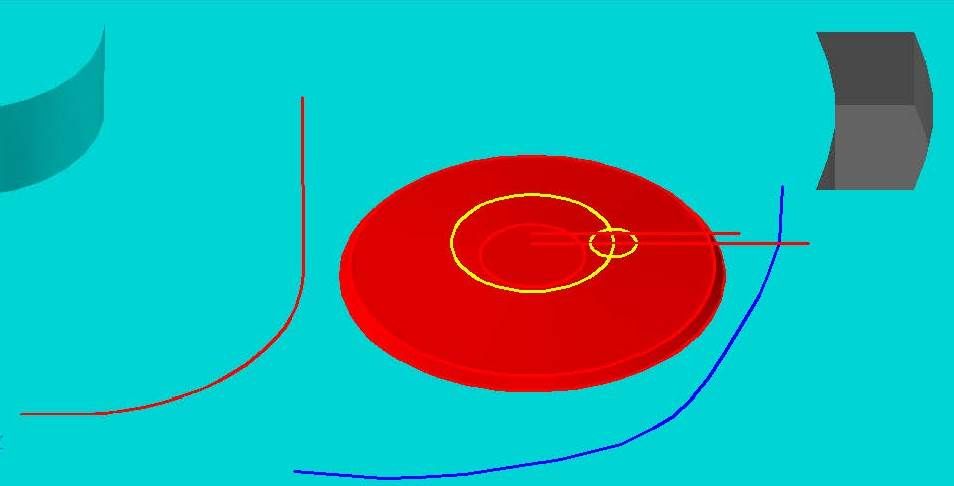
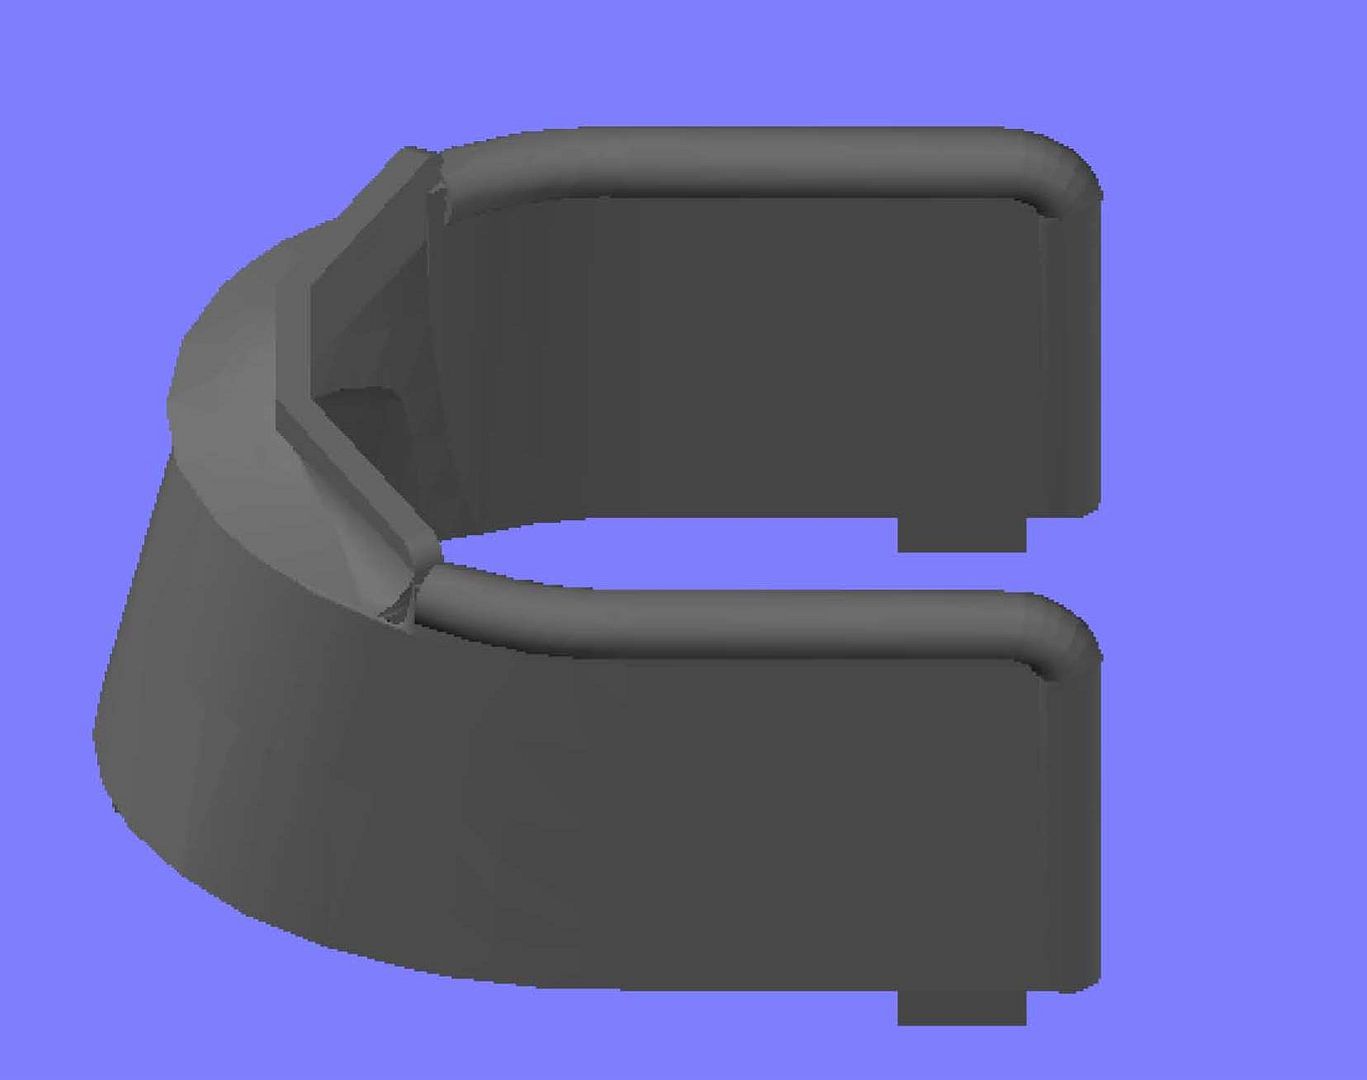
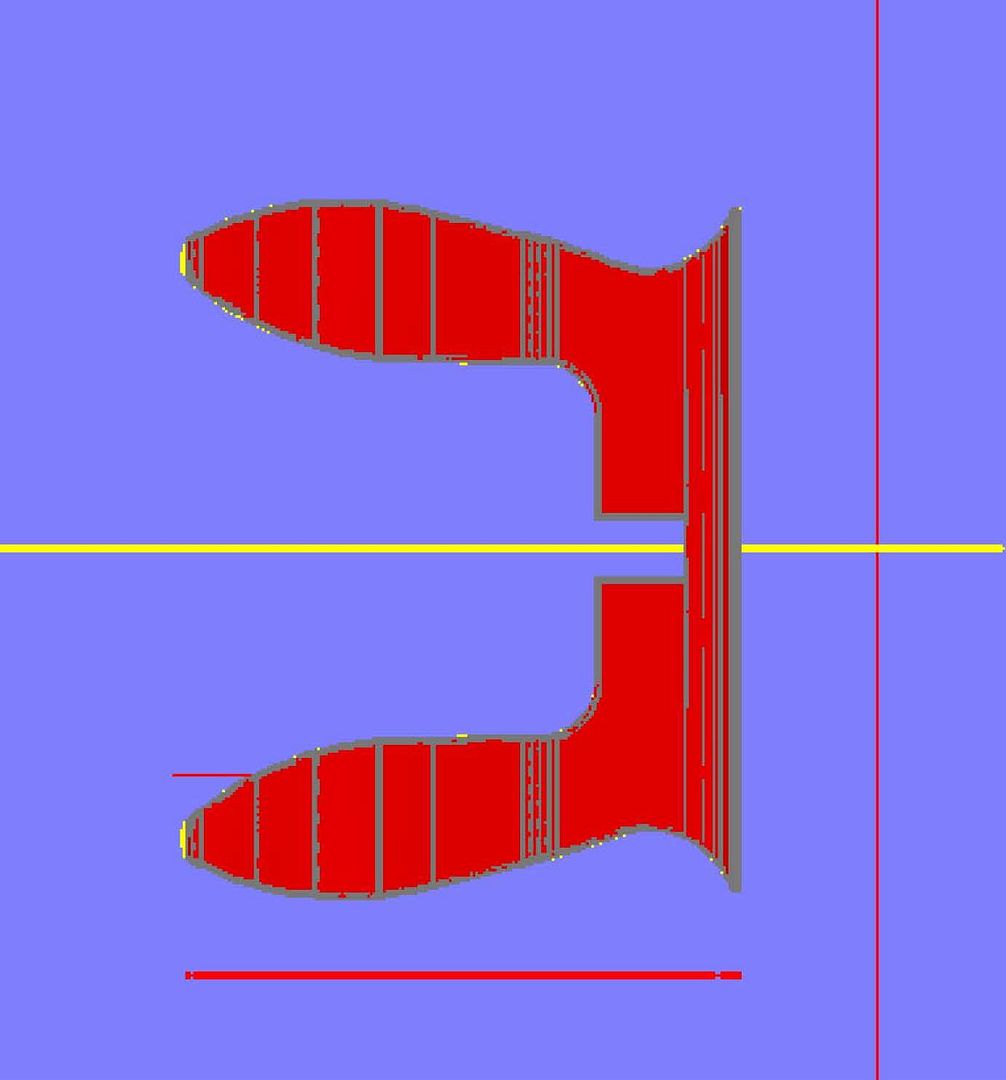
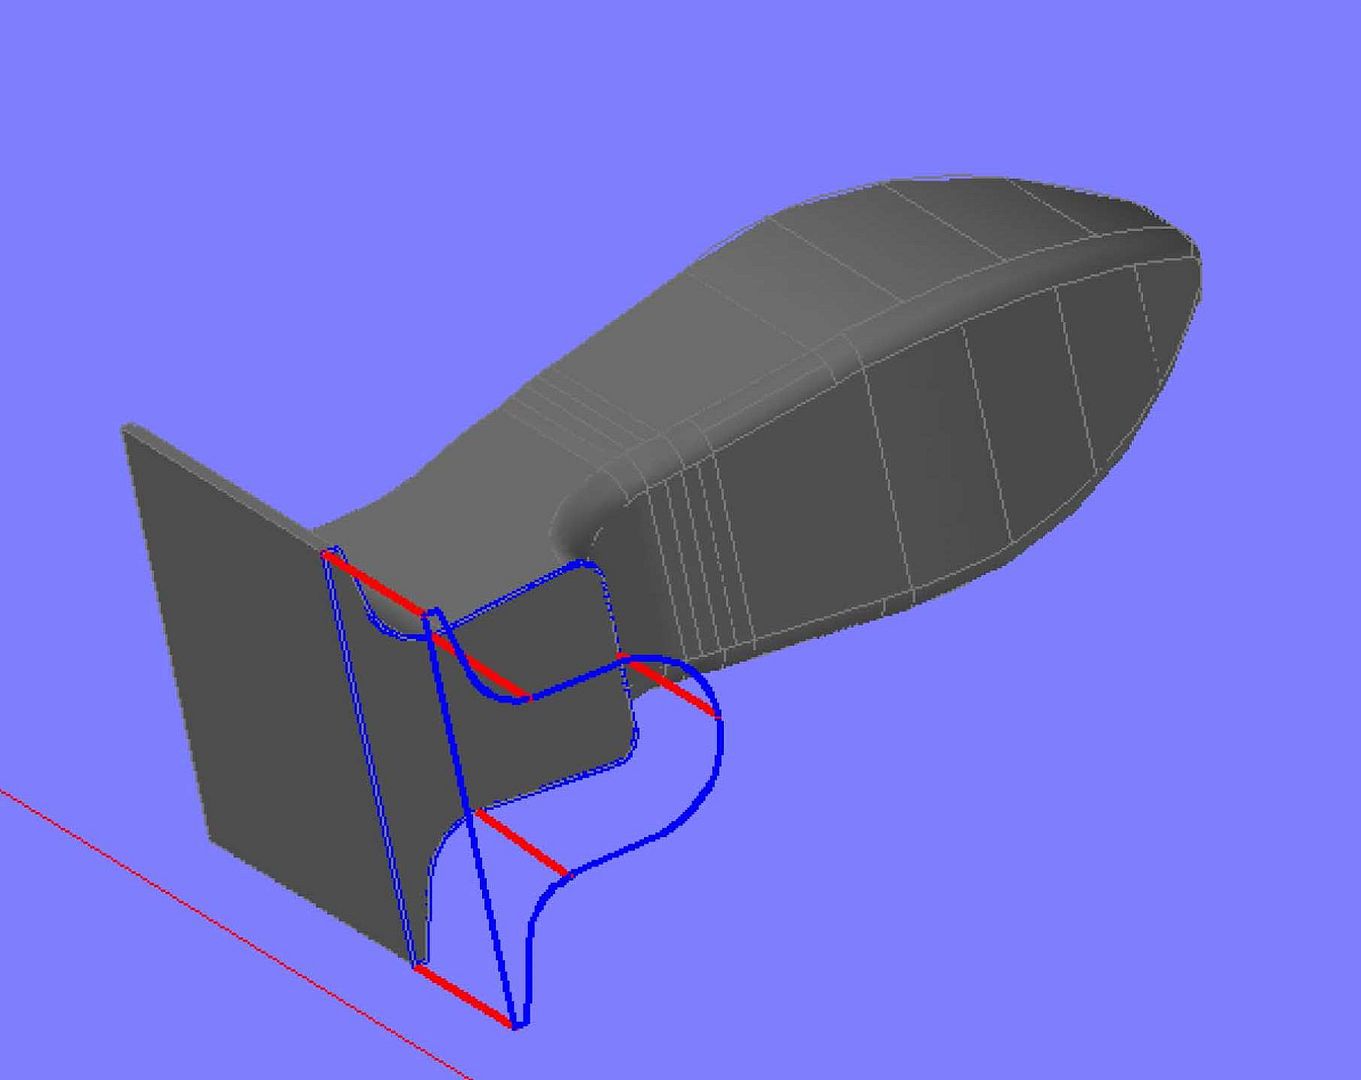
I then drew the polylines in preparation for making the inner surface…
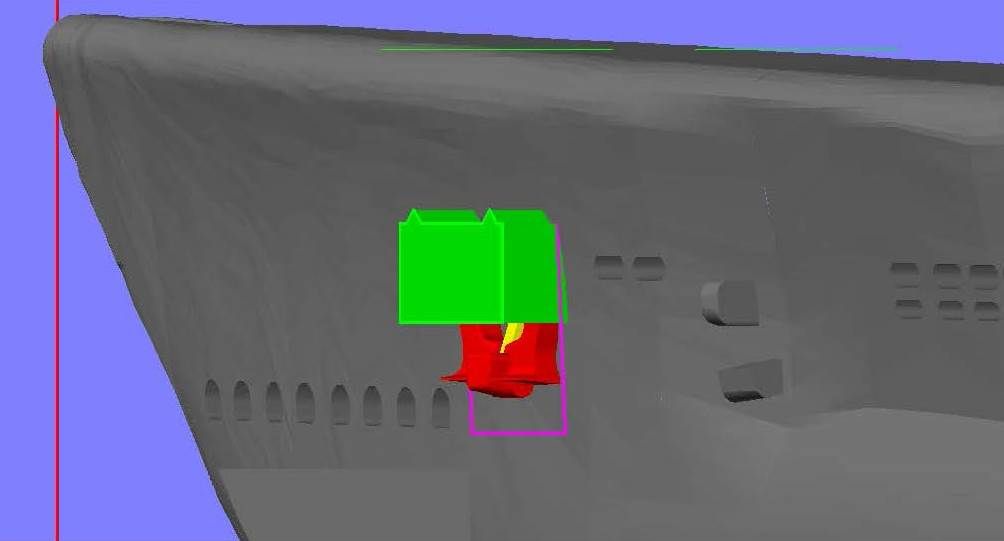
…And lofted them. Note that it extends quite a distance aft. This will be taken care of later.
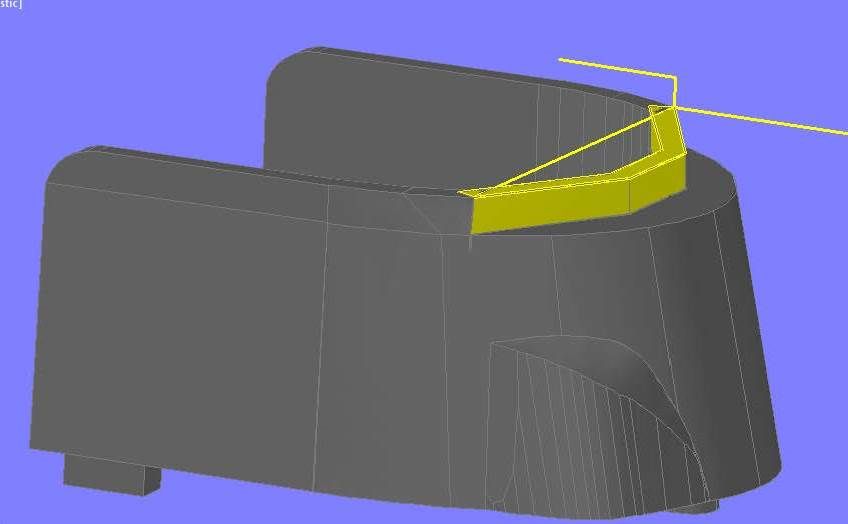
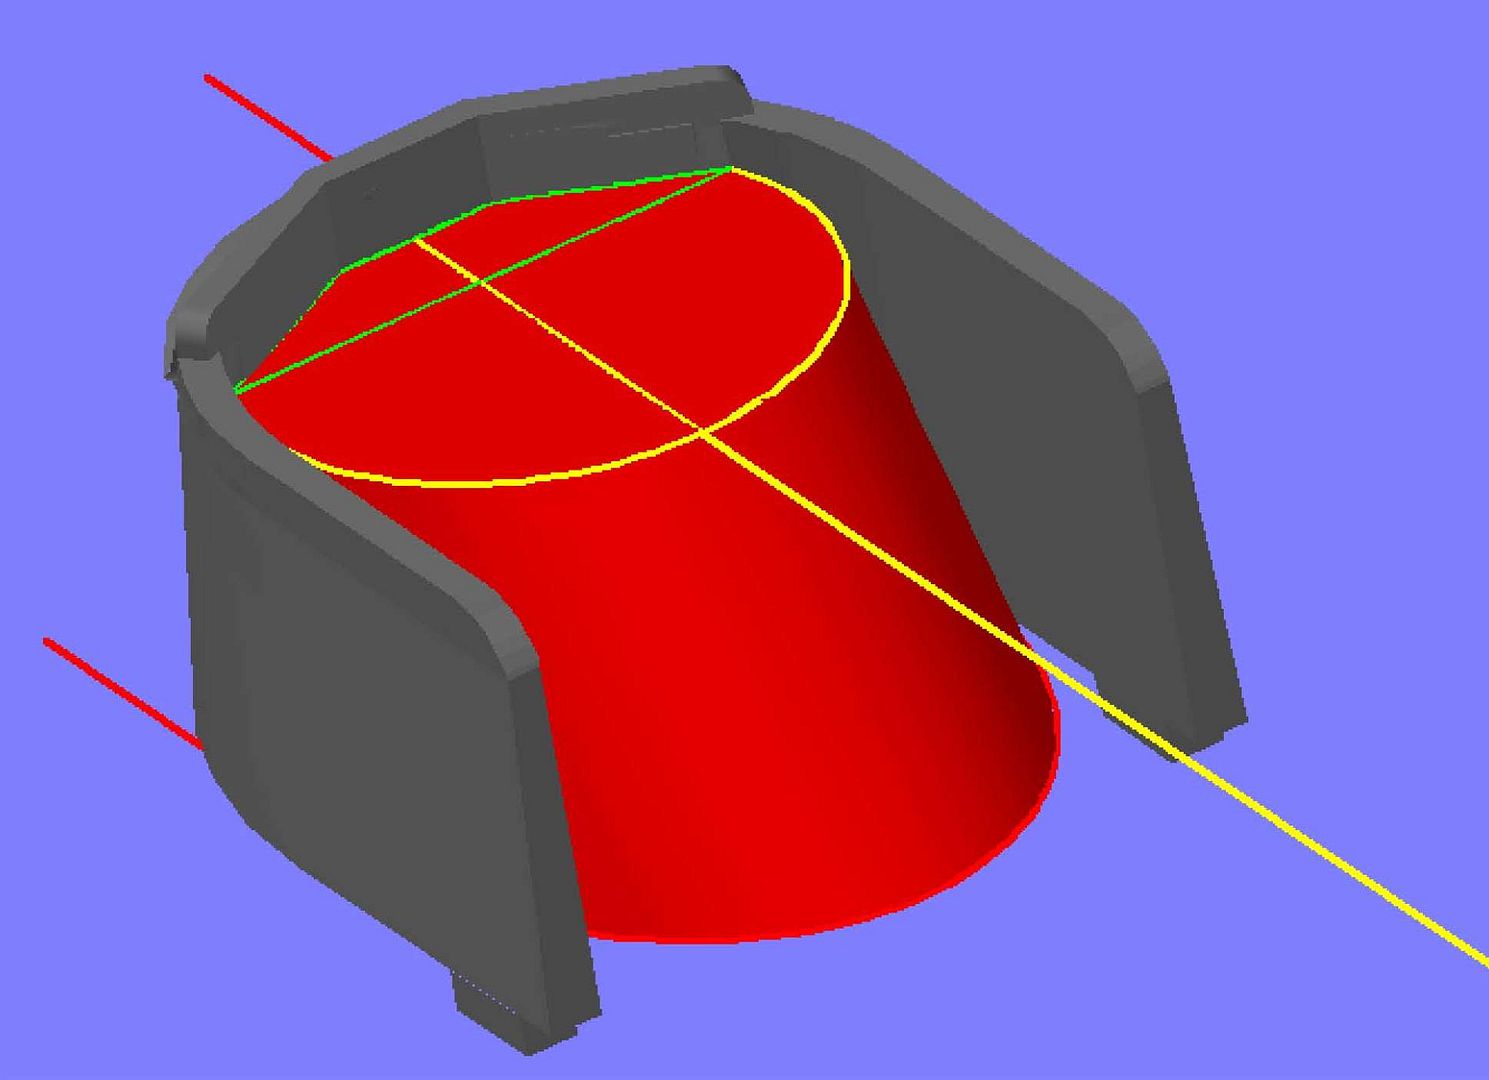
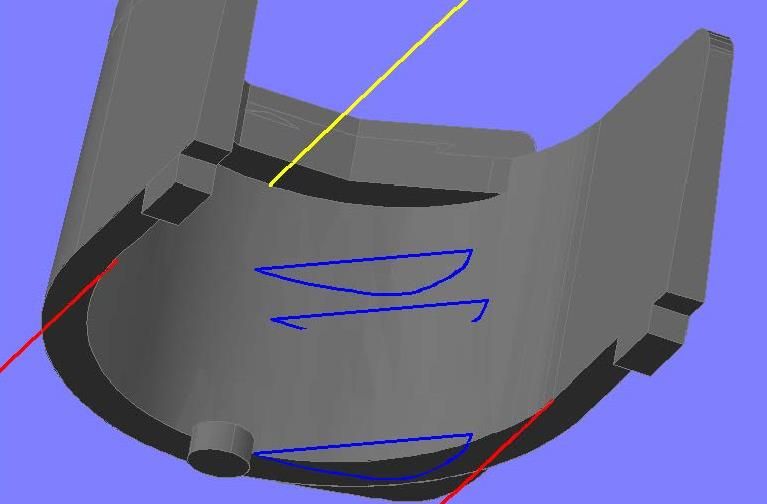
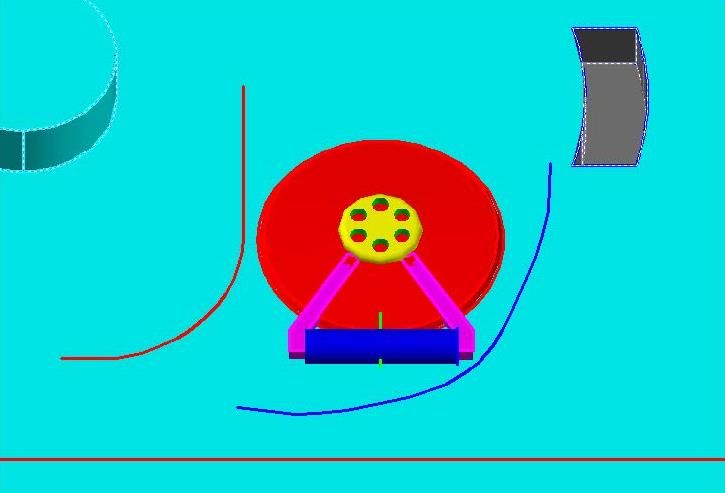
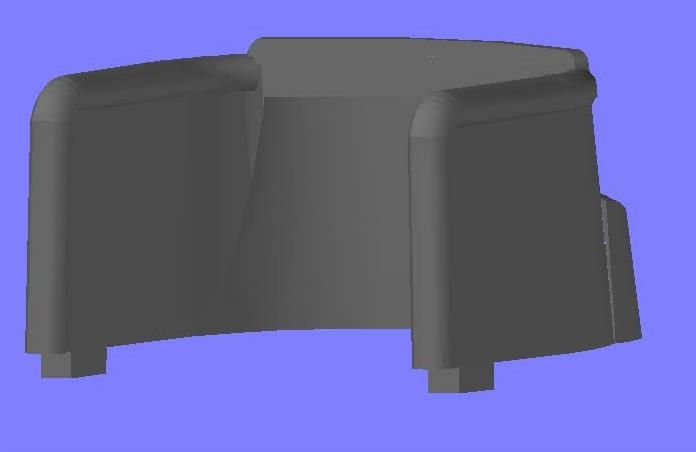
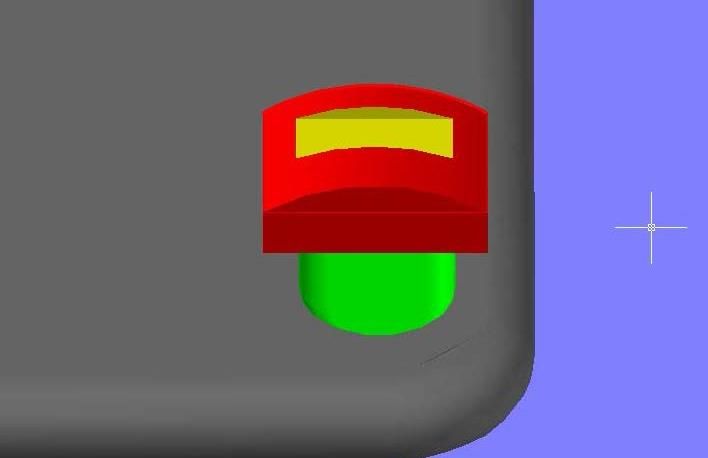
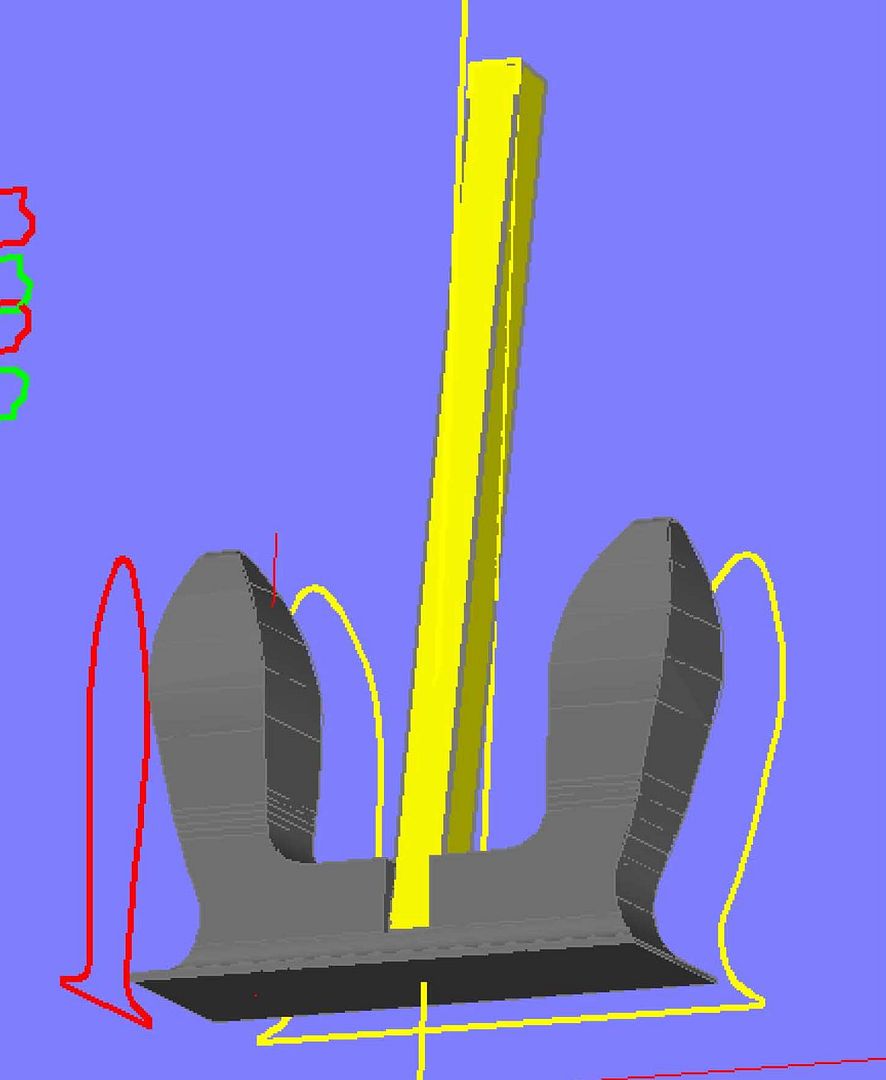
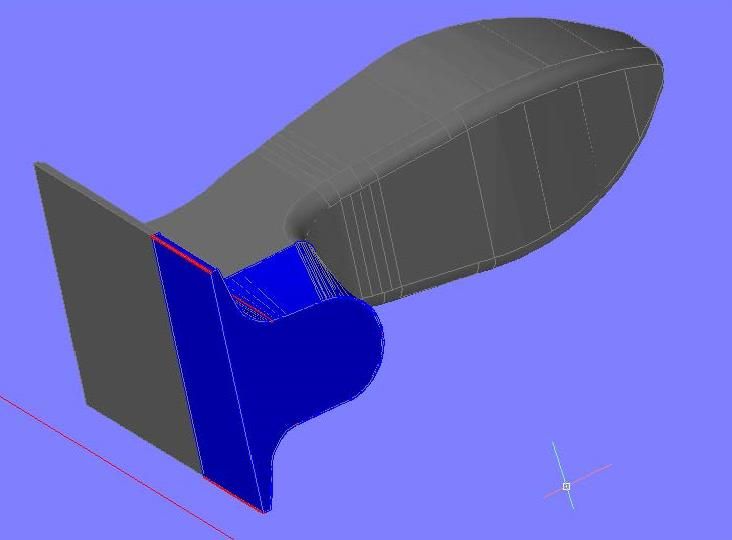
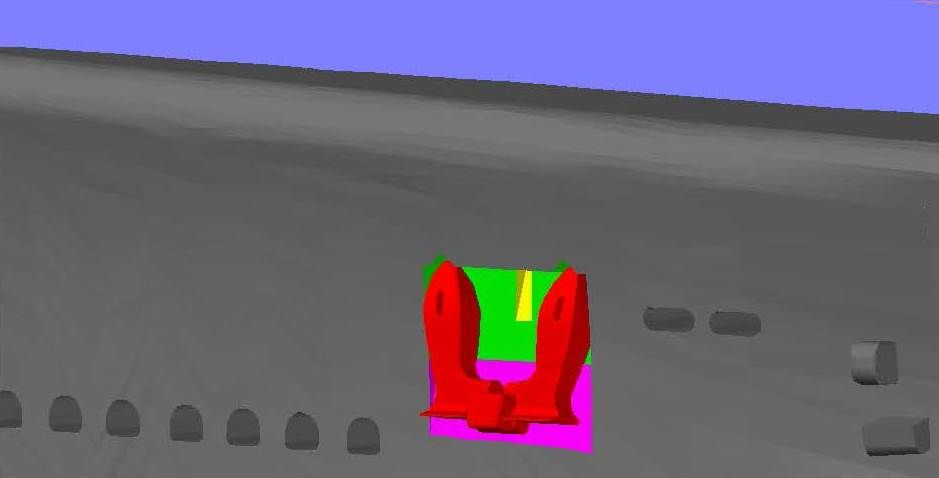
Next, I lofted the venturi up above the top of the bridge, and filleted the edges at 0.3’ radius.
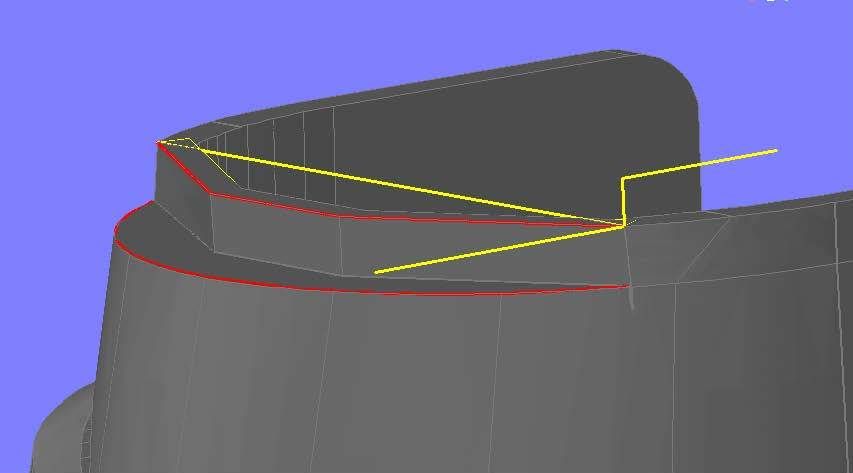
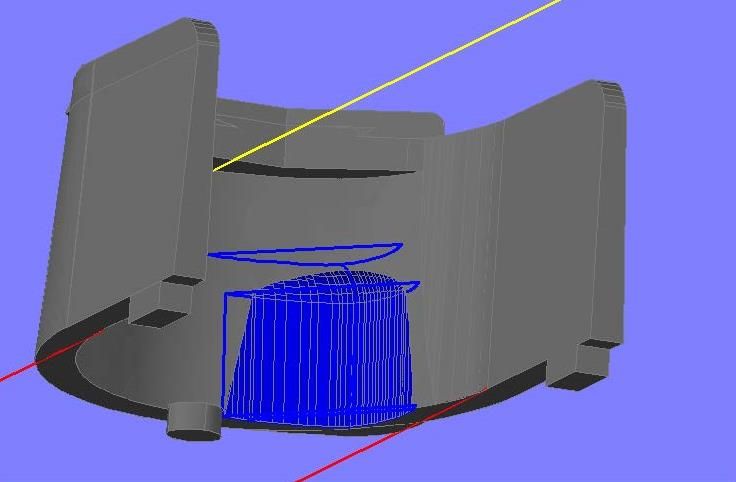
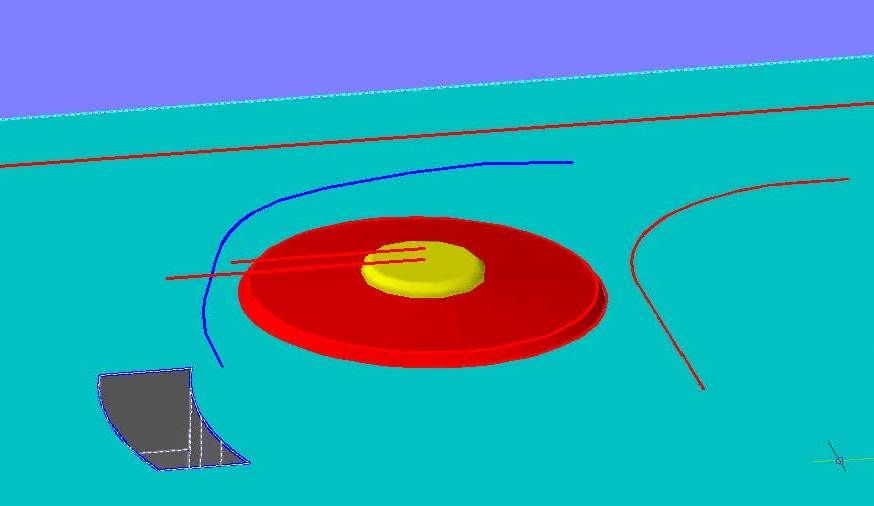
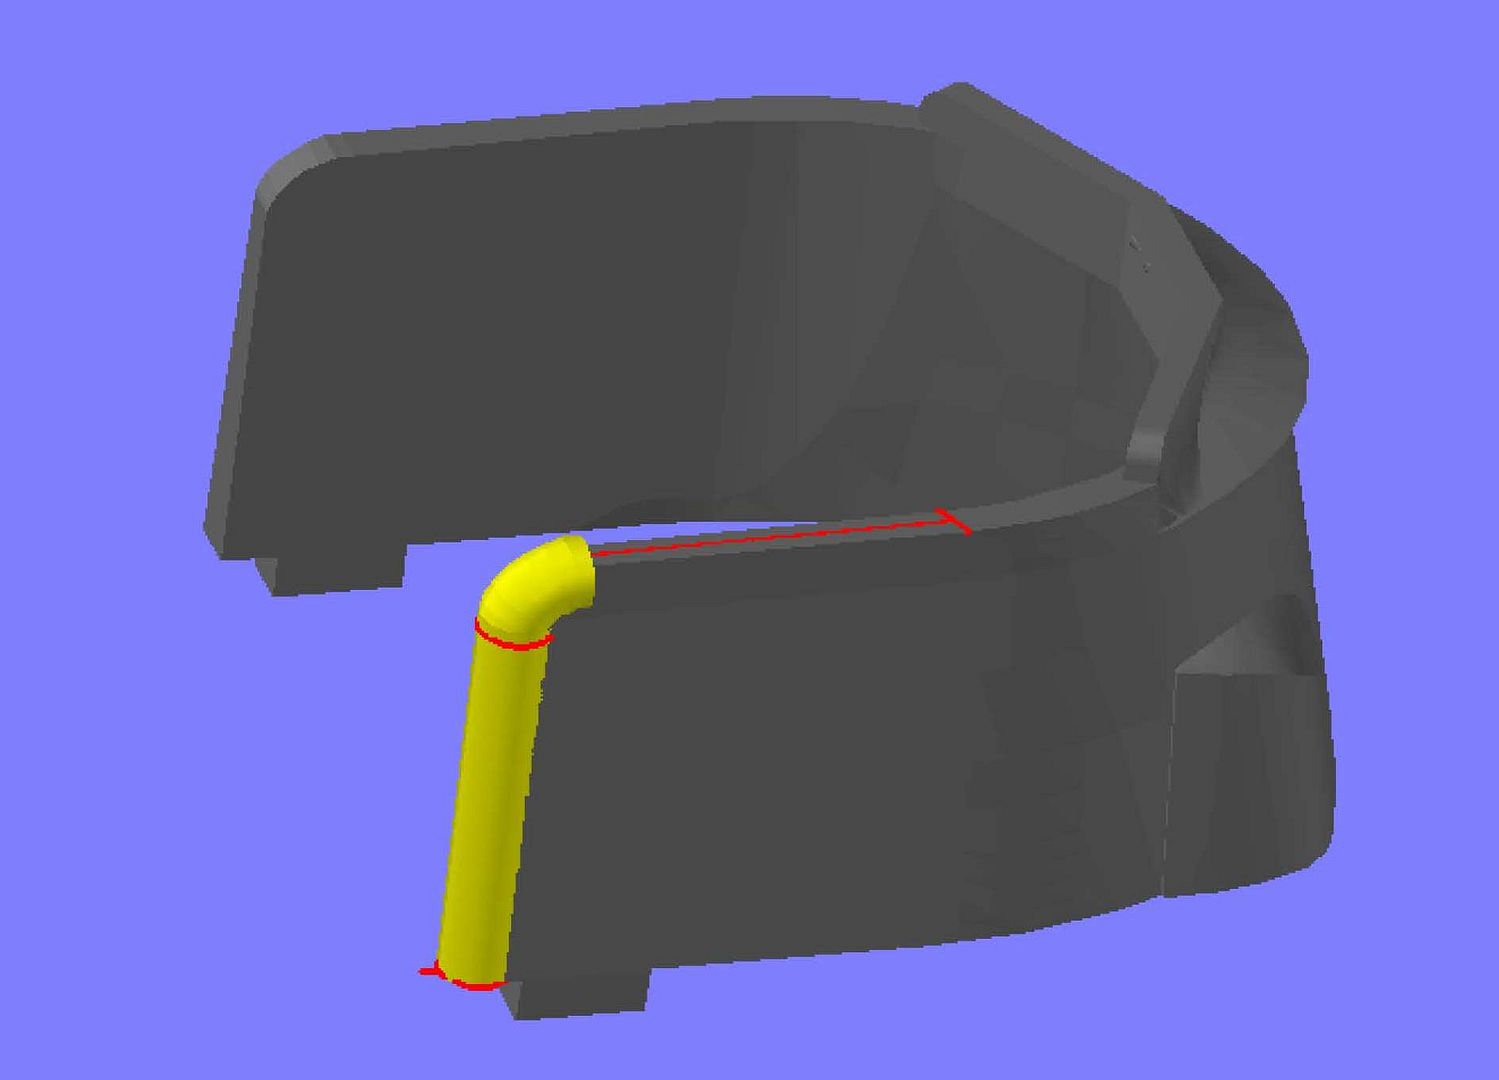
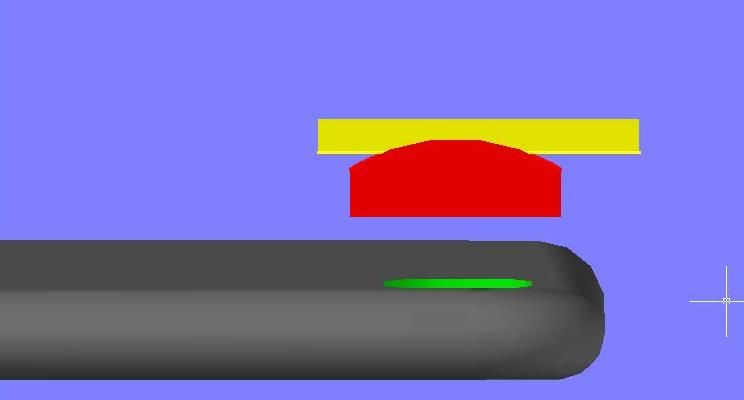
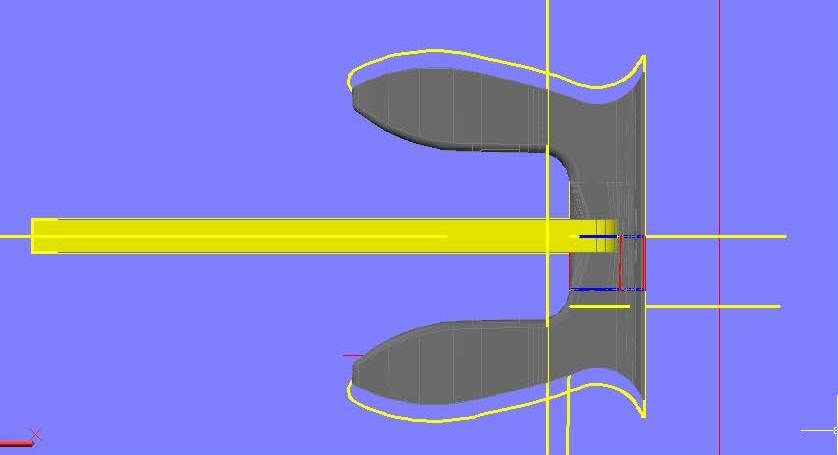
With this completed, I created a polyline for the lower part of the venturi and drew in the guides…
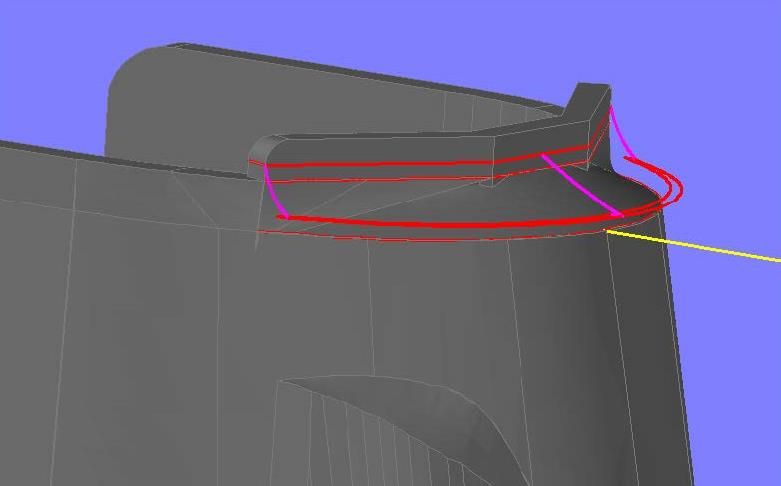
…And lofted it.
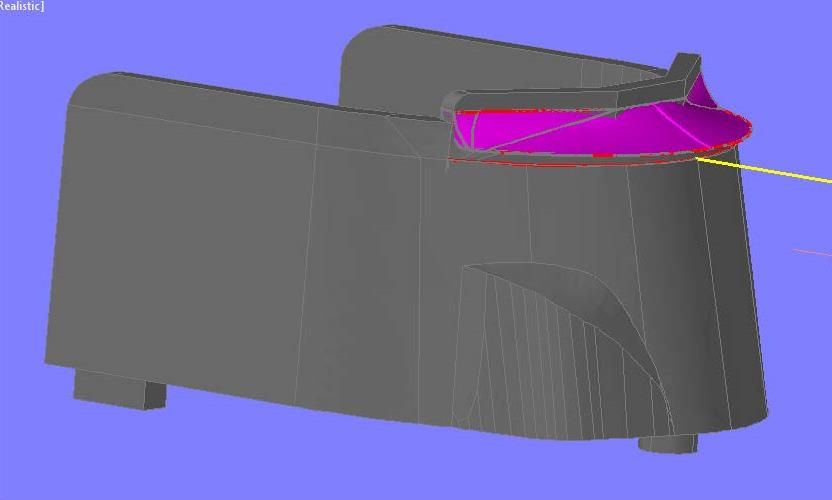
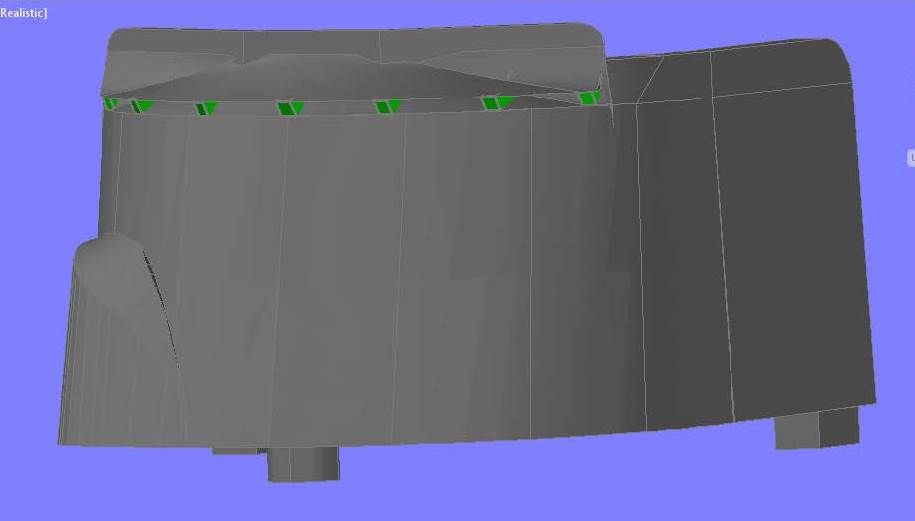
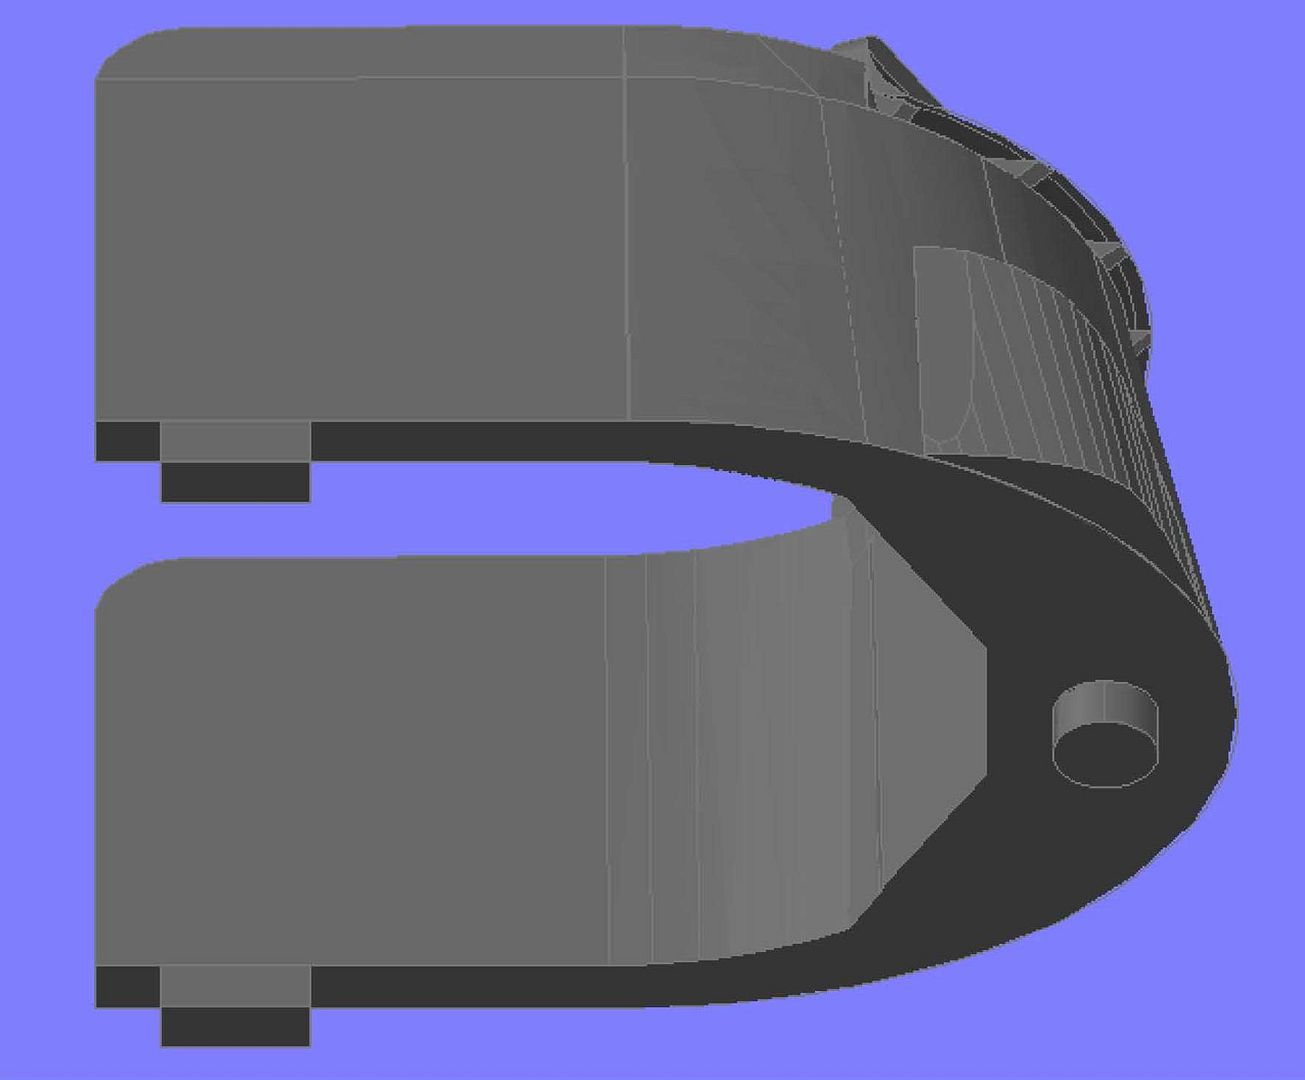
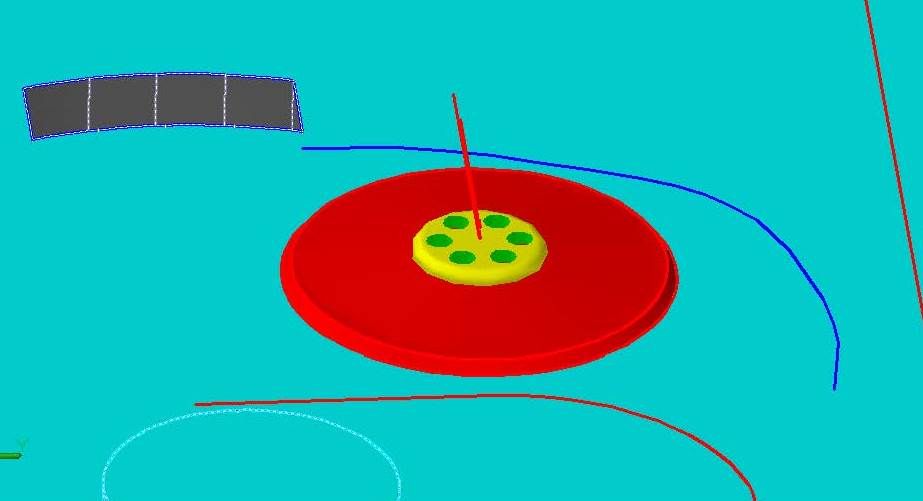
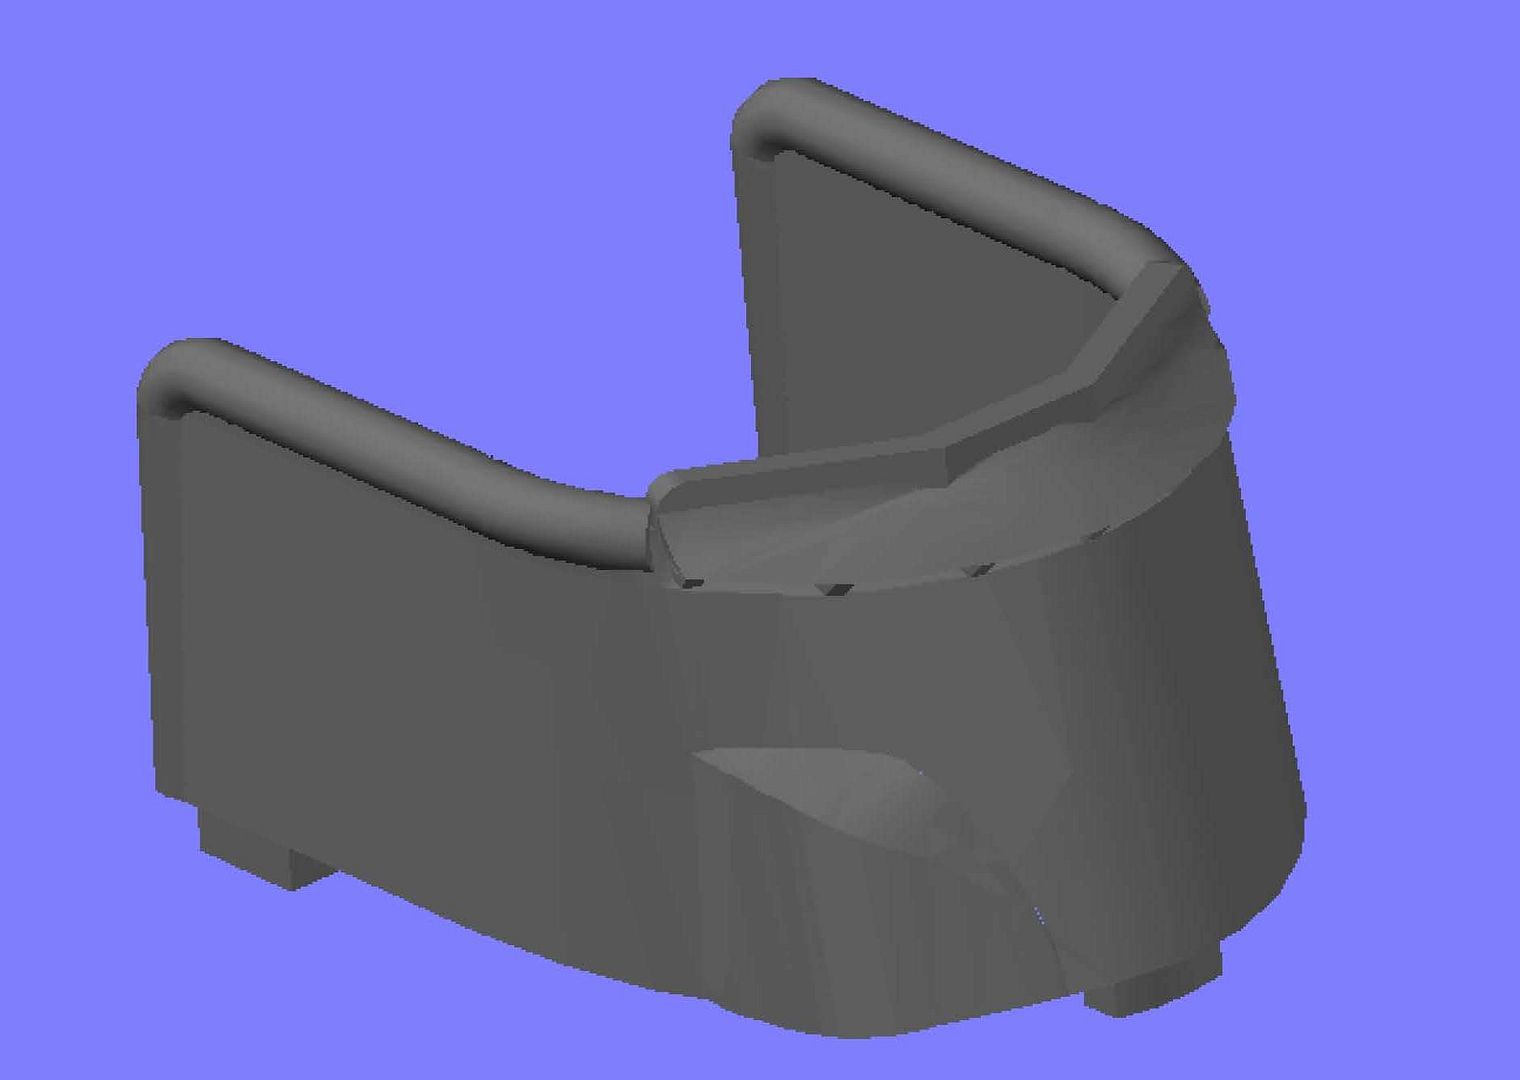
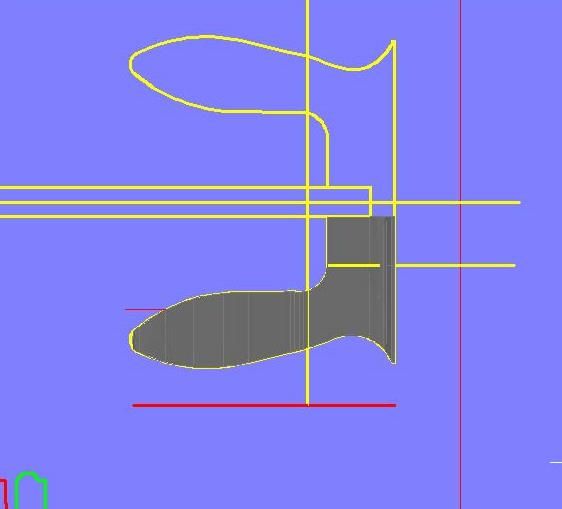
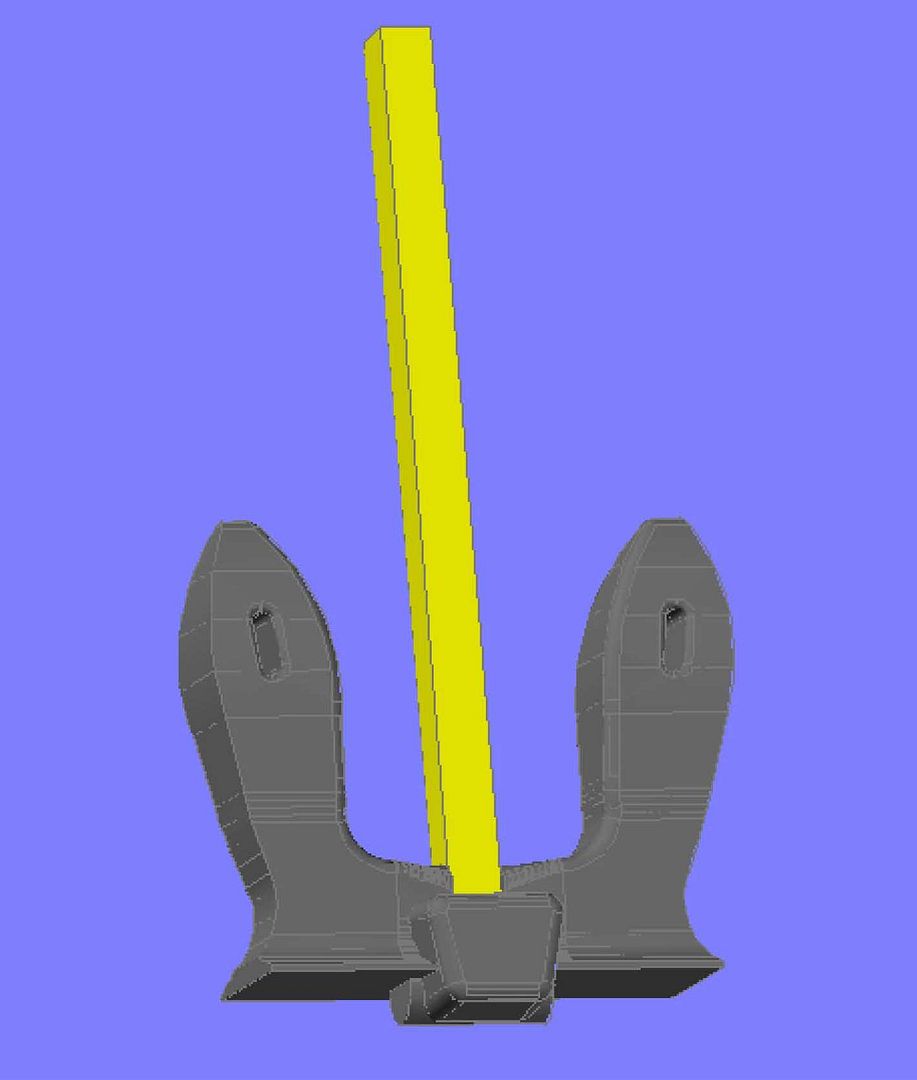
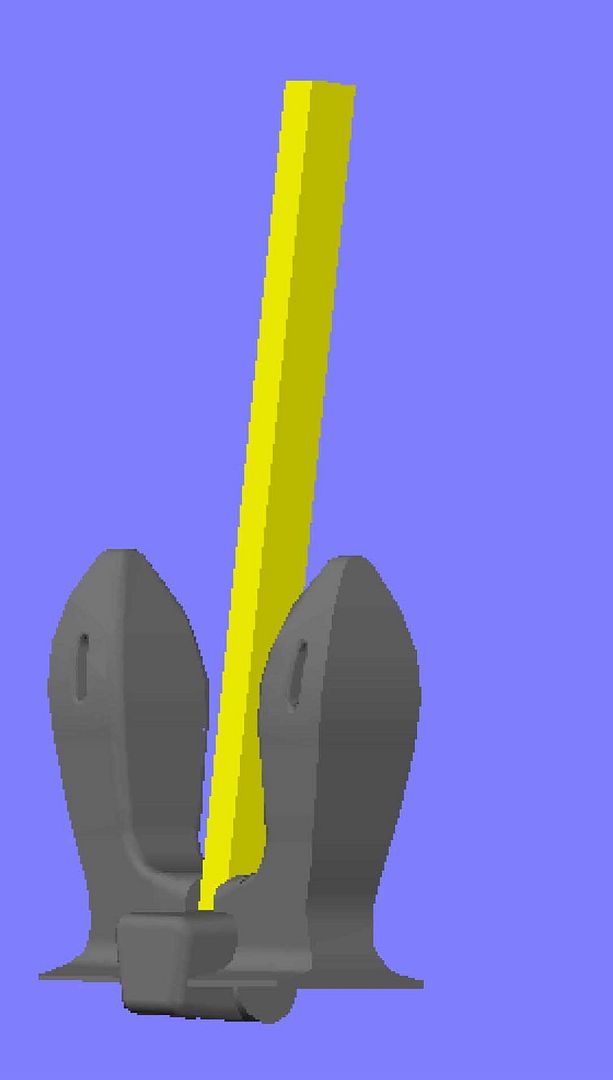
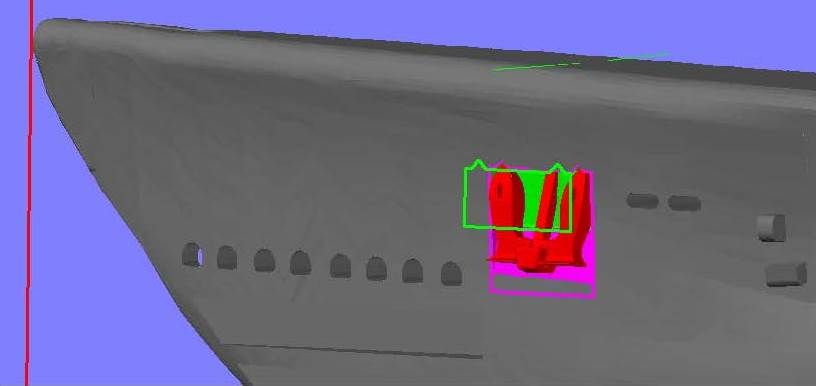
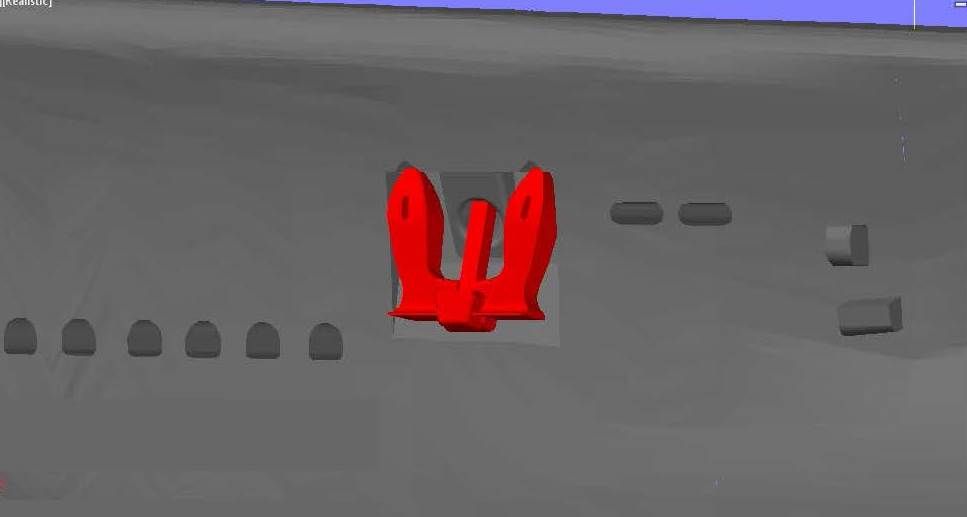
I then made the support brackets, starting with the center one…
…Followed by the ones on the starboard side, which were then mirrored to the port side. This was a lot easier with them straight. Thanks Scott.

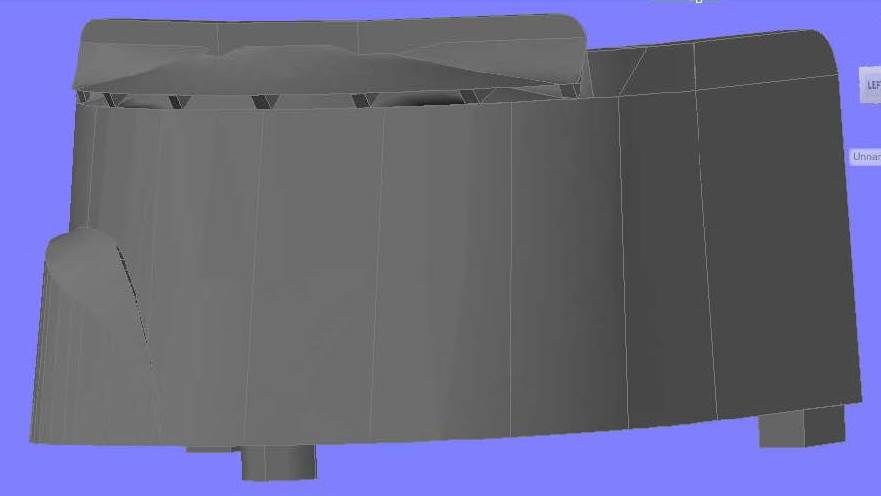
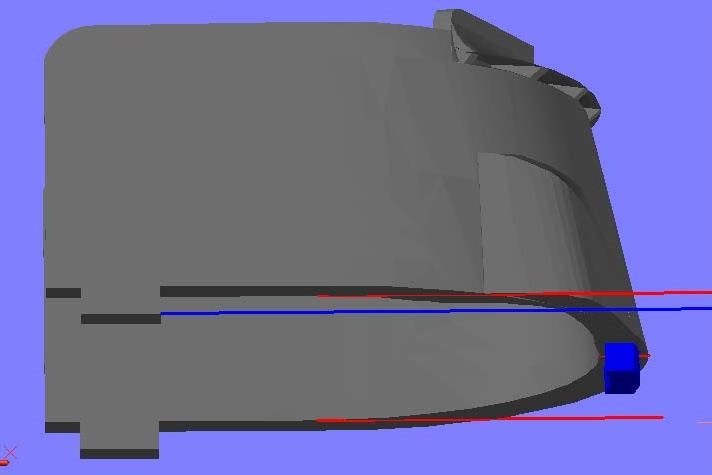
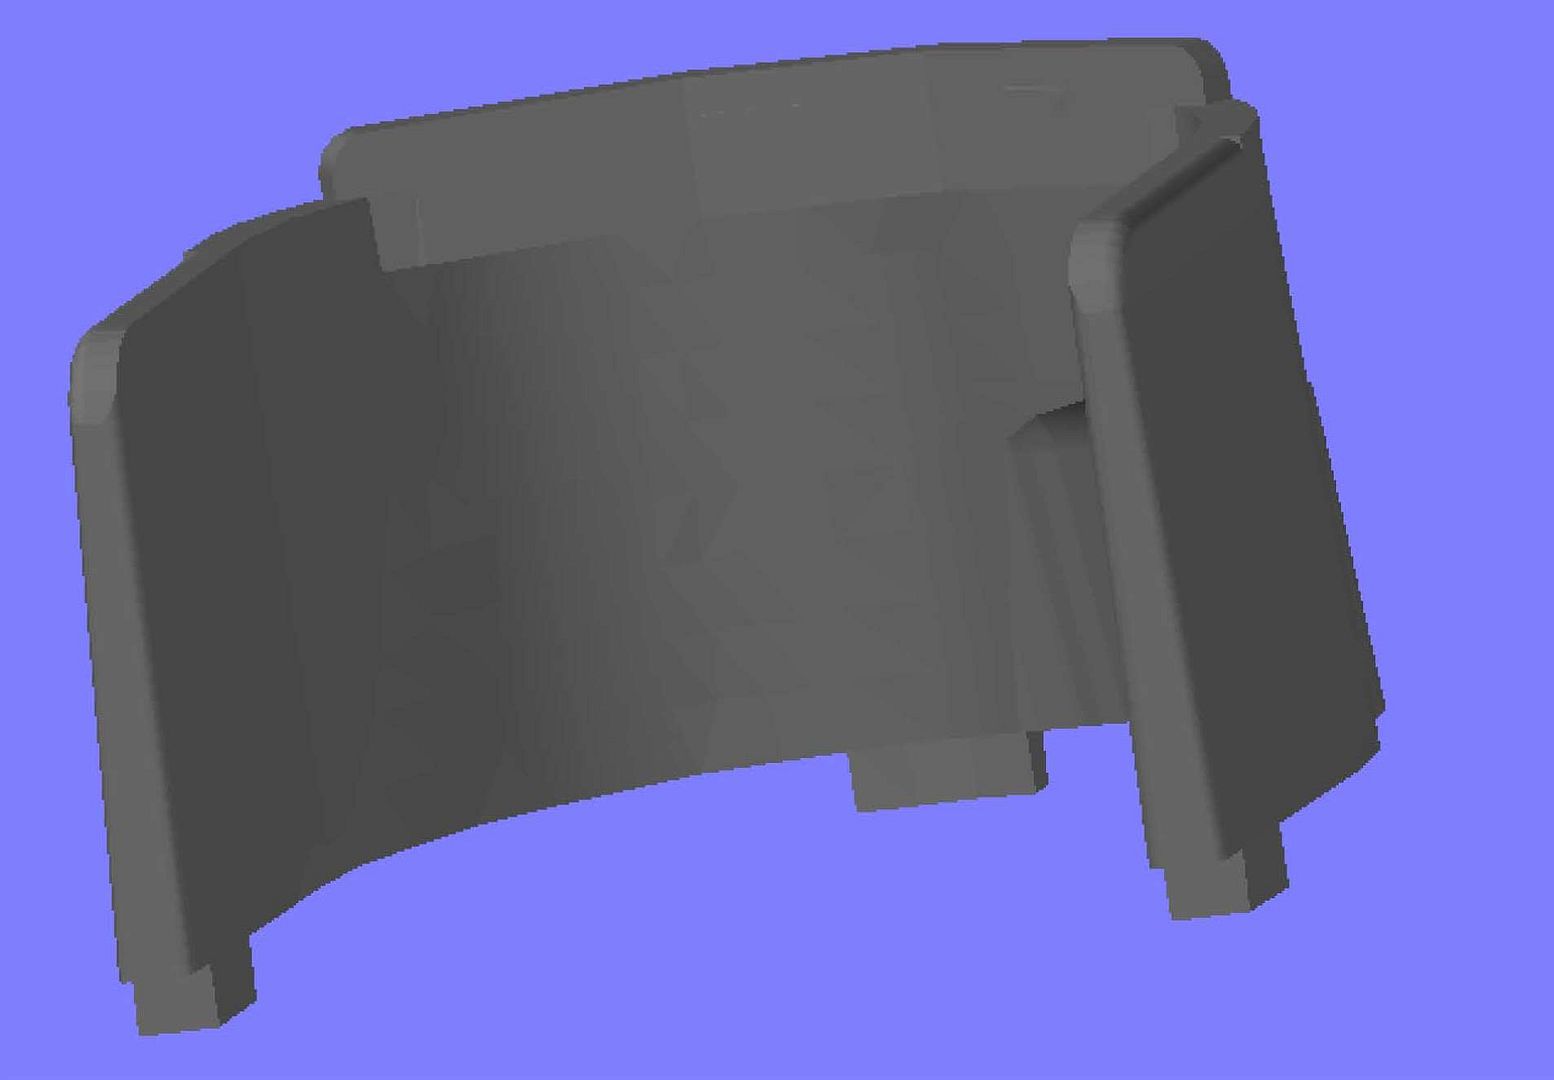
The last step was to trim the parts I had extended aft to simplify making it a bit.
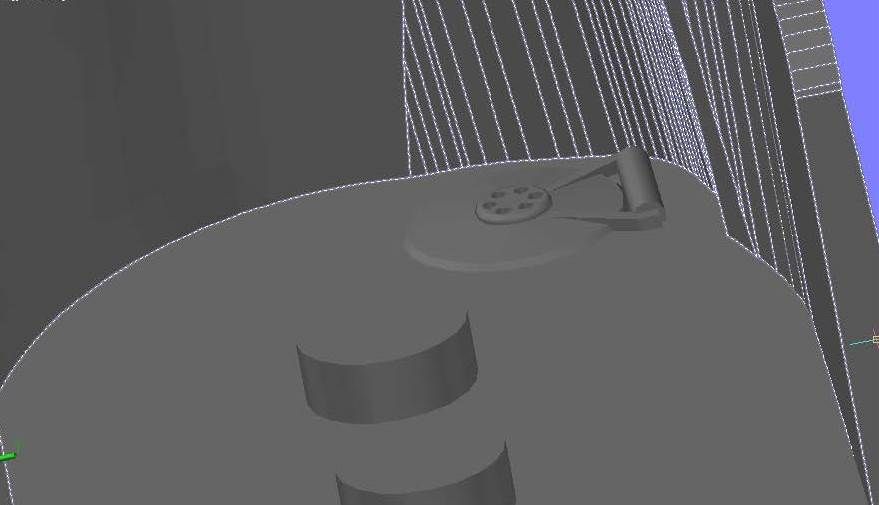
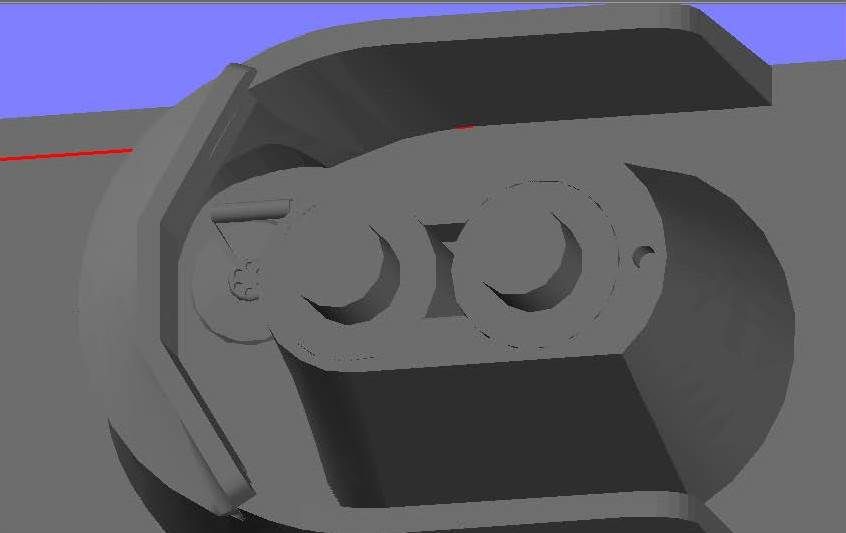
With the venturi completed, I think I will turn my attention to the inside of the fairwater now, using the pix Tom posted and other pix you guys have sent. Thanks again for all of the input!
CHEERS!!!
UPDATE 15
Here we go again… Another go at the venturi.
Once again, I started by lopping off the top.
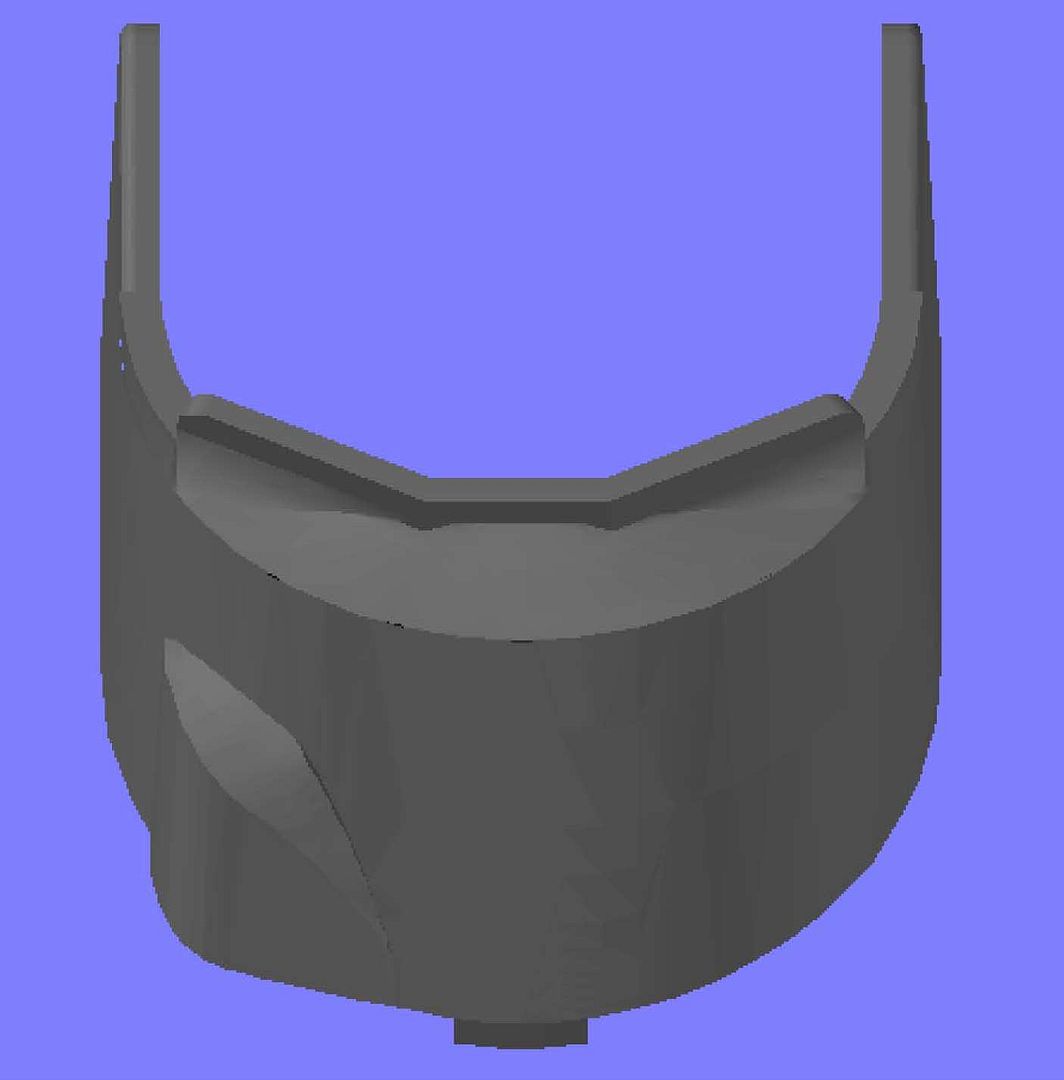
Then I drew what I thought looked like the correct profile of the venturi. As Tom D pointed out, the center section is shorter than the side sections.
And lofted it to the top of the fairwater.
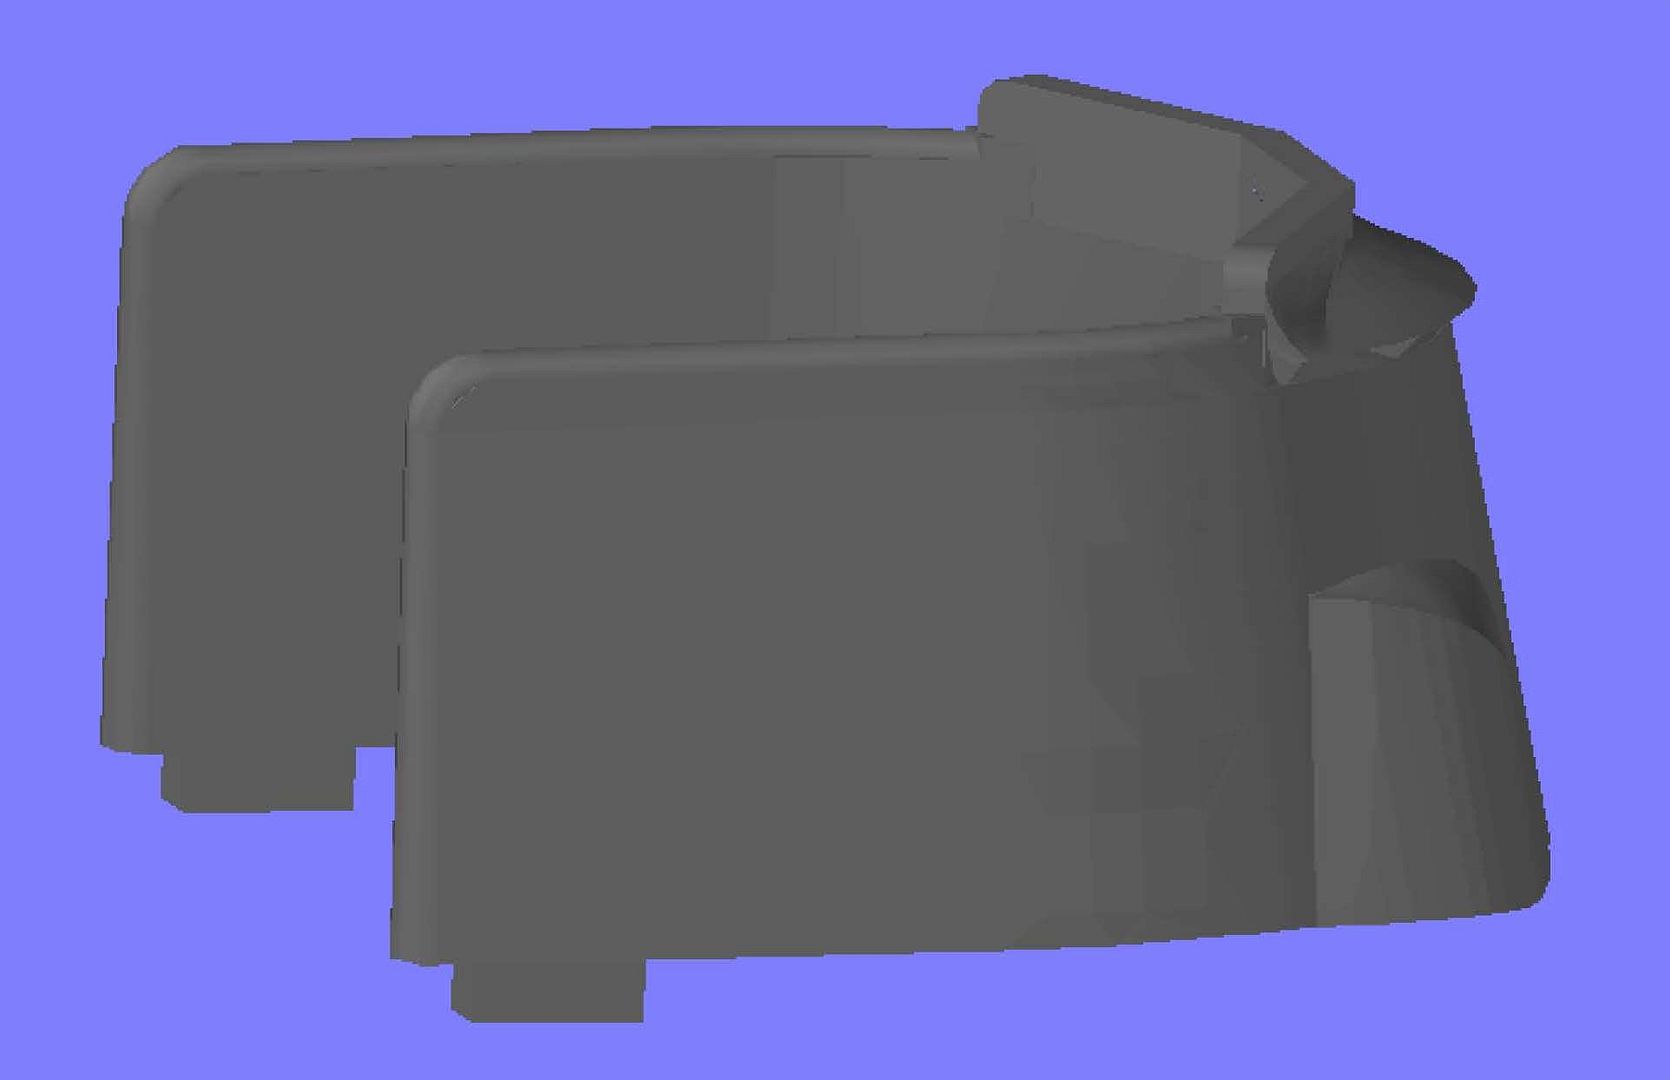
I then drew the polylines in preparation for making the inner surface…
…And lofted them. Note that it extends quite a distance aft. This will be taken care of later.
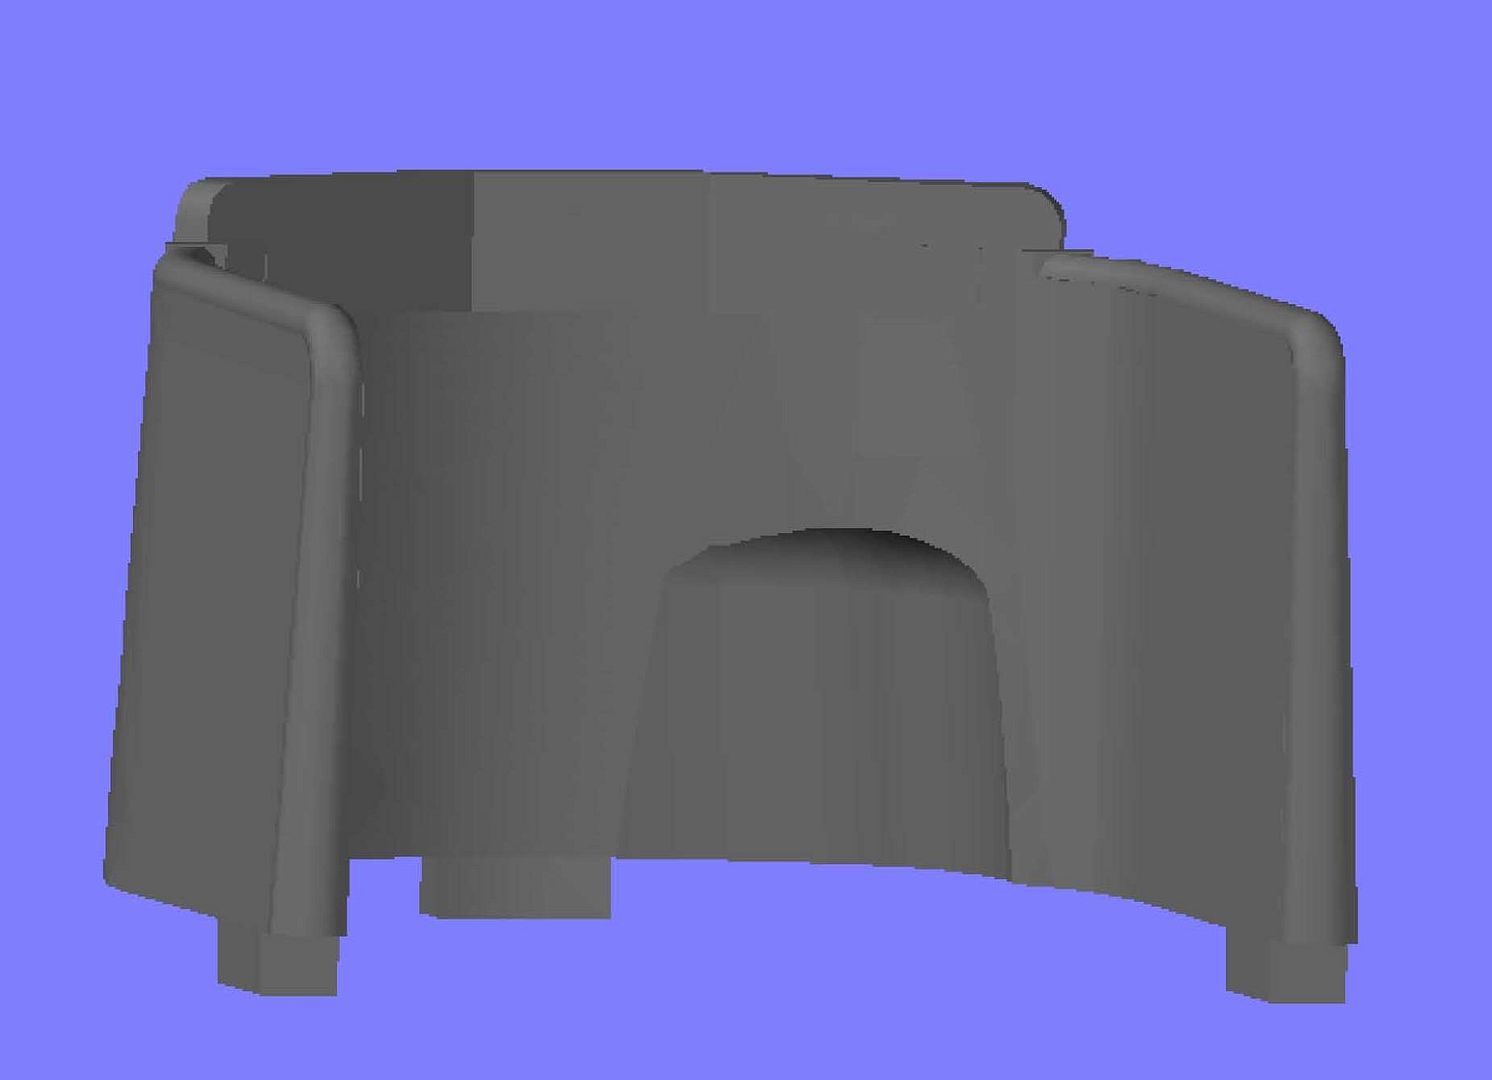
Next, I lofted the venturi up above the top of the bridge, and filleted the edges at 0.3’ radius.
With this completed, I created a polyline for the lower part of the venturi and drew in the guides…
…And lofted it.
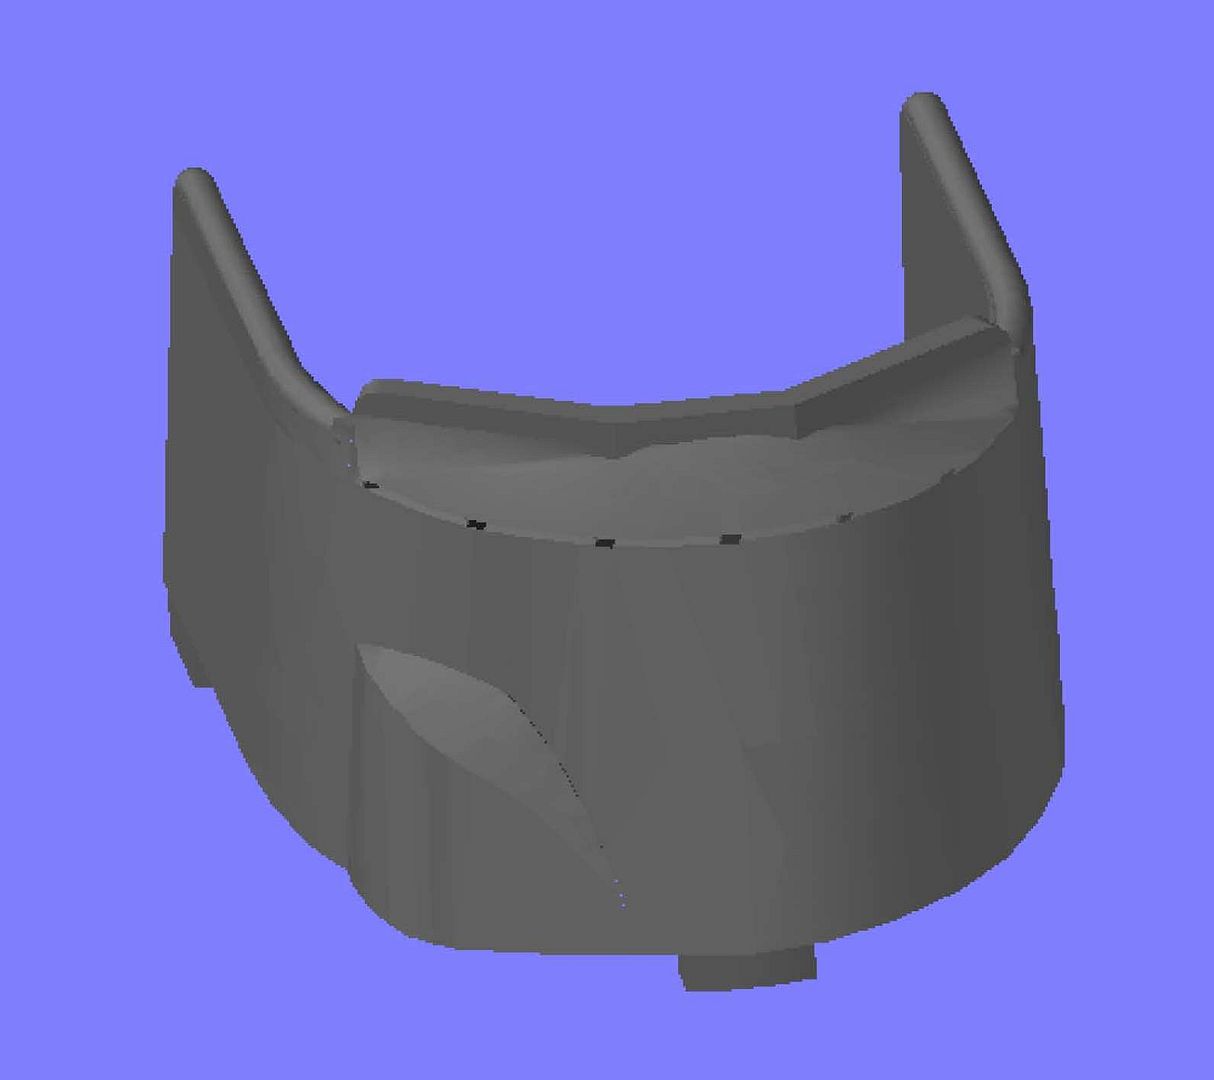
I then made the support brackets, starting with the center one…
…Followed by the ones on the starboard side, which were then mirrored to the port side. This was a lot easier with them straight. Thanks Scott.
The last step was to trim the parts I had extended aft to simplify making it a bit.
With the venturi completed, I think I will turn my attention to the inside of the fairwater now, using the pix Tom posted and other pix you guys have sent. Thanks again for all of the input!
CHEERS!!!


Comment