Attention all registered users. The new forum upgrade requires you to reset your password as you logon for the first time.
To reset your password choose this option that is displayed when you attempted to login with your username: "Forgotten your password? Click here!"
You will be sent an e-mail to the address that is associated with your forum account. Follow the simple directions to reset your password.
If this is your first visit, be sure to
check out the FAQ by clicking the
link above. You may have to register
before you can post: click the register link above to proceed. To start viewing messages,
select the forum that you want to visit from the selection below.
Pete,
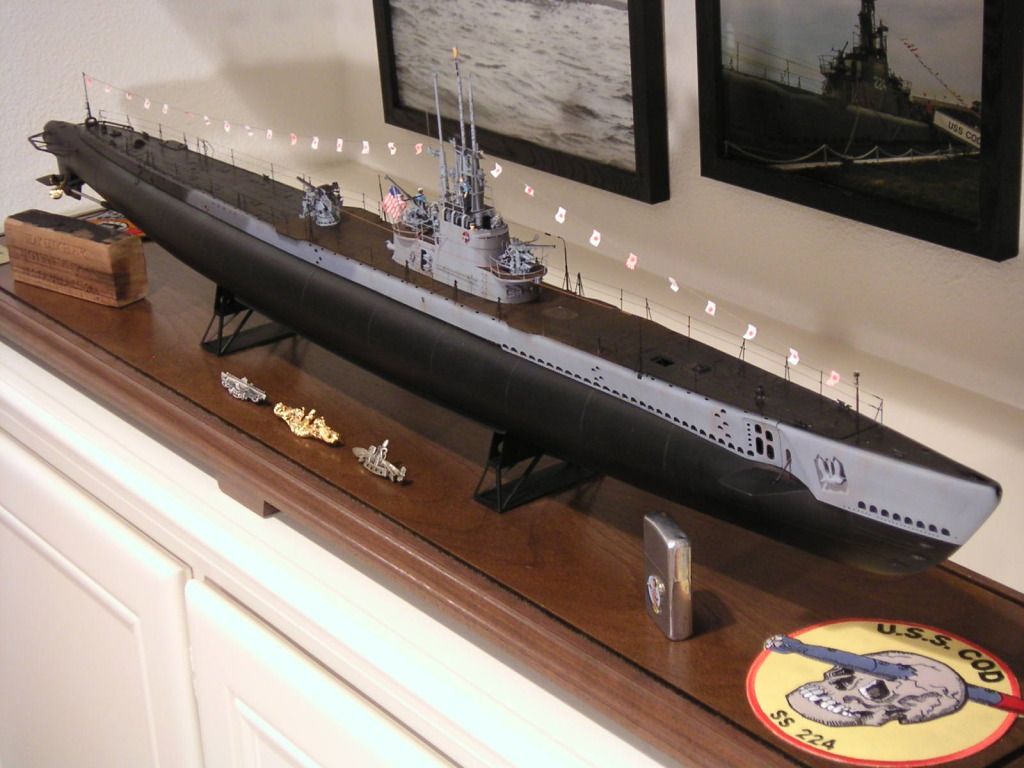
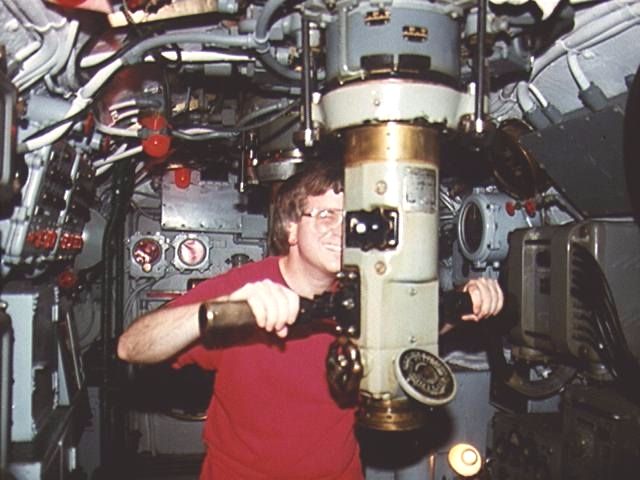
Yup. But only once. Probably around 1979. Her caretakers claim she is the least converted for tourists; that is, the most left alone in regulation shape since retiring—no enlarged hatches, no added stairways, everything left as it was. And from what I could see, they were right. As such, she can probably claim the Best Boat in the Museum Fleet Award because of it. My Fine Art Models 1/96 fleetboat model is of the Cod. And that's me at her ’scope in ’79. Note]http://i1143.photobucket.com/albums/n637/jefftytoo/PICT0048-1.jpg[/img]
Now, I know you're going to laugh/cringe, but here is my solution for the forward deck hole pattern.
First, I masked off the areas that were correct so as not to lose the detail. This mainly consisted of the scribed lines in the center and down each side. Then I applied a good coat of Nitrostan putty to fill all the holes and gaps in the deck. You can see a puttied section in the photo below. One dried, I wet sanded the filler down to the deck. This left ALL the holes filled and further polished the plastic where kit parts were removed, etc. Essentially I created a blank canvas -- with one exception. The filled holes now form a usable grid from which I can drill the correct hole pattern.
Here you can see the drilling attempt underway. It also readily shows how many of the kit holes I am not going to use. I drilled the new holes with a twist drill by hand. With a good drill bit they go surprisingly fast. However, at this size the bit is very thin and breaks easily.
Below is a shot of the work in progress next to a photo of Wahoo's forward deck (pardon the shadow on the part). Overall, I'm pleased with the results. More work to go, however....
Looking good Paul, this would also be my attempt.
But I think you missed the correct row, compared to the photo in the back everything should be 1 row to the left.
Awesome work. Love the method you went with. My little hand twist drill is my favorite. I do have many a broken tiny drill bit scattered around though too.
I have the micro mark set of miniature drill bits. They work great, but you have to very careful when drilling as the bits are a tad bit fragile. Only extend the needed amount of drill bit out of the twist drill chuck to help keep them from snapping off.
The holes between the tubes are 1.2mm, the large ones above and below 2.4mm and the rows on the back 0.9mm with 2.5mm spacing.
Every hole is countersank gently and bored from the back to achieve a thinner hull feeling.


Comment