
Re: 1/144 Scale USS Batfish (SS310)
UPDATE 128
Thanks Scott! I like that idea and will definitely leave it open as an option, in fact I did, as you will see.
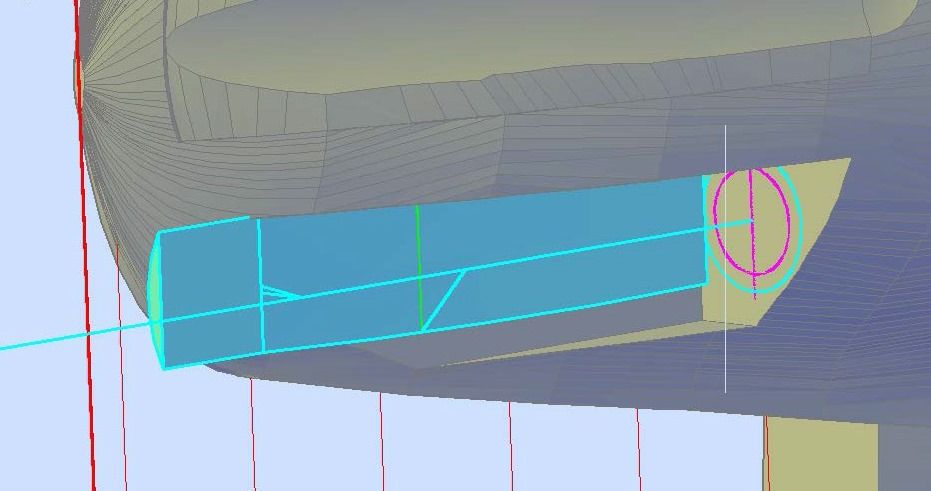
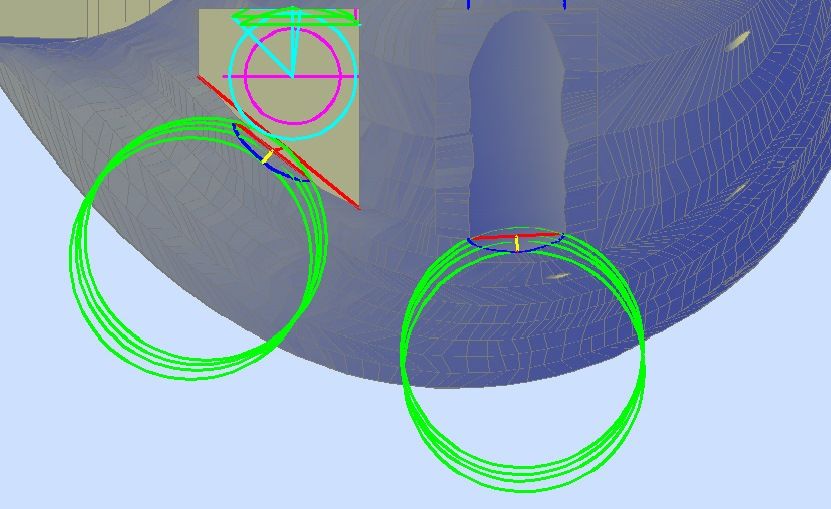
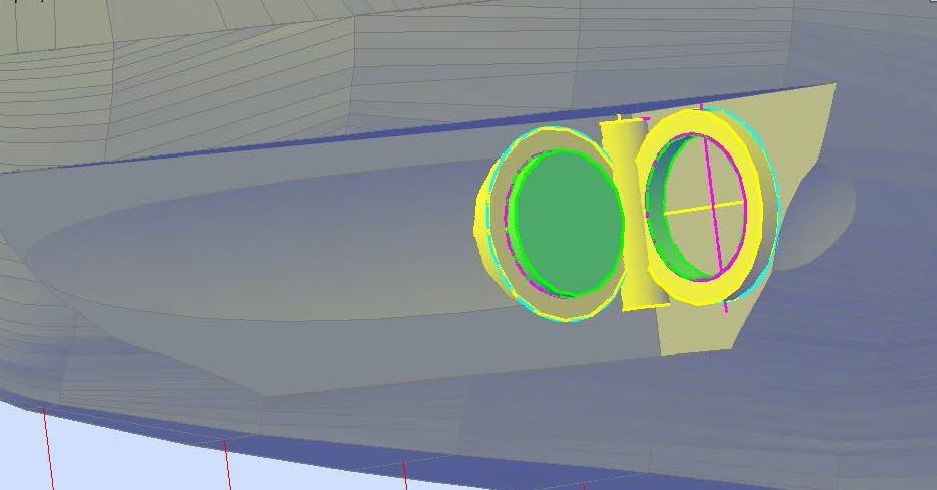
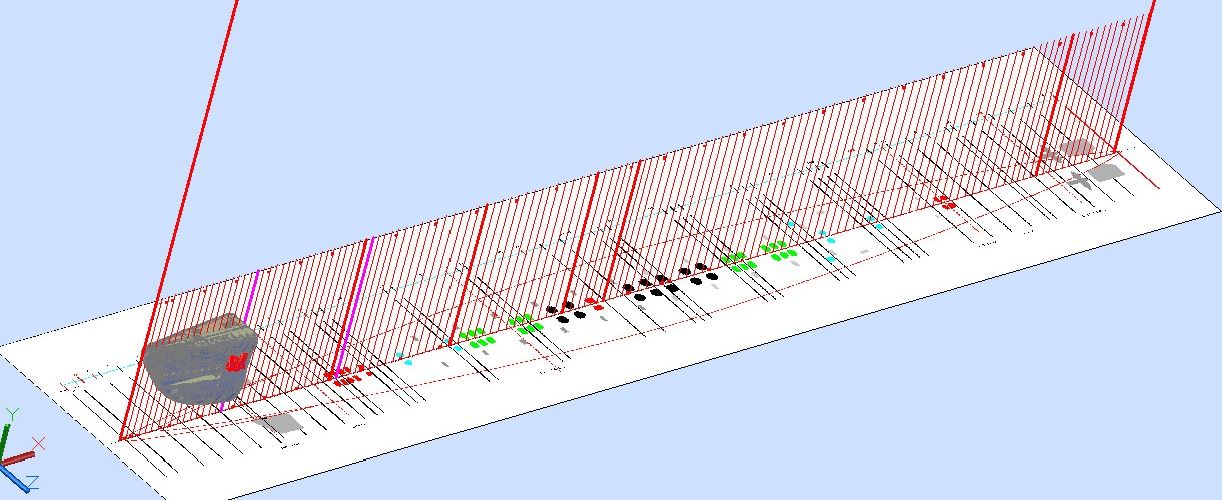
It was a totally lousy day outside here today and a perfect day to be inside modeling, so I continued on the aft torpedo doors/shutters. I decided to make the torpedo doors open for the last two tubes, numbers 9 and 10. The image below shows the circles to make the door on the forward bulkhead. The door was the easy part. Just because the door is open doesn’t mean I could escape the valley. That’s what the green circle is. Note that it was copied from the other side.
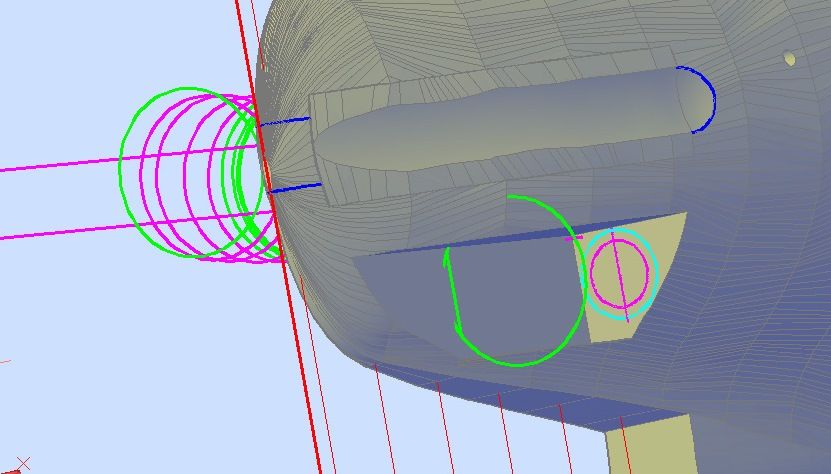
Because the circle extends into parts of the hull I didn’t want to cut, I sliced the circle at the line shown in the image above and made a closed polyline that didn’t intersect the sides of the tube area.
I then copied this poly line parallel to the rear bulkhead. I also copied it to the forward edge but note that the circle is on the edge. The router blade exits the model.
I then lofted between the polylines…
Some times when shapes to be added or subtracted line up at a point Autocad can’t handle it, so to avoid this potential I extruded the end section a bit and joined it to the previous estrusion…
…Then subtracted the joined shapes from the model, to get a nice valley.
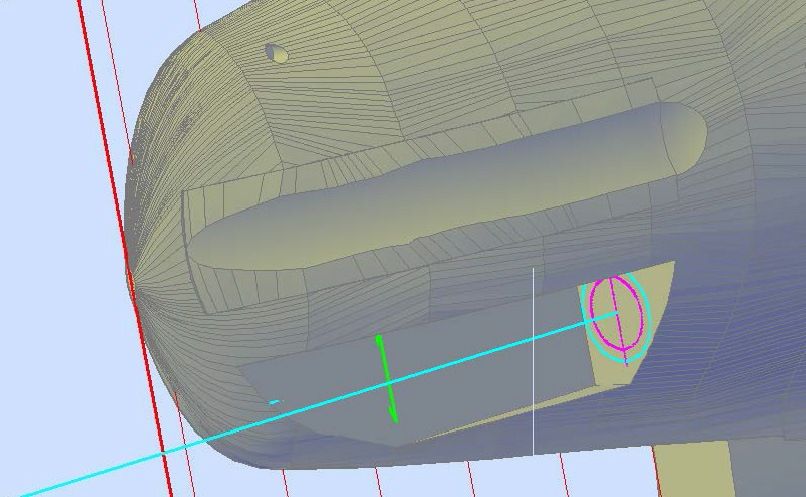
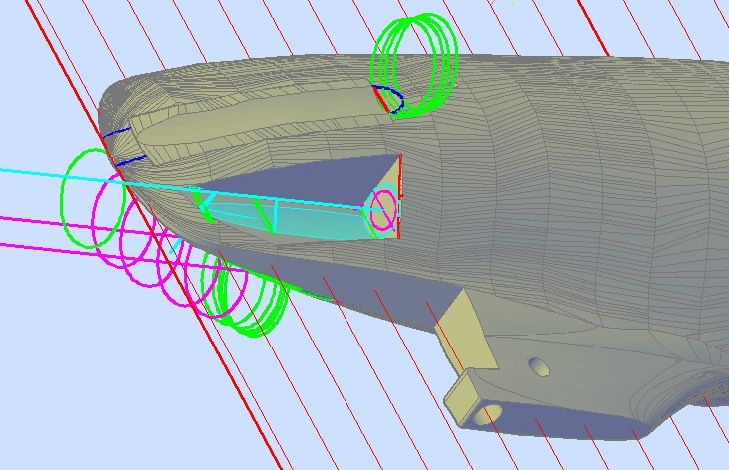
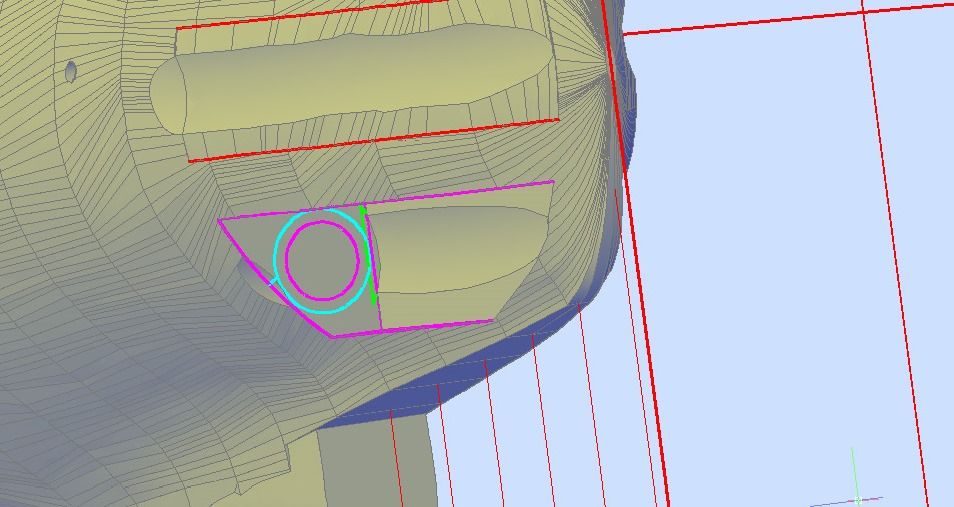
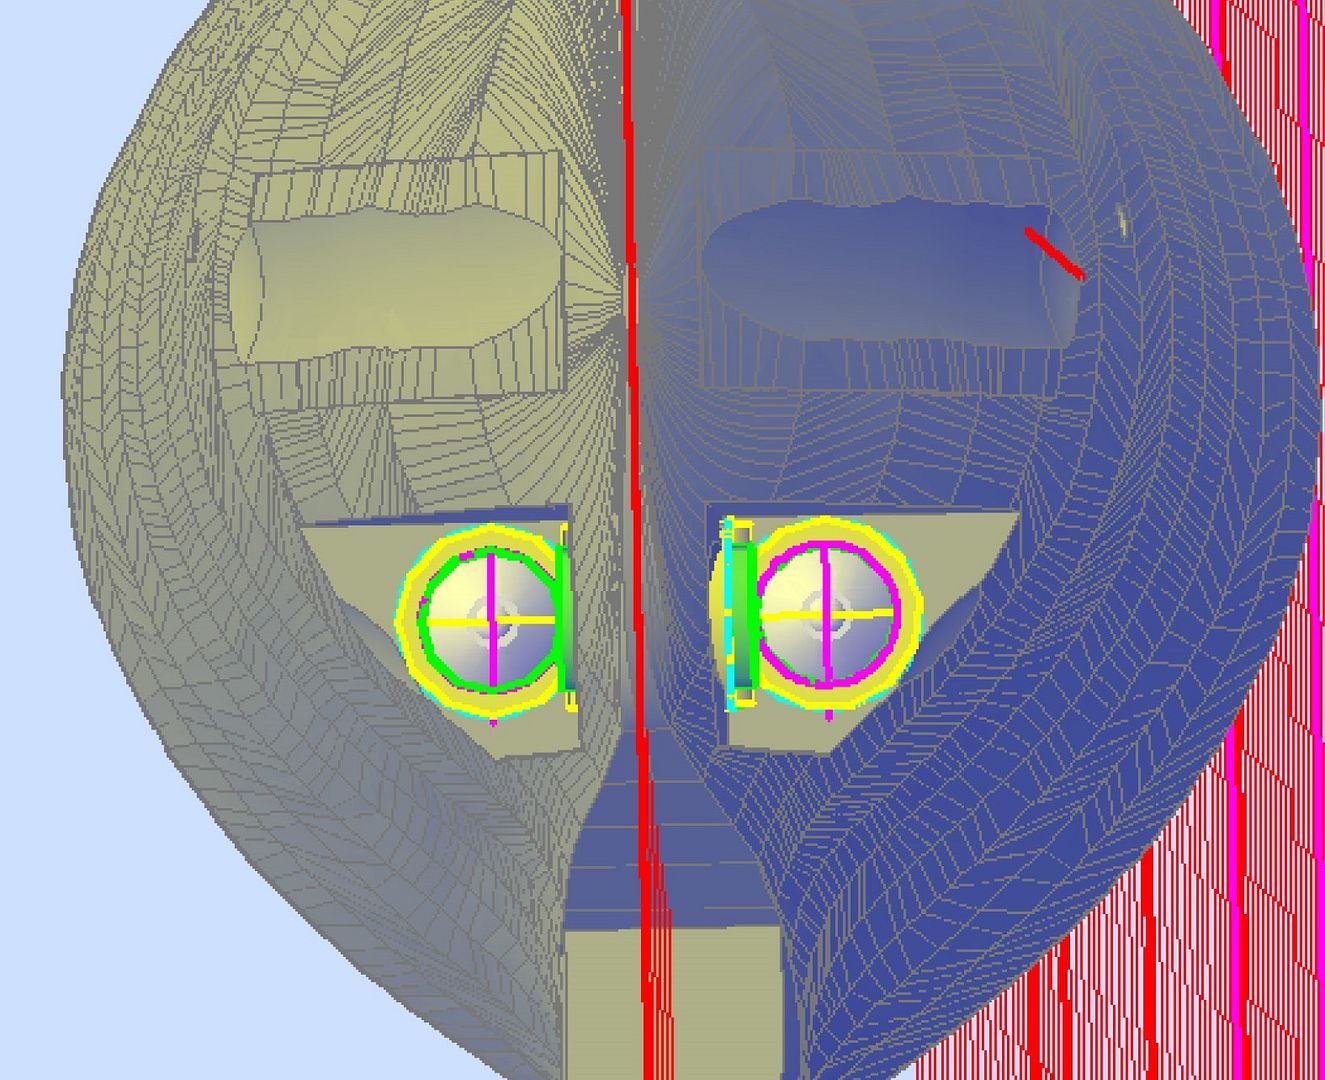
But the valley also extends into the hull so I had to cut it too. This was a bit tricky. I started by mirroring the needed circles from the other side.
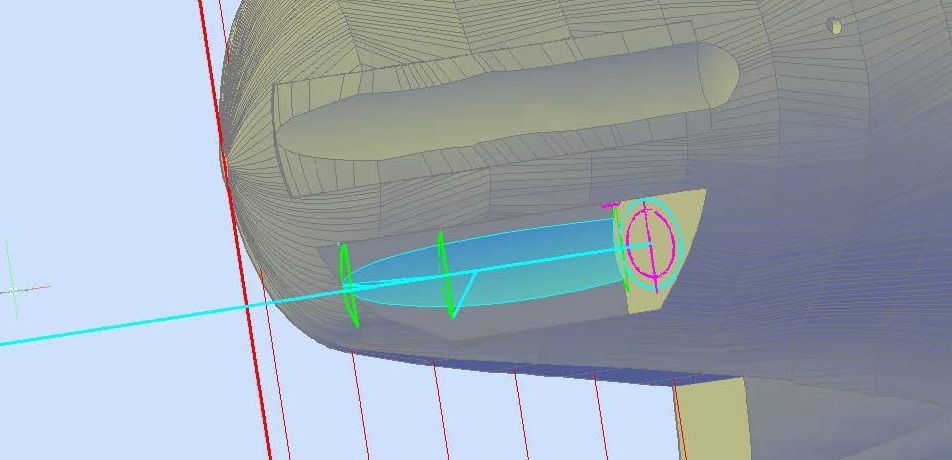
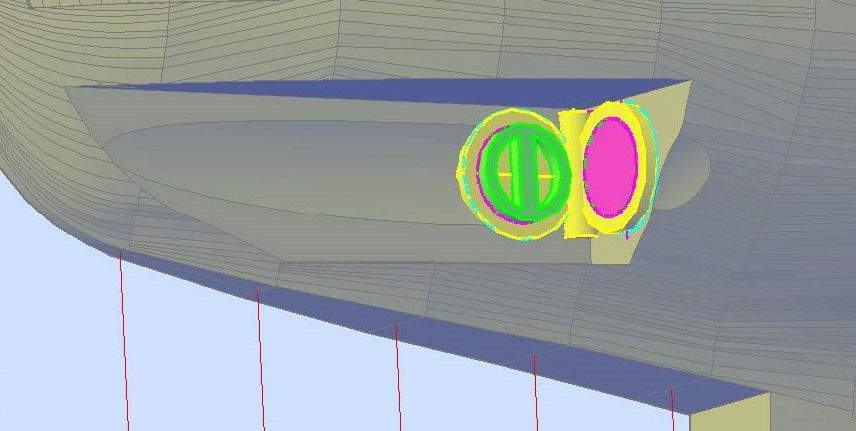
That got them to the right side. Next I copied them to the lower tube. I could have moved them but wanted to keep the original ones in case I goofed up. The image below shows it from end on.
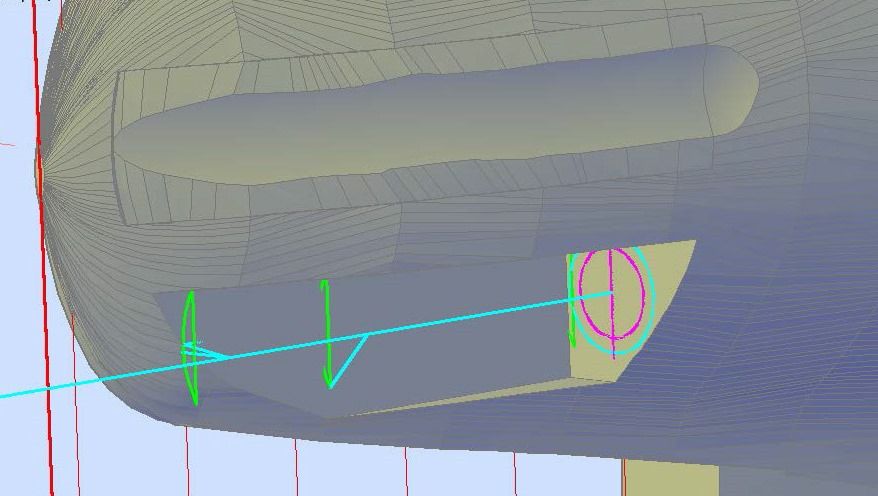
You can see that now they are in the right location but need to be rotated to be oriented properly with the surface.
Tada!…
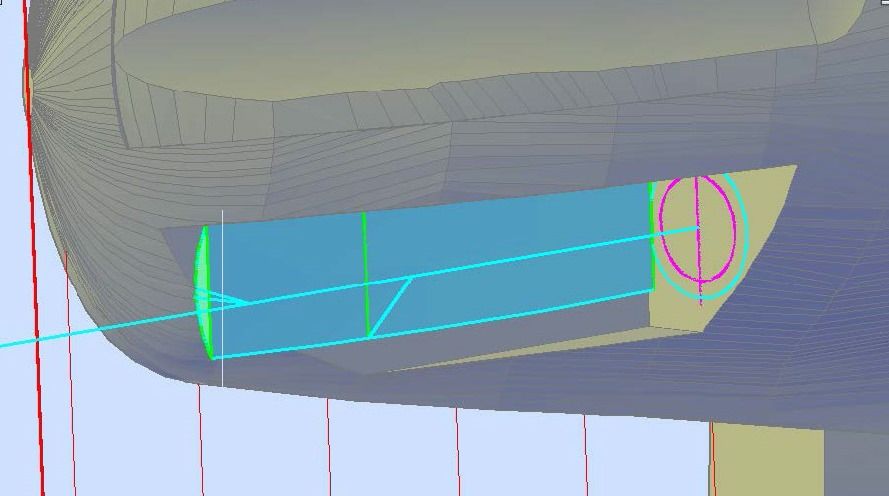
Now I could loft the circles…
…And subtract the lofted solid.

A lot of trouble for a little notch, but there it is. And I redid it all on the other side.
The door was next, and I did it the same as I did for the forward ones I made open. I lofted circles, rotated them, extruded them…
…And subtracted them.
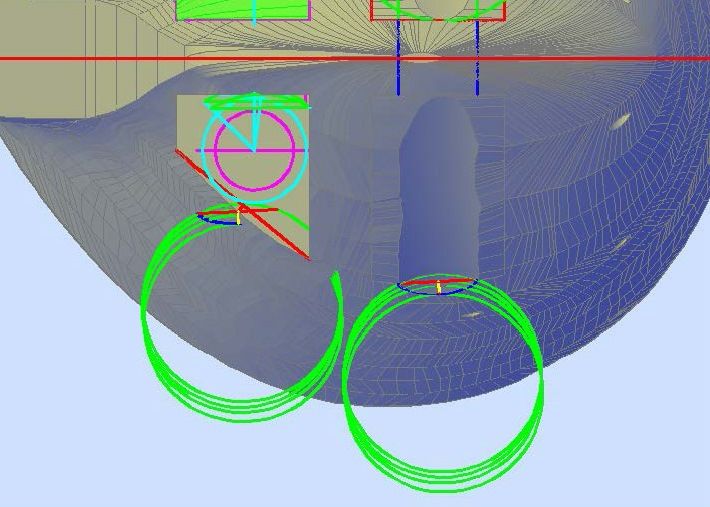
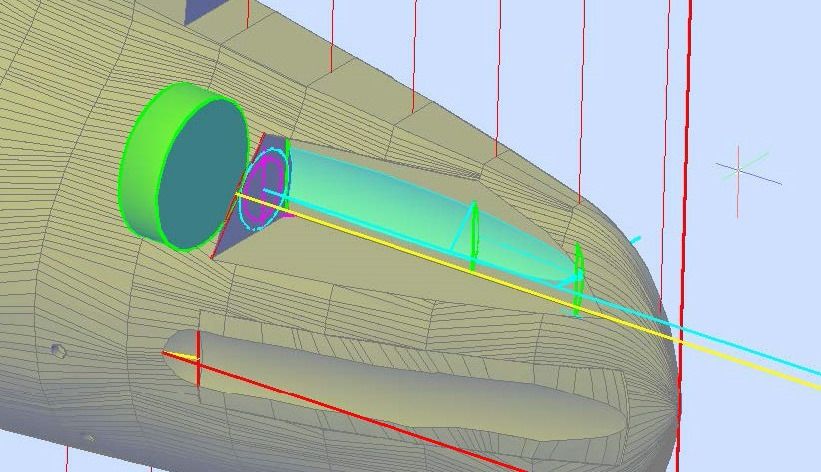
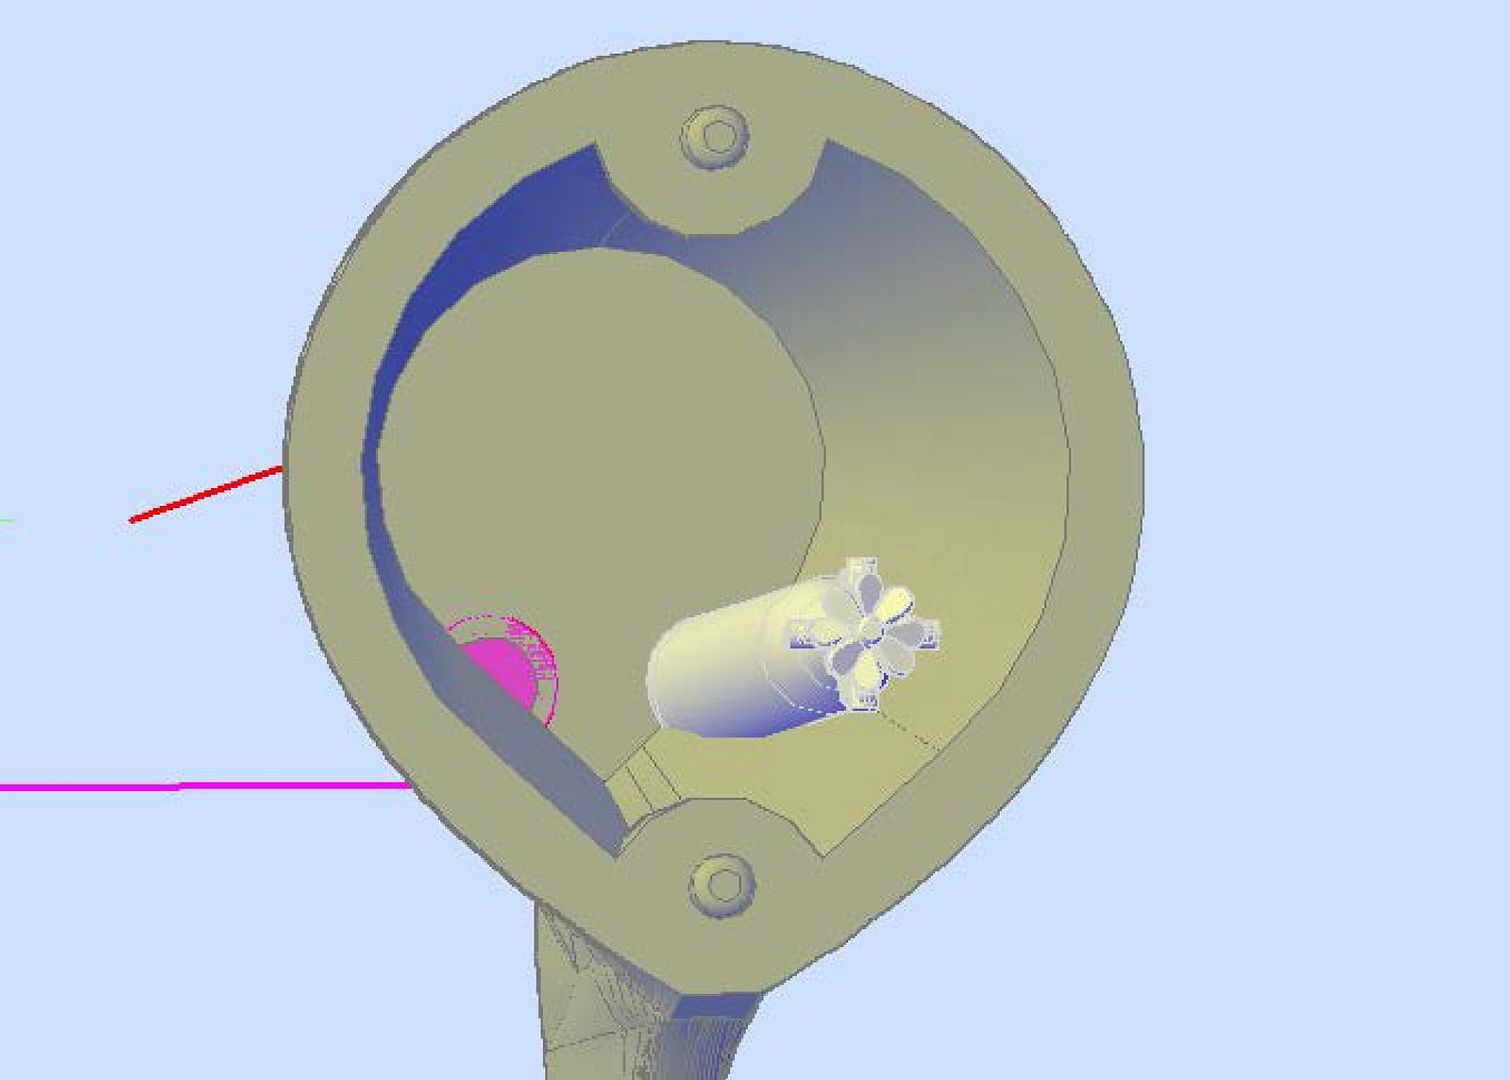
Then I added the texture to the door and extruded the inner circle into the model (magenta)…
…Mirrored the whole assembly to the other side, subtracted the extruded shape and added torpedos.
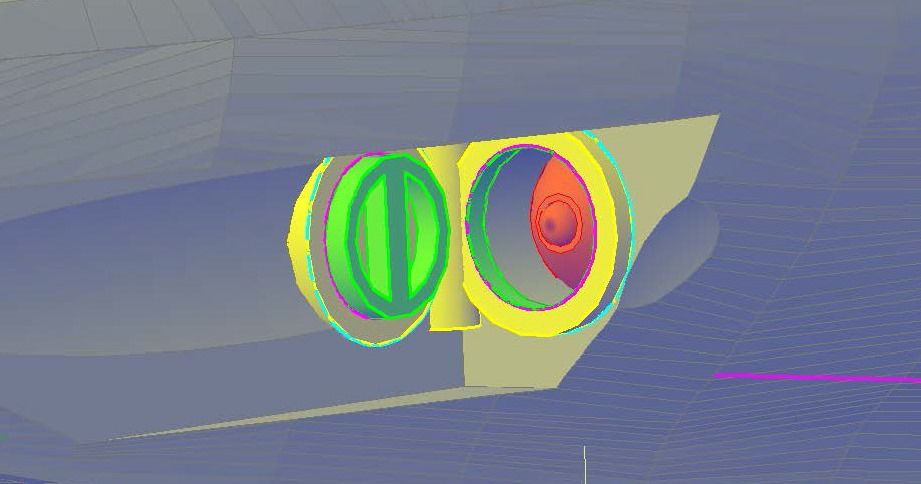
The image below shows the starboard side door with the torpedo colored red.
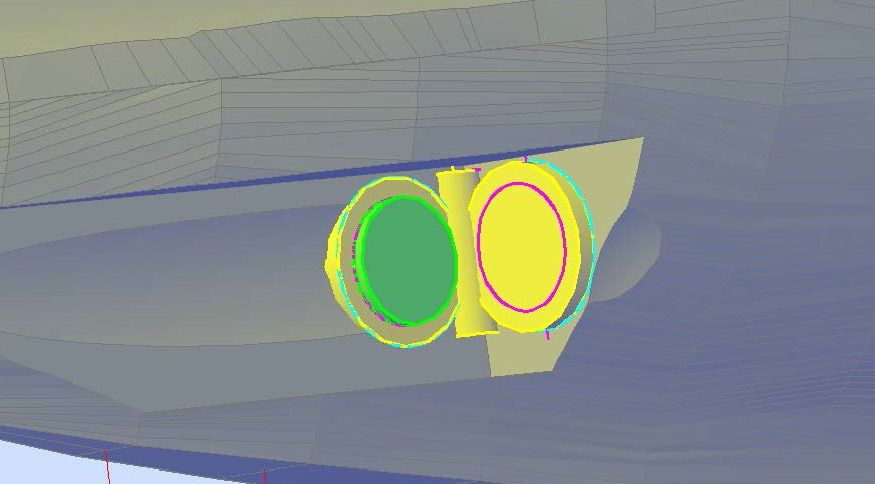
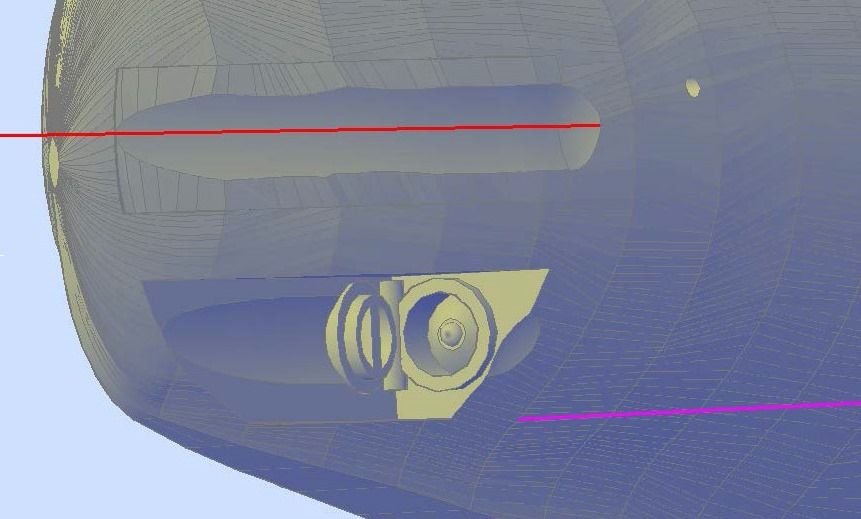
Here it is from the front after I lopped off the unneeded portion of the torpedo.
After slicing the torpedo, I joined everything on the starboard side together and recolored it.
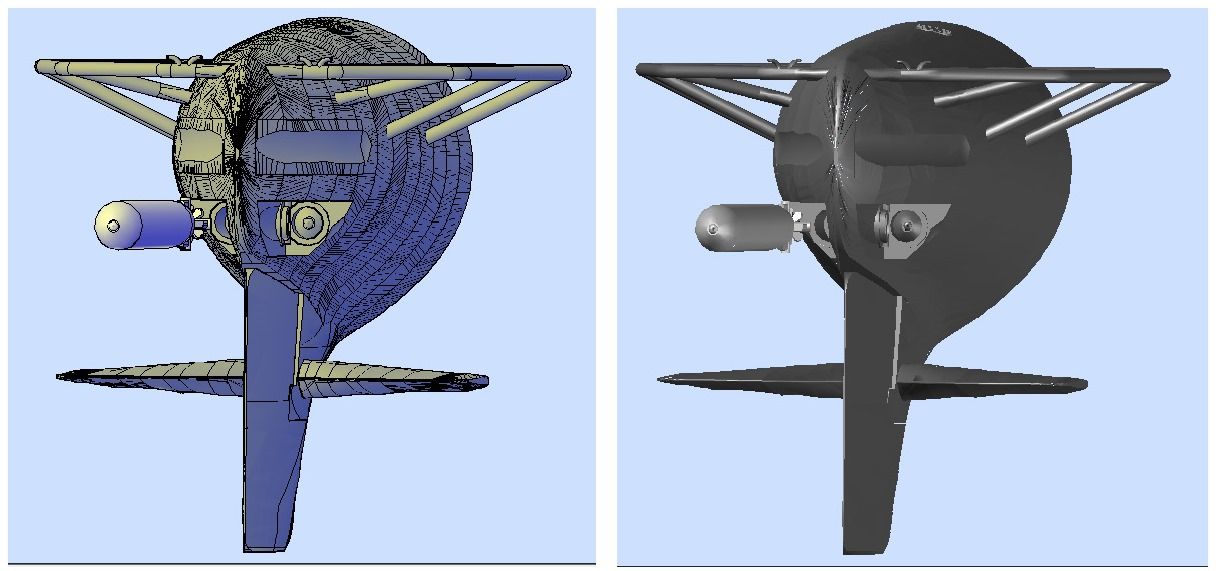
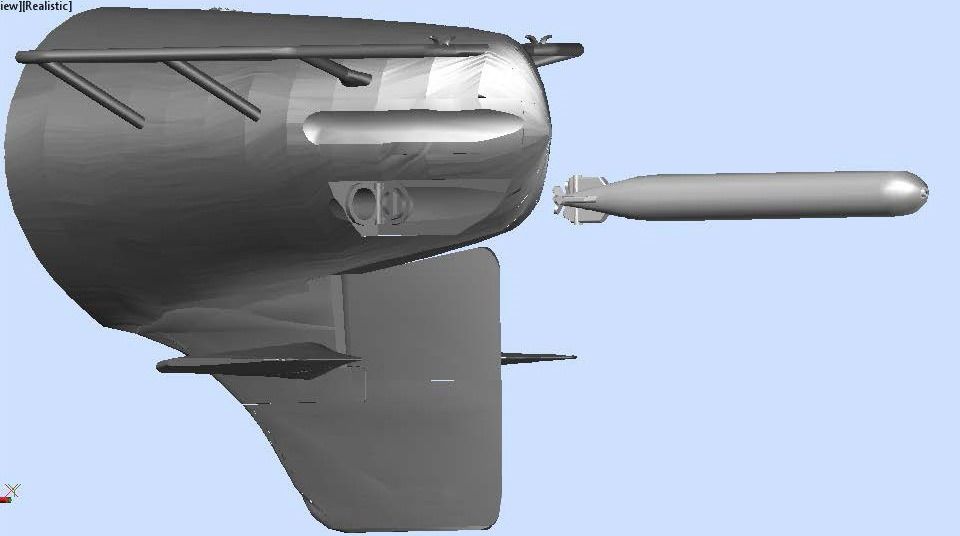
On the port side I drilled the hole and joined everything together except the torpedo. Like I said, I left my options open at this point.
CHEERS!!!
UPDATE 128
Thanks Scott! I like that idea and will definitely leave it open as an option, in fact I did, as you will see.
It was a totally lousy day outside here today and a perfect day to be inside modeling, so I continued on the aft torpedo doors/shutters. I decided to make the torpedo doors open for the last two tubes, numbers 9 and 10. The image below shows the circles to make the door on the forward bulkhead. The door was the easy part. Just because the door is open doesn’t mean I could escape the valley. That’s what the green circle is. Note that it was copied from the other side.

Because the circle extends into parts of the hull I didn’t want to cut, I sliced the circle at the line shown in the image above and made a closed polyline that didn’t intersect the sides of the tube area.

I then copied this poly line parallel to the rear bulkhead. I also copied it to the forward edge but note that the circle is on the edge. The router blade exits the model.

I then lofted between the polylines…

Some times when shapes to be added or subtracted line up at a point Autocad can’t handle it, so to avoid this potential I extruded the end section a bit and joined it to the previous estrusion…

…Then subtracted the joined shapes from the model, to get a nice valley.

But the valley also extends into the hull so I had to cut it too. This was a bit tricky. I started by mirroring the needed circles from the other side.

That got them to the right side. Next I copied them to the lower tube. I could have moved them but wanted to keep the original ones in case I goofed up. The image below shows it from end on.

You can see that now they are in the right location but need to be rotated to be oriented properly with the surface.
Tada!…

Now I could loft the circles…

…And subtract the lofted solid.

A lot of trouble for a little notch, but there it is. And I redid it all on the other side.

The door was next, and I did it the same as I did for the forward ones I made open. I lofted circles, rotated them, extruded them…

…And subtracted them.

Then I added the texture to the door and extruded the inner circle into the model (magenta)…

…Mirrored the whole assembly to the other side, subtracted the extruded shape and added torpedos.

The image below shows the starboard side door with the torpedo colored red.

Here it is from the front after I lopped off the unneeded portion of the torpedo.

After slicing the torpedo, I joined everything on the starboard side together and recolored it.

On the port side I drilled the hole and joined everything together except the torpedo. Like I said, I left my options open at this point.


CHEERS!!!
 [/url]


Comment