Re: 1/72nd Revell Gato Wolfpack
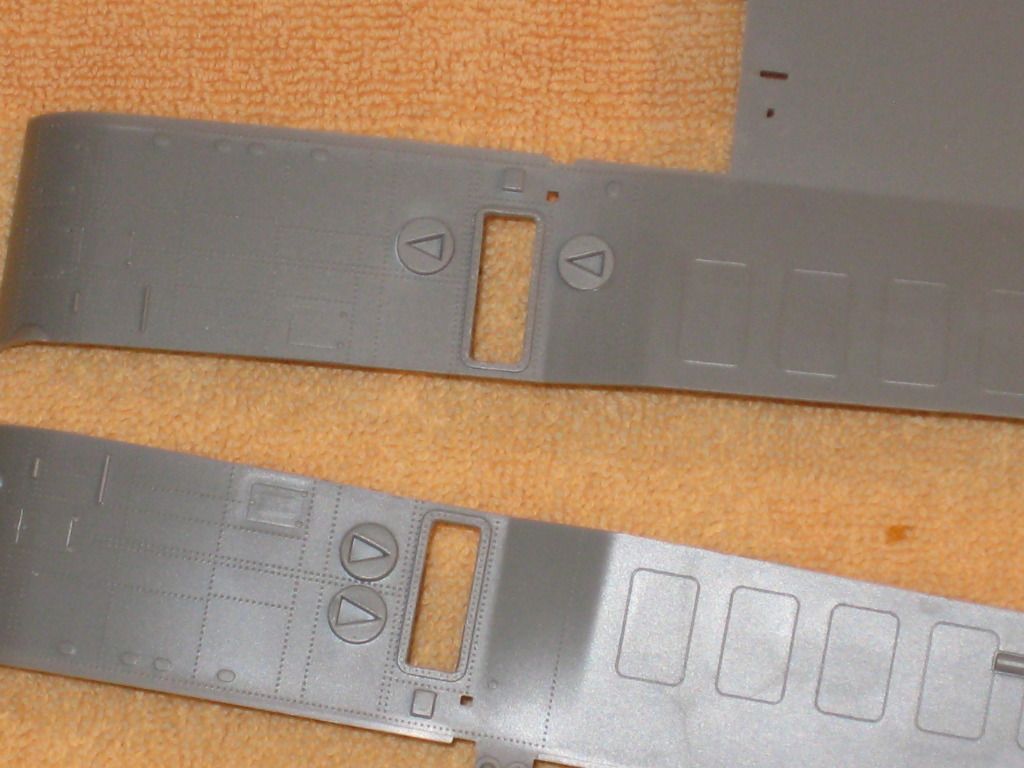
Voila! New resin capstan foundation and bow buoyancy vent. I cast the vent with a square foundation per the original article (see images above). I'll probably wind up replacing the one by the bullnose as well so they will match. I had hoped to open it up underneath to actually use it as a vent but the resin is very thin. The capstan is in its correct position on the center-line. Though you can see it in the image, I've already removed the kit piece from the deck.
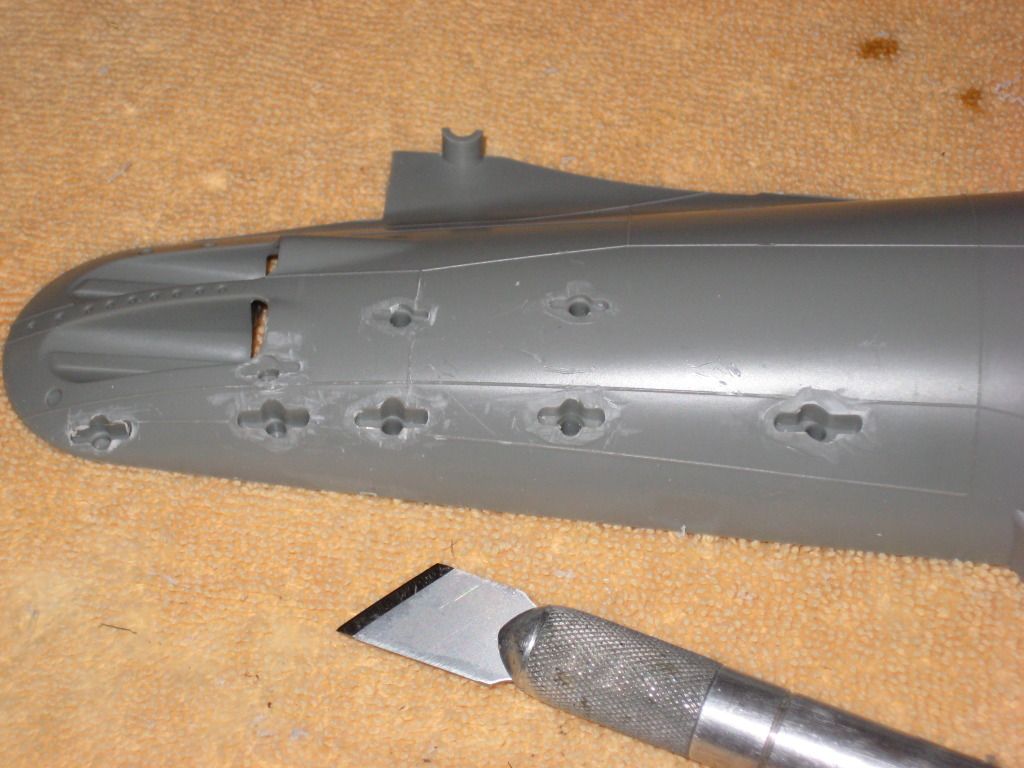
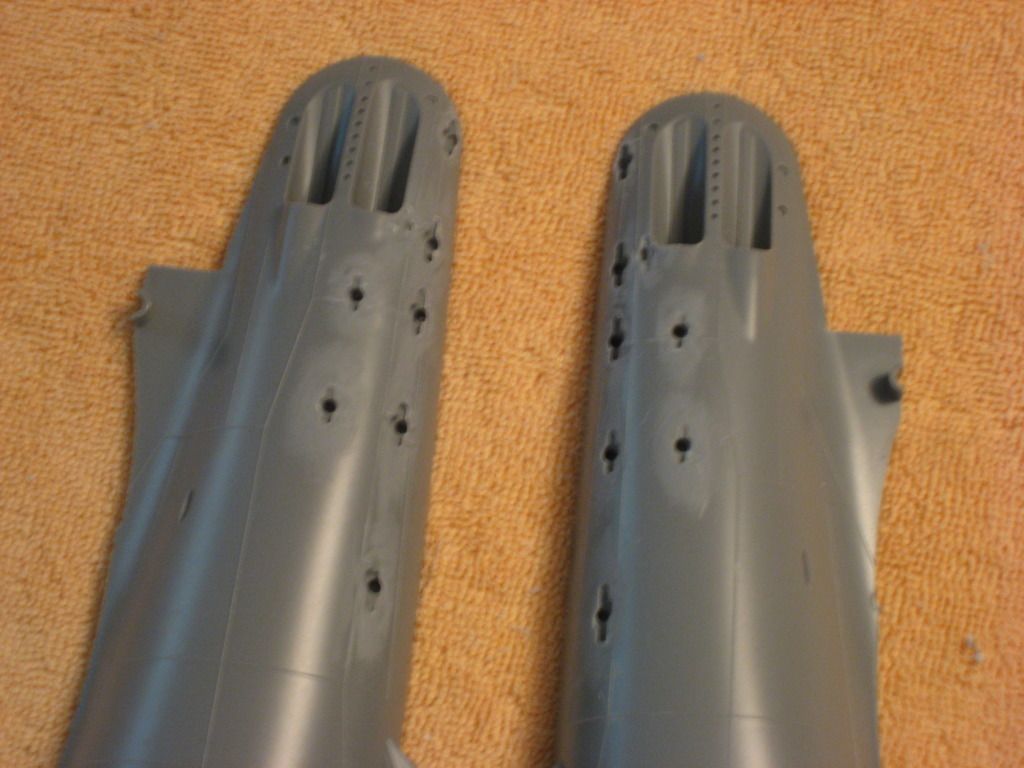
Speaking of which, for anyone interested in doing these types of mods and removing raised features from the deck, I've found that it is pretty easy to do. I took down most of the capstan piece with a Dremel sanding drum, scraped it close to the deck with an X-Acto, then finished up with a sanding block of coarse sandpaper. Once removed, the plastic underneath winds up very smooth, almost like the raised part was added as a separate piece during production. Anyway, it isn't hard. Counting those tiny deck holes is hard.

Voila! New resin capstan foundation and bow buoyancy vent. I cast the vent with a square foundation per the original article (see images above). I'll probably wind up replacing the one by the bullnose as well so they will match. I had hoped to open it up underneath to actually use it as a vent but the resin is very thin. The capstan is in its correct position on the center-line. Though you can see it in the image, I've already removed the kit piece from the deck.
Speaking of which, for anyone interested in doing these types of mods and removing raised features from the deck, I've found that it is pretty easy to do. I took down most of the capstan piece with a Dremel sanding drum, scraped it close to the deck with an X-Acto, then finished up with a sanding block of coarse sandpaper. Once removed, the plastic underneath winds up very smooth, almost like the raised part was added as a separate piece during production. Anyway, it isn't hard. Counting those tiny deck holes is hard.


Comment