1/72nd Revell Gato Wolfpack

Collapse
X
 
  • Filter
  • Time
  • Show
Clear All
new posts
  • PaulC
    Administrator
    • Feb 2003
    • 1542

    Re: 1/72nd Revell Gato Wolfpack

    Tom, it is the #F0006 - 5/8" (Scale 3/16") (3 pcs.). It is just a hair more narrow than the kit part -- and looks to be way more accurate (and who's to say the kit part is exactly the right size anyway). It should look fine in the well. The next closest size is 3/4" wide which is a tad bigger than the kit well. Tom/Trigger is getting one of each to try and should be posting pics once they come in.
    Warm regards,

    Paul Crozier
    <><

    Comment

    • salmon
      Treasurer
      • Jul 2011
      • 2327

      Re: 1/72nd Revell Gato Wolfpack

      Paul,
      GreaT and thank you! I think this will be a excellent upgrade!
      I will wait to see.
      Peace,
      Tom
      If you can cut, drill, saw, hit things and swear a lot, you're well on the way to building a working model sub.

      Comment

      • wlambing
        SubCommittee Member
        • Feb 2003
        • 843

        Re: 1/72nd Revell Gato Wolfpack

        Paul,

        Get your anchor? A while back I had ordered Bluejacket's version in 1/48, for another project. The fluke shape is a bit off. It will become an Anglified version of the US
        anchor as was used in the Oberons. Just has to be tweaked according to some pictures. As it is housed in a well, it'll be just fine. I almost ordered the F0006 the other day, but decided to wait for your report.

        Looking at using neodymium magnets as the upper hull hold-downs. I go a package of small ones that look like they'll work quite well.

        Take care,

        Bill

        Comment

        • PaulC
          Administrator
          • Feb 2003
          • 1542

          Re: 1/72nd Revell Gato Wolfpack

          Bill,

          Your magnets sound like a good idea. Keep me posted on that. Regarding the anchor, since Tom and Jeff have already bought theirs I'm waiting to see which one they think looks best. As soon as I get an image/feedback from them I'll let you know. Then again they may post here first.
          Warm regards,

          Paul Crozier
          <><

          Comment

          • jefftytoo
            SubCommittee Member
            • Mar 2003
            • 922

            Re: 1/72nd Revell Gato Wolfpack

            Sorry Paul and crew, no pix of the anchor yet but it does look nice in the package! Will get to that eventually, but fully expect Trigger will beat me to it. Meanwhile, yes, I'm also a big fan of magnets holding down superstructures. I expect Harder will have a magnet forward and a brass tongue and groove arrangement at the stern, just as Seaview does, because I've found it to work so well.

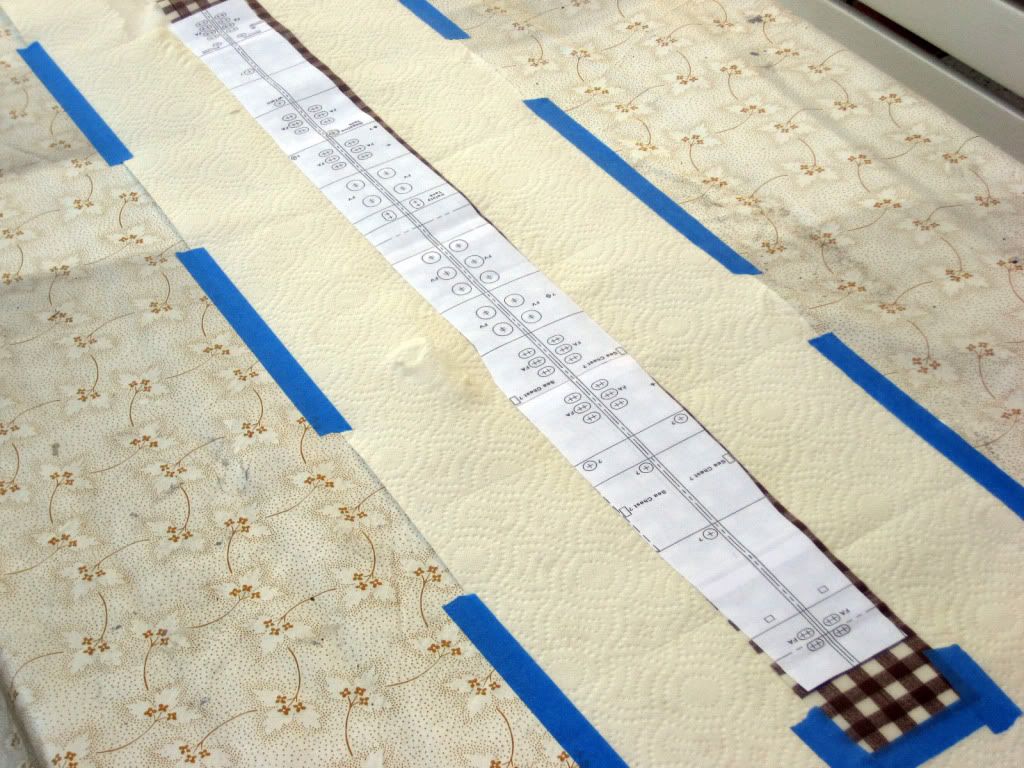
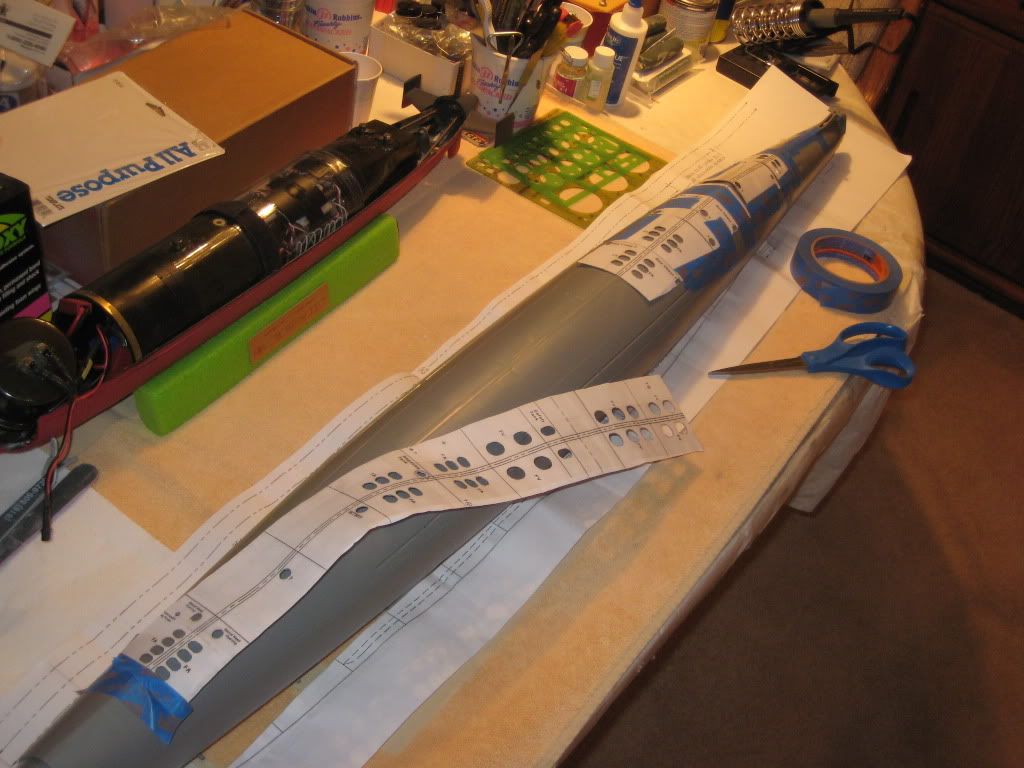
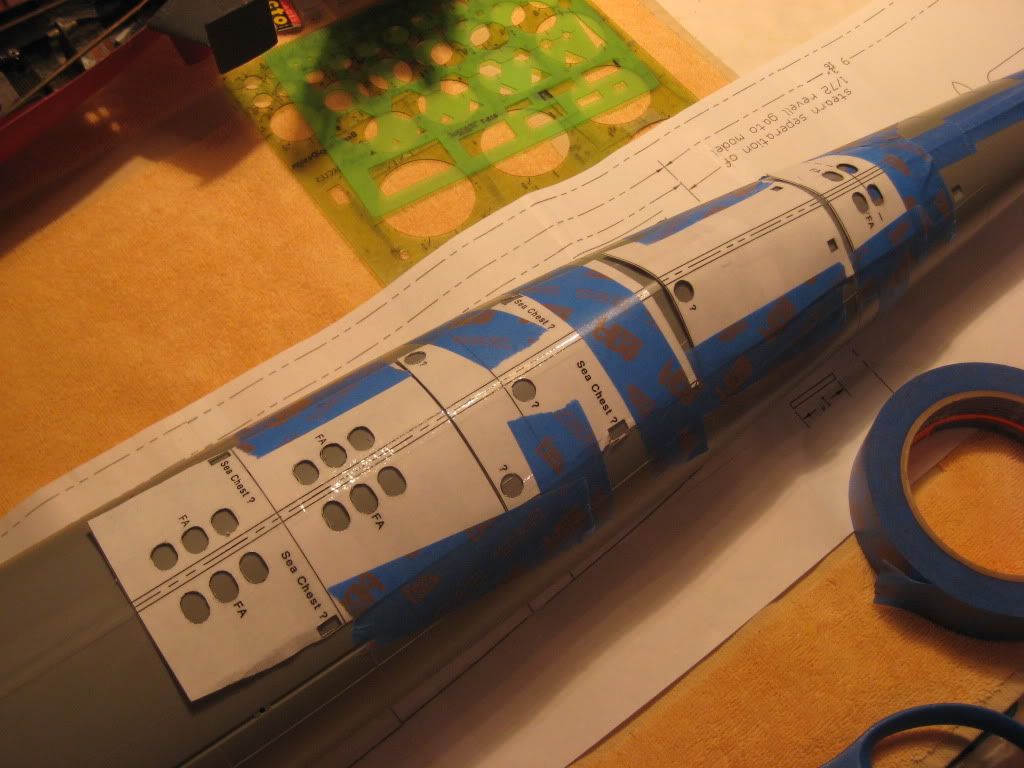
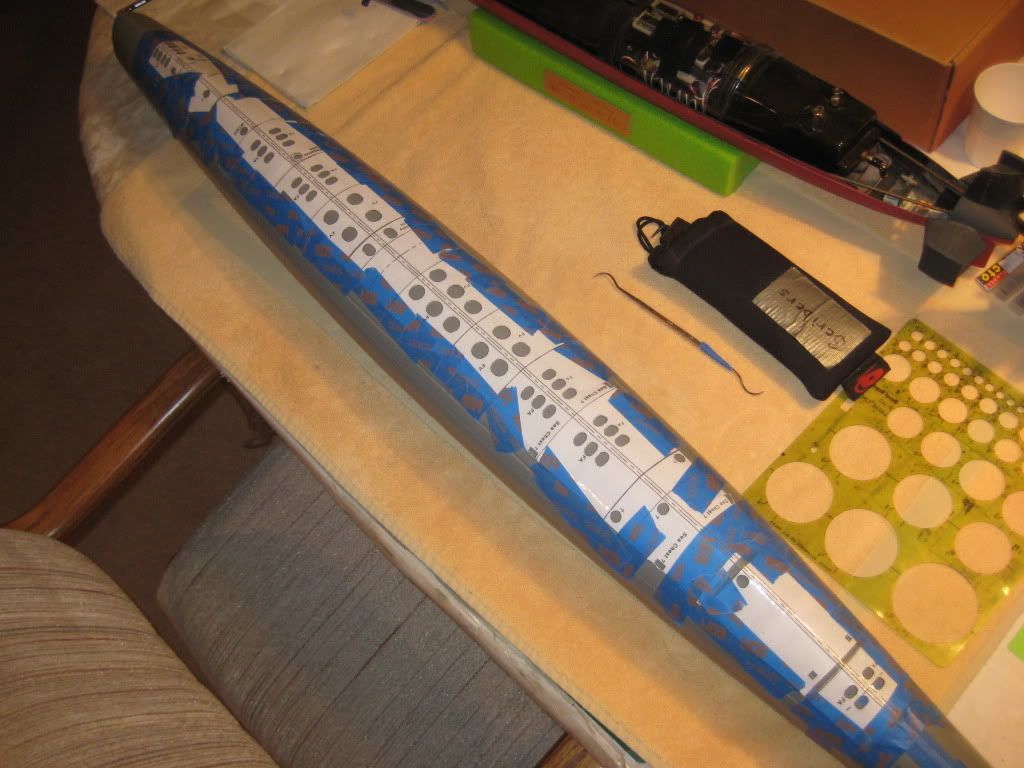
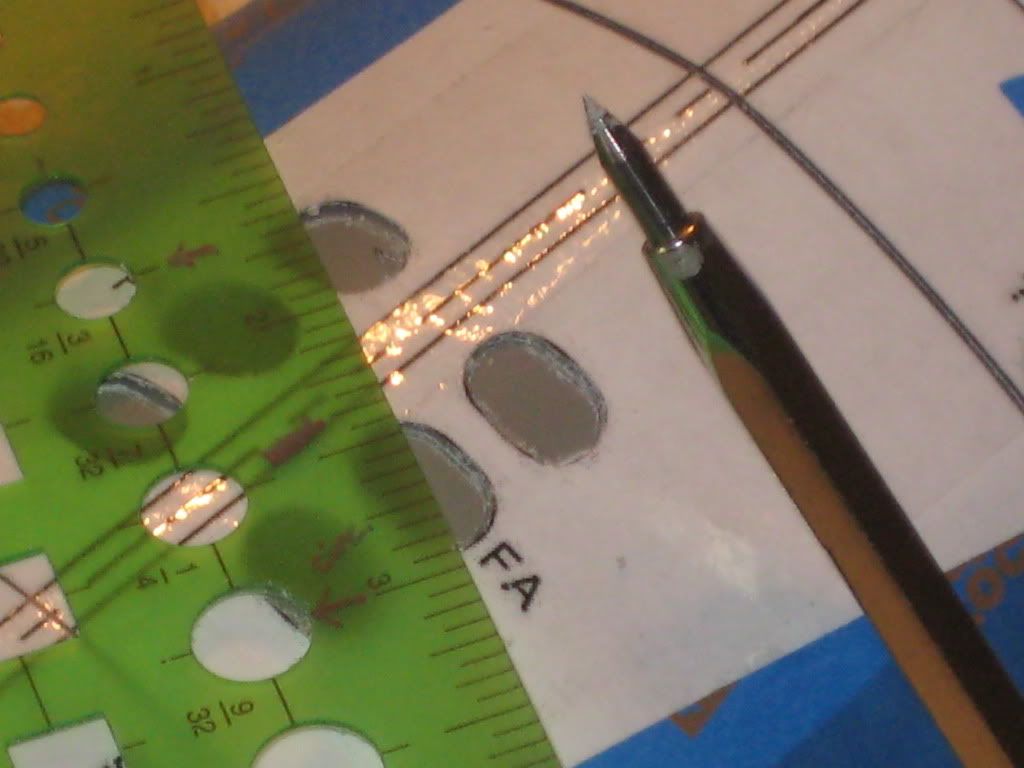
            Wifey was ill this weekend, so finding myself even more house-husbandly than usual, I once again accomplished much less than anticipated. Still, I did manage to finally at least start Trosper/Salmon's flood hole template project. Took some 3M aerosol adhesive and affixed their hole pattern to a strip of low-tack vinyl shelf paper, rolling it on with an old-time graphics burnisher. (It sometimes pays to be an olde farte advertising guy.) Then I shipping-taped a strip of corrugated cardboard to a small piece of wood I had in the garage. This would make a manageable cutting board, easy to swing around to attack with an X-Acto from different angles. Plus, the wood would keep me from slicing through and damaging something, like our dining room table or...my leg.

            Once set up I tried a couple hole cutout tests with the aid of a drafting shape template. Seems to work like a charm. Transferring/scribing the total final pattern to the bottom of the hull will be greatly helped by that drafting shape tool too.


            Later,
            JeffP

            Comment

            • boomerfunker
              SubCommittee Member
              • Mar 2003
              • 225

              Re: 1/72nd Revell Gato Wolfpack

              Nice work Jeffty, what's your fee for commission work?

              Ok then, I got my anchors from Bluejacket Shipcrafters today. I can't say enough good things about these people. Great product, very fast delivery. They have nearly everything imaginable for skimmers but just next to nothing for use on our beloved subs however.

              These are functional three piece stockless anchors cast in white metal fully cast on both sides. Here is the kit part next to the 5/8" and 3/4" (width) anchors:


              Here is the kit part in place for reference][/url]

              This is the 5/8" (F0006) in place. It seems a little small to me][/url]

              Here is the 3/4" (F0447) in place. I like this best though it may be a tad large, it fits in the well nicely][/url]

              Hope this helps.
              I am working on the railing around the aft part of my fairwater. Kind of a bear actually.

              TomK

              Comment

              • boomerfunker
                SubCommittee Member
                • Mar 2003
                • 225

                Re: 1/72nd Revell Gato Wolfpack

                Greetings, Gentlemen.

                Jeffry.

                Hope everyone had a productive week. I got some more done on my fairwater railings. I'm more or less done until painting time.

                I like the PE stanchions I got from Bluejacket. They are stout, thick brass and more importantly they have the holes for the rails pre um..holed. That means I was able to avoid having to solder the whole thing. I did remove some of the material around said holes to make them look more scale.


                I started the rear platform first. Trigger was a little odd. According to my refs it had a single rail around the whole aft platform with a wire cable where the second rail would be, providing a place to grab. But it didn't run through all the stanchion locations. Also, the single metal rail had to support the barrel of the 40mm at a level height while the gun was secured. The Bluejacket stanchions cut down to the first hole would work, but they would need a boost via some 1mm ID tubing to get that rail up to the right height so that in the end the barrel of the gun would look level.


                I glued the half stanchions into the tubing. The fudge is not too out of scale looking. Then I ran a single 0.20 Evergreen plastic rod through all the holes for the rail. There are a few tall stanchions that will eventually have the cable run through them at final assembly time. The gun seems to sit more or less correctly on the cradle I adapted from the Revell kit part.


                The front platform being square was a little different. I had to pre-bend the angle in the rod first then feed the four separate "L" shapes in one at a time trying to get them to match one another


                I snipped them flush across the front then added the single upper per my refs. All in all I think they came out all right considering how fiddly the chore was.


                I'll be finishing the guns to the point of painting then sitting them aside while I begin work on the shears and bridge proper area next.
                TomK

                Comment

                • PaulC
                  Administrator
                  • Feb 2003
                  • 1542

                  Re: 1/72nd Revell Gato Wolfpack

                  Tom, I really like your work there. I'm partial to the 3/4" anchor myself. Images of the anchors on the real boats show them sticking proud of the hull quite a bit. I think in this case bigger is better.

                  Super cool railings. That square forward platform is really nice and will make your boat striking when tied up to the tender with the rest of us. Hard to believe Wahoo and Trigger started out so closely configured.

                  Jeff, I think your hull template is ready for the Sadie Hawkins dance.

                  Look, Ma, no rubber bands! At least not to hold the stern halves and parts together. I finally got the stern tube shutters to a point where I was okay with installing them. With that done I could take the plunge and glue the halves together. The plastic weld I'm using really works well -- and quickly! I'm liking it from an assembly standpoint.


                  Below is a close-up look of the control surface are broken down. You can see the vertical cut in the skeg piece to make the part that captures the stern planes removable. The forward part of the skeg was welded in place permanently. There is a small hole between the stern plane shaft housing and the rudder bearing. That was a hole I tapped for a 2-56 machine screw.


                  Here are the running gear pieces laid out. Stern hull section, stern planes, removable skeg piece with machine screw, and rudder.


                  Below, the assembled stern planes and rudder. The flat machine screw was countersunk to fit flush to the skeg piece. The rudder covers it during normal operations. I like hiding hull fasteners on my boats! I'll either put another one forward of the stern plane control arm or glue a key to the underside of the upper skeg so it will be captured by the hull. Haven't decided yet.

                  Thanks to CI Protchenko for sharing the screw size he used on his boat. If I'm not mistaken, he was the first to install the skeg in this way back in the day. For those scoring at home, the fastener is a 2-56 x 7/16 Flat Phillips Machine Screw in 18-8 stainless. Don't worry, TomK and JeffP, I have you covered.

                  Last edited by Guest; 05-13-2015, 11:30 AM.
                  Warm regards,

                  Paul Crozier
                  <><

                  Comment

                  • pirate
                    Member
                    • Oct 2005
                    • 849

                    Re: 1/72nd Revell Gato Wolfpack

                    Jeff,
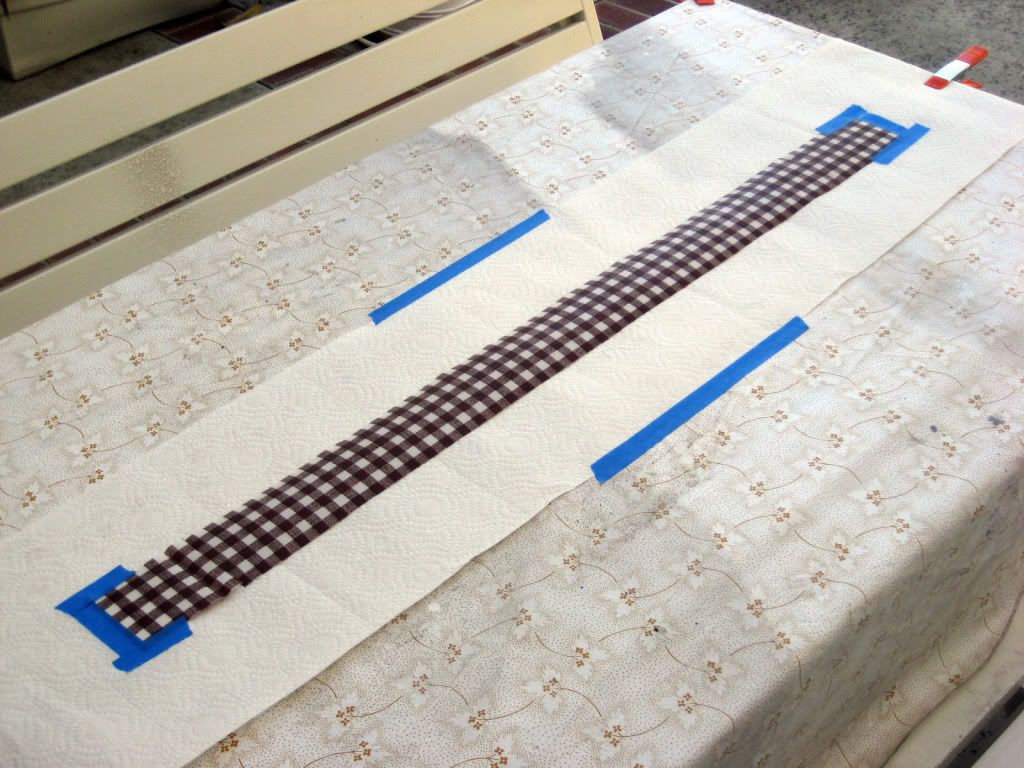
                    What is this, quilting class?

                    What's withe the gingham and checked and patterned material?

                    I'm not coming to your quilting clatch.

                    (^:

                    Comment

                    • PaulC
                      Administrator
                      • Feb 2003
                      • 1542

                      Re: 1/72nd Revell Gato Wolfpack

                      Regarding the cast metal props from the Caswell kit, has anyone found that one prop is slightly larger than the other one? It seems to be the case in the two I have and it causes interference problems with the hull. One prop spins freely on the shaft but the other strikes the hull when put on the same shaft.
                      Warm regards,

                      Paul Crozier
                      <><

                      Comment

                      • boomerfunker
                        SubCommittee Member
                        • Mar 2003
                        • 225

                        Re: 1/72nd Revell Gato Wolfpack

                        I hope you got your prop situation figured out Paul. I'm not much help I'm afraid.

                        I have been continuing work on my CT. The resin parts for my Trigger mod are pretty brittle. As I went to begin work on the "covered wagon" frames I found I'd suffered breakages on two the U-shaped pieces. I decided to try recasting the good one and after several attempts fighting air bubbles in my pours I gave up and decided to rebuild them from Evergreen parts.

                        Here is a plastic non-marring hemostat clamped in an Extra-hand holding everything just right so that I can apply glue.


                        I'm still fitting little bits here and there and the missing center frames are waiting to get detailed BEFORE I glue them in there, as it will be pretty impossible later.


                        The whole works has had the various locator pins sanded away and brass rod run through for strength in anticipation of the inevitable bumps the area will receive later while in operation. I will be continuing work on this area putting up Triggers rig including radar and lookout stations.


                        A couple of quick projects elsewhere on the fairwater included laying out the hole pattern in the mid area. I best guessed the number of rows and holes per row then layed out a pattern in Photoshop at the approximate scale by eyeball. I printed the drilling template out and glued them to thin plastic card with rubber cement. A pin vise and a tiny tiny bit completed the panels. I'll glue them on just before final paint so the holes don't get clogged up unnecessarily.


                        I plated over the hatch in the front to match my refs. Silversides still sports hers though.


                        Finally I messed around a bit with the 40 mm gun from White Ensign. I am finding a lot of the Photo-Etch looks too thin to me at this scale and I particularly didn't like how the foot pads and the bar that the targeting reticules reside on looked so I replaced them with brass rod. I picked up a useful bit of information that came in handy here. I used the too thin PE as a guide to rebuild a more robust part by sticking it to some Tamiya hobby tape rolled over flat. I laid out my replacement parts in line with it and glued them together with super glue. Then I hit the whole area with a shot of accelerator which had the result of setting the glue instantly but also neutralizing the adhesive on the tape, so removing the part doesn't bend it in the process.


                        Here is the gun now ready for paint and some final detailing closer to the finish line.


                        TomK

                        Comment

                        • modelnut
                          • May 2003
                          • 432

                          Re: 1/72nd Revell Gato Wolfpack

                          I just came across this site (rediscovered it rather) and it has a pdf of various limber hole patterns for the GATO class: http://amp.rokket.biz/docs/gato_bow_limber.pdf
                          And it's FREE!

                          Just thought it might come in handy. Keep it up, guys! I'm enjoying the view. And getting closer to building my own . . .

                          - Leelan

                          Comment

                          • jefftytoo
                            SubCommittee Member
                            • Mar 2003
                            • 922

                            Re: 1/72nd Revell Gato Wolfpack

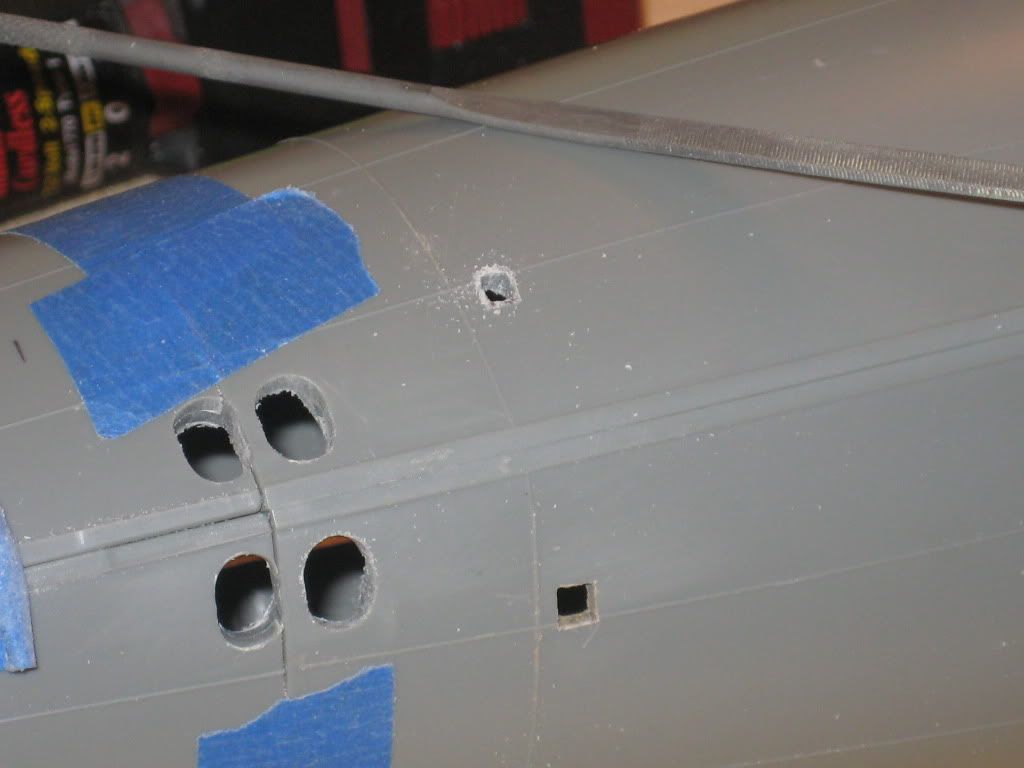
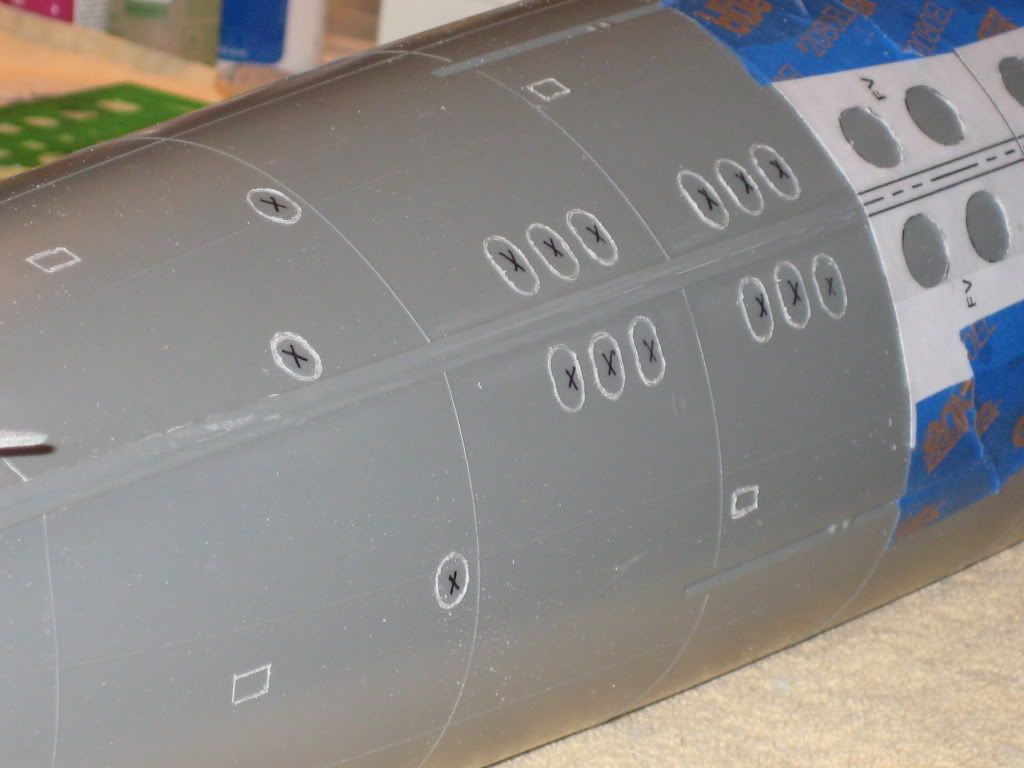
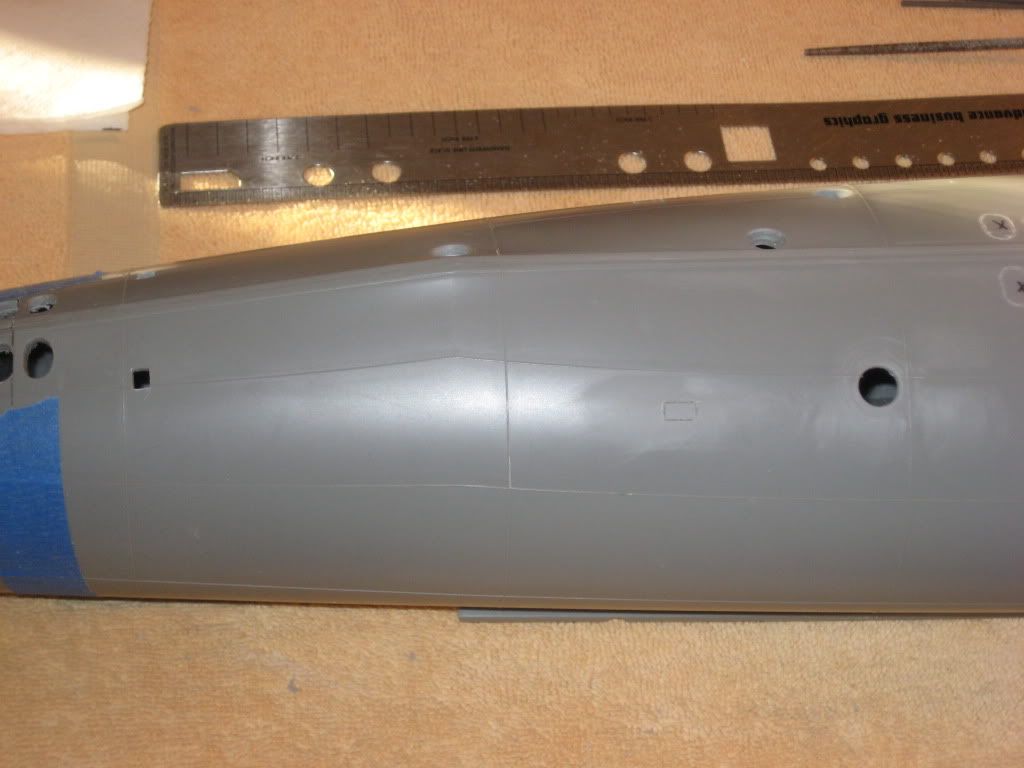
                            I was recently reminded by a clear-headed packmate that I should really be posting my Gato/Harder build updates here instead of in my own SubRon5 "Repair Yard" thread. Good call! Progress on said project shall henceforth be posted in this revered spot! (What's below is a repeat of what I just posted over there on Monday after a productive day off work...)

                            The following labor on Harder was a continuation of the attack on her keel flood holes. The photos below tell the story]Blueback[/i] and got her out of the way. Then I chose to actually start drilling out a few keel holes to see how they would look.

                            I found that working with styrene is more difficult than I'd anticipated. It's softer than a fiberglass hull, yes, but not as forgiving, easier to make permanent mistakes. Each hole also takes a very long time with assorted files and sandpaper.

                            My first two attempted oval holes didn't turn out all that well, but were certainly adequate. The circular ones were a little easier and turned out better. I certainly hope to improve overall with practice—there are plenty of holes left to go!

                            Hope to get back to it next weekend.


                            Till next time,
                            JeffP

                            Comment

                            • PaulC
                              Administrator
                              • Feb 2003
                              • 1542

                              Re: 1/72nd Revell Gato Wolfpack

                              Jeff recently went to Plastruct HQ in LA and solved the dilemma as to which prefab deck part out there is the best match to the kit deck. The winner is: Plastruct part #PS-33. The channels between planks are not quite as deep owing to the relative thinness of the sheet but it should do really well sitting proud of the kit deck as the real planking did. Way to go, Jeff!

                              Warm regards,

                              Paul Crozier
                              <><

                              Comment

                              • jefftytoo
                                SubCommittee Member
                                • Mar 2003
                                • 922

                                Re: 1/72nd Revell Gato Wolfpack

                                Thanks, Paul. I'm hoping that an eleventh hour dark black wash will highlight those shallow channels between the deck planks, making it look more like the real thing.

                                JeffP

                                Comment

                                Working...
                                X