Re: 1/72nd Revell Gato Wolfpack
Porteous shipyard work began today by shortening a little bit the Seaview carry cradle I'd constructed last weekend (see "Jeff Porteous's Repair Yard" in the SubRon5 section), gluing together its major PVC joints, and then finally gluing on its foam rollers to finish up the project. Then I had to spend significant time reorganizing the garage just to come up with sufficient shelf space to store the lengthy beast!
That accomplished, it was back to Harder's hull. Two weeks or more ago I'd foolishly taped the hull halves together with shipping tape in anticipation of CA'ing together the inside keel seam. But, not having gotten around to that process when expected, I now found myself with a lot of shipping tape goo to remove from the outer hull. Ouch! (What a dope.) Fortunately, duct tape glue is stronger than that of shipping tape, and a few minutes with some strips of duct tape and I was able to clean off the hull quite nicely.
So now it comes time to CA the hull halves, accomplished by dripping the thin stuff along the inner keel seam and then cooking it off with Zip Kicker.
Next came the first layer of 30-minute epoxy, followed by cutting some thin strips of fiberglass…
…and laying them in over the epoxy. Another layer of epoxy was dribbled on over that, and all was smoothed out as best I could (via the narrow hull access opening you see here) using popsicle sticks and one of those small disposable foam paint brushes. Of course, the fiberglass strips shifted and balled up during this process and pretty much created a small mountain ridge along the inner keel despite my best efforts. But later, once the hull's top is fully removed and access is better, I can grind down and/or sand the seam smoother as necessary so it won't interfere with either the fit of the RCABS unit or the lead keel weights slated to be installed later.
See, I'd hoped the whole inner seam would look smooth like this.
Instead I got this ugly—but functional—mess. Oh well.

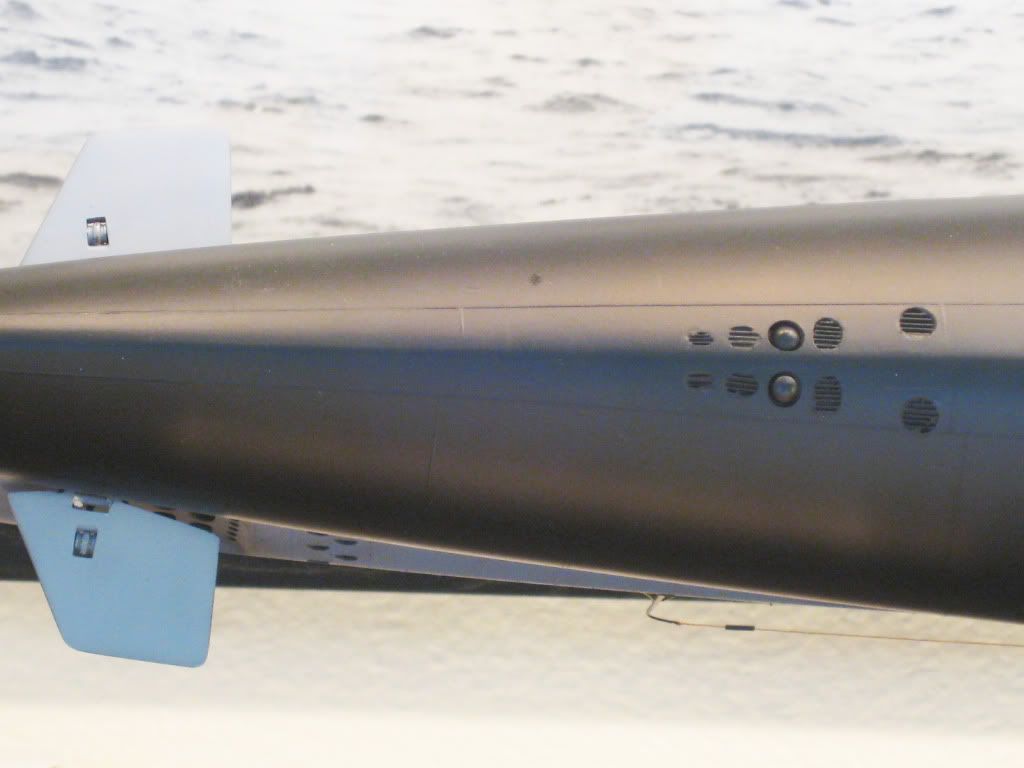
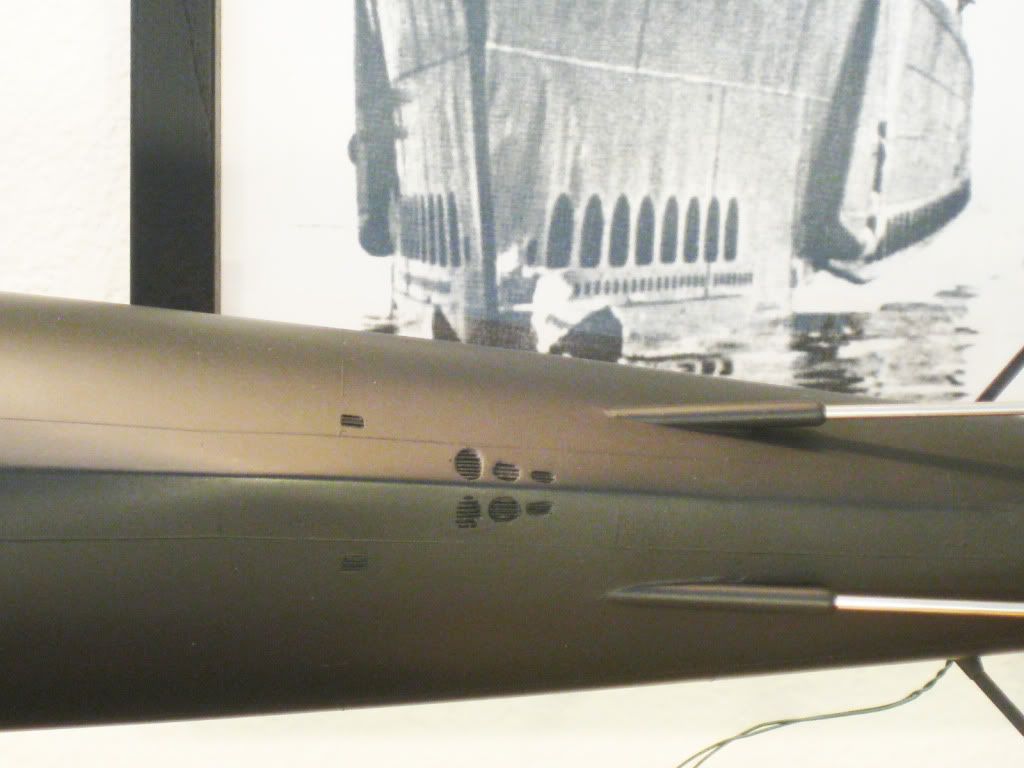
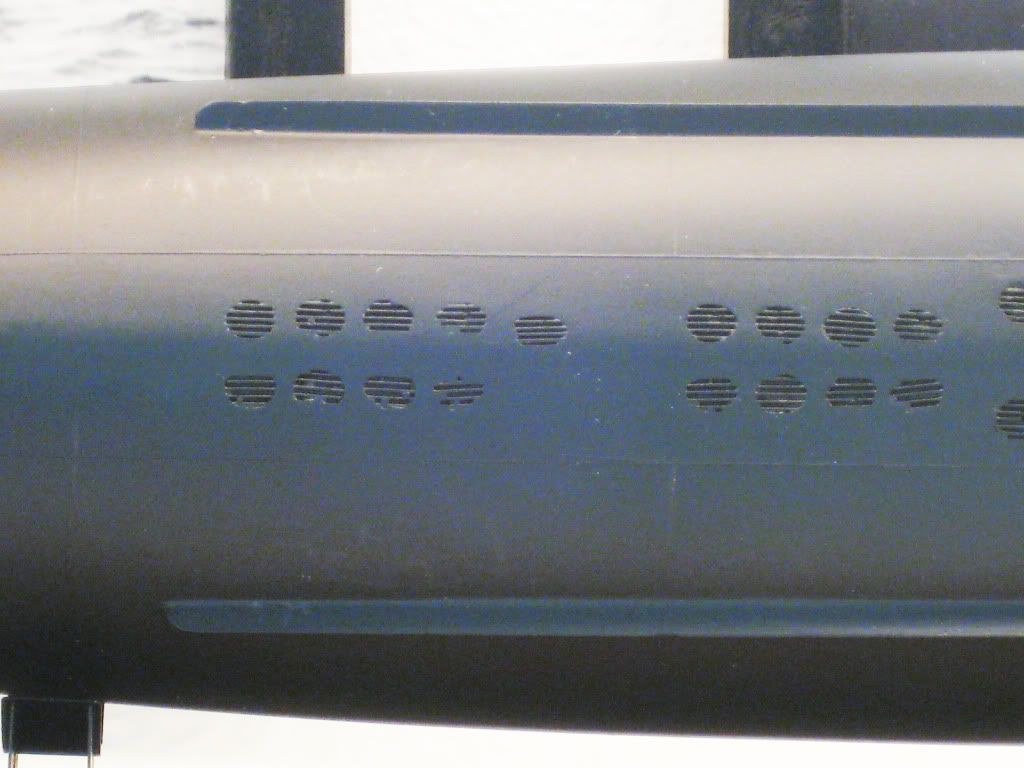
One actual benefit of all this inner hull epoxy is that it will provide more material to drill into and file out when later creating the scale keel flood holes—making the process at least a little less harrowing than drilling through delicate styrene walls only. This procedure is planned to begin next weekend, BTW.
JeffP
Porteous shipyard work began today by shortening a little bit the Seaview carry cradle I'd constructed last weekend (see "Jeff Porteous's Repair Yard" in the SubRon5 section), gluing together its major PVC joints, and then finally gluing on its foam rollers to finish up the project. Then I had to spend significant time reorganizing the garage just to come up with sufficient shelf space to store the lengthy beast!
That accomplished, it was back to Harder's hull. Two weeks or more ago I'd foolishly taped the hull halves together with shipping tape in anticipation of CA'ing together the inside keel seam. But, not having gotten around to that process when expected, I now found myself with a lot of shipping tape goo to remove from the outer hull. Ouch! (What a dope.) Fortunately, duct tape glue is stronger than that of shipping tape, and a few minutes with some strips of duct tape and I was able to clean off the hull quite nicely.
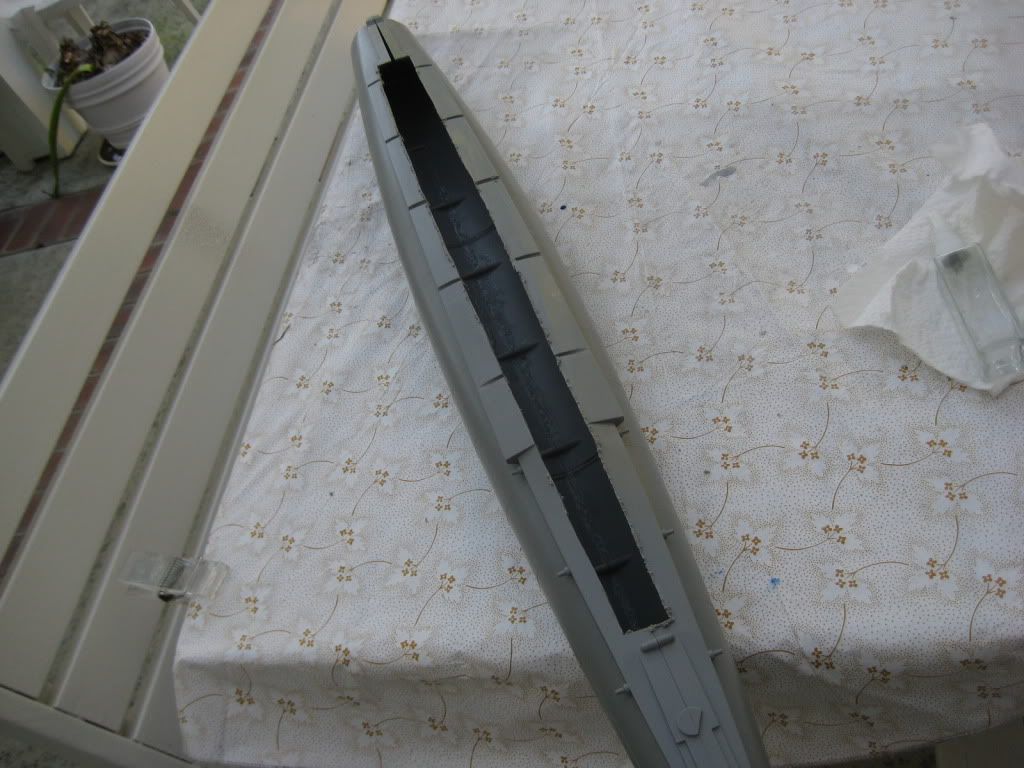
So now it comes time to CA the hull halves, accomplished by dripping the thin stuff along the inner keel seam and then cooking it off with Zip Kicker.
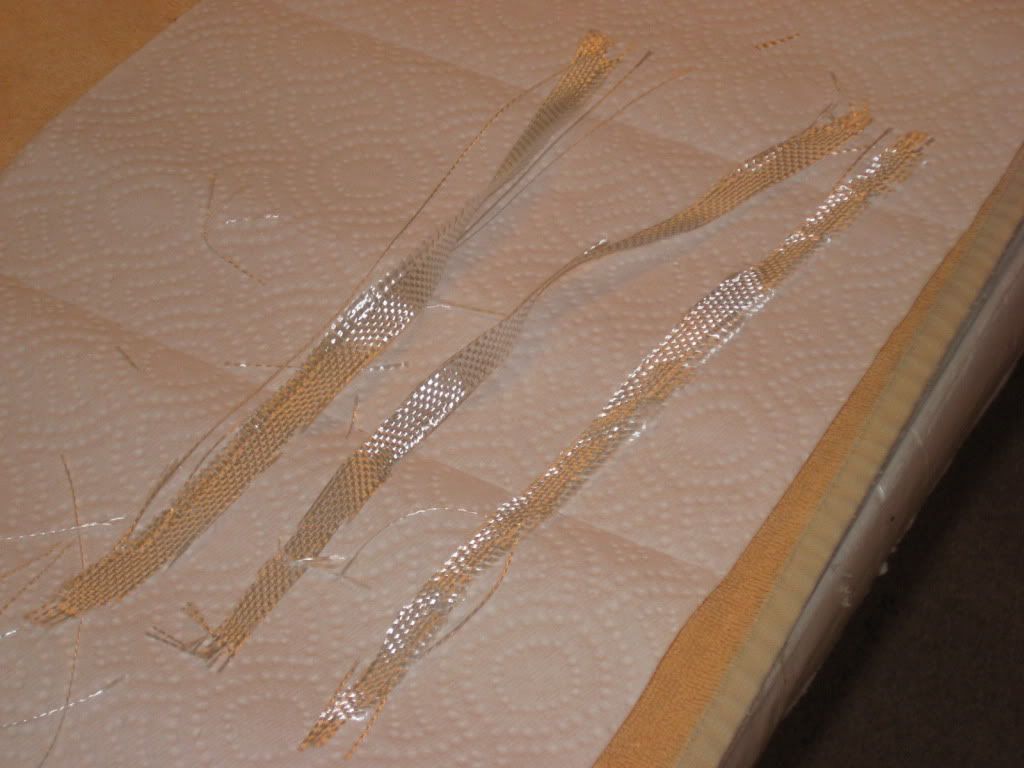
Next came the first layer of 30-minute epoxy, followed by cutting some thin strips of fiberglass…
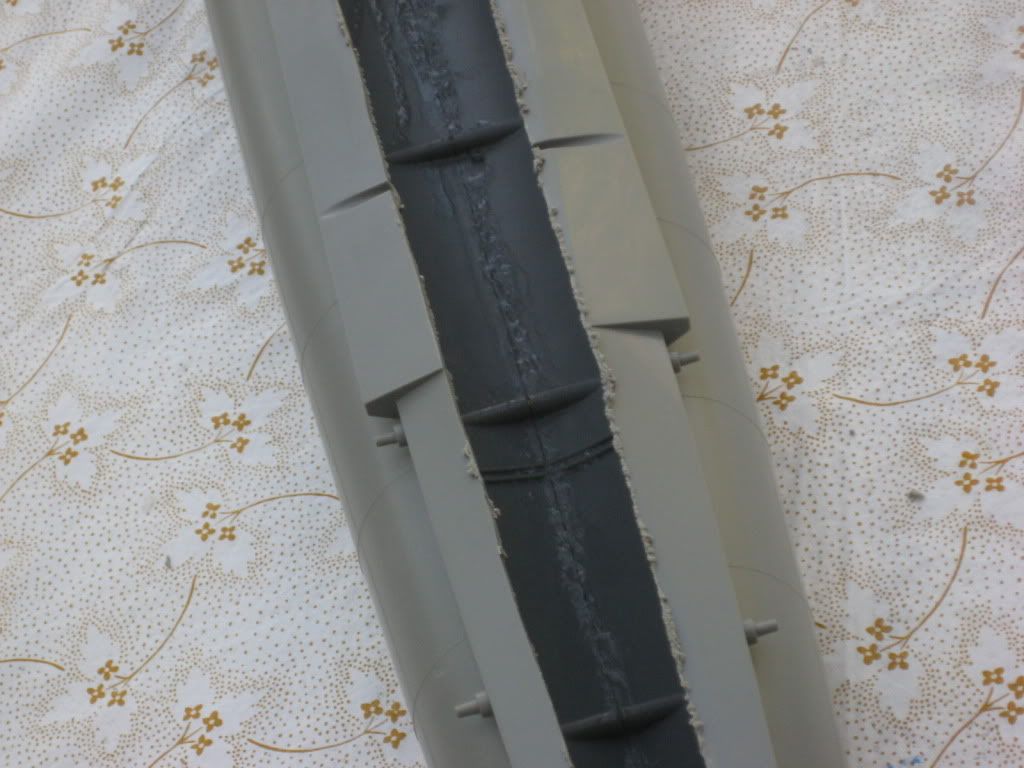
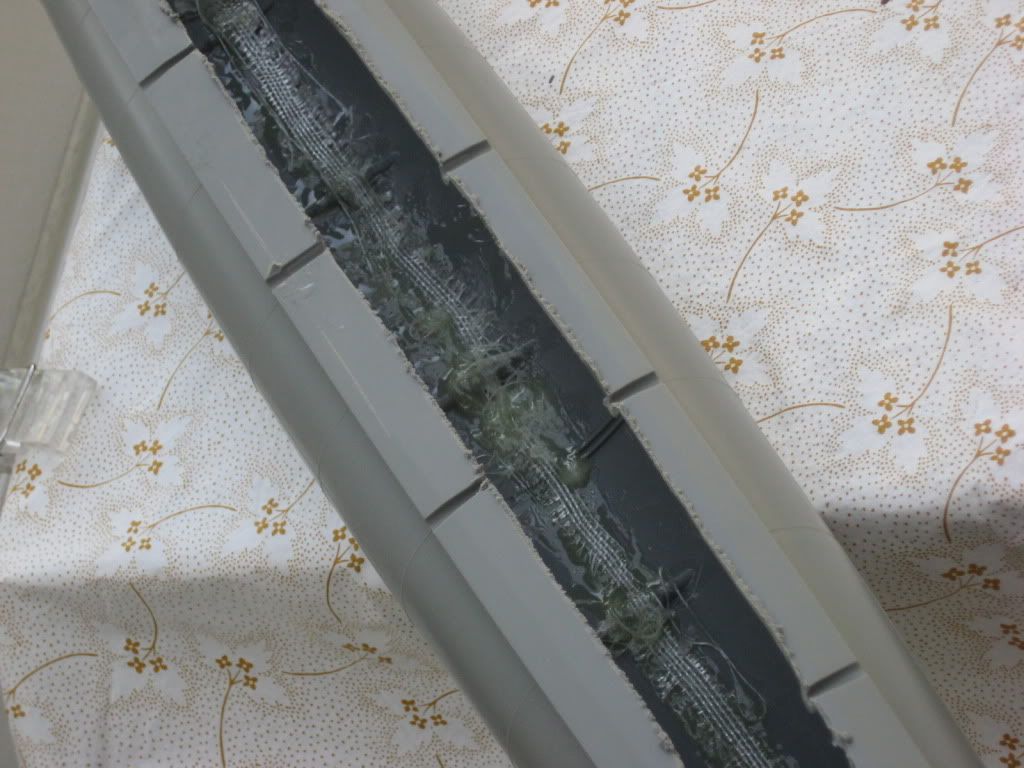
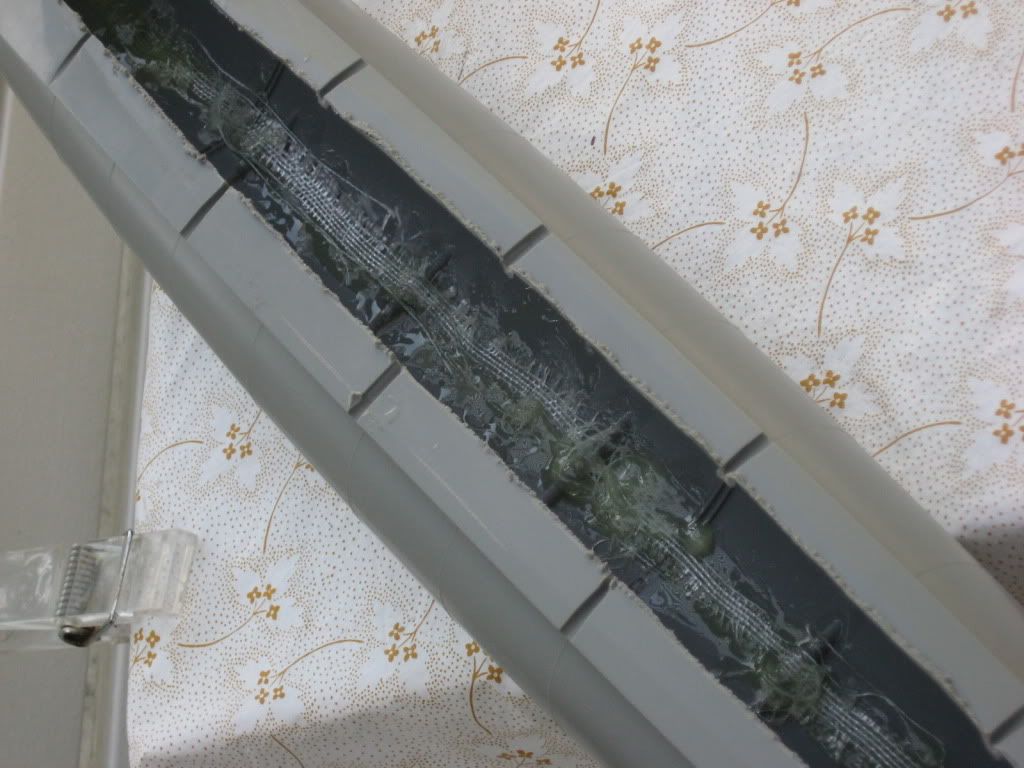
…and laying them in over the epoxy. Another layer of epoxy was dribbled on over that, and all was smoothed out as best I could (via the narrow hull access opening you see here) using popsicle sticks and one of those small disposable foam paint brushes. Of course, the fiberglass strips shifted and balled up during this process and pretty much created a small mountain ridge along the inner keel despite my best efforts. But later, once the hull's top is fully removed and access is better, I can grind down and/or sand the seam smoother as necessary so it won't interfere with either the fit of the RCABS unit or the lead keel weights slated to be installed later.
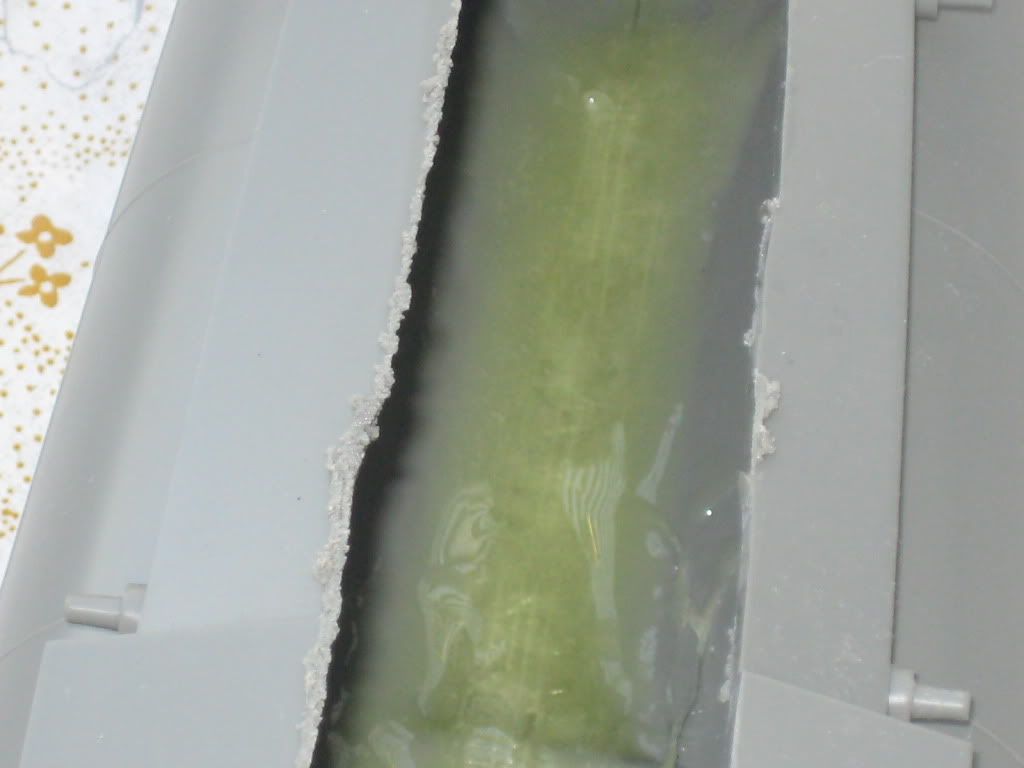
See, I'd hoped the whole inner seam would look smooth like this.
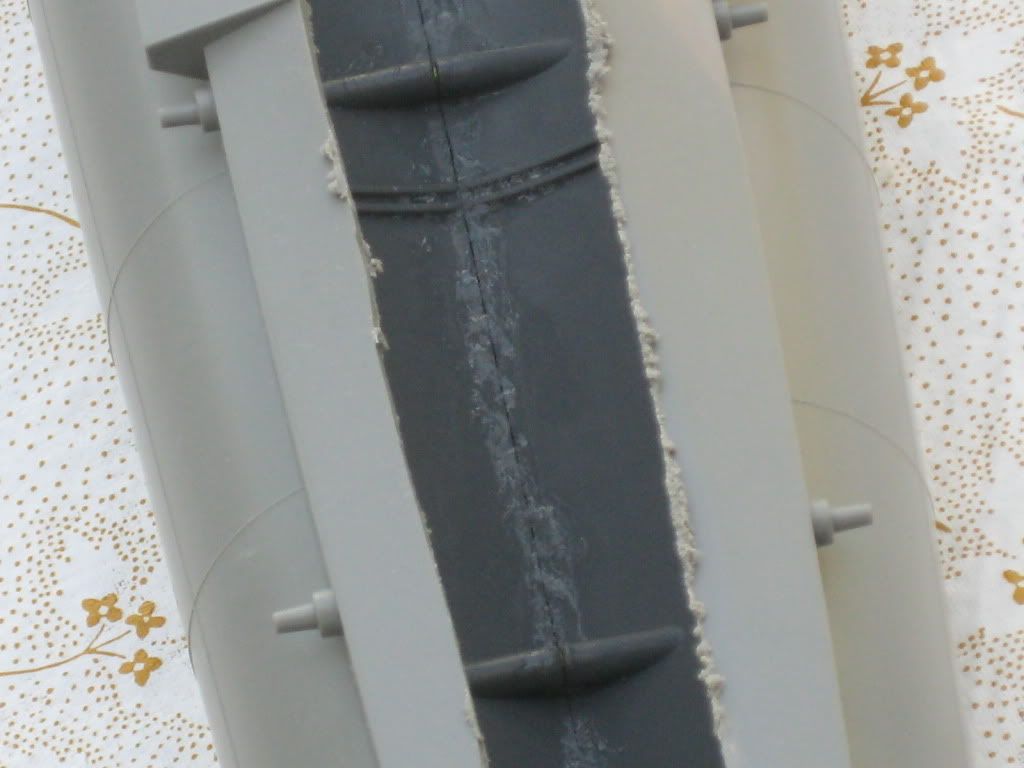
Instead I got this ugly—but functional—mess. Oh well.
One actual benefit of all this inner hull epoxy is that it will provide more material to drill into and file out when later creating the scale keel flood holes—making the process at least a little less harrowing than drilling through delicate styrene walls only. This procedure is planned to begin next weekend, BTW.
JeffP


Comment