USS Jack

Collapse
X
 
  • Time
  • Show
Clear All
new posts
  • skip asay
    Junior Member
    • Feb 2003
    • 247

    #76
    Greenman - All the hardware

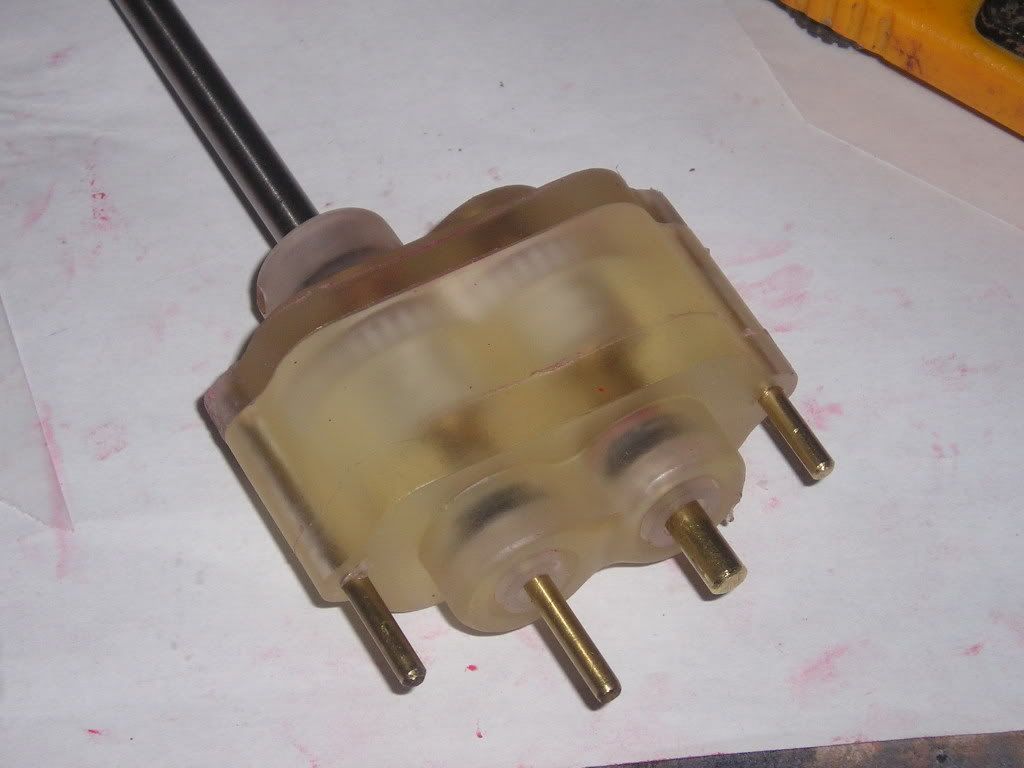
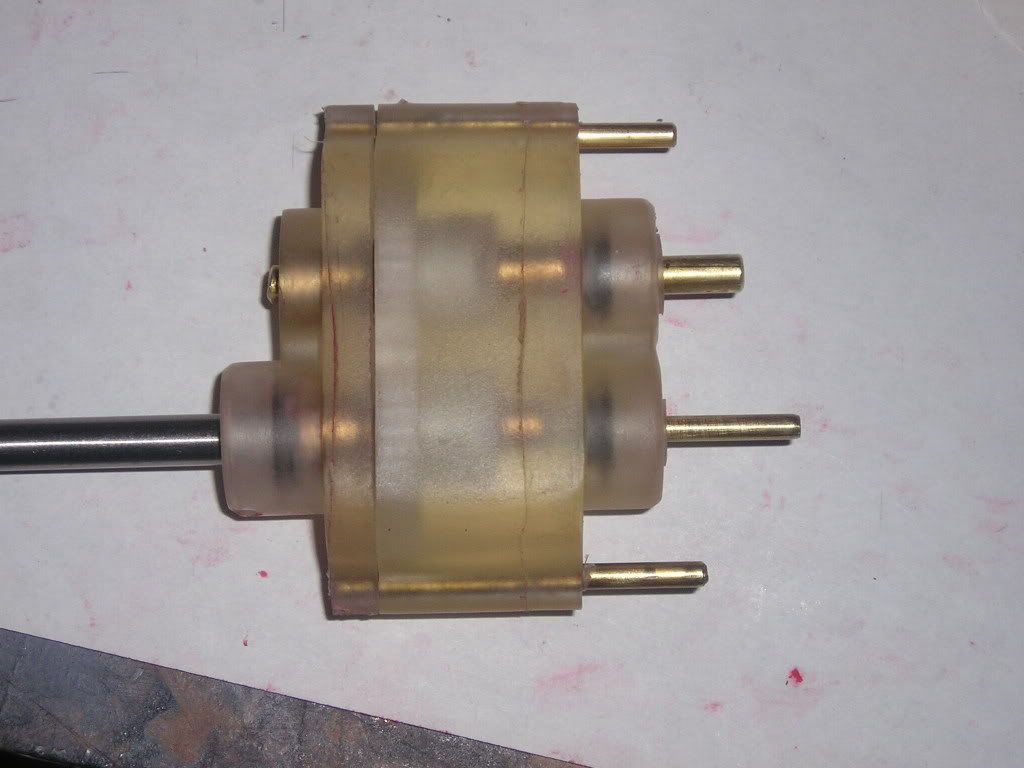
    Greenman - All the hardware came from Albacore kit inventory which was originally purchased from Stock Drive Products.

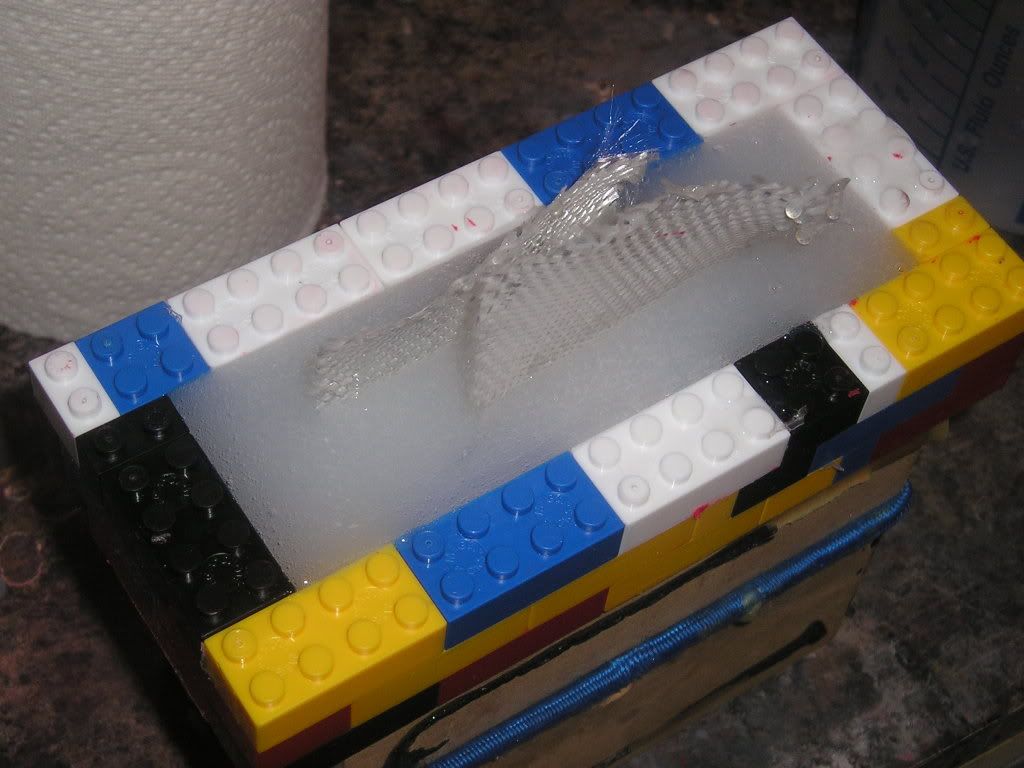
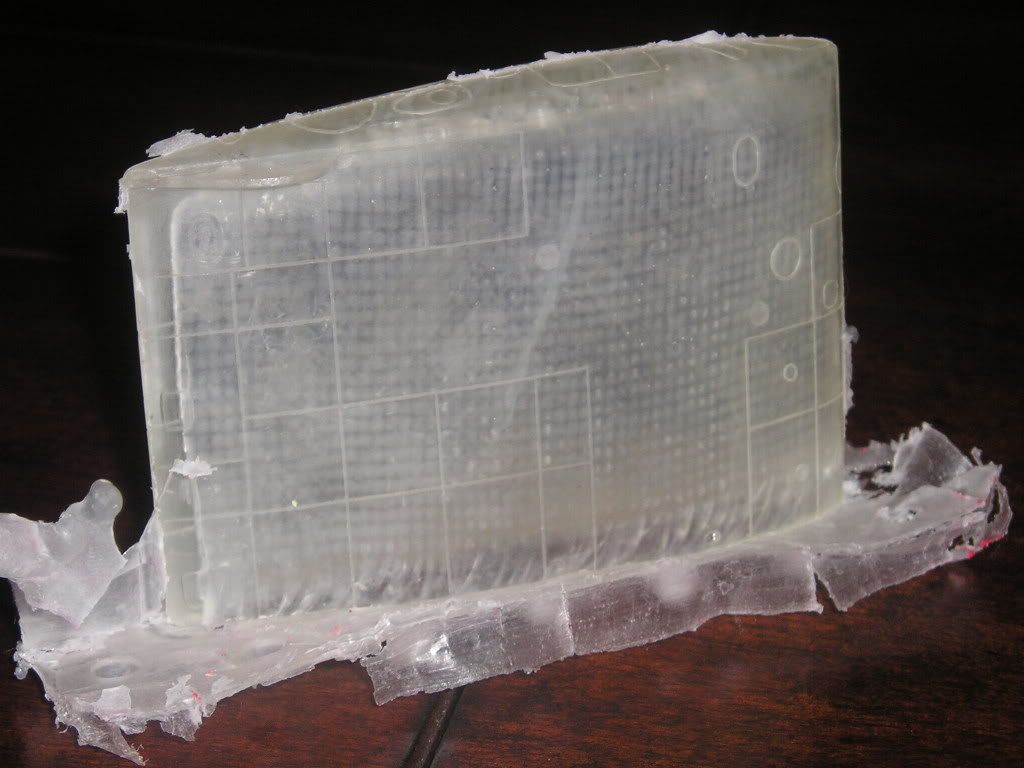
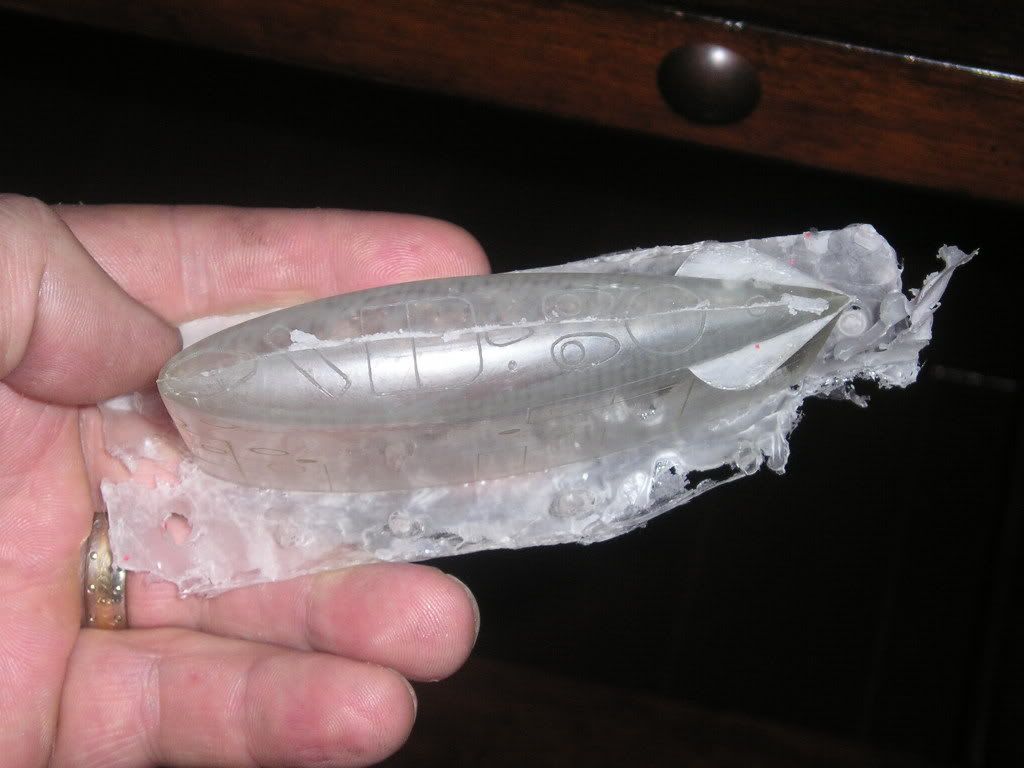
    The housings consist of much modified ABP pump housings which gave me the output shaft seal, and lexan tubing capped with ABP pump covers. As I said, it all came from inventory.

    Skip Asay


    Comment

    • greenman407
      Junior Member
      • Sep 2007
      • 1186

      #77
      Great job, you must be

      Great job, you must be pleased. The props, did you make them or are they purchased? Do you still own it? Would be nice to see it at a fun run. All the best.

      Comment

      • warpatroller
        Junior Member
        • Feb 2006
        • 308

        #78
        Skip,

        Couldn't you have put the

        Skip,

        Couldn't you have put the motors and belt drives inside the pressure hull and use an O-ring seal around the larger hollow prop shaft? Only thing with that method is I'm not sure how you would keep water from entering between the solid inner and hollow outer shafts at the propeller end of the boat..unless maybe the hollow shaft was packed with grease like a stuffing box.

        Another thing would be the water churning around the toothed belts and causing resistance having them mounted in the wet like that. I assume you didn't find any issue with that?

        I believe WWII torpedoes used a single motor with a bevel gear box (comprising 4 bevel gears) to achieve contra rotation of their props. Did you ever try this and if so did the boat still experience any torque roll? Also, did you find this kind of setup to absorb to much power during transmission to the props? Or were you experimenting with another kind of gearbox?

        Steve

        Comment

        • manowar
          Junior Member
          • Jun 2007
          • 173

          #79
          Moulds part 2

          Hello again,
          Today I’ll go into the three-part mould construction for the sail.

          The objective with this mould is to have a finished product that has a hollow core sail with thin walls. You might ask why I didn’t machine the sail out itself to make it hollow? Three very important reasons: First, the detailing on the sail is already complete and to hold it firmly enough in a vise to permit machining would damage the exterior. Second, I don’t trust the MDF material to hold up at the thickness I want to make the walls at, and third, I’m lazy.

          To begin, I flatten out some clay to the thickness that I want the one half of the mould to be. I am now always setting the patterns and sprue networks in the clay first before setting up the containment walls. This allows me to have more access to get my tools in the tight spaces to properly seal the clay against the parts. This greatly increases the quality of the reproduction parts by decreasing the seam lines and making them straighter, just like if you were to buy the parts from Mattel or something. For the containing dams I am making heavy use of something that brings me back to my initial start in the construction field, the Lego system. Using these gives me an extremely dynamic system that allows me to make any size or shape of dam that is required. It’s far better than the melamine blocks of wood that I used to have to cut on the table saw and have to staple together. It feels good to be using the blocks again and the only times I feel shame is when my wife comes out to the shop and quietly giggles at me, or when I have to pull the blocks out of my kids’ hands when they are playing with it and I need it…LOL!

          So here we go. Everything is in place, including my Lego dam. Notice the upright vertical slab of clay at the base of the sail;


          After the fist side is poured. I always use a pressure pot for curing silicones and urethane plastic casts to get all the bubbles out. I spend all the time required to clean any residual clay. It’s imperative to get it all away from the patterns to get the best possible seam lines.


          A beautiful mould-in-the-sunset take, ready for the next phase]http://i171.photobucket.com/albums/u319/Rapperkiller/P1011517.jpg[/img]

          Here the two halves removed from the Lego and the clay and cleaned up with soap and water]http://i171.photobucket.com/albums/u319/Rapperkiller/P1011518.jpg[/img]

          Now, to achieve my thin walls for my sail I bought some styrene sheet that is roughly around the thickness of my fiberglass lay-ups. It was cut to size and then melted into the mould halves using my heat gun. The styrene sheet takes the shape of the mould perfectly and then all I have to do is trim the excess and glue the styrene halves together. See where I am going here?


          The two halves are held together with two blocks of MDF and held firm with little bungee cords. Not too tight though, I don’t want any deformation. I applied mould release on every square inch of silicon rubber, as I don’t want any sticking from new pour leaks. A new dam is built and rested on the MDF and my “styrene sail” is inserted into the hollow. I also put a few strips of fiberglass in the hollow to prevent stretching of this “mandrel” when being removed. Now I can pour the third part of this mould.


          Regards,
          Joel

          Comment

          • Guest

            #80
            A really good way to

            A really good way to hold awkward shaped pieces for machining, whilst avoiding damage, is to encase the part in wax.

            When the machining is finished, the wax can be melted away.

            Comment

            • manowar
              Junior Member
              • Jun 2007
              • 173

              #81
              Moulds Part 3

              Ok,
              Here are the results from this mould;
              I used a couple of wraps of fiberglass around the core and held it there with spray-on contact glue and forced some chop into the exhaust diffusers. My new transparent, longer cure time urethane wikked throughout the glass beautifully. I am really happy with the results here, no pin holes and complete coverage of resin! The modelers won’t have to fit their sails together anymore now…a real lazy man’s kit!


              Here is the first reproduction with the flashing still on…yay! Less work for me now too. The clear plastic really lets me see what has happened in the cast. For production I’ll probably add a black pigment to the plastic


              Regards,
              Joel

              Comment

              • manowar
                Junior Member
                • Jun 2007
                • 173

                #82
                And here is what we

                And here is what we have waited for, a finished cast gearbox...


                Joel

                Comment

                • redboat219
                  Member
                  • Jan 2005
                  • 523

                  #83
                  Excellent work.

                  Will you be

                  Excellent work.

                  Will you be lubricating the inside ofyour gear box with grease or just plain H2O.

                  On the real boat this gearbox was within the pressure hull. Any idea on how did they sealed the concentric shafts.

                  Comment

                  • manowar
                    Junior Member
                    • Jun 2007
                    • 173

                    #84
                    Excellent work.

                    Will you be

                    Excellent work.

                    Will you be lubricating the inside ofyour gear box with grease or just plain H2O.

                    On the real boat this gearbox was within the pressure hull. Any idea on how did they sealed the concentric shafts.
                    I'll probably put a few drops of canola oil in to splash around like a crankcase of an engine and to keep the seals moist. If it leaks thats ok because it's just canola. Some others with a more discerning tongue might prefer to go high end with extra virgin olive oil <grin>

                    For sealing the inner shaft inside the outer shaft I would have to guess that it would be at the sternmost part of the outer sleave, at least that is how I am doing it. The part inbetween the two props will house my u cup lip-seal used for this purpose. I'll get some pics up when I cast those parts.

                    Thanks,
                    Joel

                    Comment

                    • warpatroller
                      Junior Member
                      • Feb 2006
                      • 308

                      #85
                      Excellent work.

                      Will you be

                      Excellent work.

                      Will you be lubricating the inside ofyour gear box with grease or just plain H2O.

                      On the real boat this gearbox was within the pressure hull. Any idea on how did they sealed the concentric shafts.
                      I'll probably put a few drops of canola oil in to splash around like a crankcase of an engine and to keep the seals moist. If it leaks thats ok because it's just canola. Some others with a more discerning tongue might prefer to go high end with extra virgin olive oil <grin>

                      For sealing the inner shaft inside the outer shaft I would have to guess that it would be at the sternmost part of the outer sleave, at least that is how I am doing it. The part inbetween the two props will house my u cup lip-seal used for this purpose. I'll get some pics up when I cast those parts.

                      Thanks,
                      Joel
                      Was wondering how you were going to keep water out of the hollow outer shaft where the propellers attach.. Will be interesting to see the pictures of this "u cup lip-seal".

                      Comment

                      • skip asay
                        Junior Member
                        • Feb 2003
                        • 247

                        #86
                        "The props, did you make

                        "The props, did you make them or are they purchased?"
                        These were built by Mr. Keith Bender many years ago.

                        "Do you still own it?"
                        Yes, but it's in need of an overhaul and there are just too many other projects ahead of it.

                        "Couldn't you have put the motors and belt drives inside the pressure hull and use an O-ring seal around the larger hollow prop shaft?"
                        Too complicated. I wanted to be able to remove the pressure hull at will and internal mounting would have negated that.

                        "Another thing would be the water churning around the toothed belts and causing resistance having them mounted in the wet like that. I assume you didn't find any issue with that?"
                        Not enough to be concerned about.

                        "I believe WWII torpedoes used a single motor with a bevel gear box (comprising 4 bevel gears) to achieve contra rotation of their props. Did you ever try this and if so did the boat still experience any torque roll?"
                        Yes, my first effort used a gear box. With counter-rotating props, there's no torque roll.

                        "Also, did you find this kind of setup to absorb to much power during transmission to the props?"
                        Yes. That's why I went with 2 motors. I believe in the KISS Principle.

                        Skip Asay

                        Comment

                        • greenman407
                          Junior Member
                          • Sep 2007
                          • 1186

                          #87
                          Thanks Skip!

                          Thanks Skip!

                          Comment

                          • manowar
                            Junior Member
                            • Jun 2007
                            • 173

                            #88
                            More Moulds

                            Here's a look inot what I have been up to the last few weekends...Note on the last picture is my vacuum chamber, the real amount of mixed silicone is only about a tenth of the volume of the container and it almost boiled over. It's a good thing I used a large container to hold the stuff through the process of de-airing My results with using the vacuum deaired silicone is different than if I was to solely use the pressure pot. This technique truely de-airs the material while pressurizing, well, I'm not really 100% positive what is doing there. Theoretically it should be creating millions of tiny little bubbles at 70psig defused all around the silicone, but the finished porduct is just as good (but slightly less translucent) as the vacuumed variety. Either way, I use pressure for moulds that fit into the pot and vacuum for pouring into ones that won't. I'm not limited here by pot size anymore.


                            Comment

                            • manowar
                              Junior Member
                              • Jun 2007
                              • 173

                              #89
                              Moulds part 4

                              Hello again everyone,
                              Still going on the moulds, and yes, I am getting sick of moulds! Uggg! This time around it’s the hull, the biggest, baddest, meanest mould of them all.
                              First thing is to get the hull plug entrenched in a parting system that splits the plug in half and gives me some fiberglass flanges, of which will give me the capability to do vacuum bagging if I so choose. The plug is kept in place with modeling clay in the bottom. Once happy with the positioning of the plug I fill in around the sides of the plug with modeling clay and level out using an Exacto razor chisel


                              Once the plug is polished with about six coats of wax I then proceed on final details, like removing my sunken detail tape, drilling slight countersinks for my MBTs so I can attach my PE flush. I also added the safety track on the back of the boat using a piece of evergreen styrene strip by masking off all around the area that is to be adhered and then I scour the surface so that the glue will have something to grab too. Same with the mbt and capstan tops.


                              [img]

                              Comment

                              • manowar
                                Junior Member
                                • Jun 2007
                                • 173

                                #90
                                Moulds Part 5

                                Greetings,
                                Well as you all have guessed by my long absence on this thread that I had to redo the whole hull mould, both halves. This time I have finished an am quite happy with the finished result. The only thing that I don’t like is the aesthetics of the white epoxy surface coat I used. Apparently I should have used far more white pigment in my epoxy mix; I have a non uniform coloured surface, with some parts are semi transparent and others opaque. I can even see a few of my hairs that must have fell and were trapped in the coating. Maybe this is making me lose my hair. Anyway, the important thing here is the details and surface finish came out well and I have a white background in which I’ll be able to see my laminations a bit better.
                                This time I’ve opted with a full egg crate support system built to the bottoms of the mold to prevent any warpage and provide a solid base for which I can clamp the mould to my bench securely if needed. Last time I only did a partial egg crate because my lamination was around ¼” thick! This time I only went to half that.


                                Here’s a rarity; A cleaned off workbench!


                                Now that the hull halves are completed I now have the joyous task of doing the green-mould waxing process. Wipe high temp mould release wax all over the surface, let dry for 5 minutes until the wax turns to a haze, buff off using diaper cloth and let sit for half an hour to let set properly. I’ll repeat this process 7 or 8 times for this brand new mould. When it comes time to laminate hulls inside this mould I’ll go through with a toothpick to remove and leftover wax from the detailing and then apply my PVA (Poly Vinyl Alcohol) mold release mould release barrier using an auto body touch up gun before actually apply the FRP.


                                Regards,
                                Joel

                                Comment

                                Working...