USS Jack

Collapse
X
 
  • Time
  • Show
Clear All
new posts
  • manowar
    Junior Member
    • Jun 2007
    • 173

    #16
    Bill, Stu,
    Thanks very much guys

    Bill, Stu,
    Thanks very much guys for the kind worrds, and yes, there is lots more to come for this thread!

    Stu,
    There will be a 1/72 Seawolf, I have all the goodies, prints and materials, it is next on the queue after uncle Jack is finished. I'm lovin' it!

    regards,
    Joel
    Comment

    • PaulC
      Administrator
      • Feb 2003
      • 1542

      #17
      Joel,

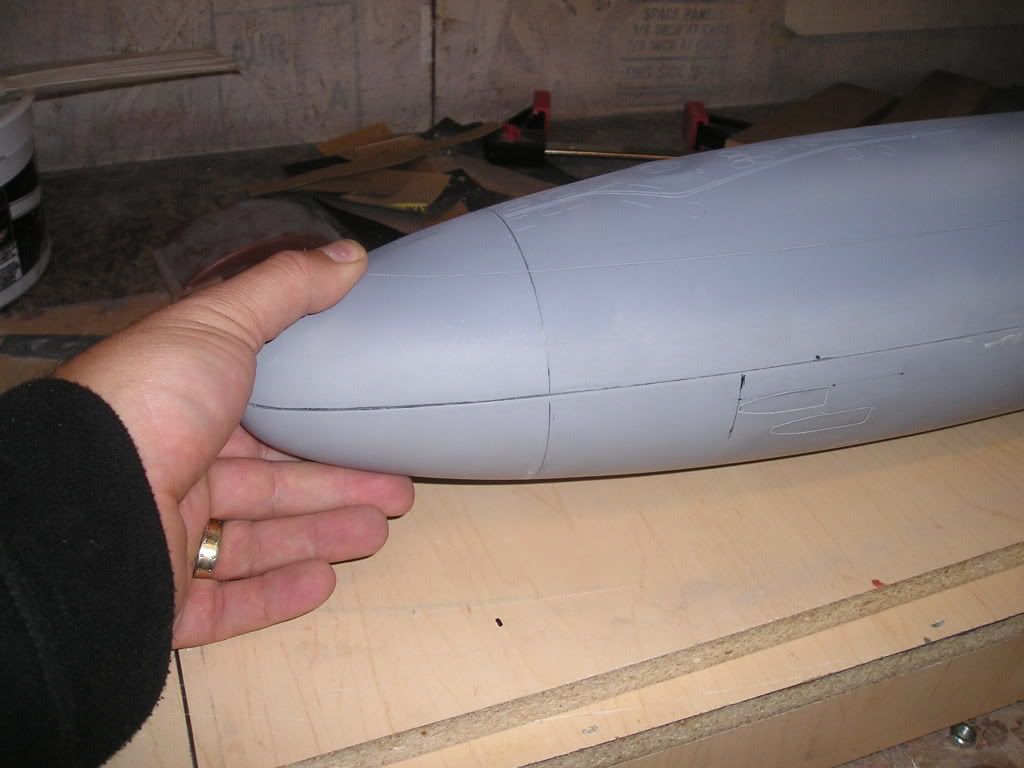
      I agree a scribed sonar

      Joel,

      I agree a scribed sonar dome demarcation would be a nice addition to your hull. It helps line up draft markings if nothing else.
      Warm regards,

      Paul Crozier
      <><

      Comment

      • manowar
        Junior Member
        • Jun 2007
        • 173

        #18
        Hull part 7

        Alright,
        It’s time for working on the top half of the hull. Actually this is more like a time machine because all this work was finished some time ago. A good thing too, because at times like this when I haven’t been able to get to the boat I still have something to fall back and write on.

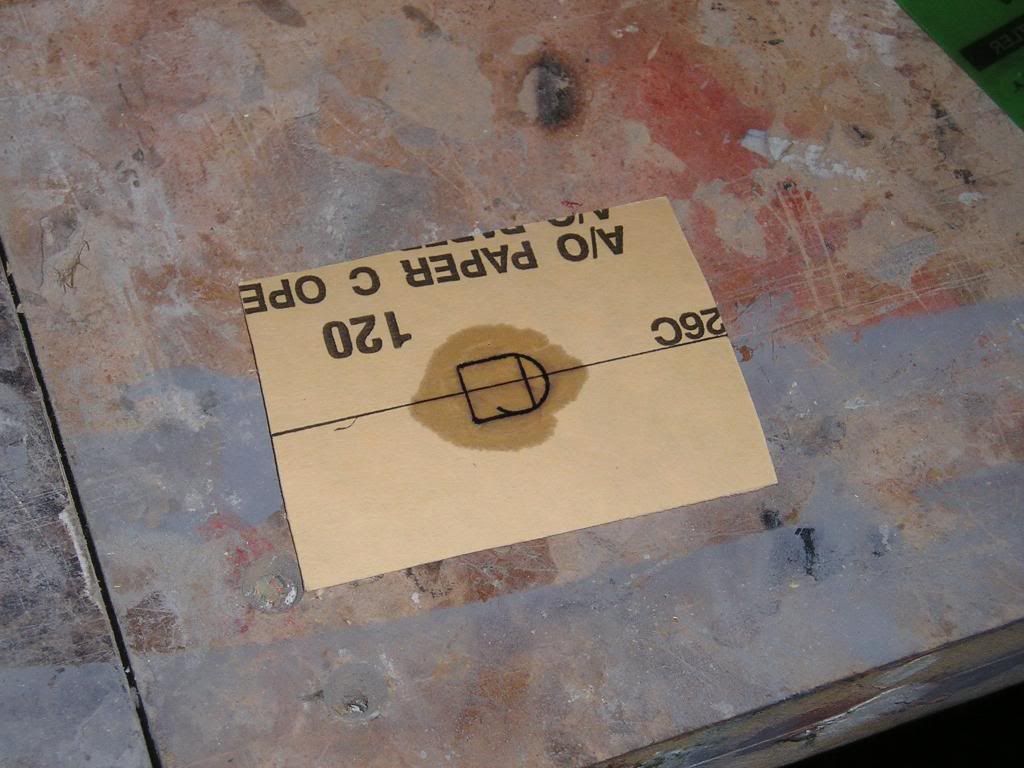
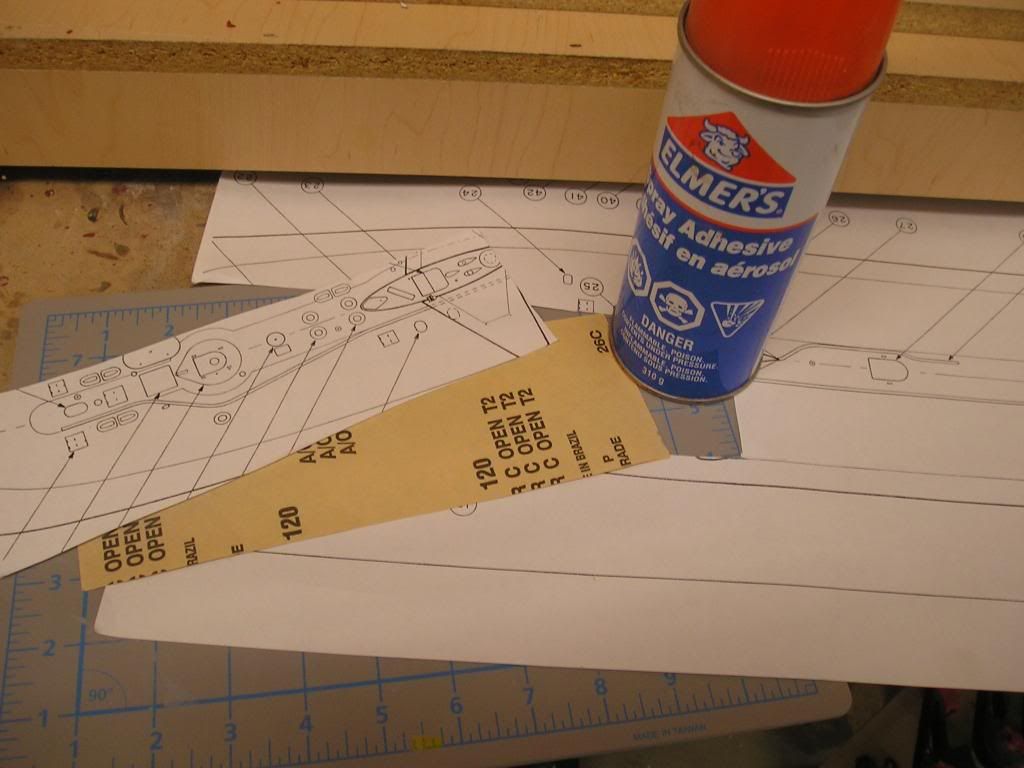
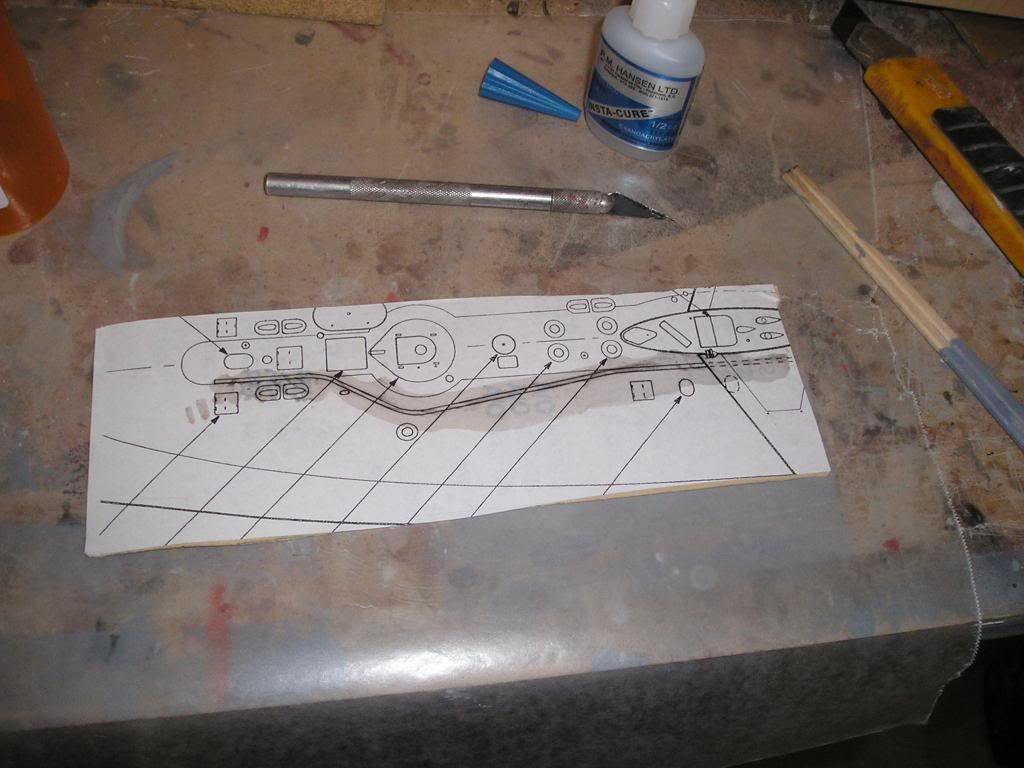
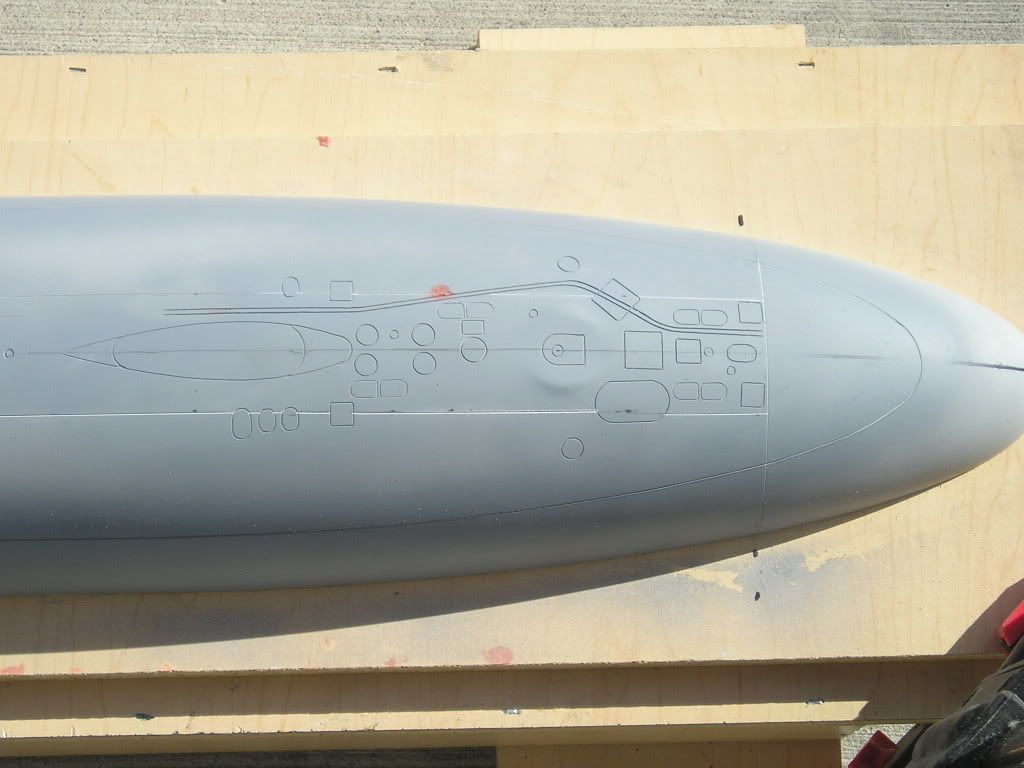
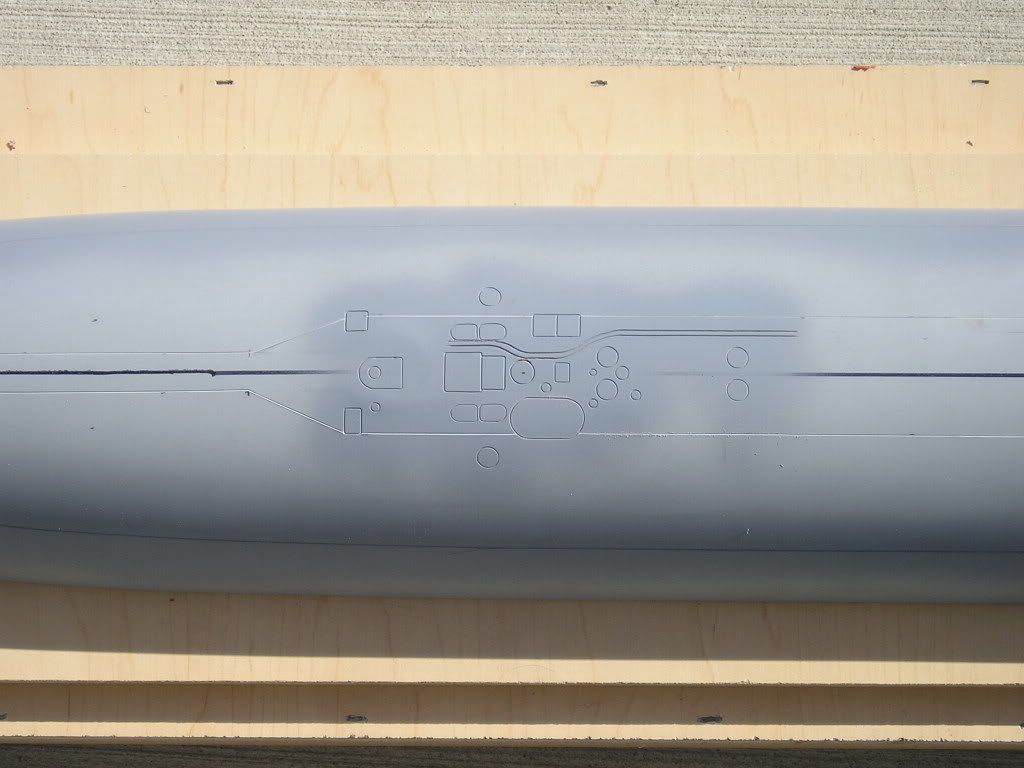
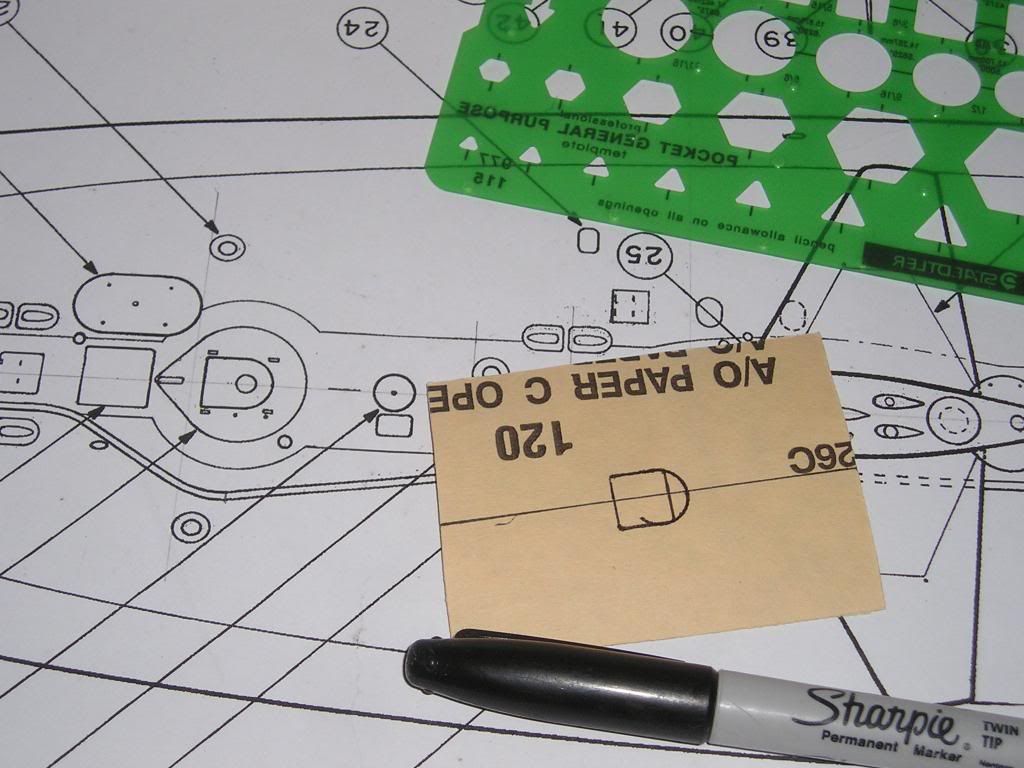
        So here is a neat little trick I happened to stumble upon. Normally for scribing I use my base shapes from plastic templates for circles and squares. But there comes a time in a man’s life when he has to undertake shapes that are unorthodox per se. I take some heavy grit sandpaper flip it over, draw my shape on the back and then cut it out. Then, I wick some thin CA around all the edges. What this does is give you template that doesn’t move at all when on the model’s surface when scribing, and the CA cures so that it hardens around the cutout edges thus enabling filing to the edges and stands up to your first light scribing passes...enough so that you can get deep enough to go back without your template later and deepen the scribe troughs.


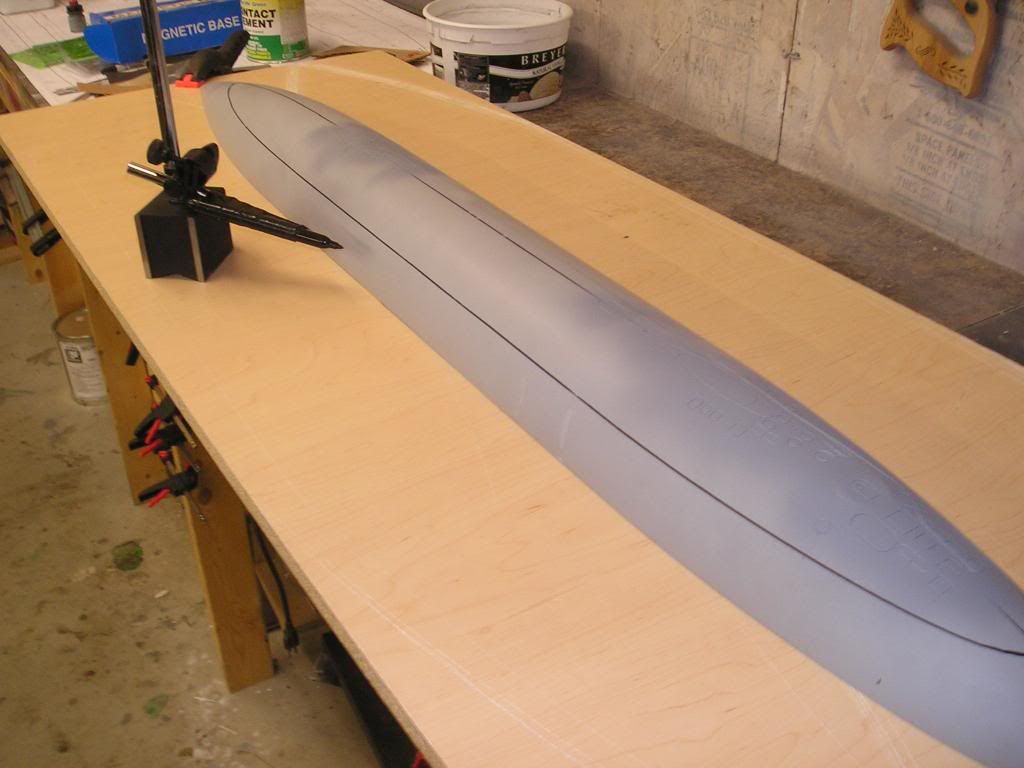
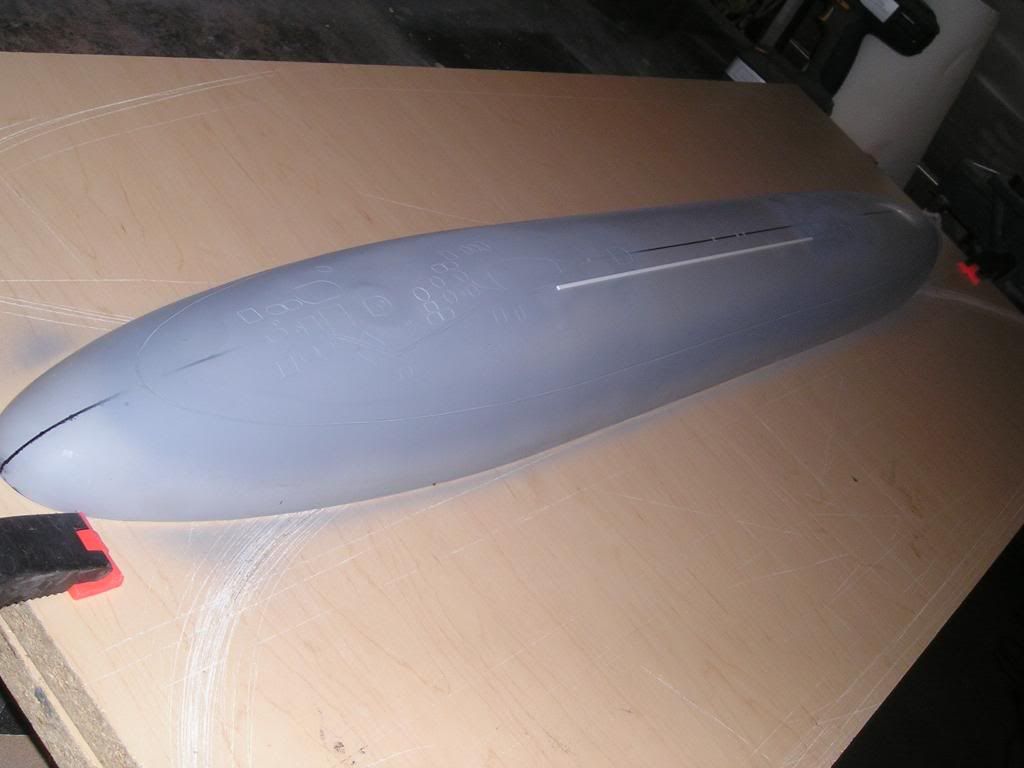
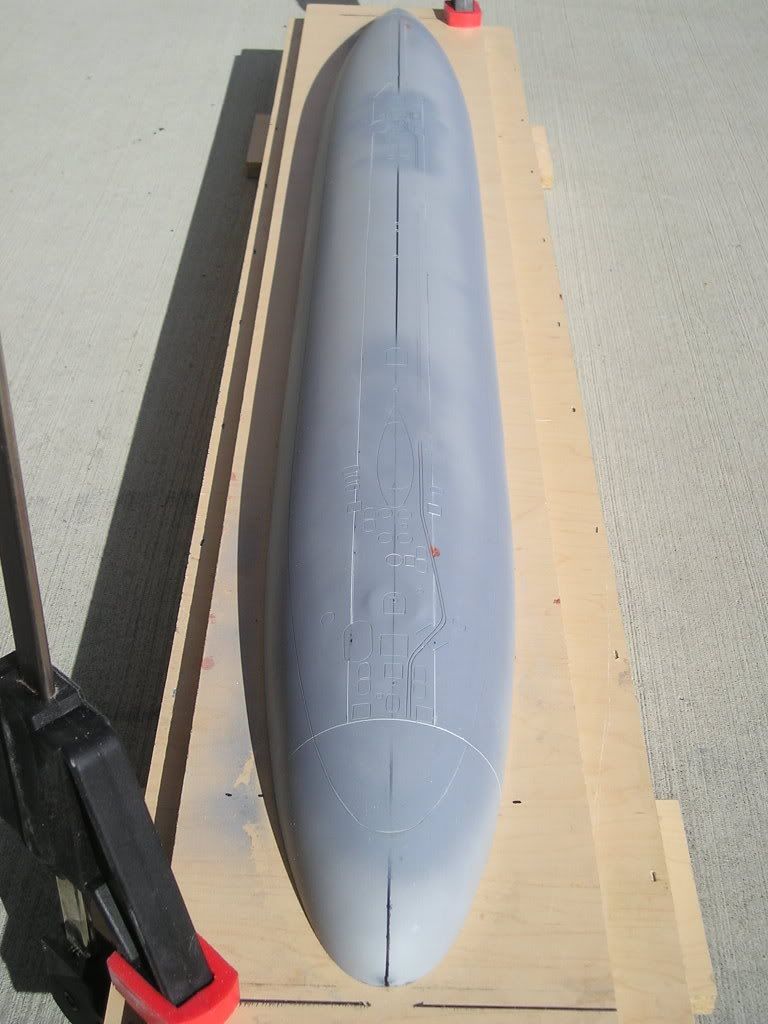
        Here are a few results from my latest scribing endeavors. I’m very pleased with how most of the scribes came out, but you’ll notice that my safety track cam out like crap. However, I am able now to recognize this and have the technology to fix up my mistakes. This is made exceedingly easier by the vinyl ester high build primer I’ve used. Things have come a long way from my first initial attempt on the Permit way back when.


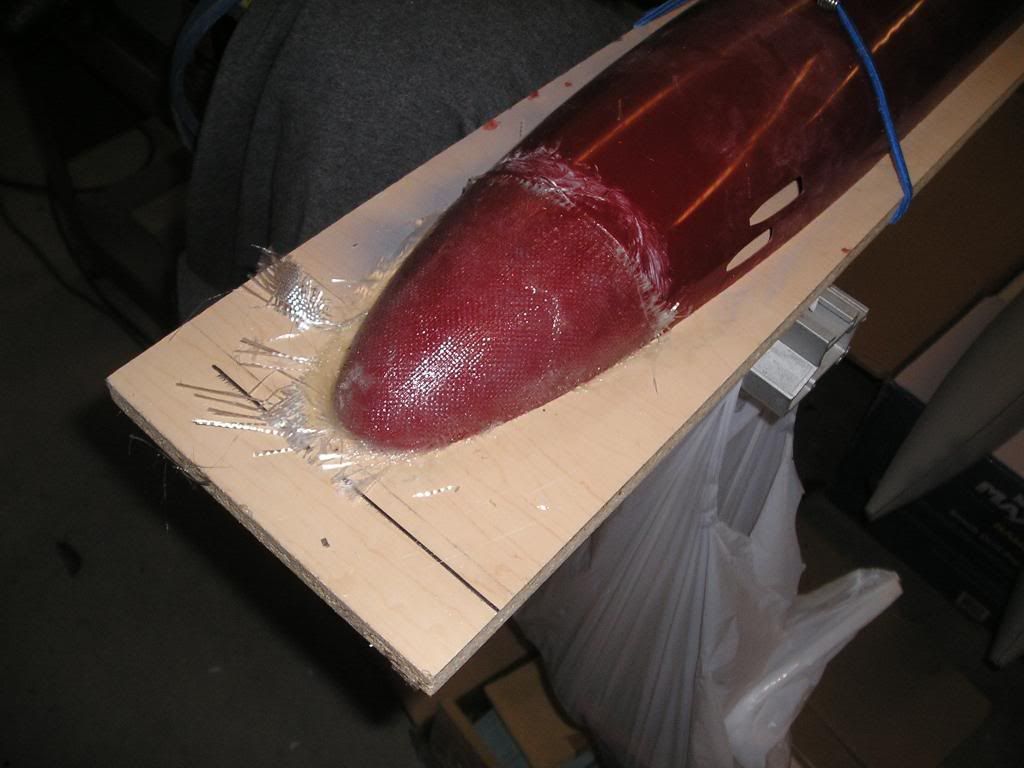
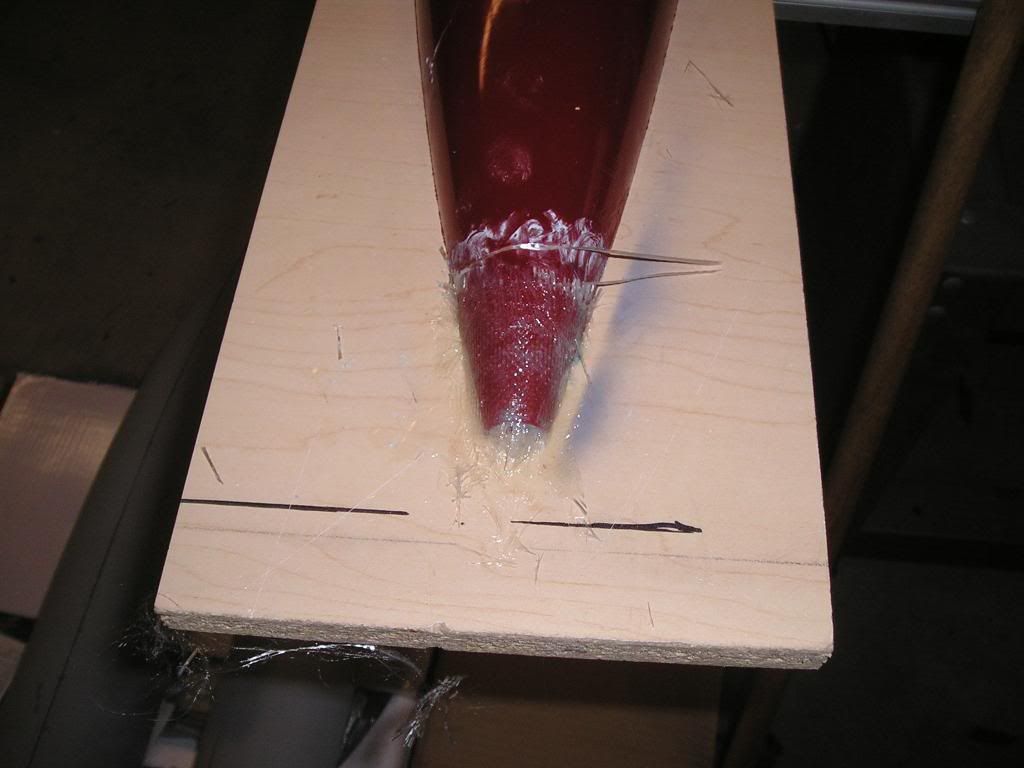
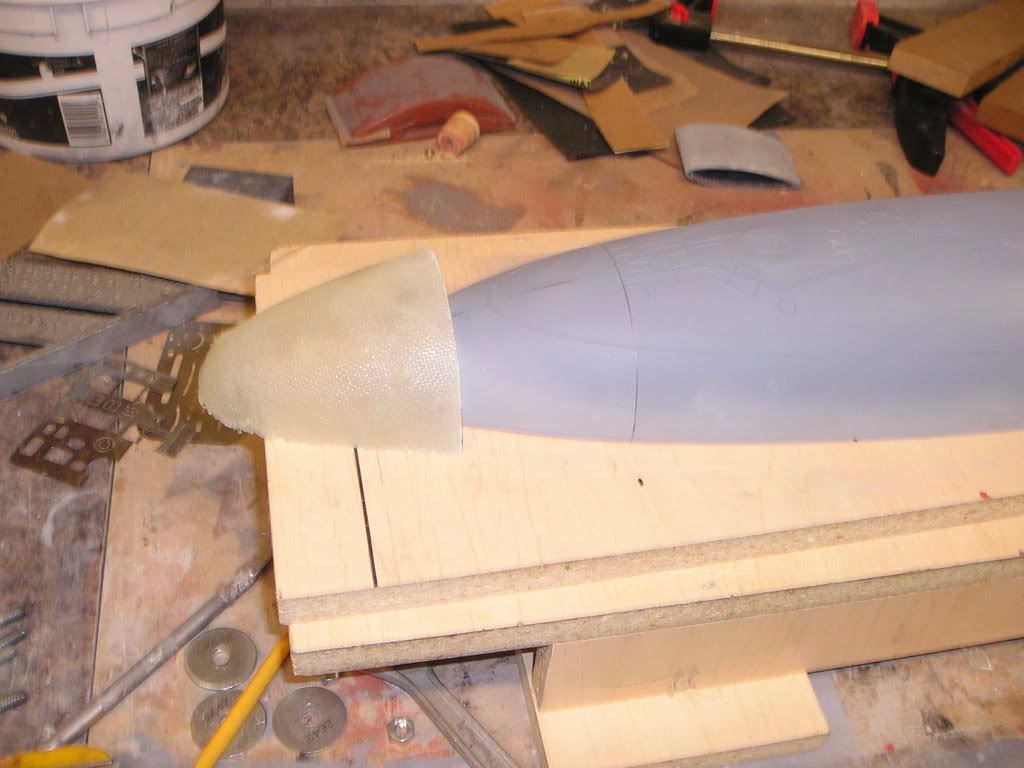
        Templates for demarcation line made from GRP using the hull half that I have been using for torpedo system fit up.


        So here is a question that I pose to all. Do I add the photo etched parts to the hull, even though I already include a set to go with the package to add on later as shiny bling? Or do I just leave it off? I’m kind of leaning towards putting it on again like I did with the Permit, perhaps this time using thinner PE to decrease the profile

        Comment

        • stark
          Junior Member
          • Jul 2006
          • 243

          #19
          We seem to wind up

          We seem to wind up at the same construction point together Joel, I plan to set the MBV directly into the hull by digging out the underlie material. then mix up glaze place a small amount in the hole and place your PE part right on top. Tap here down till you have the desired height and trim of the excess. Work whatever is left of the hole but keep your hole just right to the part and all is good. Like the sandpaper trick man.

          Brian

          Comment

          • manowar
            Junior Member
            • Jun 2007
            • 173

            #20
            Ya Brian,
            The sandpaper template is

            Ya Brian,
            The sandpaper template is pretty good for say a "one-off" template that is fast and easy to make. Don't get me wrong though, I wouldn't use it to permanently replace the PE metal or nice flexable plastic templates.

            For anyone who might know...
            One thing I forgot to mention in my post, but I was quite surprised by the stern-heavy water line on the Permit as I started to draw it onto the hull. I actually had to shim up the front of the boat on my parting board by around 5/16". I always thought she sat level in the water, unlike the LA especially. Is this because when underway that the weight of the water on the bow pushes the sub down to 0 degree bubble or what? If not, why do they design these to do that?

            Joel

            Comment

            • tmsmalley
              SubCommittee Member
              • Feb 2003
              • 2376

              #21
              Beautiful job, Joel and a

              Beautiful job, Joel and a helpful thread! Looks like a great subject for an article in the SCR. Be sure to do a write up and send it with photos to Pete at editor@subcommittee.com!

              Tim

              Comment

              • manowar
                Junior Member
                • Jun 2007
                • 173

                #22
                Will do Tim. Ill have

                Will do Tim. Ill have something written up by the time I'm done this thing!

                Joel

                Comment

                • manowar
                  Junior Member
                  • Jun 2007
                  • 173

                  #23
                  Hull Part 8

                  Hello Everyone,

                  We have a few more updates just to make sure everyone knows that I’m not dead. I have actually been very busy on this project, albeit just on the permit side of things. I am actually very seriously considering using my newly refurbished Permit hull, making a mold and making a new Jack plug from that mold…lots of work yes, but I love the Permit boats so much that I just have to do them over and over again. In my case it is kind of like having to learn to walk after running first…maybe I am the Forest Gump of the model world he-he. Anyhow, I want them to be completely consistent with each other, other than the modifications, and this is the only true way to do it.

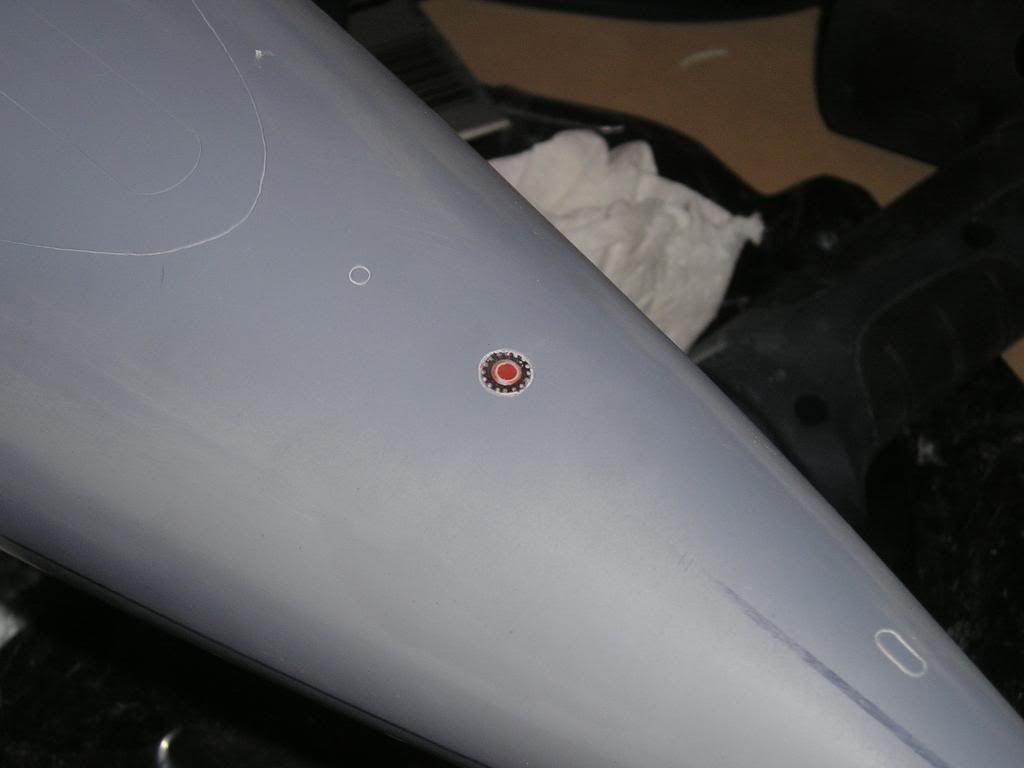
                  Anyways, here is some small tidbits on flush mounting the MBT into the hull. This time around I am going more scale than the previous hull. I don’t think it will look as cool, but it will be more scale.

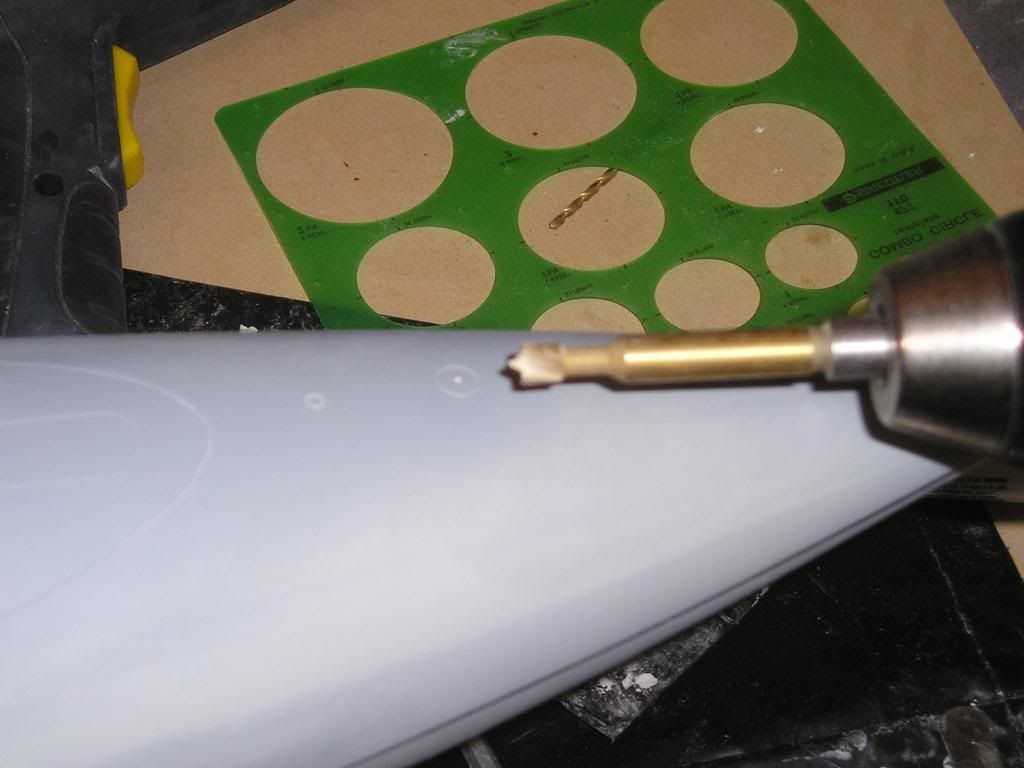
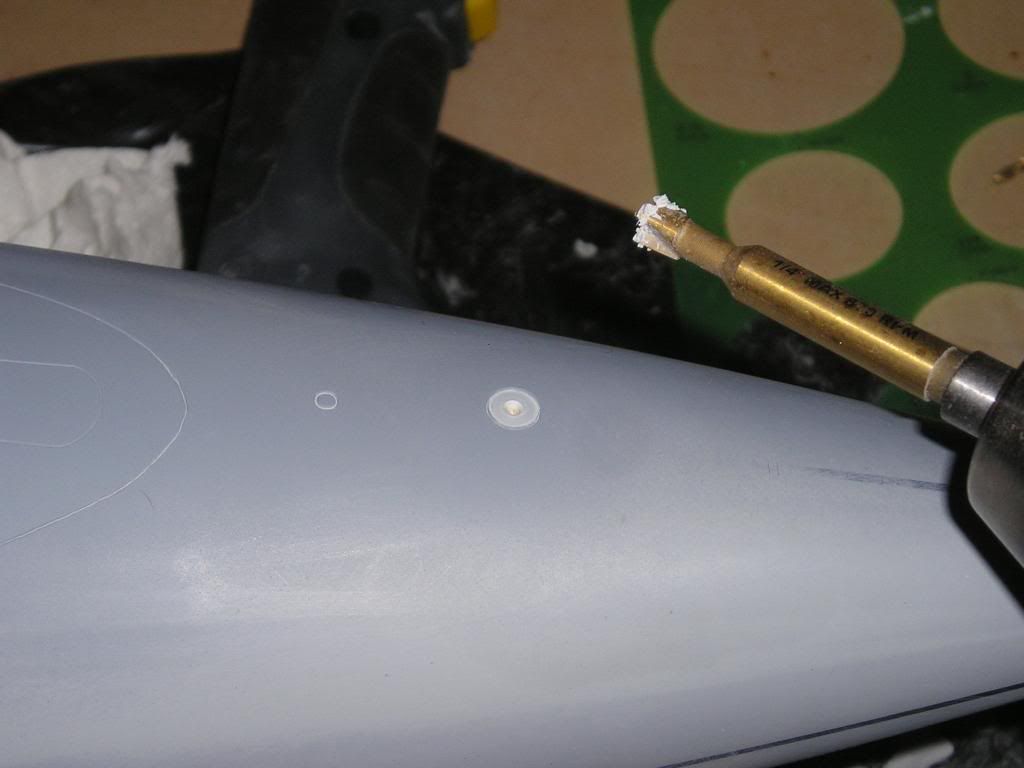
                  The Forstner drill bit is the key here for digging out the material that needs to come out, in an extremely clean fashion. They are designed specifically to leave a flat surface as opposed to the 30 degree tapered cut that a normal bit would leave. A good example of their usage is the mounting holes on European style kitchen cabinet doors of which 30mm is the standard size. I am not sure where in the USA that they would be readily available in all sizes, but here in Canada they can be bought at most places that have a good selection of cabinet making tools. The best place for me is the House Of Tools, the bits are cheap and come in almost any size in increments to the nearest 1/32nd of an inch.

                  As shown in the picture, the bit has a small pilot cut on the end to keep the whole thing on track when drilling. I am going to fill the hole left by this because it will be rather unsightly for the finished product here. Also note the center punch in the MBT to get things started


                  To remove the material on the rounded surface I use slow speed on the drill and then rock my drill from side to side ensuring the amount removed. It also depends on the material you are removing, in this case my 2-part vinyl ester primer is so hard that it “shaves” away, it kind of reminds me of drilling into steel when you have a nice sharp bit.


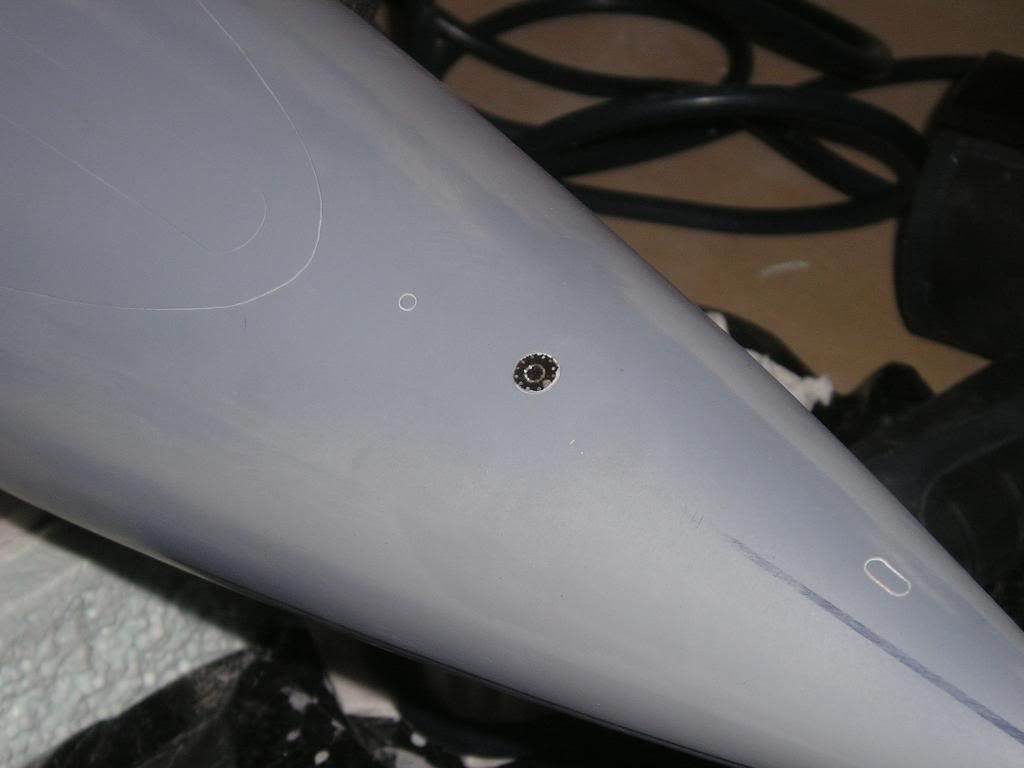
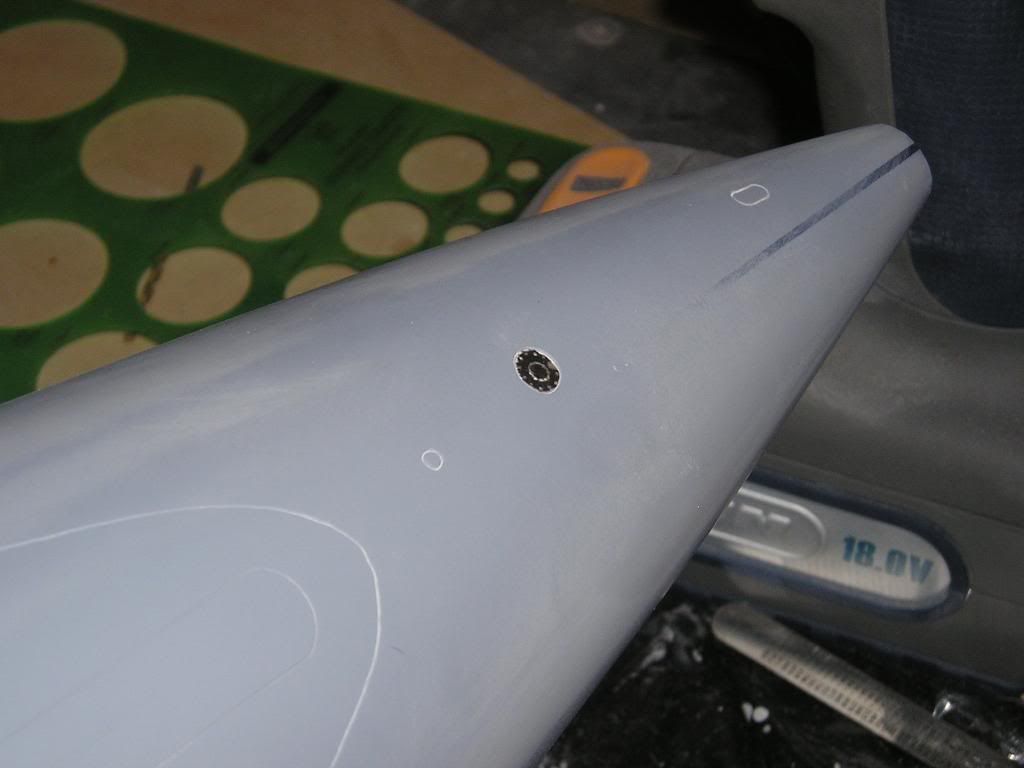
                  As shown in the pics the outside scribe really brings out the detail in the MBT.


                  With the hole filled


                  Very cool indeed,
                  Joel

                  Comment

                  • Rogue Sub
                    Junior Member
                    • Jul 2006
                    • 1724

                    #24
                    Holy Cow Joel you are

                    Holy Cow Joel you are still alive!!!

                    I cant see how you can sit here and tell me you made a more accurate Permit when I just finished mine last night...... Are you trying to get angry emails????

                    Comment

                    • polaris
                      Junior Member
                      • Feb 2008
                      • 107

                      #25
                      What could you have possibly

                      What could you have possibly done to make it better, I thought it was great the way it is.

                      Stu

                      Comment

                      • Rogue Sub
                        Junior Member
                        • Jul 2006
                        • 1724

                        #26
                        Wow Polaris you start with

                        Wow Polaris you start with that Engel boat and get the bug right away?

                        We want answers Joel

                        Comment

                        • polaris
                          Junior Member
                          • Feb 2008
                          • 107

                          #27
                          It can be a very

                          It can be a very addictive bug, and from the looks of it you have a full blown case of it

                          Of course I build these toys for my kids or at least thats what I tell the wife.

                          Stuart

                          Comment

                          • manowar
                            Junior Member
                            • Jun 2007
                            • 173

                            #28
                            Holy Cow Joel you are

                            Holy Cow Joel you are still alive!!!

                            I cant see how you can sit here and tell me you made a more accurate Permit when I just finished mine last night...... Are you trying to get angry emails????
                            Yea and I just started on mine.
                            What could you have done to make it better, I thought it was great the way it is. Hmmm?

                            Stu

                            Uummm...It isn't that I want to get angry emails (I recieve more than a few at work everyday!) and I thank you Stu on the current boat, I still look at mine and am quite happy with it. I guess the best way to describe what has happened here is that my current Permit mold is showing signs of wear and tear. The surface coating that I did for it is taking a few dings and scratches in it's production life. I probably should have used a different product, but that is all part of my learning process here. Anyways, I want the Jack and Permit (I am going to let the cat out of the bag here and am revealing I'm doing a long sail version too) to be very close and consistent to each other, this would have to be acheived by redoing the Permit and going through this whole process again...and over the last year or my skills have improved in the area of scribing and details. For those with experience in demoulding a plug mold will know that the plug will not come out in pristine condition, basically it had to be redone anyway.

                            I suppose you can look at it as a new model for the year 2009, just like automakers do...

                            Joel

                            Comment

                            • stark
                              Junior Member
                              • Jul 2006
                              • 243

                              #29
                              Great work Joel you never

                              Great work Joel you never stop making it better my man! And you are so right 2009 will be a great year for scratch build Releases of all kinds and scales!

                              Brian

                              Comment

                              • Rogue Sub
                                Junior Member
                                • Jul 2006
                                • 1724

                                #30
                                Dont worry Joel I still

                                Dont worry Joel I still think my boat is METAL!!! Especially after her arduous refit.

                                Comment

                                Working...