Hey Ralph!
-
www.steveneillsgarage.com -
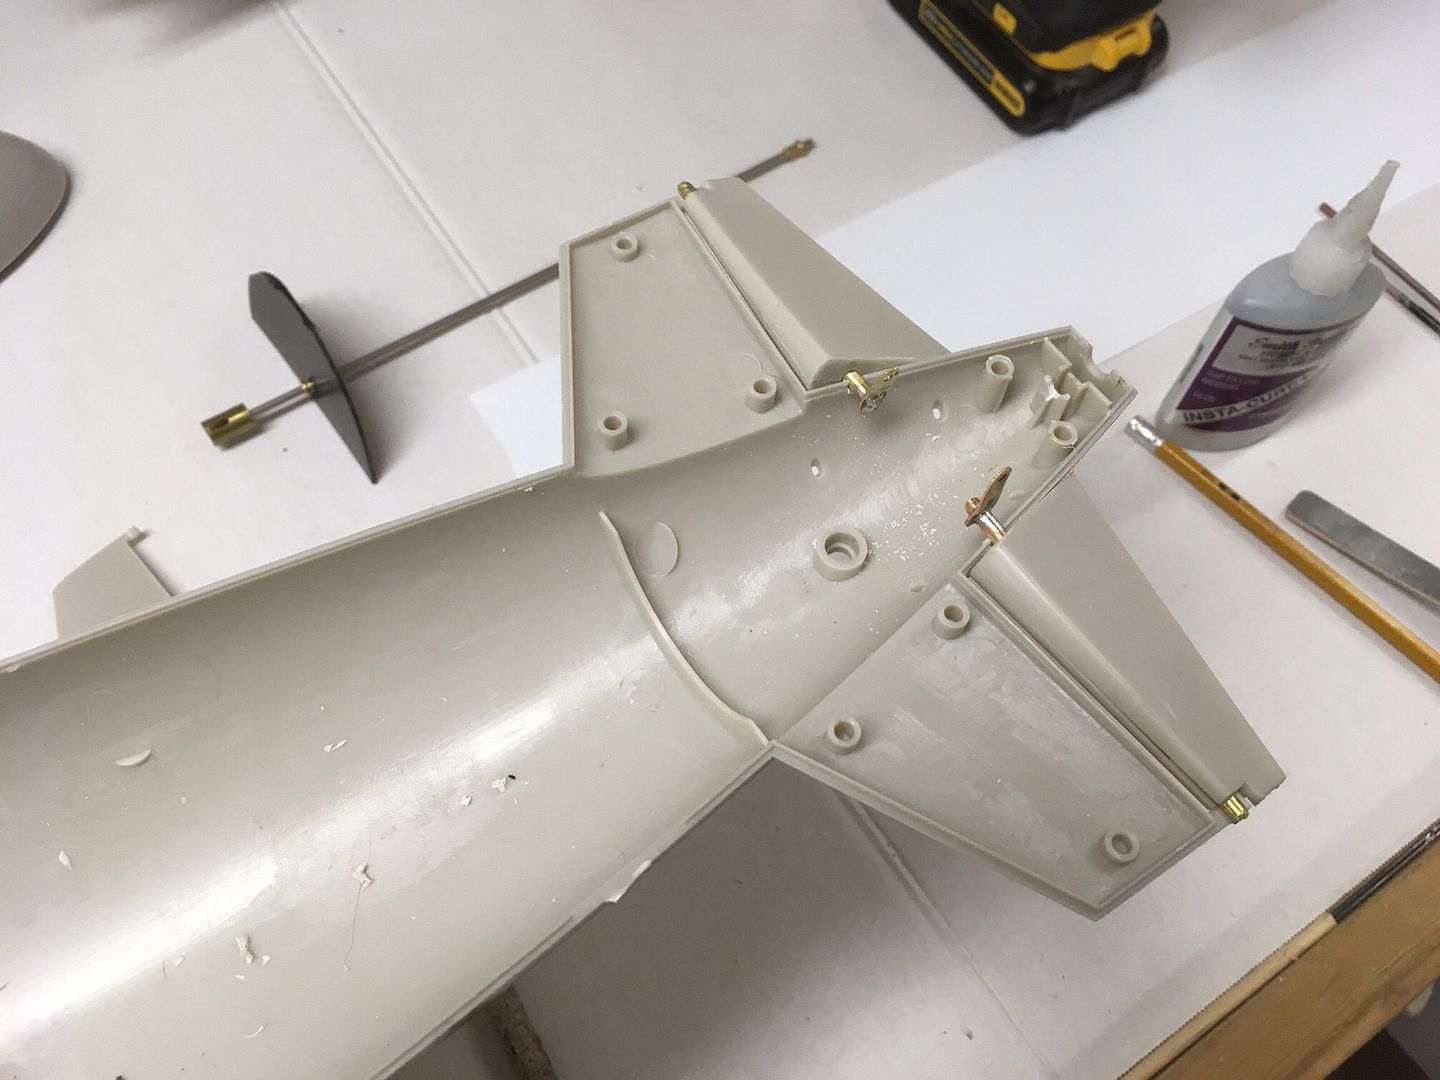
OK so today I'm going to work on the business end and convert the styrene dive planes and rudders into functional RC controls. I like converting the supplied parts from the kit. BigDave showed us all how to do this long ago and in the case of these parts they already have the locations for the shafts so they rotate perfectly.
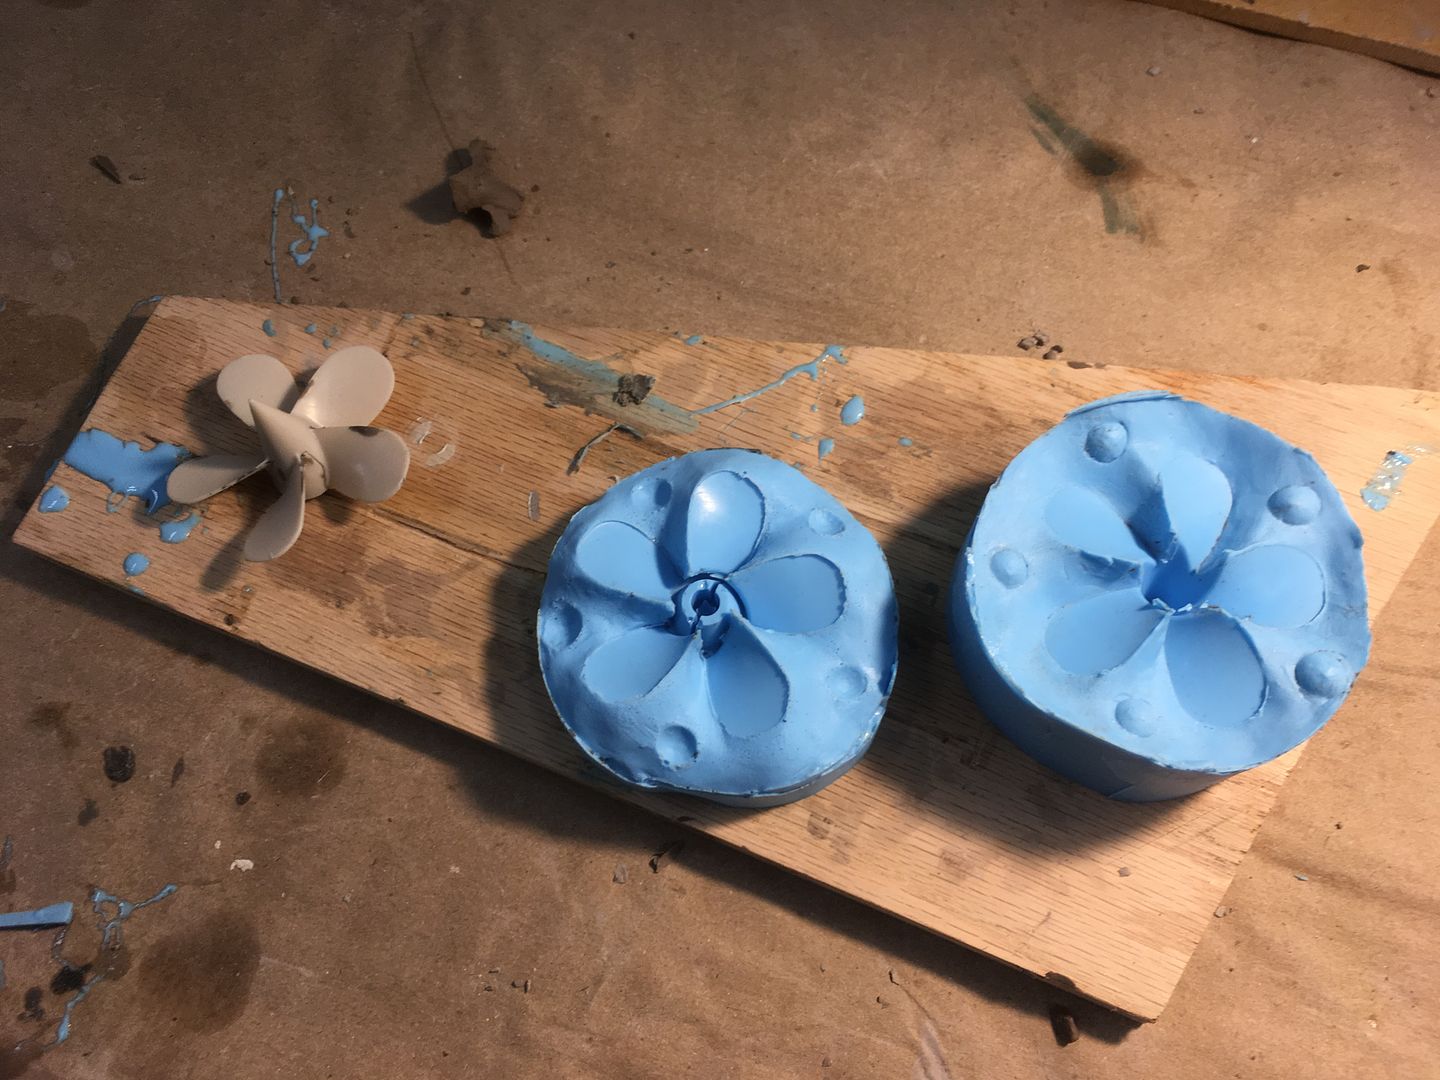
I'm also going to show how you can make your own props from the kit parts by making a simple silicone mold.
Pictures later.www.steveneillsgarage.comComment
-
just as a thought, on mine I made the stern upper half removable by gluing nuts on the inside of the upper section of each fixed dive plane. Then I have a recessed screw coming up from the bottom of the lower fixed planes. I remove the upper rudder then by removing the two screws I have full access inside. Since the screws are on the bottom there is little chance of them being seen.Comment
-
I am looking forward to the prop making tutorial. I have the Merriman white metal prop and it is quite heavy but very solid.Comment
-
On Ron Perrotts conversion kit, he supplies a machined brass insert, that bonds into the hub of the plastic prop supplied with the kit. You just Dremel out the plastic shaft support, and bond in the brass insert. You can see this in the building instructions-
Easy to replicate if you have a lathe or access to one, or can persuade a fellow modeller to turn one up for you, and you end up with a lightweight inexpensive solution that is accurate to scale.Comment
-
Thanks Andy and Greg.
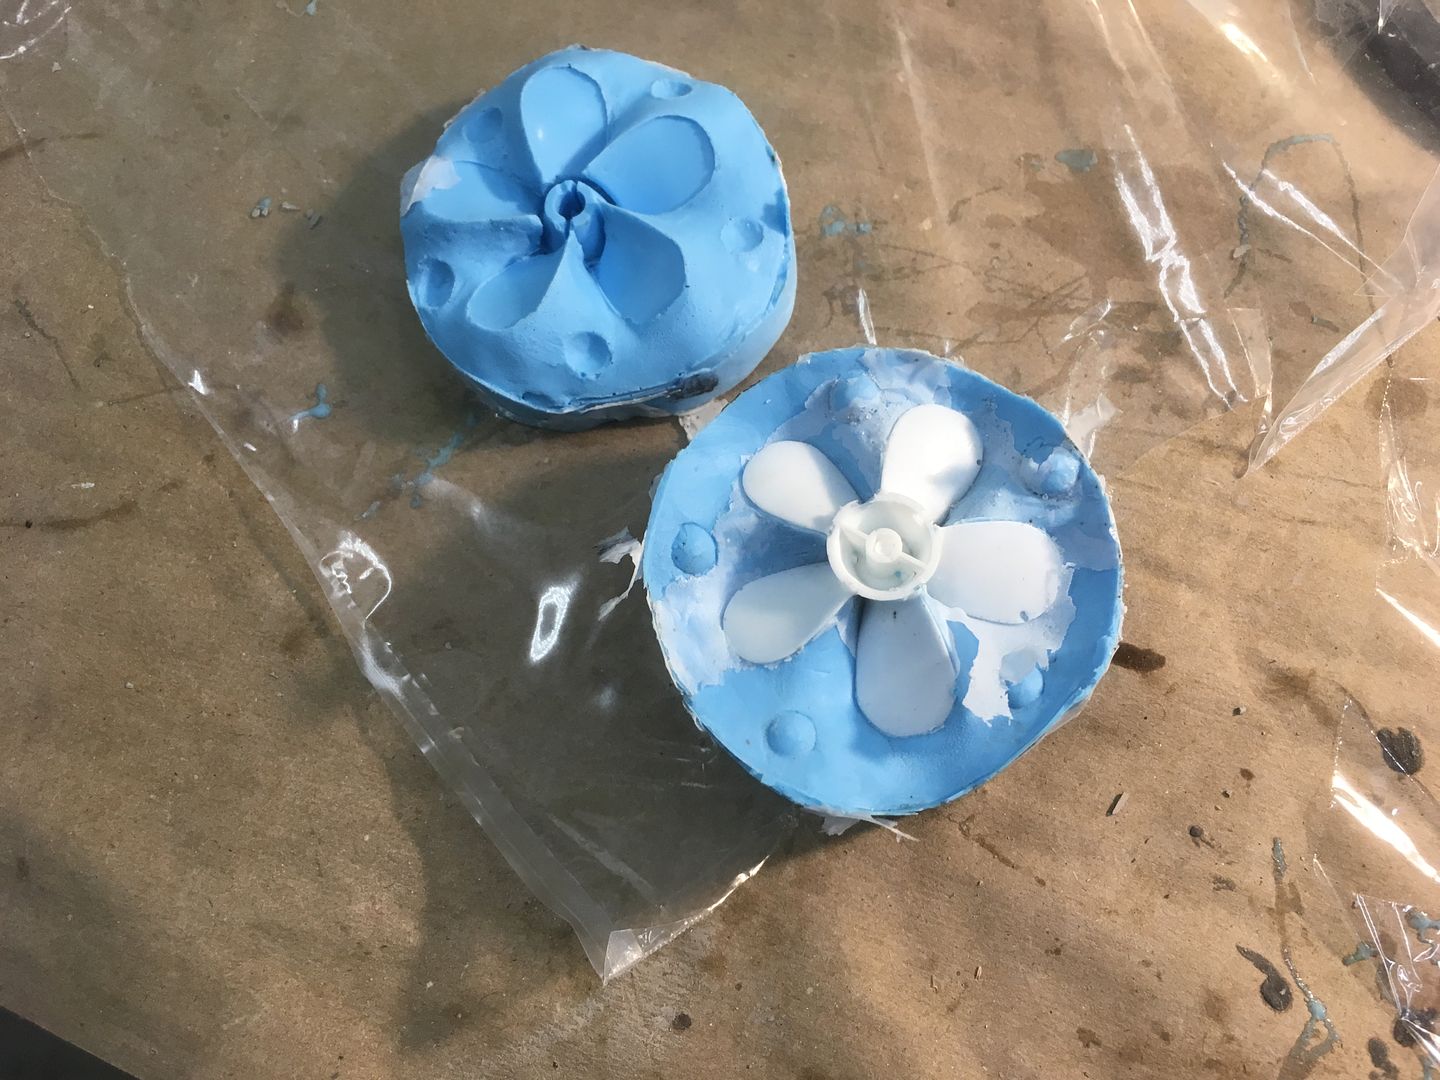
To make a mold off the supplied prop to cast a two part polyurethane resin prop, was to lay it up with water base clay. Using em 210 lay up clay I put the prop on a flat piece of scrap wood and placed the clay in a fashion that would allow a front half casting. Working with and sculpting tool I cleaned the edges of the clay to the edges of the prop. Using water from a spray bottle and a brush I smoothed the clay and then added keys that will later key together the opposite side of the mold.
Lastly I surrounded the clay up with thin styrene to capture the RTV silicone. Poured the silcone and called it a day while it cures. Today I will remove th clay leaving the prop in the front half of the mold. Clean it of all remains clay and Vasiline the silicone. Remember silicone will only sick to itself.
Next I'll pour the second side and when that cures remove the prop and I have a flexible silicone mold in which to cast resin props. Much more durable then the supplies styrene prop.
I also started the dive plans and got them to turn smoothly with a little sanding and adjustment.


 www.steveneillsgarage.com
Comment
-
So the prop came out great and so did the mold. Now I can make as many as I need.
Pictures tell the story. I opened the mold up, cleaned it out and poured one up with the 2 part polyurethane resin. Video will be up tomorrow showing how flexible the resin is so its less likely to break.
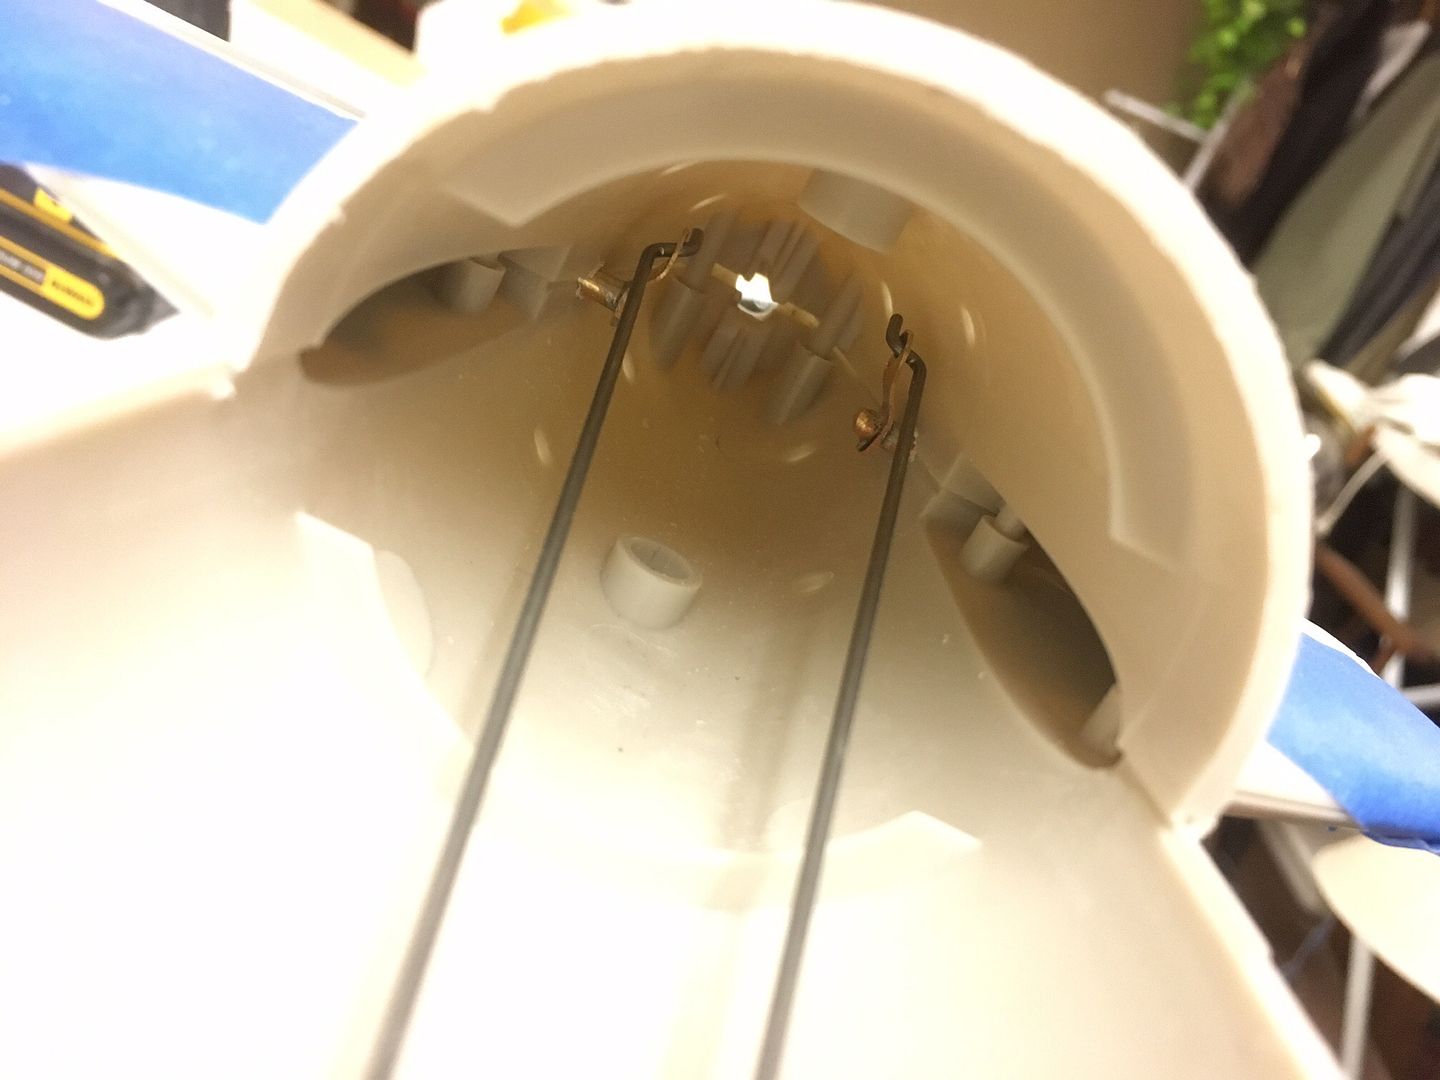
Finally got the business end sorted out with my usual wheel collars and brass tubing and solid brass I learned from BigDave many moons ago.
Servos are in place. I got my package from Bob Martin in a timely manor and I have the pump and servo needed to operate the pump and valve. Only thing that hasn't showed up yet is the 20 amp ESC. But when it does I can complete the WTC.
Tail feathers work great! nice and smooth and Greg I did use your method of the screws.
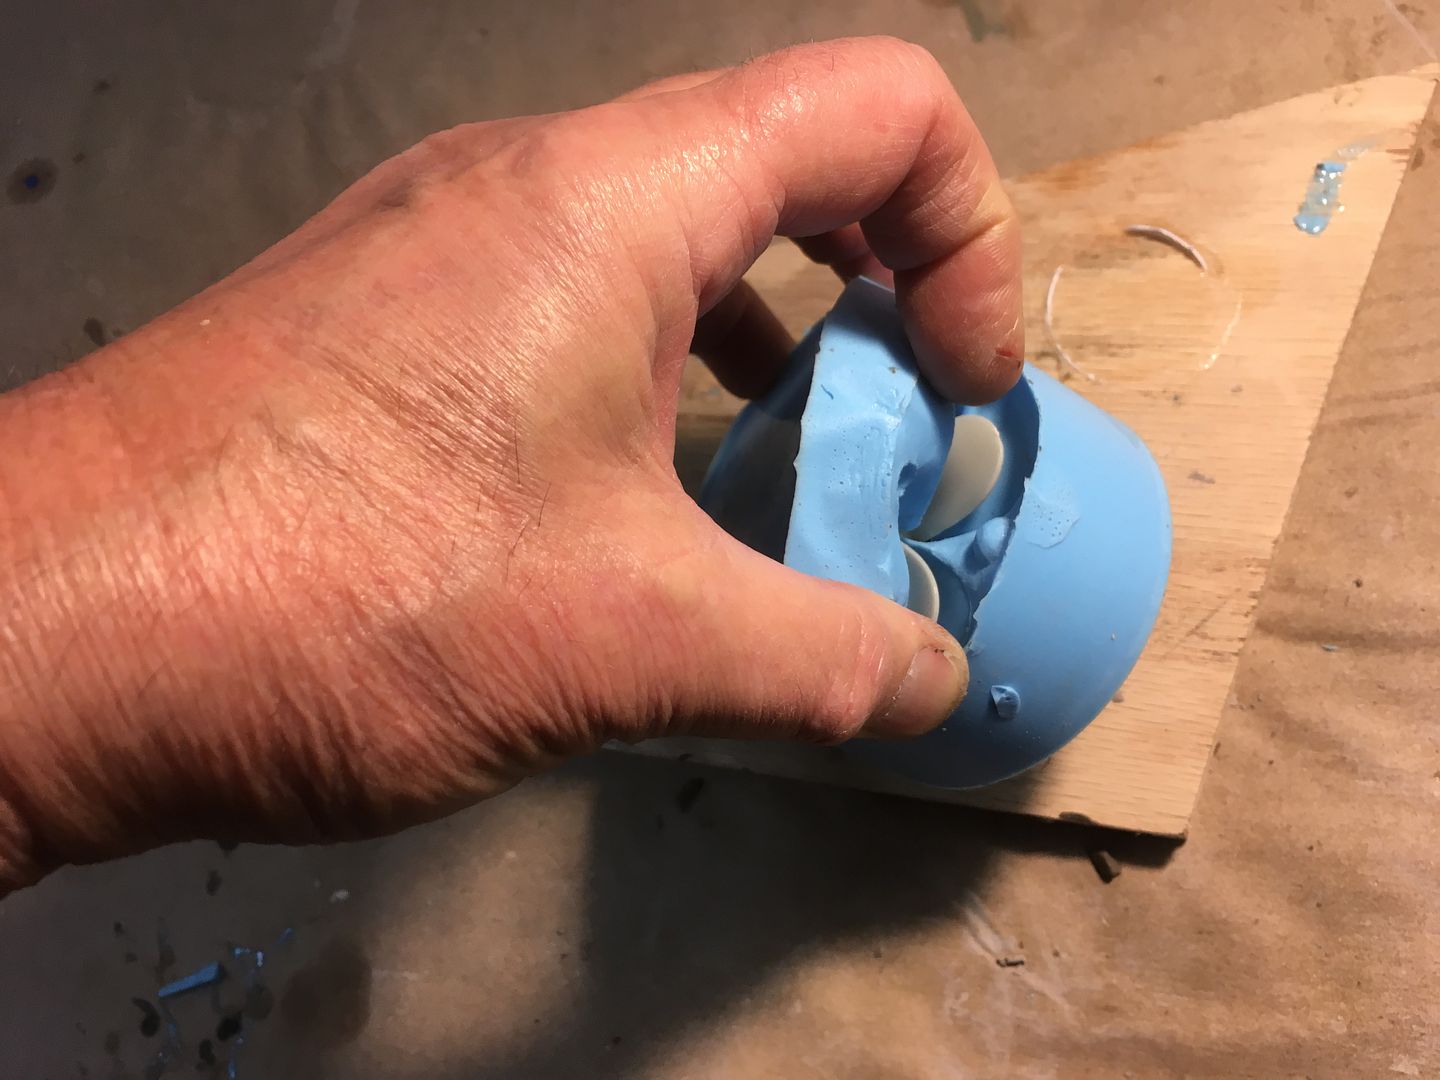
opening the mold
mold apart

controls
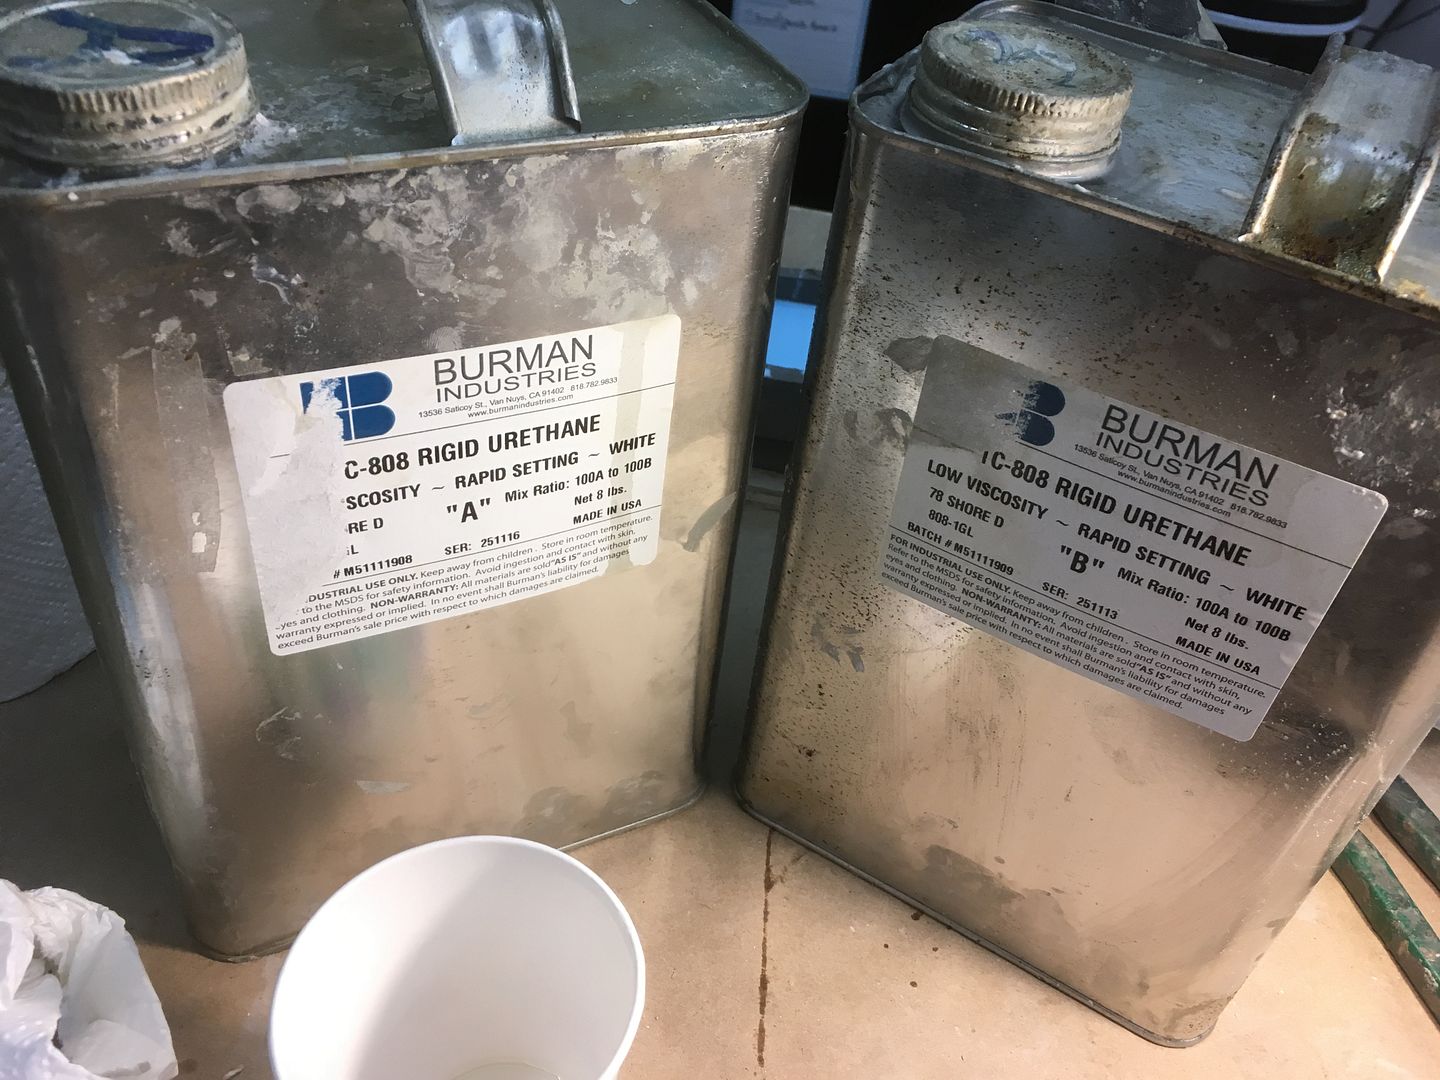
Resin I used
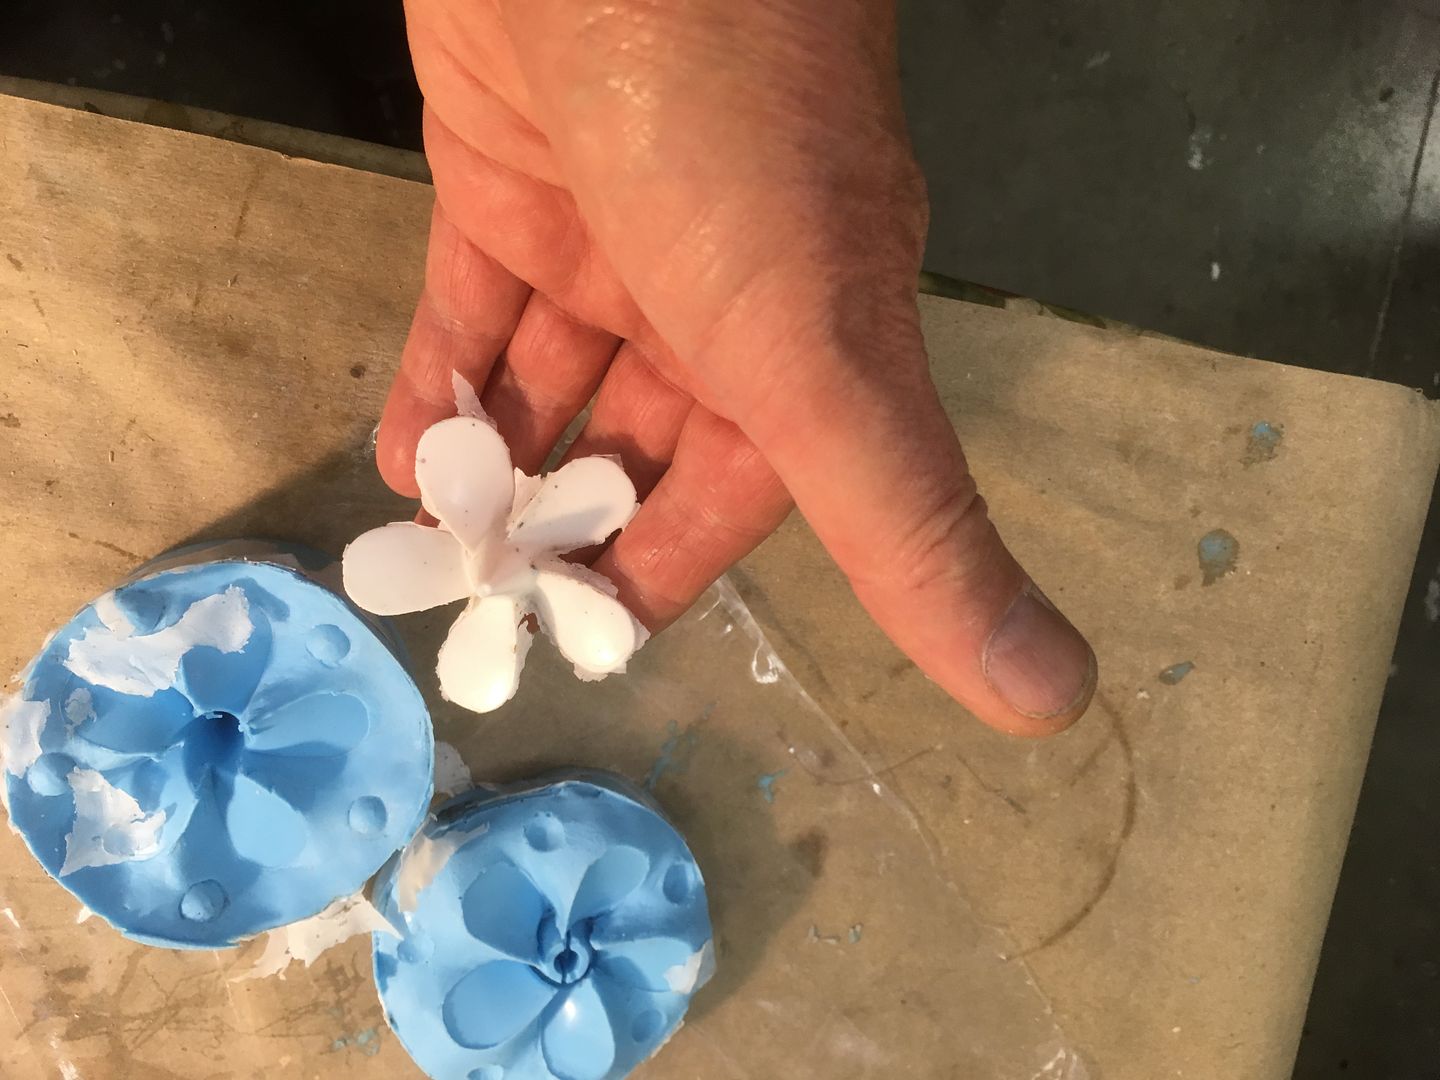
removing the first prop from the mold. Flash gets removed later

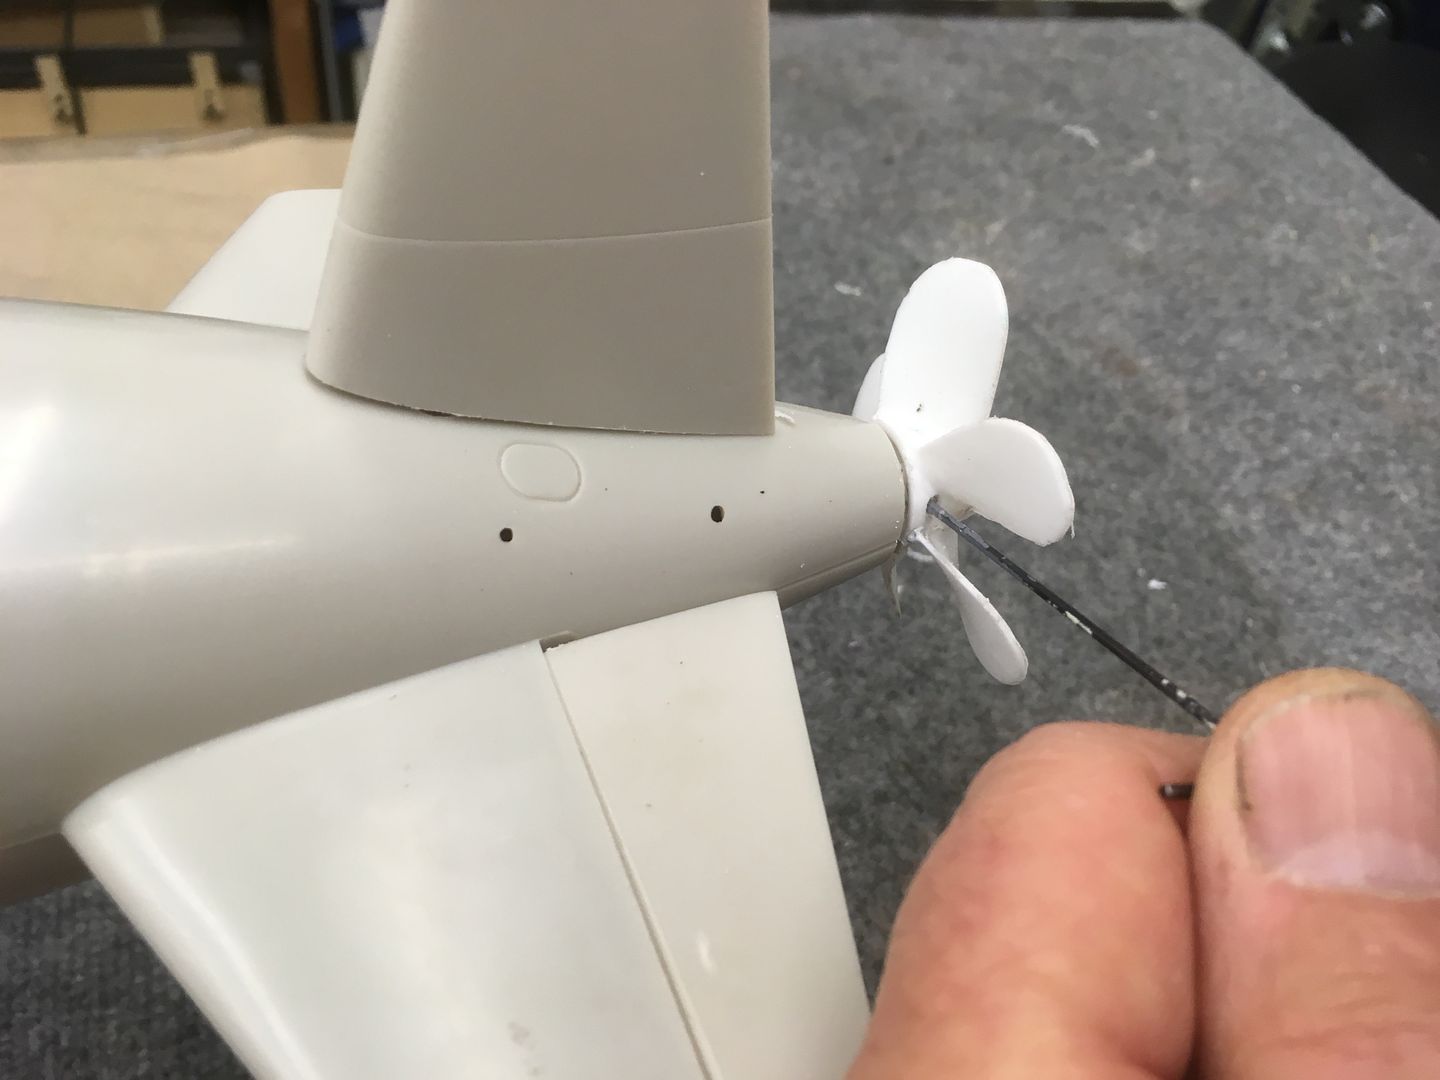
Prop fits good and has a stainless steel grub screw to hold it to the shaft.
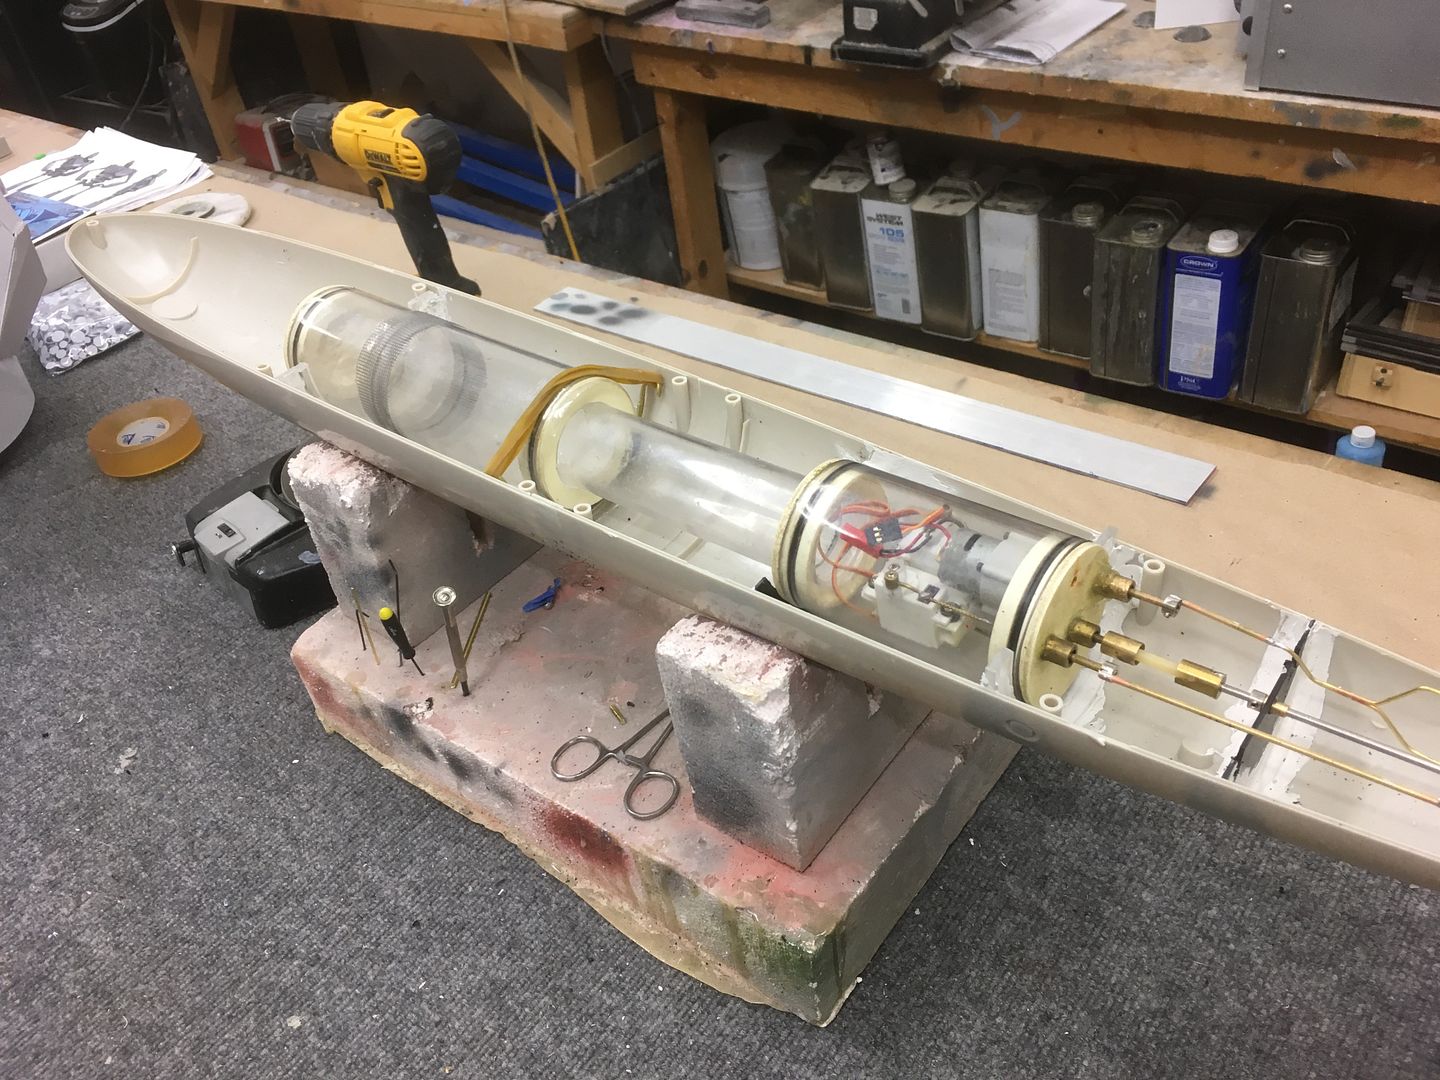
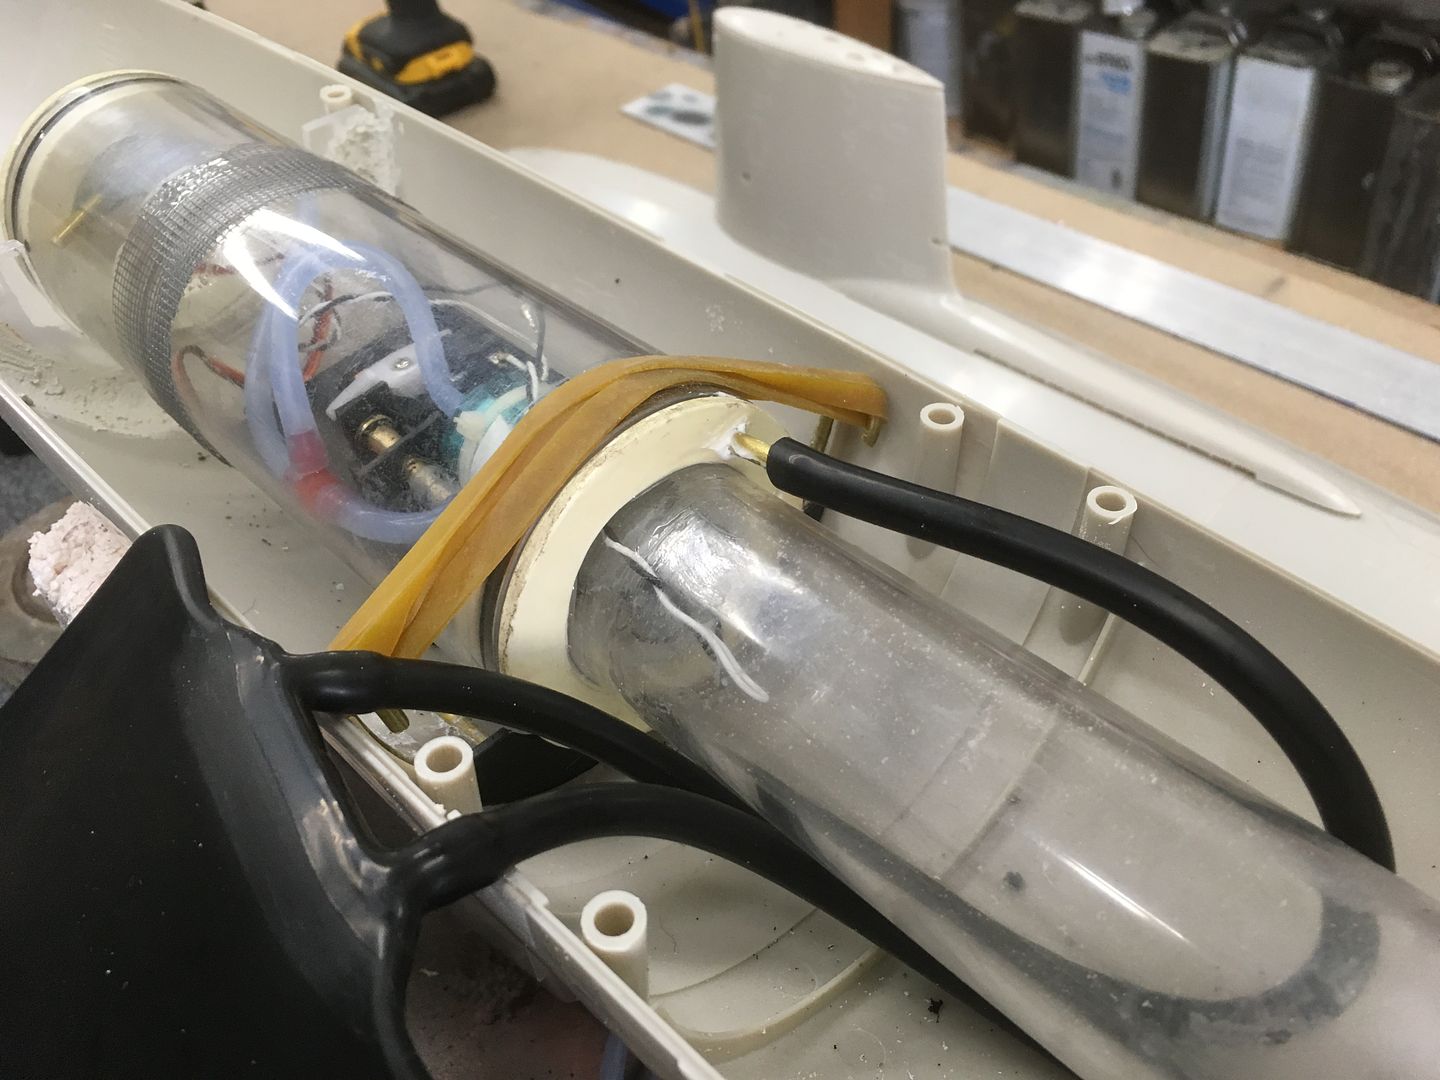
rubber band hold down plus there are sub bulkheads that prevent the WTC from moving forward or backwards.www.steveneillsgarage.comComment
-
Great work Steve. Resin casting your own prop is such a good idea. Replacing the prop will be so easy now, ..if you ever need to.Comment
-
Thanks Steve!
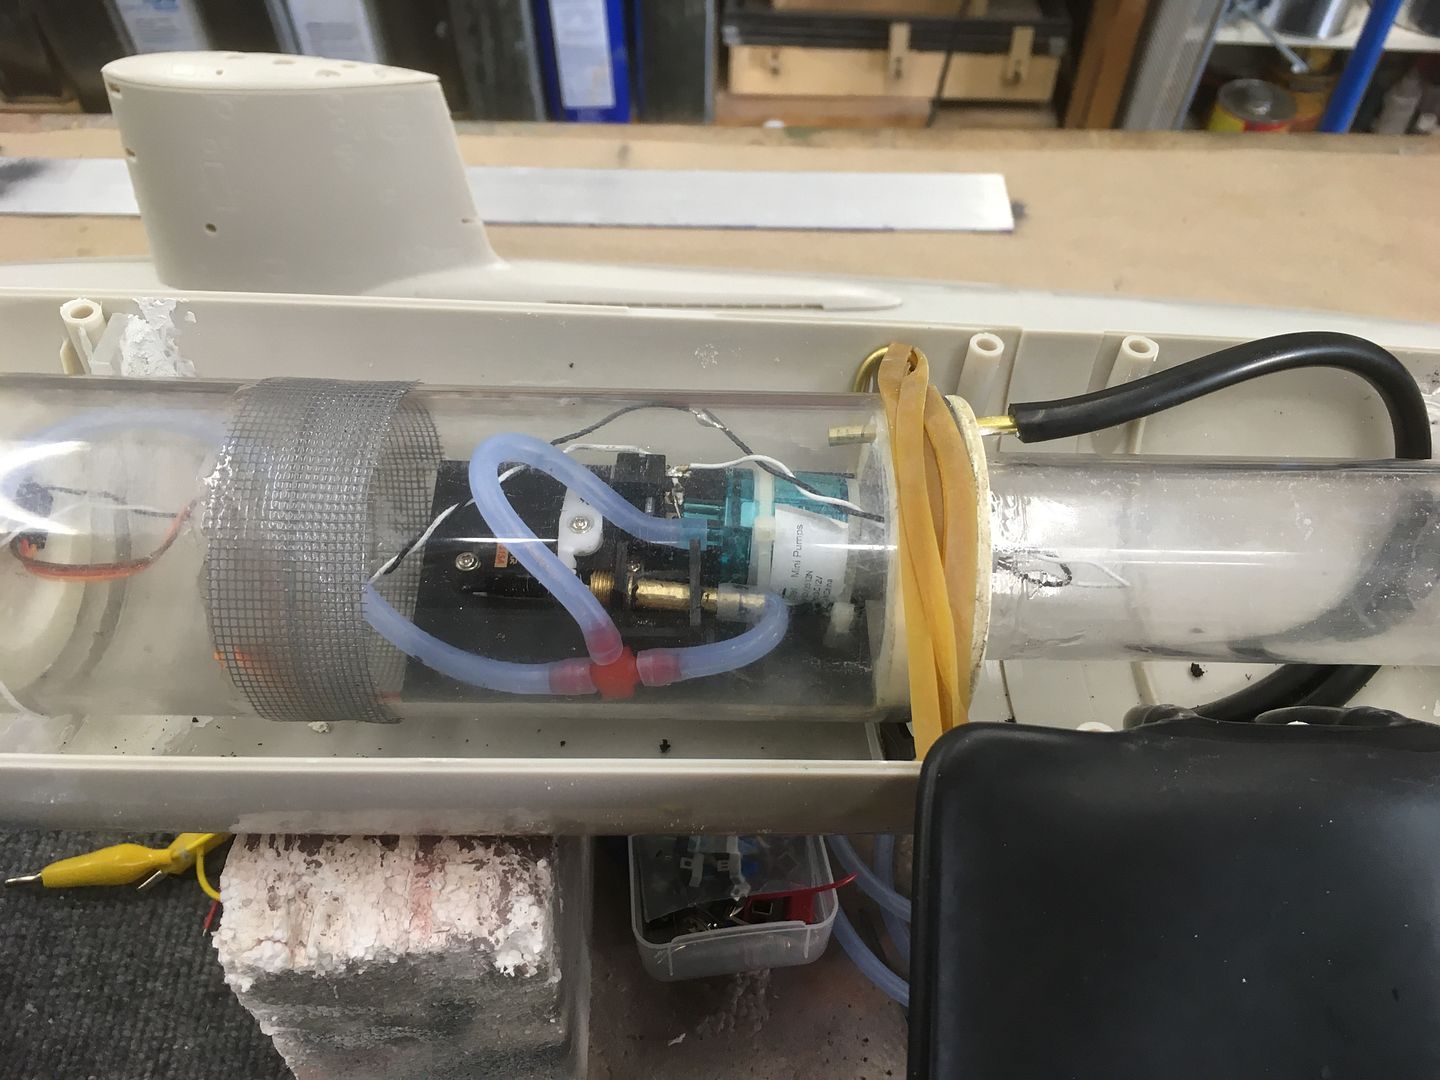
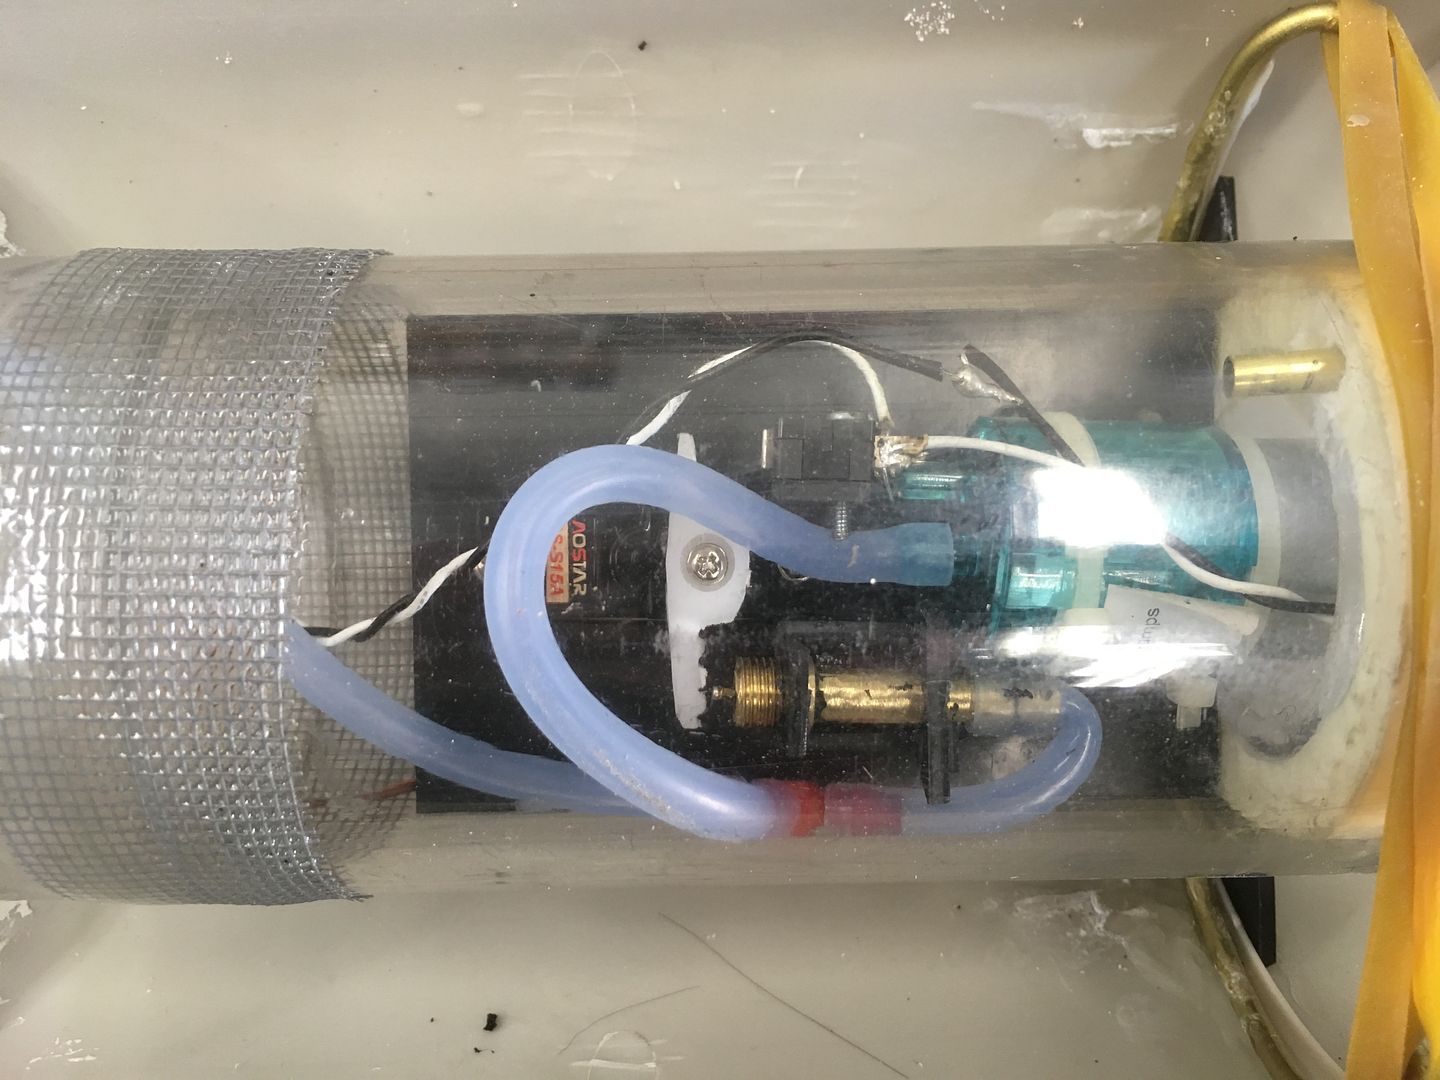
I made the pump controller setup yesterday. I need to remove it from the cylinder so you can have a better look later today but it works like a clock and didn't take much time to make. Simple tire valve, a 12 dollar servo, 50 cent micro switch, some styrene, fuel tubing and one of Bob's 18 dollar pumps from Nautilus Drydocks and we are in business. Thanks as always goes to BigDave who taught me all this in the first place.
I'm finishing off the cylinder today as much as I can without the ESC due in on Friday and moving on to the cosmetics. Drill drains and painting.


 www.steveneillsgarage.com
Comment
-
I see that you are using the HOWDDI method as I am calling it I will be relying on it heavily in all my future builds. How Would Dave Do ItComment
-
Steve are there any capacitors on the pump motor? Even tho you are using a microswitch it could still put "noise" into your systemComment
-
Greg so far it hasn't been a problem without them. however in the event I do they are standing by. To be honest since the advent of 2.4 I forget they can do this to FM and AM.
And yes the BD method works well I have never had it fail.
Stevewww.steveneillsgarage.comComment
-
Steve,
Is this RCABS or RCABS-R?Comment
-
Right now it's not and R but if I find it needs a bit more volume for a good freeboard it's easy enough to to change to an R.Originally posted by redboat219 View Postwww.steveneillsgarage.comComment
-
Steve
As expected another great job, see you found the bladders Ok, nicly done.
Later BruceComment


Comment