Fantasy boat project....

Collapse
X
 
  • Time
  • Show
Clear All
new posts
  • drschmidt
    Member
    • Jul 2014
    • 424

    #31
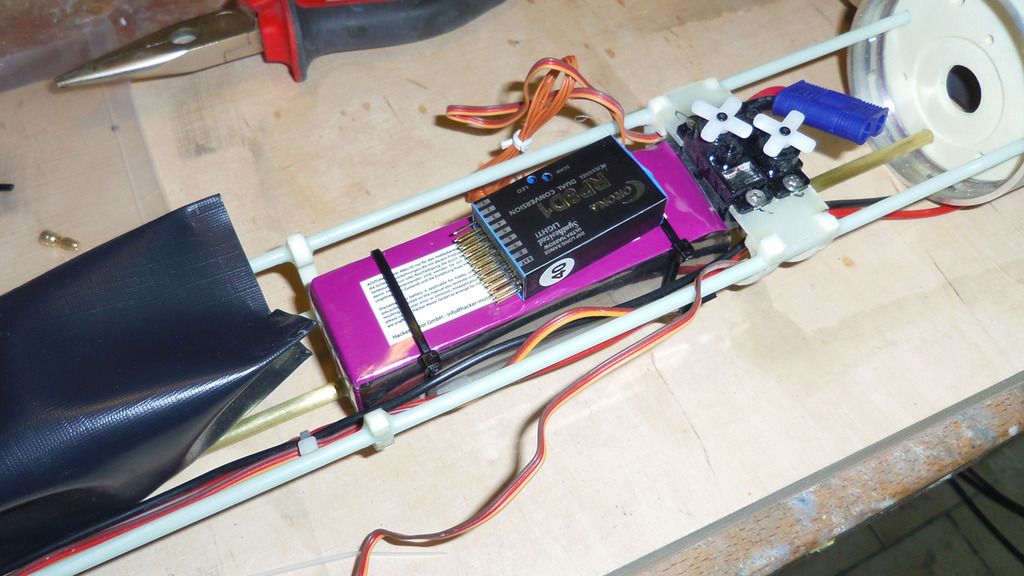
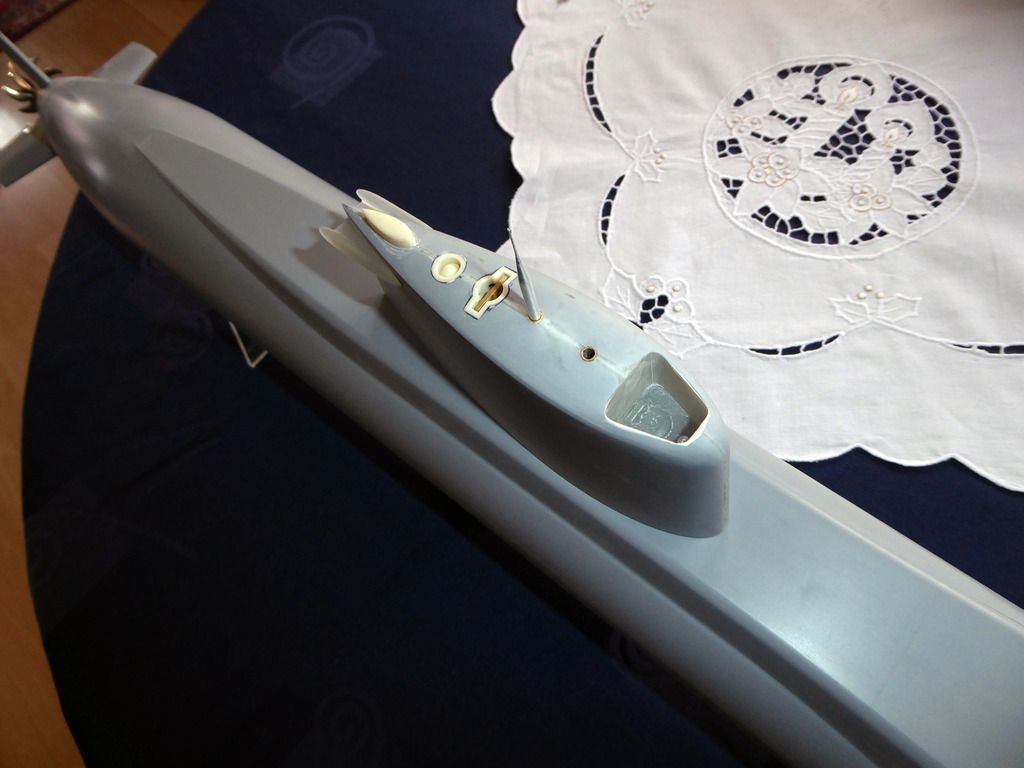
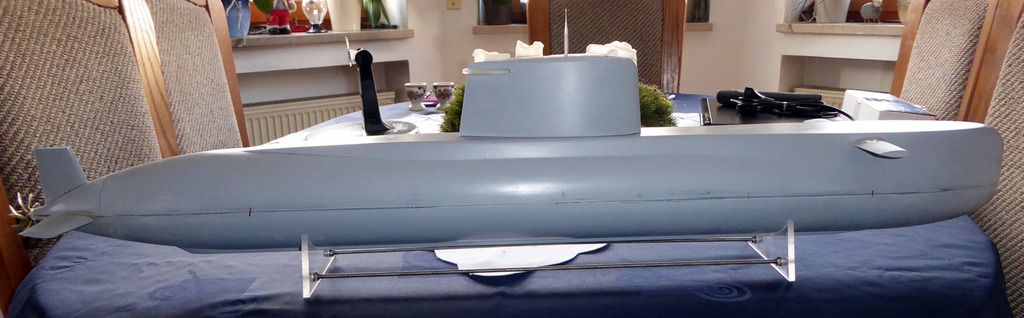
    Slowly everything falls into place. The dive controller is screwed in place and I started wiring the whole thing:


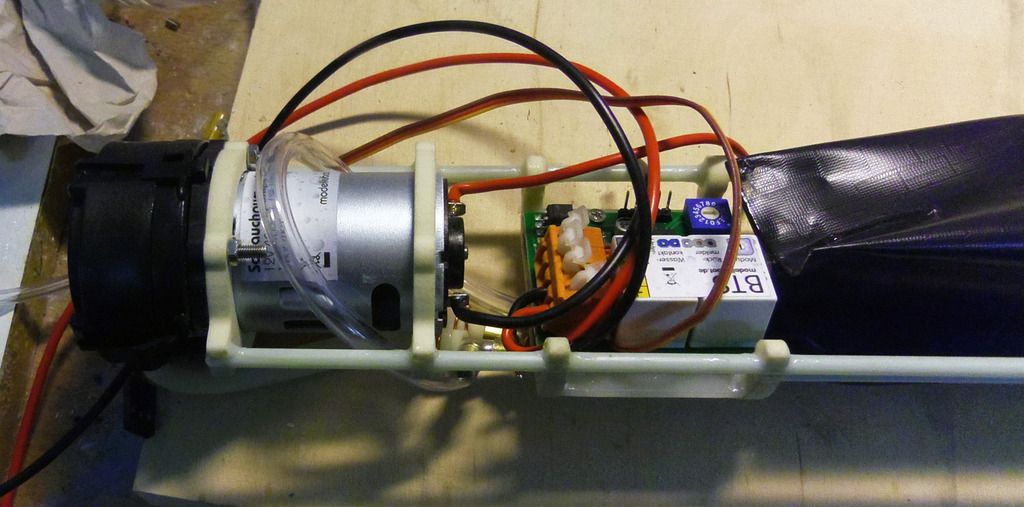
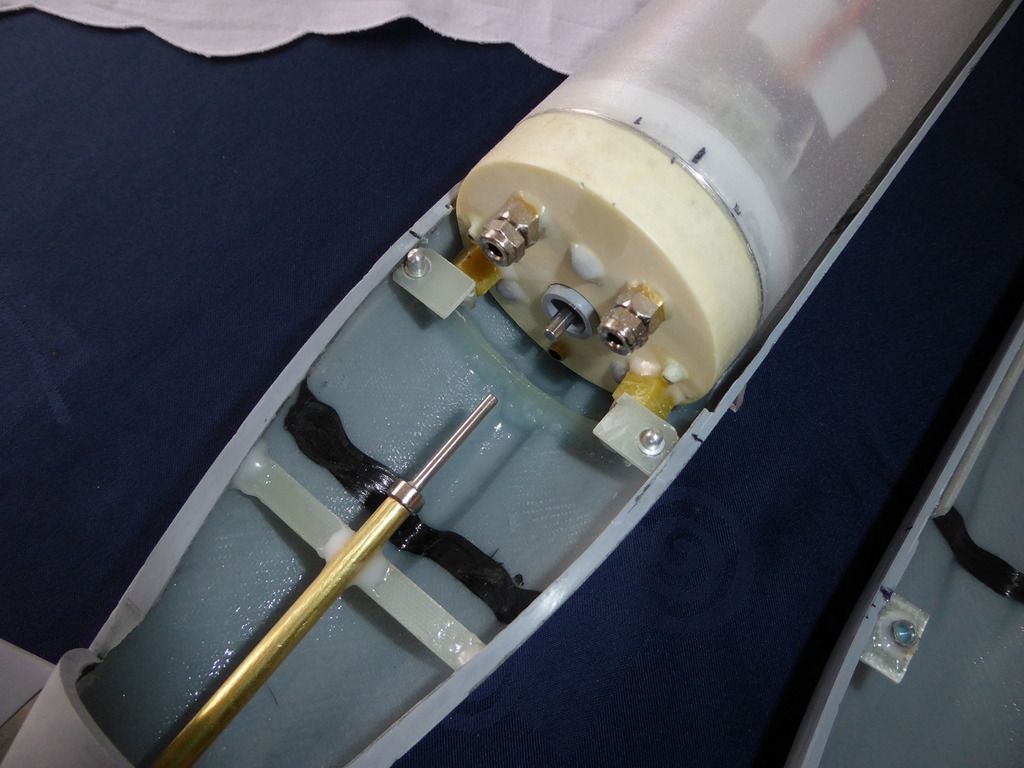
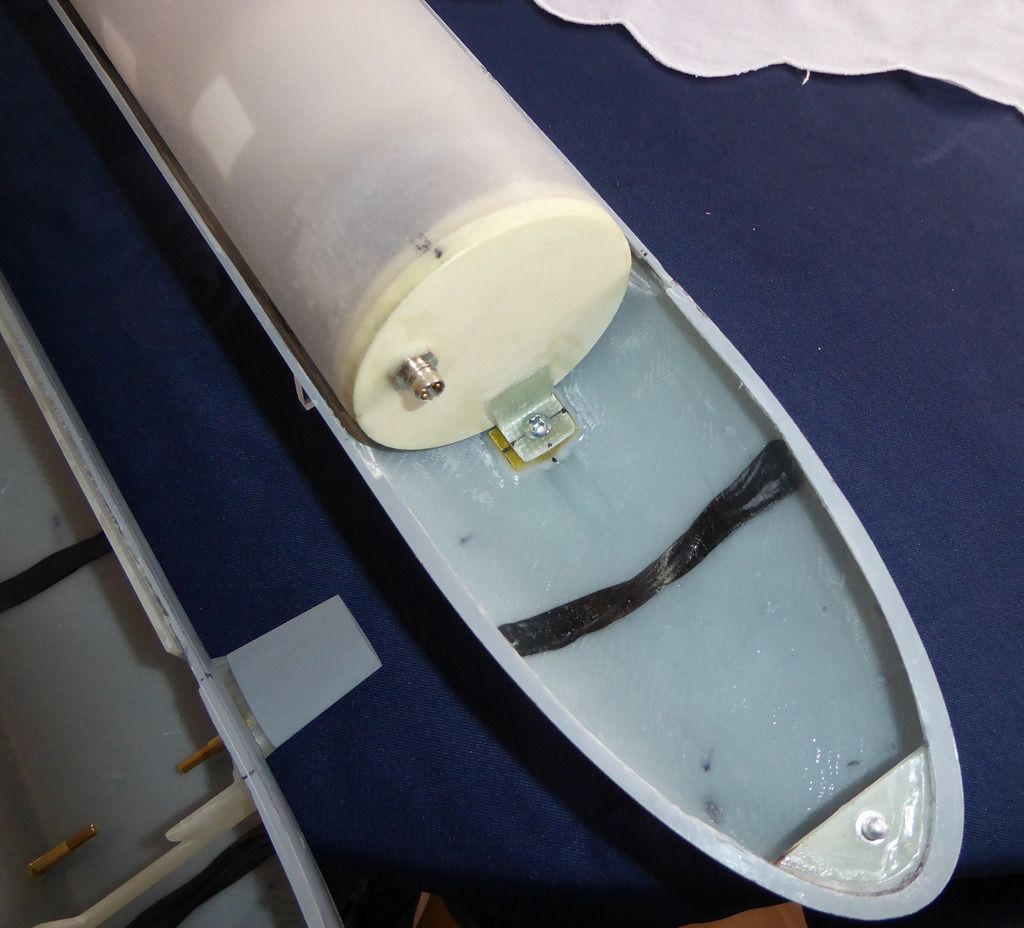
    The hoses are hooked up. The overpressure switch is new, not the one I got with the controller, as latter was too big. The new one fits tightly into place below the dive controller. The hose to the pressure switch starts in a T nipple and is routed over the pump motor to ensure that no water reaches the switch. And it looks cool....


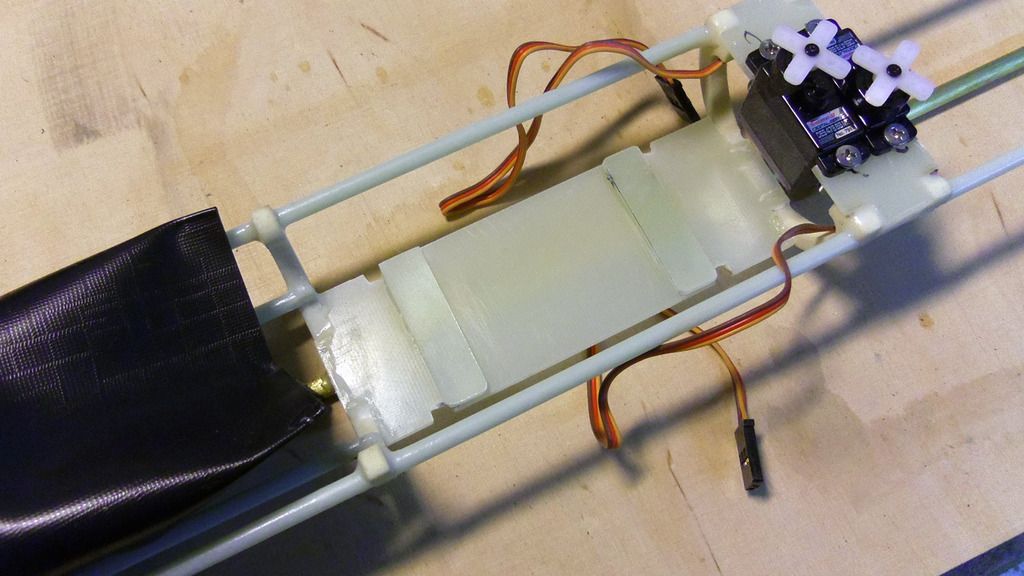
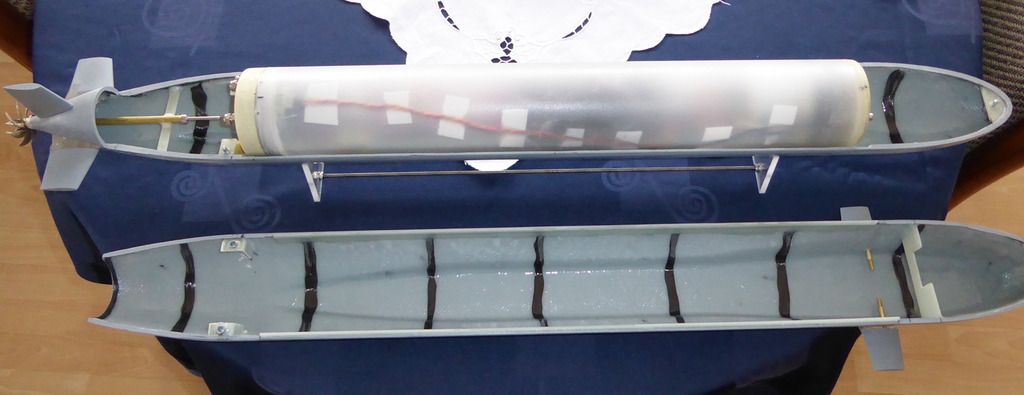
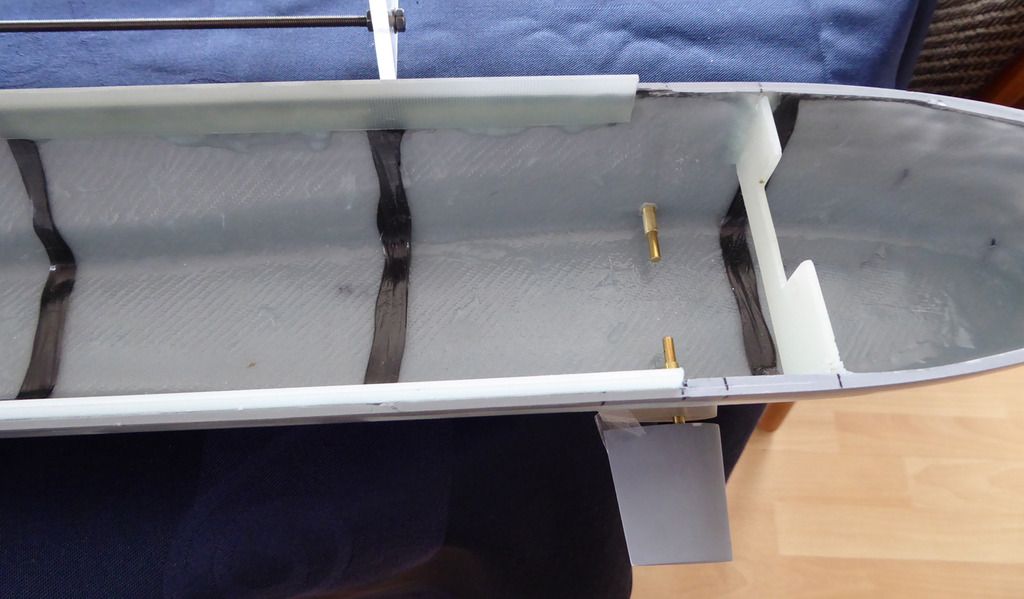
    The battery rest on two 2 mm thick GRP planks:


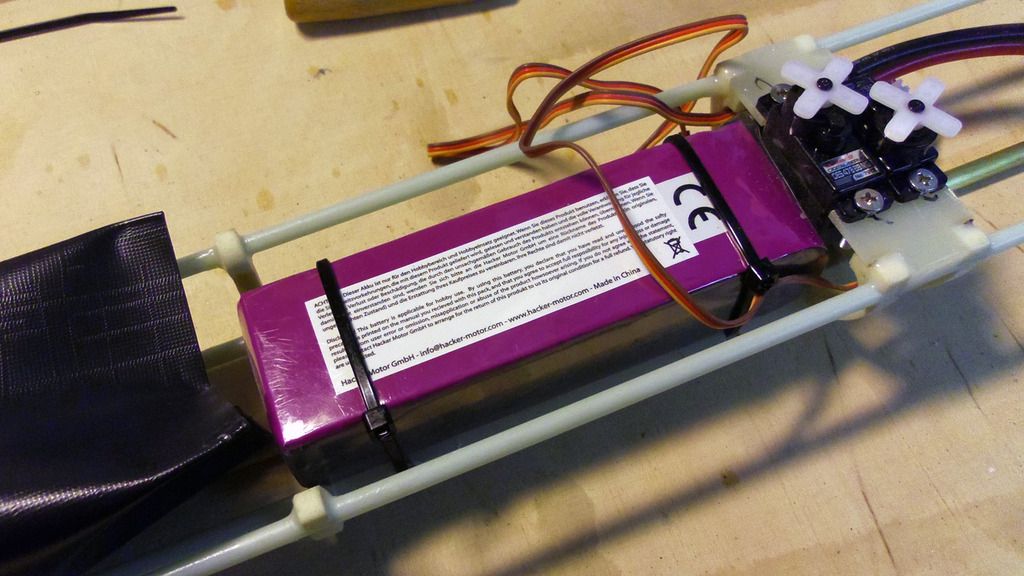
    This way the battery can easily be fixed with cable ties:


    The gap between battery the GRP deck has the advantage, that in case anything gets wet, the battery can easily dry. And the gap is well suited to route cable ties to fix additional gear:


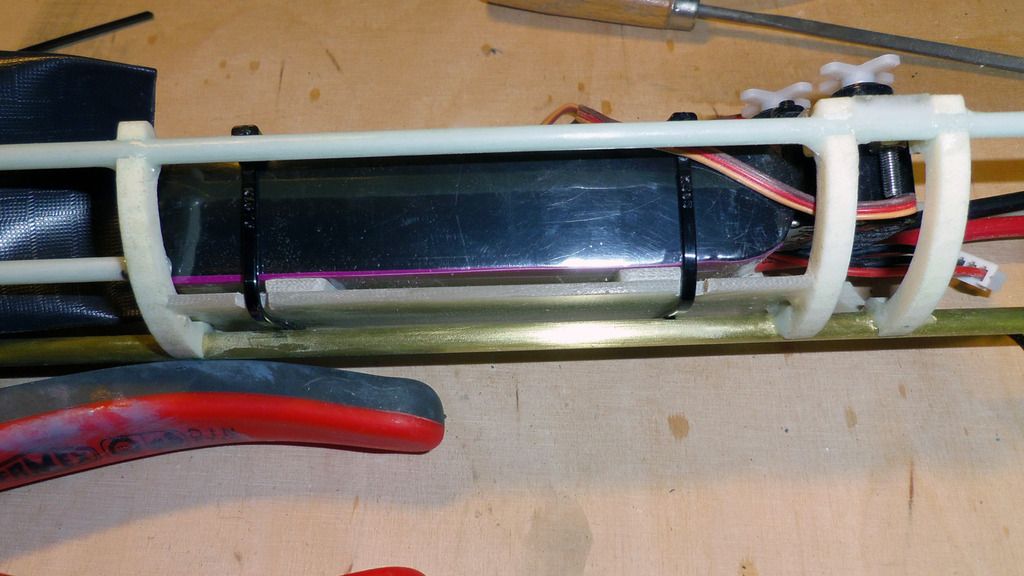
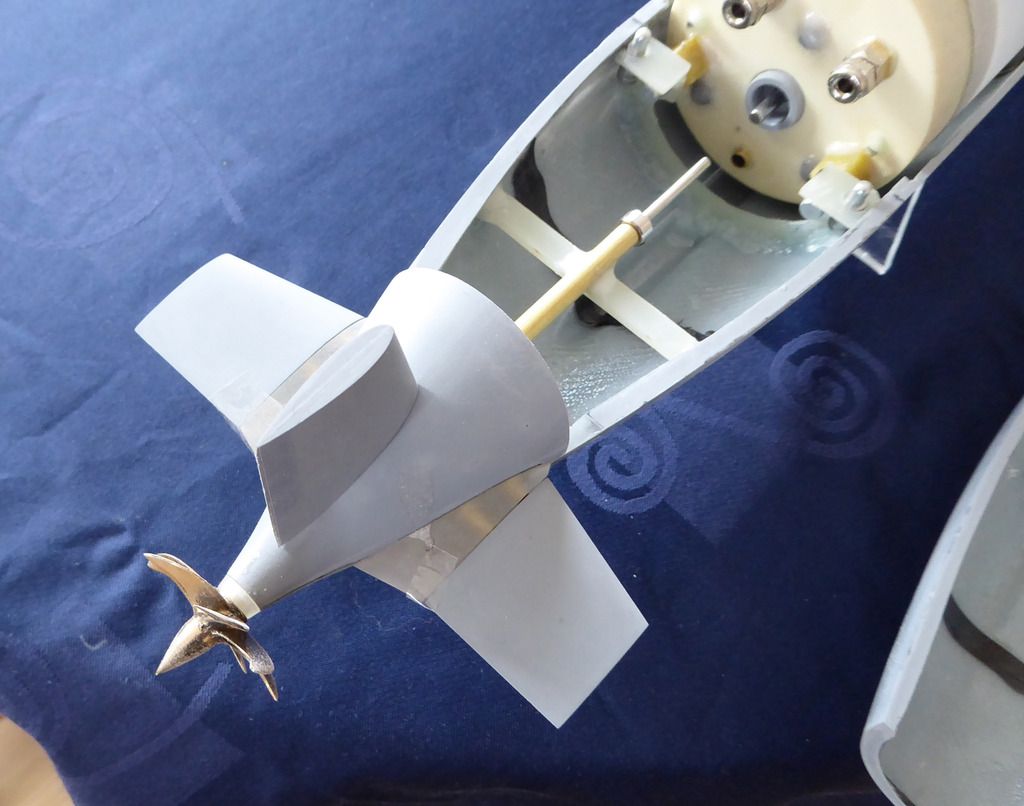
    e.g. the receiver. It will simply sit on top of the battery:

    Comment

    • drschmidt
      Member
      • Jul 2014
      • 424

      #32
      Well, as the guy who milled the masters for my other boats doesn't have the capacity to mill the masters for this boat, I looked and found a new one and will give him a try. I'll be wiser in a few weeks. The final result should look somewhat like that:

      Comment

      • drschmidt
        Member
        • Jul 2014
        • 424

        #33
        First pictures of the masters:


        Comment

        • drschmidt
          Member
          • Jul 2014
          • 424

          #34
          And done:


          Comment

          • salmon
            Treasurer
            • Jul 2011
            • 2342

            #35
            If it is wrong for me to ask, then please do not answer, what does it cost to get that cnc'd?
            If you can cut, drill, saw, hit things and swear a lot, you're well on the way to building a working model sub.

            Comment

            • thor
              SubCommittee Member
              • Feb 2009
              • 1479

              #36
              Tom,

              We perform CNC work for many different companies. It is not cheap. A great deal of the cost is tied up in the CAD and G-Code generation.

              This gentleman is using a fairly expensive base material to have his patterns machined. Renshape is a very nice material to work with. It is quite stable at room temperature. Being that it is a polyester based material, you must be very cautious of the ultimate temperatures it is exposed or it can deform, especially in long, thin sections. We machine this material quite often. It is very nice to work with.
              Regards,

              Matt

              Comment

              • salmon
                Treasurer
                • Jul 2011
                • 2342

                #37
                Thanks Matt! I might have to talk to you in the future if I go that path.
                Peace,
                Tom
                If you can cut, drill, saw, hit things and swear a lot, you're well on the way to building a working model sub.

                Comment

                • drschmidt
                  Member
                  • Jul 2014
                  • 424

                  #38
                  Found some time during the last weeks to make some molds......

                  Last edited by drschmidt; 11-29-2016, 01:20 AM.

                  Comment

                  • salmon
                    Treasurer
                    • Jul 2011
                    • 2342

                    #39
                    Wow, you do some fine molds. Maybe you would write an article for the SC Report?
                    If you can cut, drill, saw, hit things and swear a lot, you're well on the way to building a working model sub.

                    Comment

                    • drschmidt
                      Member
                      • Jul 2014
                      • 424

                      #40
                      About how I make molds? I could do that. I still have the mold for the control planes to do. I'd need to make some photos, and the rest is easy.....

                      Comment

                      • drschmidt
                        Member
                        • Jul 2014
                        • 424

                        #41
                        I haven’t been lazy building, just lazy making photos of the build. Therefore, without many intermediate steps the current status of the Neptun build, my little fantasy boat.

                        The moulds are done and I laminated the first set of grp parts from the first boat. The rest is a bit of resin and 3D-printed parts. The prop is from the Prop Shop:


                        Neat little boat. Just the lower rudder is missing in the pictures.

                        The deck is removable. The WTC ha progresses quite far:


                        The rear part of the WTC is locked into two horizontal pins, which are glued into a grp bulkhead. Similar but vertical pins lock the deck into place:


                        The bow section of the WTC is secured with a single M$ screw. Right in the front an additional vertical pin for the deck positioning:


                        The stern tube was installed within 5 minutes:


                        1,5 mm thick grp sheets provide additional alignment of the deck. The bulkhead in the bow section will hold the watertight servo for the bow planes:


                        Thanks to 3d-printed parts from Shapeways the interfaces between the planes and the hull are perfect without the need for filling and grinding:


                        Same for the bow planes:


                        The sail is modern and simple:

                        Comment

                        • drschmidt
                          Member
                          • Jul 2014
                          • 424

                          #42
                          After a few months break I used the warm weather to put 2 component primer on the boat. Wet grinding with 600 grade sandpaper and now I'm adding weldlines using Archer Fine transfer surface details. I'll also add some scribed lines and hatches.


                          Comment

                          • cdivine
                            SubCommittee Member
                            • Mar 2010
                            • 166

                            #43
                            This is AMAZING work! I love seeing other CAD work and even better seeing it come to life in practical application. Mine is mostly for fun.

                            Comment

                            • drschmidt
                              Member
                              • Jul 2014
                              • 424

                              #44
                              Thanks......its's a fun project.

                              Comment

                              • cliffhanger67
                                SubCommittee Member
                                • Aug 2015
                                • 34

                                #45
                                From gitgo I wanted a fantasy boat. Here's my boat "Harpoon SSXN 360". It's also a RECARB diver. Click image for larger version

Name:	P_20171124_060053_1_p.jpg
Views:	1
Size:	87.2 KB
ID:	130558

                                Comment

                                Working...