KRICK's VIIB 1:60 - trying to make something nice out of it.

Collapse
X
 
  • Filter
  • Time
  • Show
Clear All
new posts
  • Jakub
    Member
    • May 2021
    • 34

    KRICK's VIIB 1:60 - trying to make something nice out of it.

    Hello Everyone!

    My name is Jakub (Jacob) and I'm from Poland. This is my first post here and I'm very happy to join Since a while I was a rather silent "read only" fan of this forum, but the time has finally came to write something of my own.

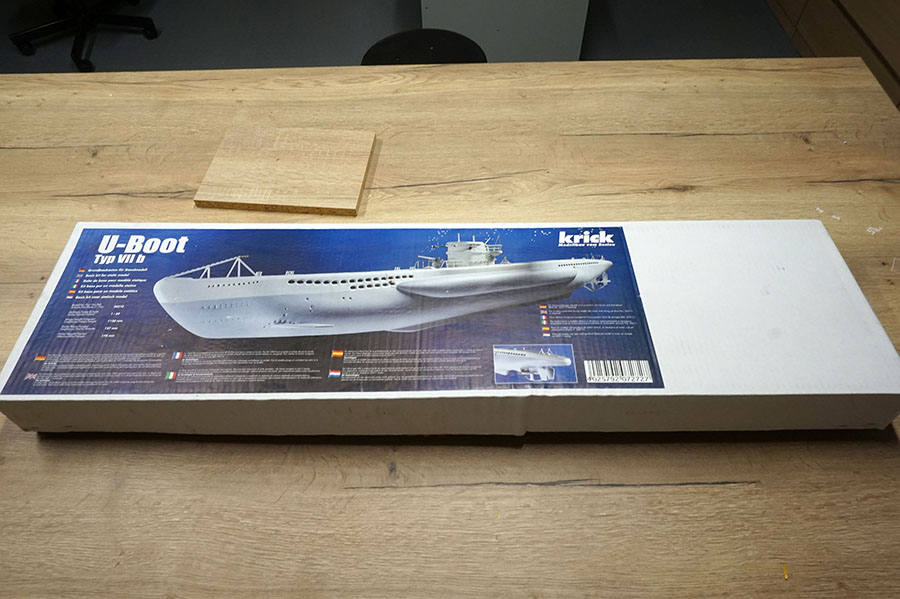
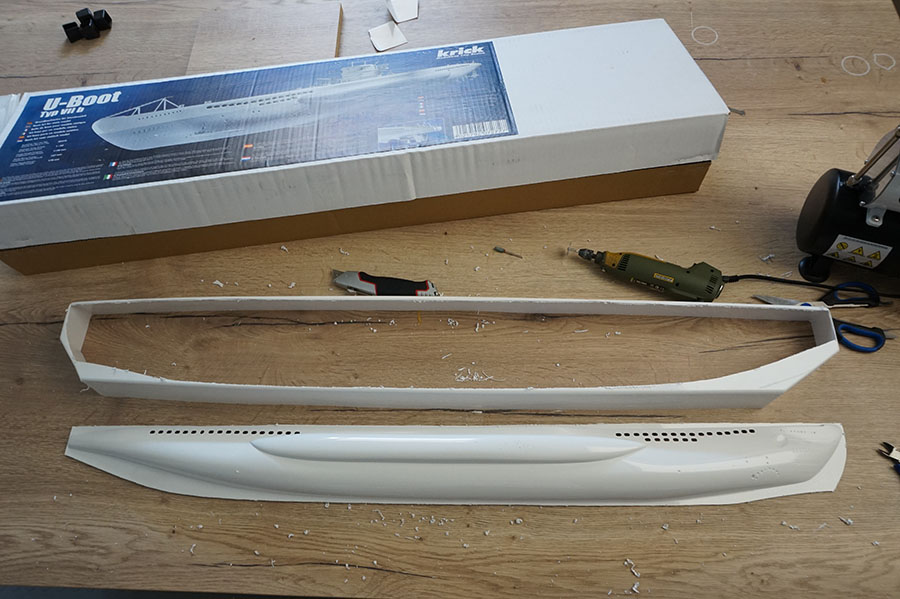
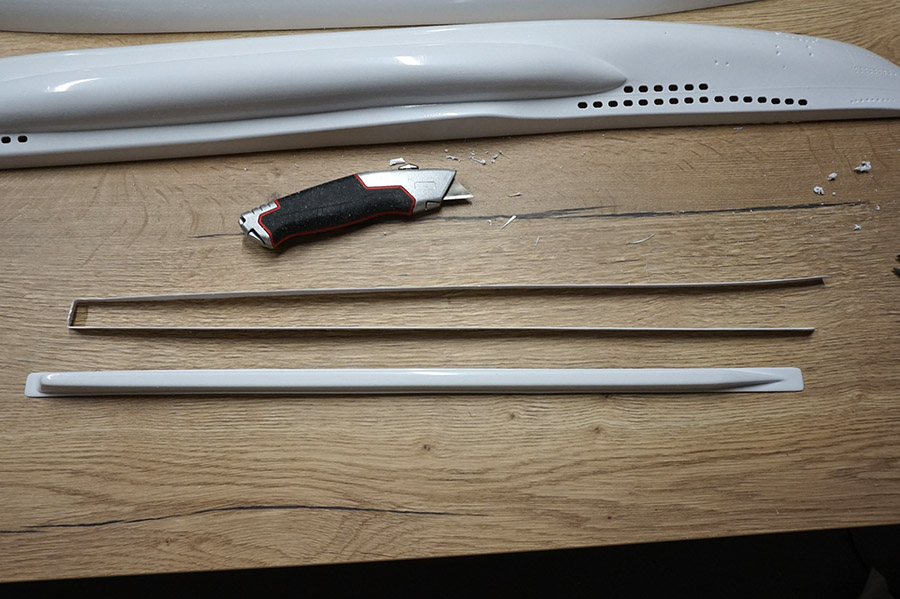
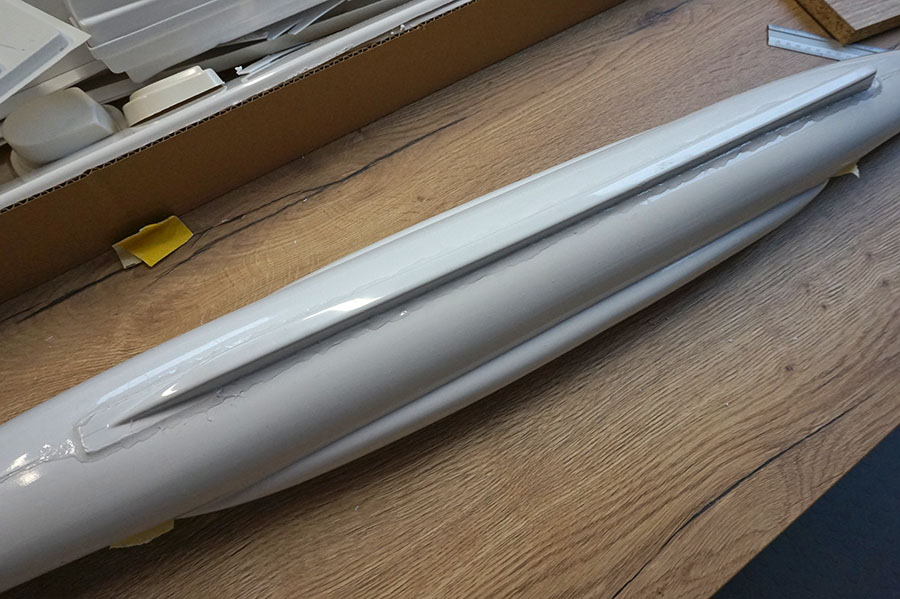
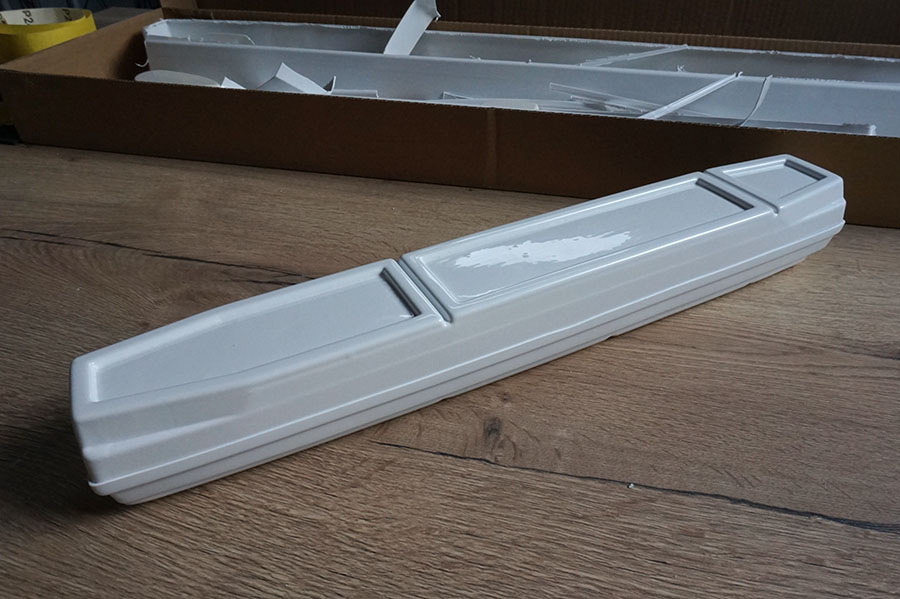
    I bought myself the Krick VIIB kit as it was a dusty, cheap thing in my local store. I intend to use it as a learning platform how to work with ABS based hulls, as in the future I would like to assemble something more detailed and complicated, but still ABS based - like the Robbe's type XXI (as a static diver). I also have to learn some weathering as I have never done it before.


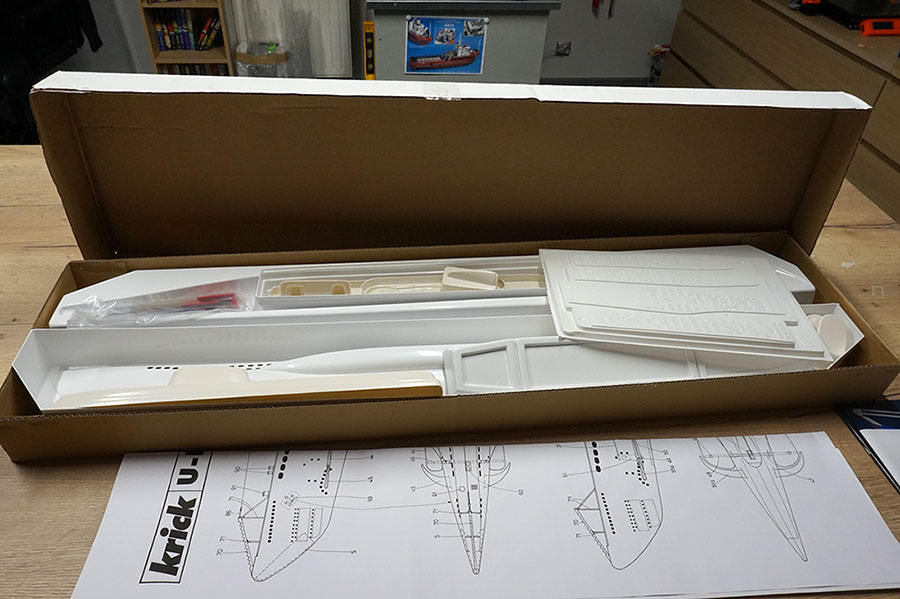
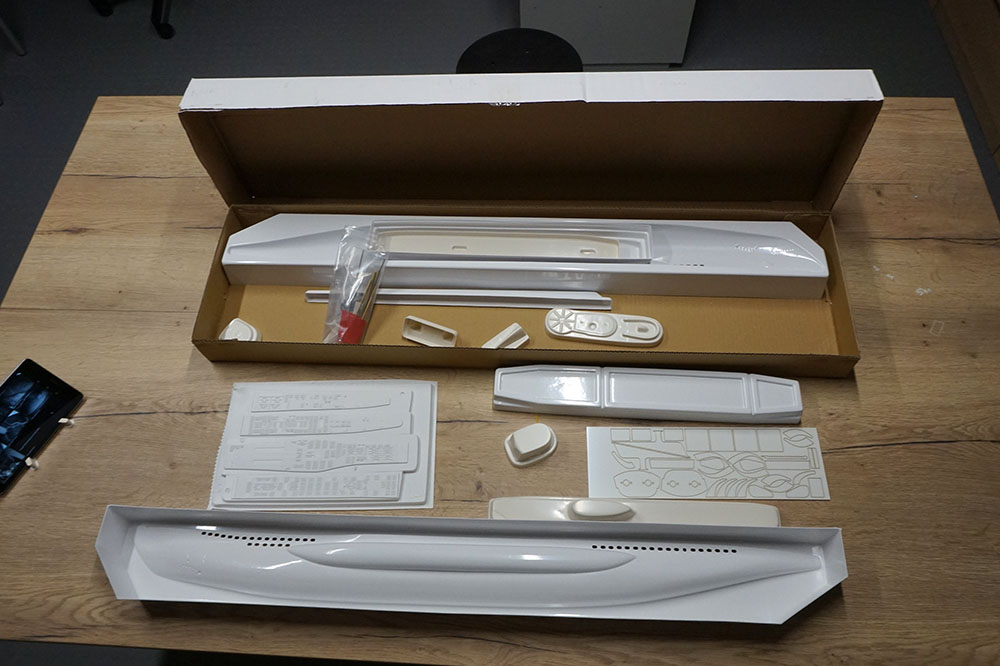
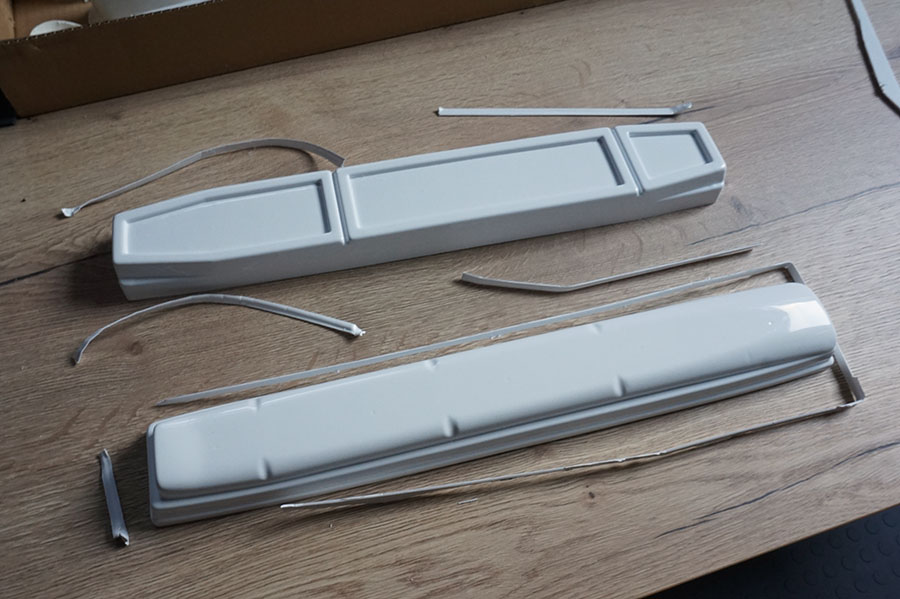
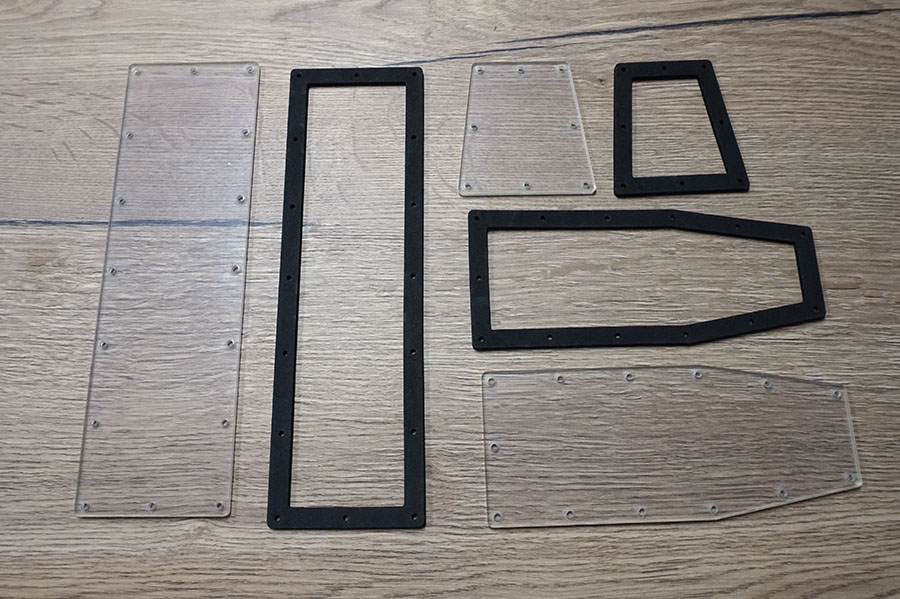
    The content of this box is rather modest and makes me wonder was it even worth the cheap price, but no one should cry over a spilled milk


    I did look for other building threads but either I'm not doing something correctly or this is is not a popular thing here
    Last edited by Jakub; 05-18-2021, 04:37 PM.
    My knowledge base and blog:
    www.RCshipyard.com
  • salmon
    Treasurer
    • Jul 2011
    • 2306

    #2
    Welcome aboard Jakub!
    Glad you are here!
    Let us see what help we can get to you.
    Peace,
    Tom
    If you can cut, drill, saw, hit things and swear a lot, you're well on the way to building a working model sub.

    Comment

    • salmon
      Treasurer
      • Jul 2011
      • 2306

      #3
      Do you have the instruction on that sub? I have one in my files, it is in English, but it looks to be a step by step. If you just search Krick, it will pull up 4 pages of things. Many are not complete, but you might get some tips.

      Peace,
      Tom
      If you can cut, drill, saw, hit things and swear a lot, you're well on the way to building a working model sub.

      Comment

      • Jakub
        Member
        • May 2021
        • 34

        #4
        Hello Tom!

        I only have a plan in my box, any manual would be greatly appreciated, especially English one as my German is even more modest than the content of this box
        My knowledge base and blog:
        www.RCshipyard.com

        Comment

        • Jakub
          Member
          • May 2021
          • 34

          #5
          So it's time to start. I'll be writing this building thread almost as a manual, as I think building threads help especially folks who enter the hobby. I hope that none of the more experienced model makers will feel offended by that.

          The hull is a thermoformed ABS. Cutting it out may be problematic, but onlyif you don't know the "how to".

          To cut out the extensive material I simply used my proxxon with occasional help of the scissors.


          It had to be done, as to go further I had to place the parts flat on the workbench:


          As it lays flat it's easy to use the knife for the fine trim. The first "cut" is done without any pressure - only to scratch the surface. Adding a little force is required only in the 2nd or 3rd run. It's absolutely not necessary to do a cut through.


          When the groove is finally visible it's possible to simply break out the extensive material.


          I don't have the manual yet, as my kit is missing one, but I highly suspect that to connect both halfs of the hull together I'll require strips of ABS. I'll use the leftovers for that.


          ABS can be picky when it comes to adhesives. Of course epoxy and cyanoacrylic glue work fairly good, but what works best is melted ABS. You simply have to throw small pieces of left over ABS into a jar and pour it over with acetone (close the jar). The amount of acetone poured will affect the consistency of the "glue". I like mine fairly sticky, so I don't add acetone to much. Acetone is a moderate health risk so don't breath it.


          and that's all for today, as I need to wait for the acetone to melt my ABS
          My knowledge base and blog:
          www.RCshipyard.com

          Comment

          • salmon
            Treasurer
            • Jul 2011
            • 2306

            #6
            The file is too big to upload. Let me upload it to dropbox, one moment. Nope, I emailed you. Please let me know if you got it.
            Thank you.
            Last edited by salmon; 05-19-2021, 04:09 PM.
            If you can cut, drill, saw, hit things and swear a lot, you're well on the way to building a working model sub.

            Comment

            • David F
              SubCommittee Member
              • Jan 2016
              • 60

              #7
              Hi Jakub,
              Good that you are having a look at this project with the Krick. I did a quick search over on the AMS forum and there are a few threads there also that may help you (including this one):
              Krick Hi, I am building the KRICK Type Vll B Submarine, and I would like to see if anyone can tell me where I can get some build photos on this boat? The instru

              Comment

              • Jakub
                Member
                • May 2021
                • 34

                #8
                Thank you Thomas, manual is a great help!

                David, Thank you for showing me that site. I did find one more thread. It's always good to learn by experience - both your own and others.
                Saturday in Poland is rainy, If it will rain on Sunday too, I might need a real submarine. Still weather like this helps to push the work forward:

                So I have cut out myself a keel:


                Filled it with lead and secured everything with epoxy. Funny thing is that it's impossible to put the amount of lead balls which the manual states. It's simply impossible.


                Epoxy needed it's time to cure, so decided to glue the both hull parts together.


                Thanks to the manual sent to me by Thomas, I was able to identify the two "nose like" elements and how to cut them out. I guess I will glue them in place after the hull parts are joined together trough the removable deck section.


                Now just to identify these parts and I guess that's all for today
                My knowledge base and blog:
                www.RCshipyard.com

                Comment

                • Jakub
                  Member
                  • May 2021
                  • 34

                  #9
                  I must say it's easier with the manual, as the KRICK's plan can be quite vague

                  I was happy to identify the element from the previous post as number 7 - the support for the removable upper deck. In the bow:


                  and in the stern:


                  Of course to glue those elements in I had to cut the hull opening. It required more patience than earlier ABS "breaking off technique" as the shape is rather difficult with occasional sports with not knife support:


                  Gluing in the supports, clamps help greatly.


                  When the supports where cured enough to remove clamps I begun to fill the gaps with ABS. This will be hard to sand down, but I'm still quite calm. Bow:


                  Gluing in the keel, lot's of ABS there. I want this thing stiff as a sword:


                  Stern part:


                  Now let's leave it do cure completely. Hopefully I'll be able to sand it down tomorrow.
                  My knowledge base and blog:
                  www.RCshipyard.com

                  Comment

                  • salmon
                    Treasurer
                    • Jul 2011
                    • 2306

                    #10
                    Love the progress. This build will help others, as you have seen, there are few start to finish builds of this. So, this is great! Keep up the excellent work!
                    If you can cut, drill, saw, hit things and swear a lot, you're well on the way to building a working model sub.

                    Comment

                    • Jakub
                      Member
                      • May 2021
                      • 34

                      #11
                      Thanks Thomas, I think it might help few folks, especially as I already see the models needs serious modifications.

                      So, basic sanding has been done, the work on the bow went smooth:


                      But something unexpected happened around the keel. No ideas why, but there are lots of bubbles in melted ABS 
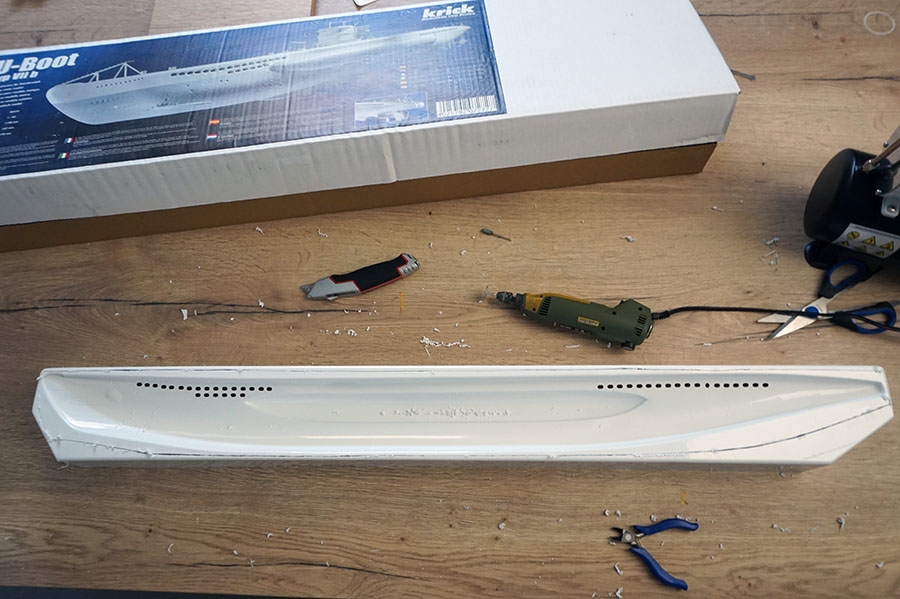
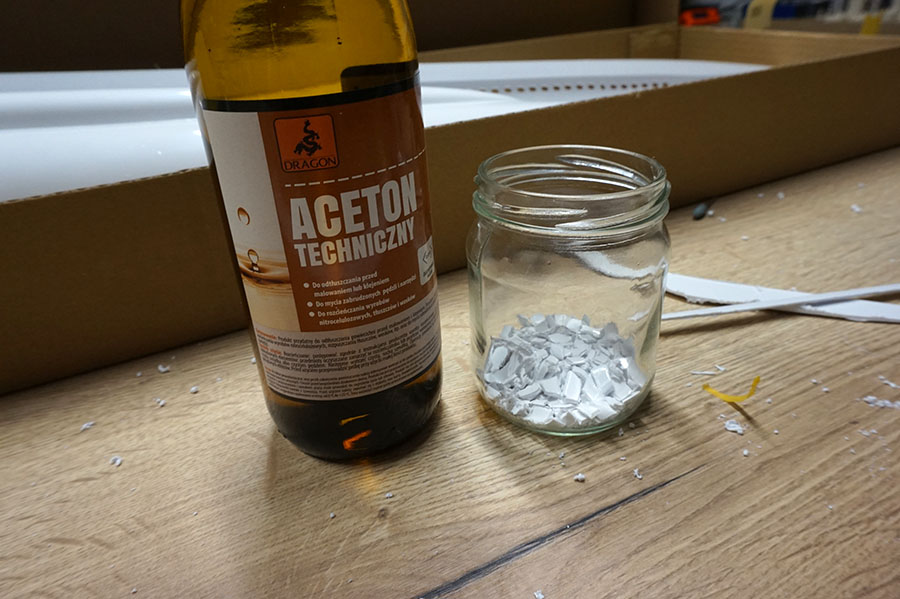
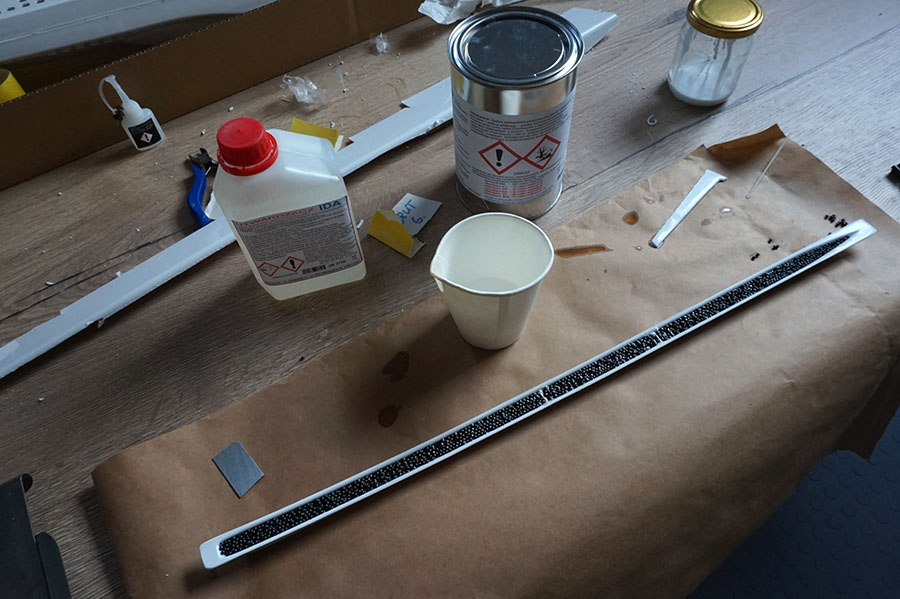
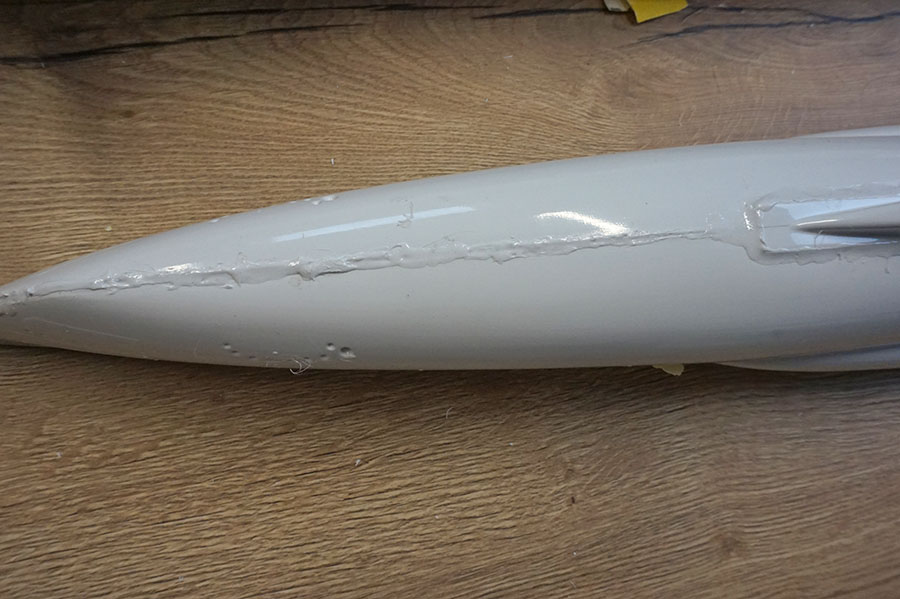
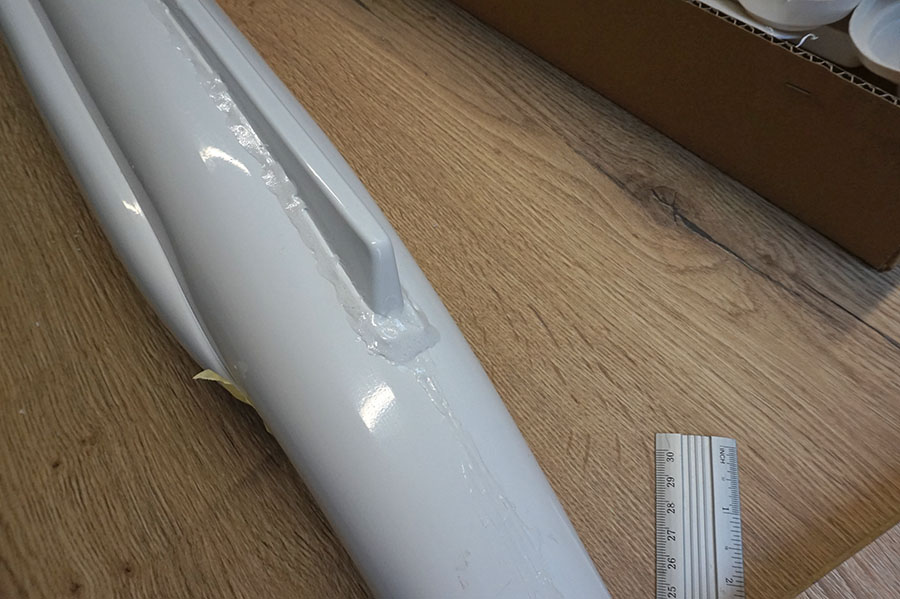
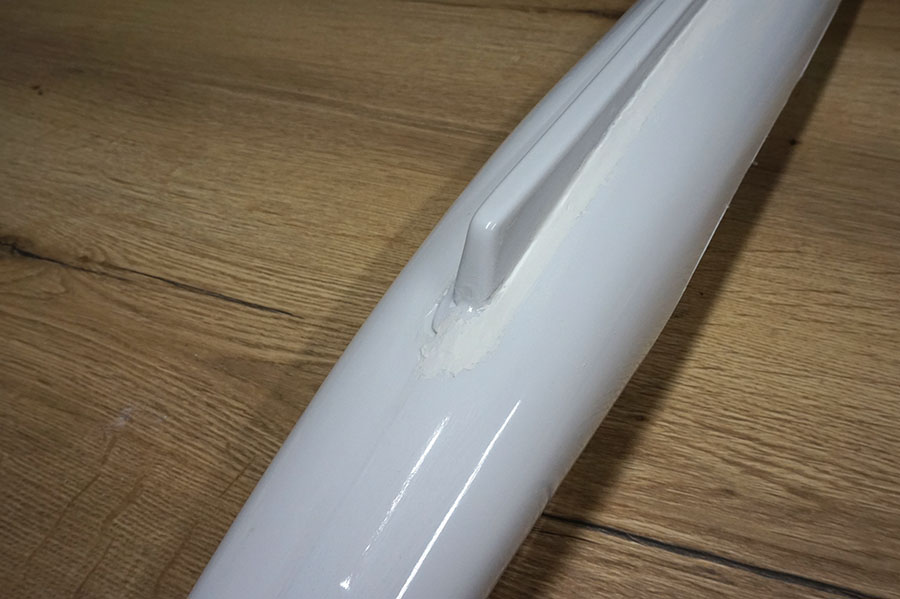
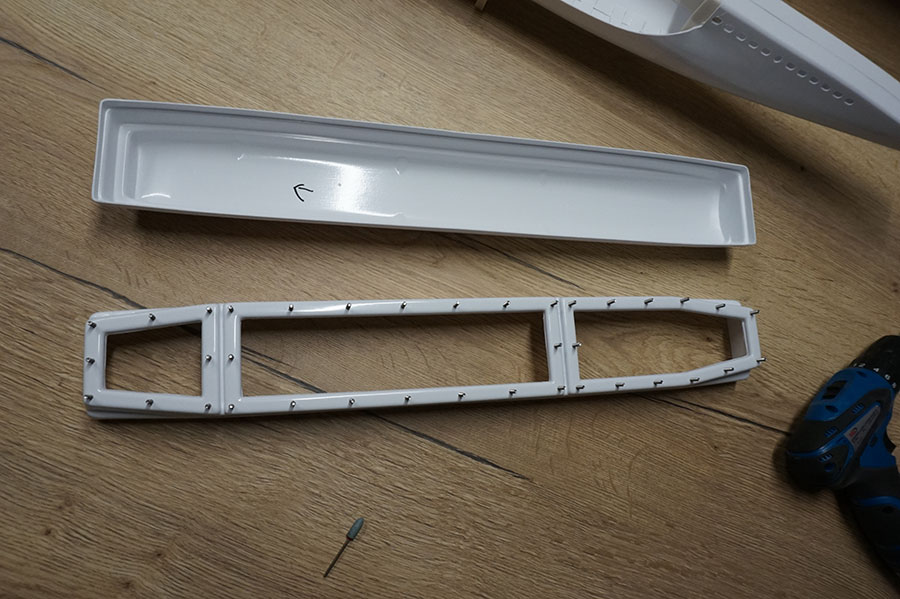
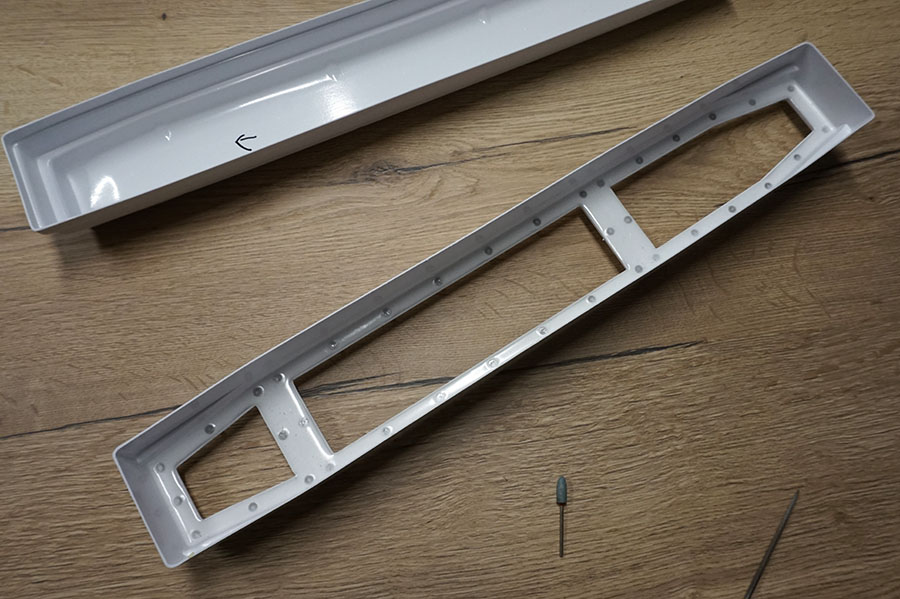
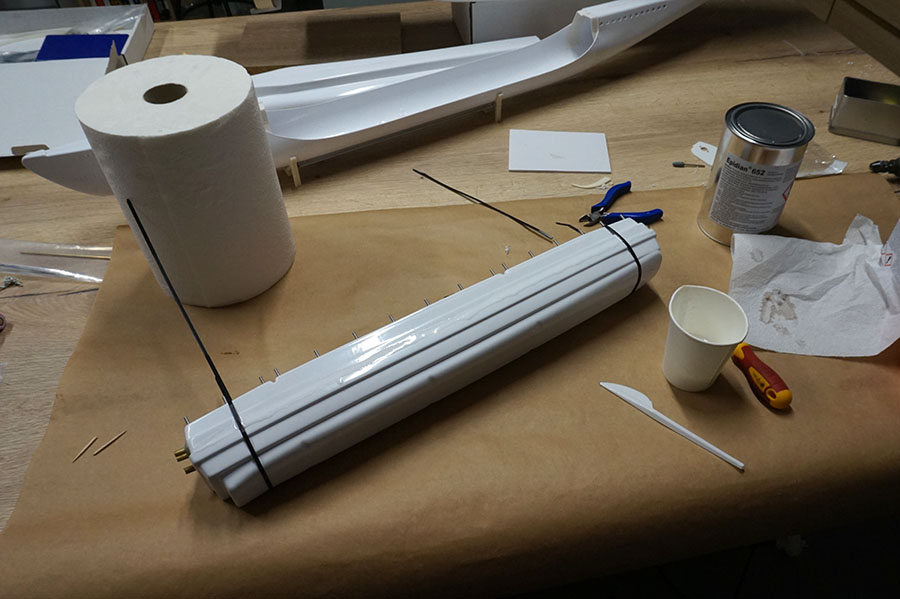
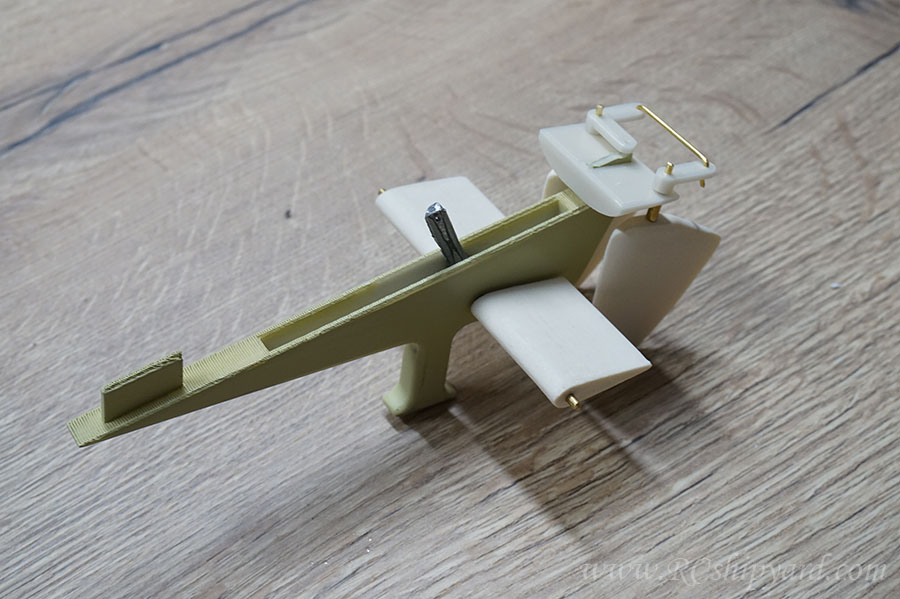
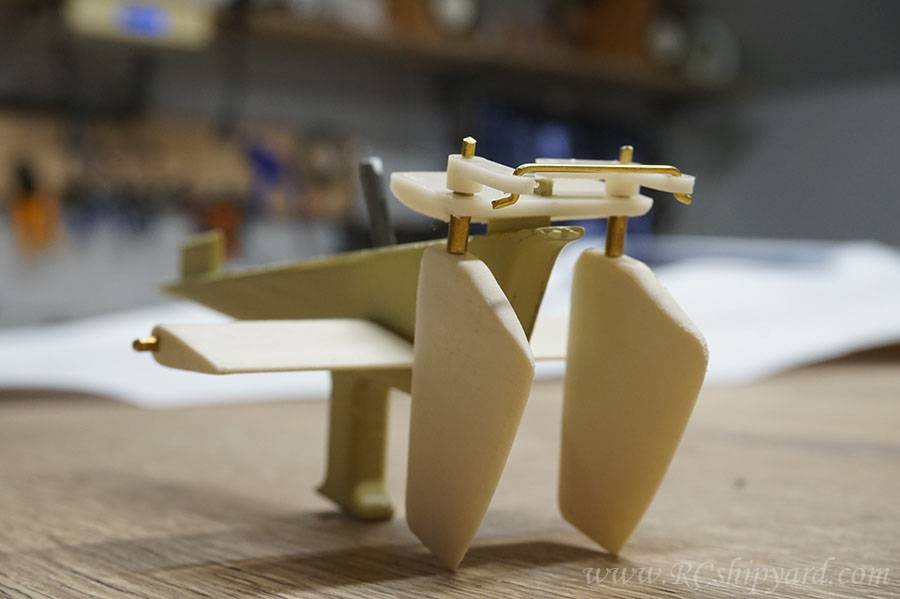
The bond of the keel with hull is solid, but these bubbles wherever they came from will have great impact on sanding time.


                      I applied the Tamiya putty for the "bubbly" surface now, will sand it down tomorrow and see how it looks


                      Still I'm happy with the result of stern, as it requires only some finer sand paper. I had to put quite a lot of ABS there as my hull parts were not even. One of them was shorter quite a few millimetres than the other.


                      and like I said before no problems at the bow too, still needs just some finer sand paper.
                      My knowledge base and blog:
                      www.RCshipyard.com

                      Comment

                      • Jakub
                        Member
                        • May 2021
                        • 34

                        #12
                        Alright. Time to deal with the WTC aka ABS coffin.

                        I honestly have no clue which is the cutting line, the manual is so unclear about that... I decided to cut of less just in case. Then I'll see will it fit together. In the worst scenario I'll just do it twice.


                        Seems that it fits...


                        cutting out the windows:


                        Now, the manual says that I should glue in the supplied wooden bars, but I decided upon a different approach. I placed pieces of fibre glass mat and some fibreglass rods in the groove. Then I poured epoxy into into the groove to about 80% of the grooves height. Drilled the damn thing together with the acrylic windows - all taped together. Then if poured the epoxy to the remaining 20% to make the screws and their threads watertight. That's the Engels way dealing with that, worked for me in their boats, so should work now too.


                        Before the drilling...


                        ...and after. Everything seems line up.


                        Finally the two pieces need some time to cure together. One side at a time.
                        My knowledge base and blog:
                        www.RCshipyard.com

                        Comment

                        • salmon
                          Treasurer
                          • Jul 2011
                          • 2306

                          #13
                          For instructions not making it clear, you are making it look easy.
                          If you can cut, drill, saw, hit things and swear a lot, you're well on the way to building a working model sub.

                          Comment

                          • Jakub
                            Member
                            • May 2021
                            • 34

                            #14
                            Originally posted by salmon View Post
                            For instructions not making it clear, you are making it look easy.
                            Warm words, there are mistakes for sure. I'm just not afraid to fix them. Everything can be fixed. Everything except an Alfra Romeo.

                            Alright, so some progress and finally something interesting:

                            I was absolutely shocked that Krick designed this model with the non operational stern dive planes - fixed permanently in horizontal position. I fully understand the idea of the "classic type" model ship kits in which you have to shape everything from pieces of pre cut ABS, but in this case it's to much of a simplification. The yellow numbers 1 and 2 mark the elements which Krick proposes as dive planes. No way, time to CAD something.


                            The idea was to design a new element with a slot for the dive planes pushrod lever hidden inside.


                            The slot is 3mm wide. The hole part is 7mm thick.


                            On the bottom of the element there's a hole for the M2 screw for future additions. Type VII boats had a quite complicated rudder system.


                            Of course I had to design the stern dive planes too. They're slightly larger as I'm a fan of some extra manoeuvrability.


                            After the design process it was time to print it. I use FDM printers, which are more prior to slicer software errors - especially with angled surfaces. That's exactly what happened with the print #1:


                            Luckily after some fine tuning, I was able to get a nice sharp line:


                            Then some spray putty, sanding paper and we have a nice smooth surface and a well conserved part. The dive planes are much easier to sand down, so they don't require the extra work with putty. Just some mechanical sanding.


                            Of course I was still missing the dual rudder system. Again the design comes first:


                            Then a quick 3d print, smoothing and the initial assembly without any glue yet:


                            You can spot the stainless steel lever for the dive planes pushrod already inside. It's a little rough looking but this thing will stay hidden and of course do it's the job.


                            I think it came out pretty good. Much better then the stock version for sure


                            Up next - bow dive planes
                            My knowledge base and blog:
                            www.RCshipyard.com

                            Comment

                            • scott t
                              Member
                              • Feb 2003
                              • 879

                              #15
                              Very nice.

                              Comment

                              Working...
                              X