Attention all registered users. The new forum upgrade requires you to reset your password as you logon for the first time.
To reset your password choose this option that is displayed when you attempted to login with your username: "Forgotten your password? Click here!"
You will be sent an e-mail to the address that is associated with your forum account. Follow the simple directions to reset your password.
If this is your first visit, be sure to
check out the FAQ by clicking the
link above. You may have to register
before you can post: click the register link above to proceed. To start viewing messages,
select the forum that you want to visit from the selection below.
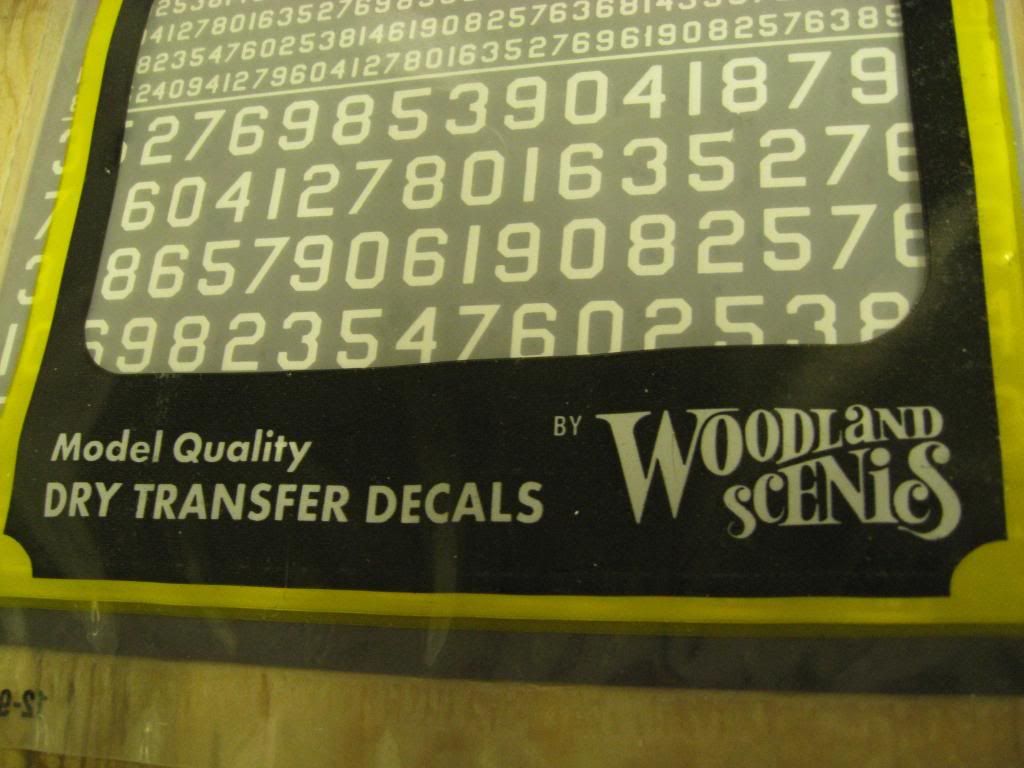
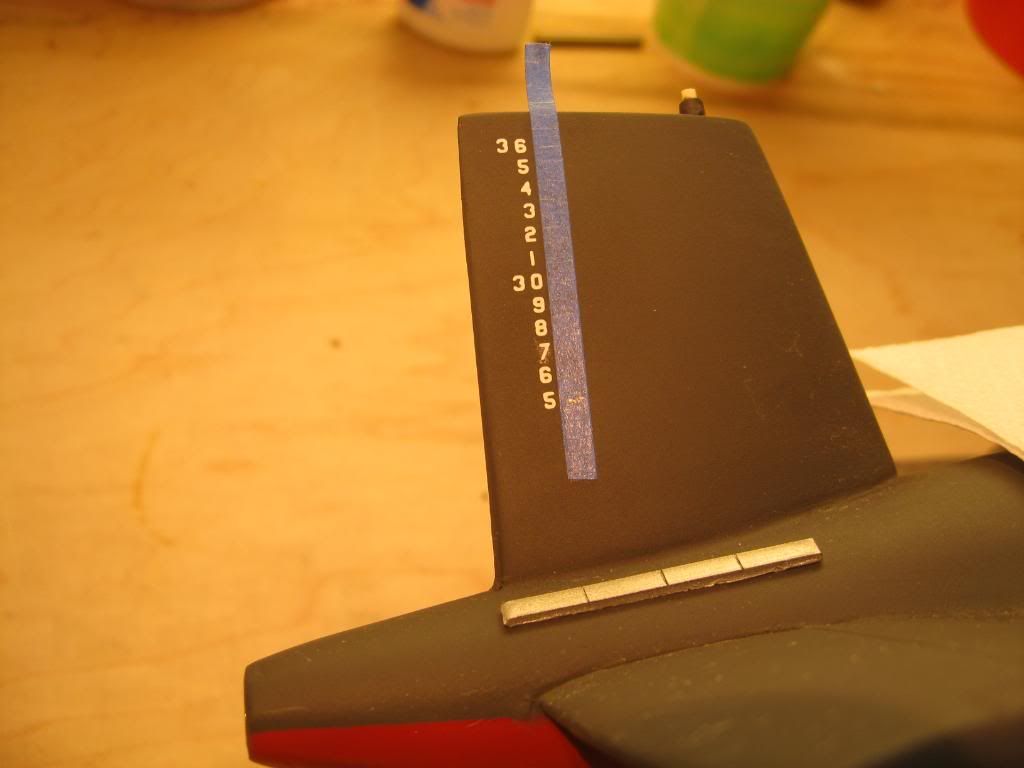
For draft marks and hull number I use Gothic style dry transfer decals by Woodland Scenics from my local hobby shop. Unfortunately my local hobby shop closed about 3 years ago so these decals are very old. Fortunately they still worked just fine.
One issue I had before starting was what size numbers to use for the draft marks. Full size draft numbers are 6†high with 6†spacing between the numbers. At a scale of 1]http://i345.photobucket.com/albums/p392/SSBN659/USS%20WILL%20ROGERS/IMG_7049.jpg[/img]
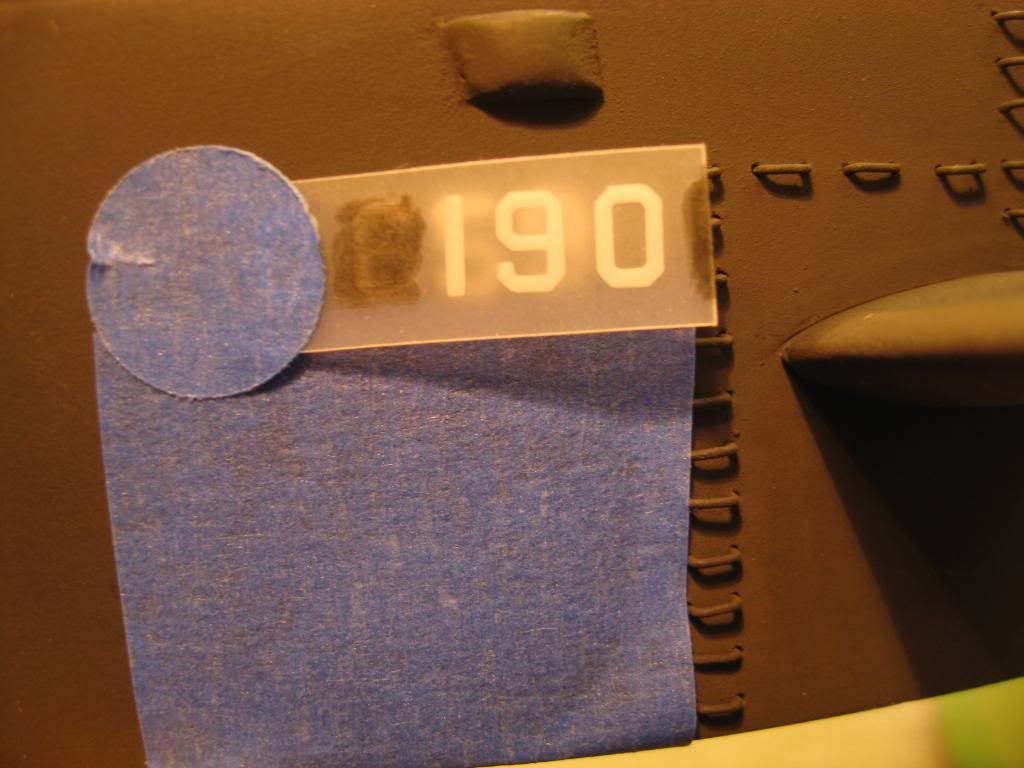
I used blue tape again for horizontal alignment on the sail. Because the sail is small I also used a piece tape to hold one end of the decal strip in place before rubbing it with a pencil. Note how I had to cut off a small strip of transfers to fit the sail. I first transferred the 9 followed by the 5 and finally the 6 to avoid touching previously laid numbers. I reversed the sequence on the other side of the sail. Until the decals dry and are sprayed with a clear coat it is easy to smudge them.
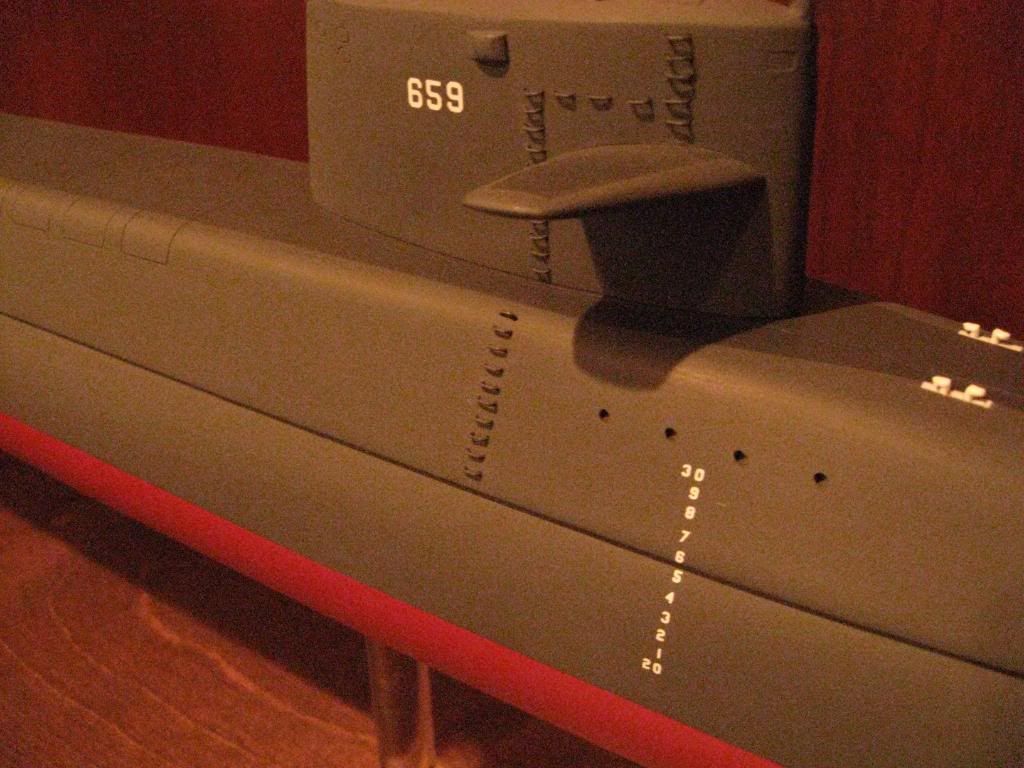
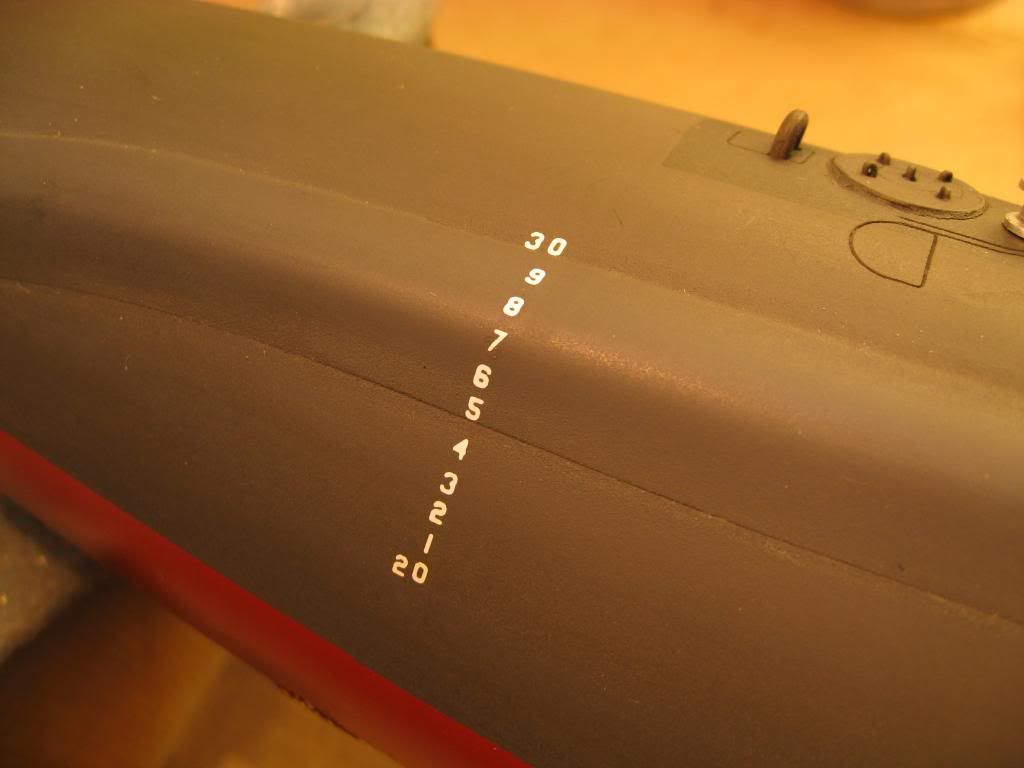
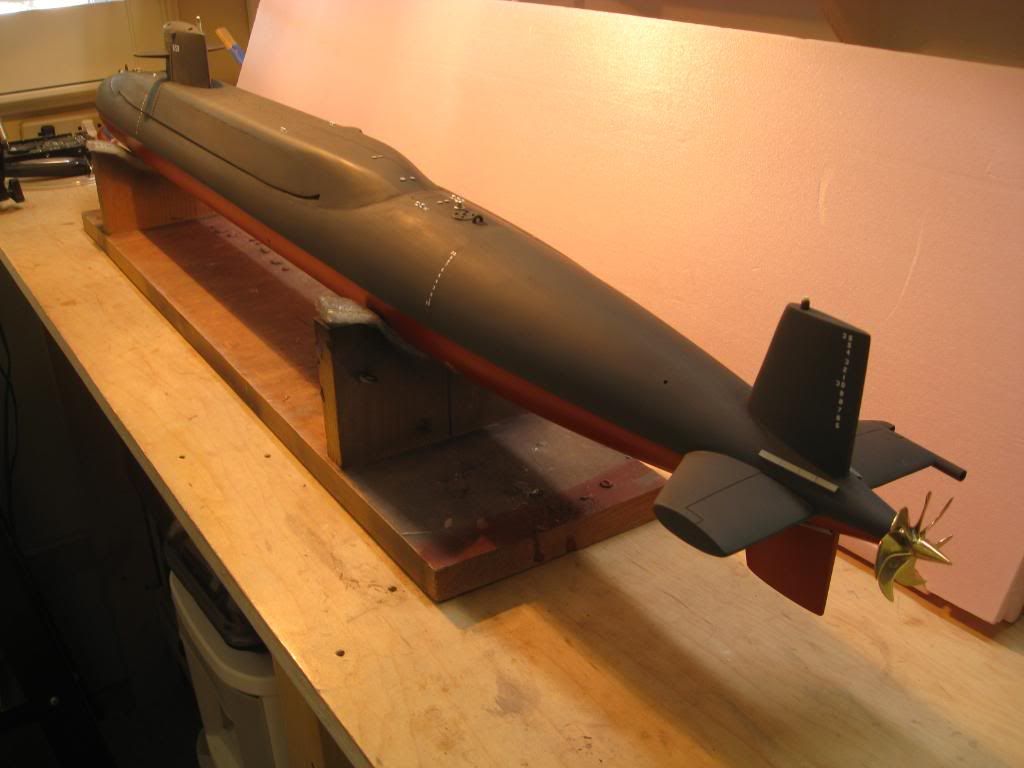
Here are shots of the hull number and forward draft marks and the after draft marks with a coat of clear coat for protection.
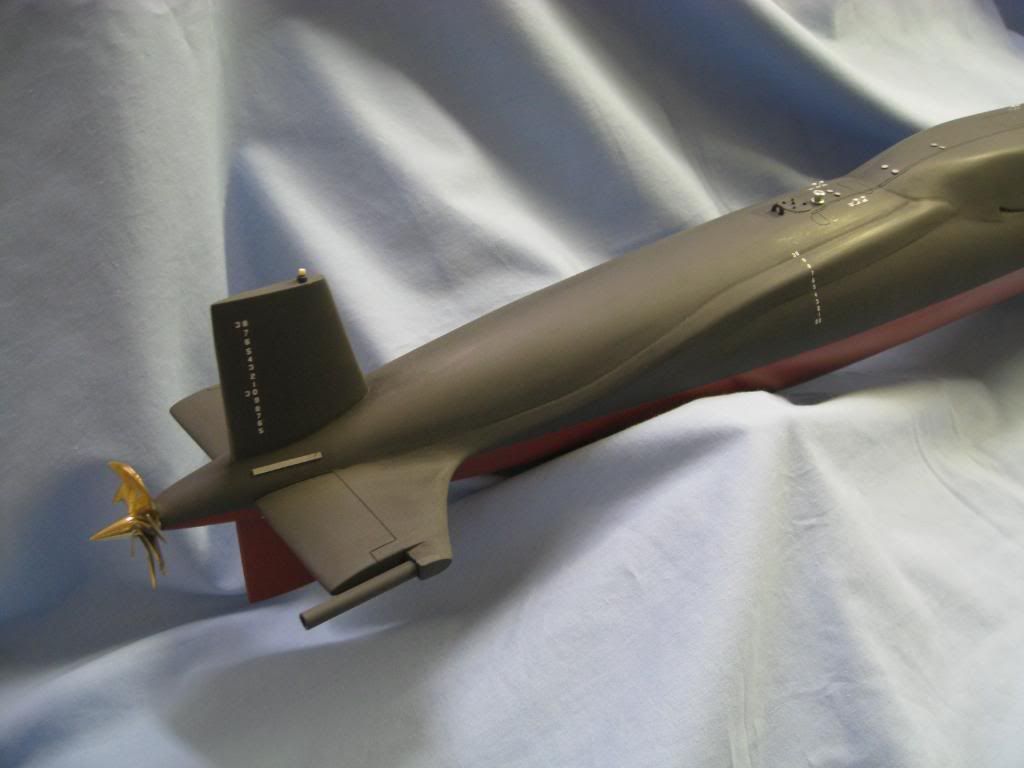
The draft marks on the rudder were laid out the same way.
Recall that earlier Boss Subfixer noted my zincs looked too large for this scale. He referred back to the picture of the Daniel Boone in an earlier post to show my error. Good catch! Anyhow, I did some research on zinc anodes and I’m making new ones closer to scale. The ones you see in this picture have already come off and I’m getting ready for another airbrushing to touch up the paint in that area.
Once that’s finished I’ll do another coat of clear coat and get on to installing the masts.
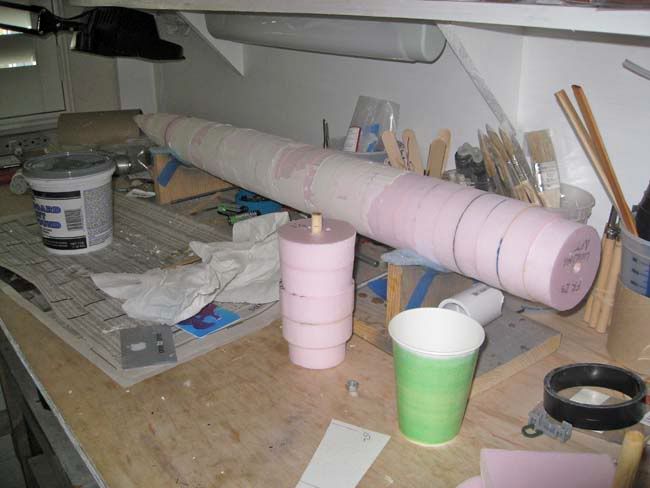
When I started construction of this model in April 2009 I knew it would take over a year to complete it. So I took hundreds of pictures along the way to document what I did in case I wanted to do another model. I’m not sure what that model will be but this one is now finished except for the display case that is being fabricated as I write this.
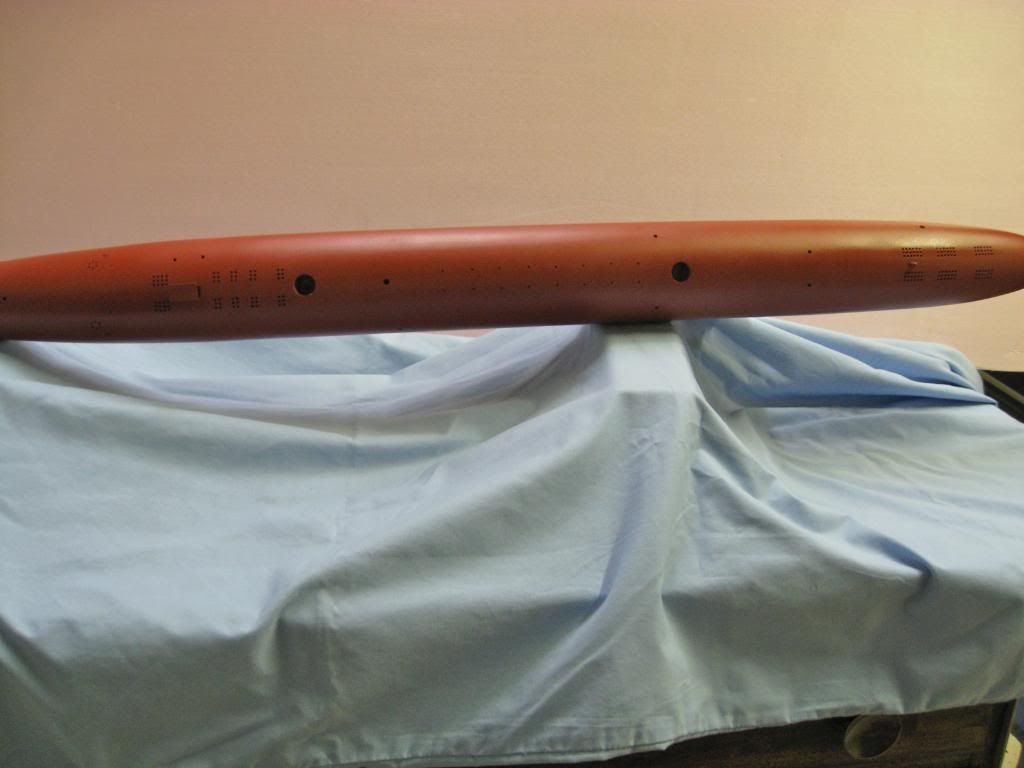
For those who have not read the entire thread or who may not remember what it looked like at the start, here is what the beginning looked like.
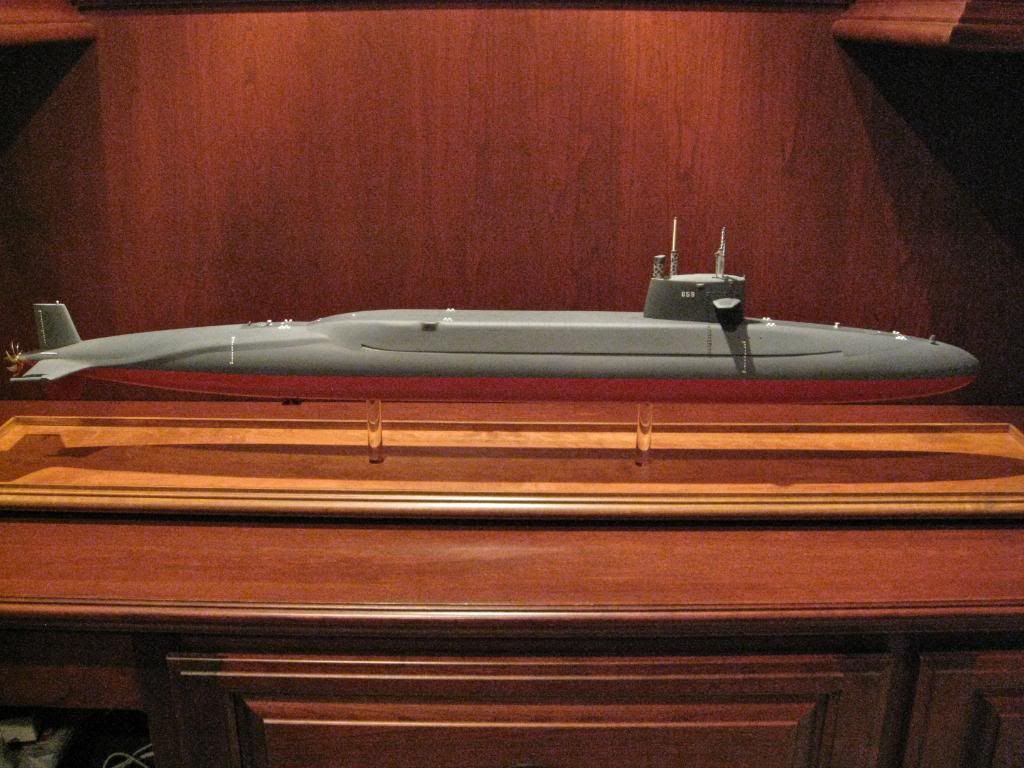
It’s been a long haul, but here is USS Will Rogers (SSBN-659) as she is today in my office at home waiting for the display case. The base is a piece of ¾ inch birch with poplar panel molding side rails and stained in cherry. The supports are 5/8 inch clear acrylic rods.
I’ve also included a shot of the bottom showing the main ballast tank flood holes, missile tube compensating system ball-valve openings, main condenser seawater intakes and discharges, auxiliary seawater intakes and discharges, secondary propulsion motor, and a host of other hull openings including the trash disposal unit discharge.
Recall in my previous post I had been informed that my zinc anodes were too large for 1]http://i345.photobucket.com/albums/p392/SSBN659/USS%20WILL%20ROGERS/IMG_7214.jpg[/img]
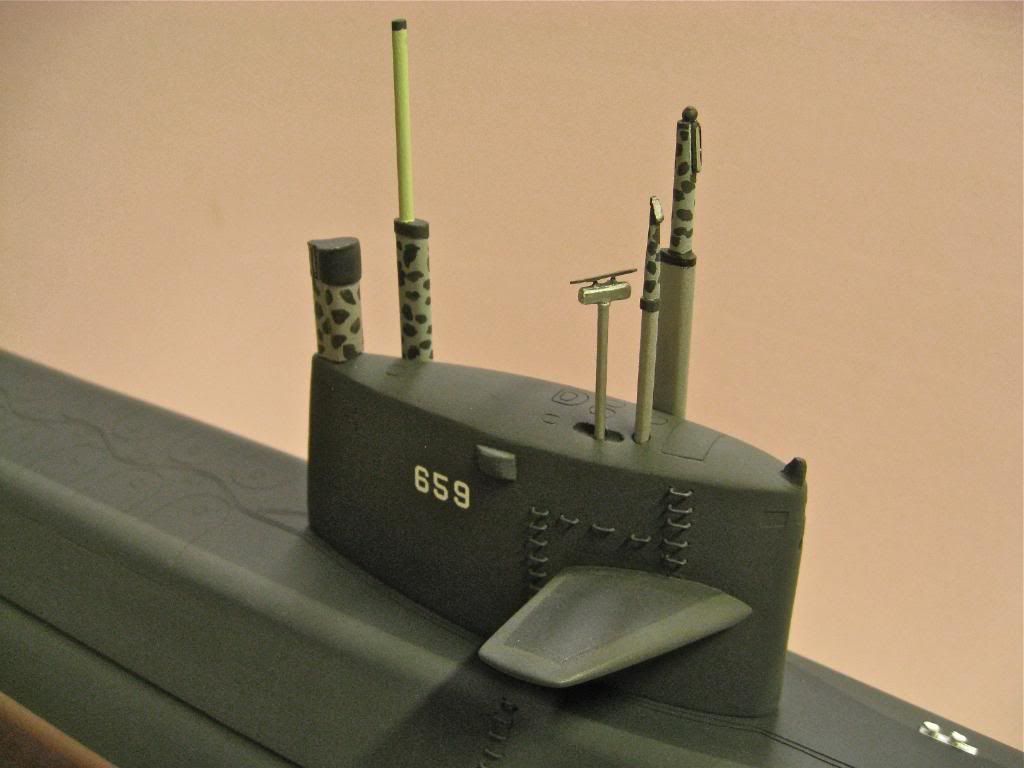
Once that work was finished, I installed the masts. Each one was hand made using a variety of different materials and hand painted as shown. I don’t know how often, if ever, all the masts I’ve modeled would have been deployed at the same time. I used a picture of USS Will Rogers departing Holy Loch as my guide for the masts but it didn’t show the snorkel intake/exhaust nor the surface search radar deployed. I added them for effect.
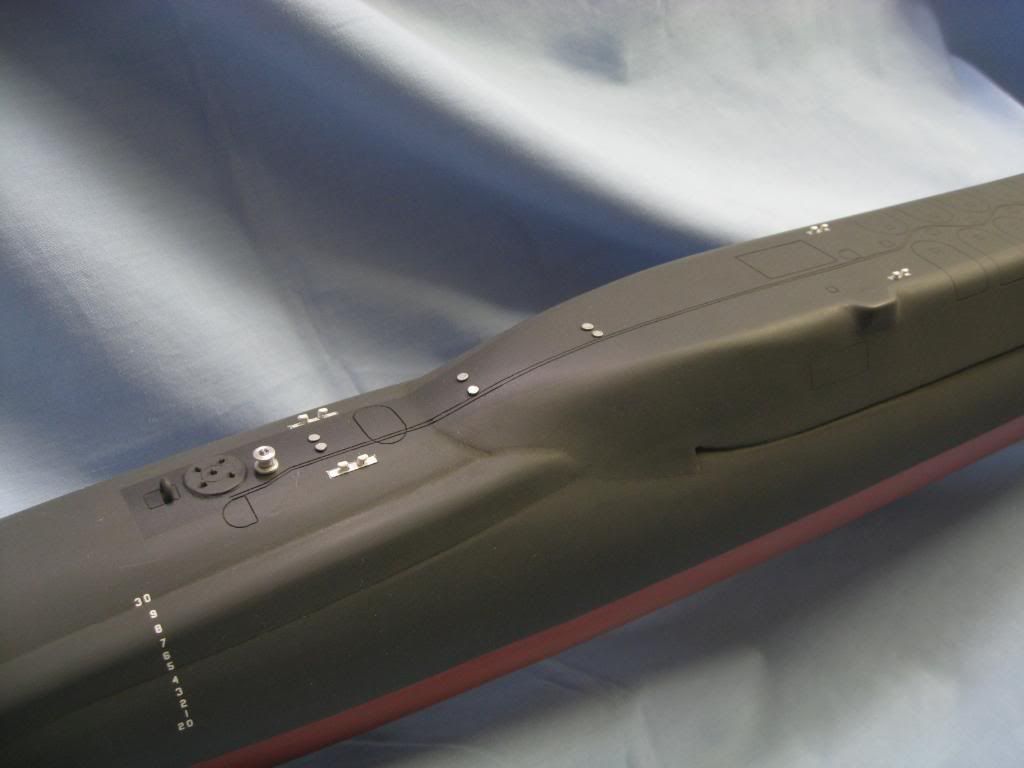
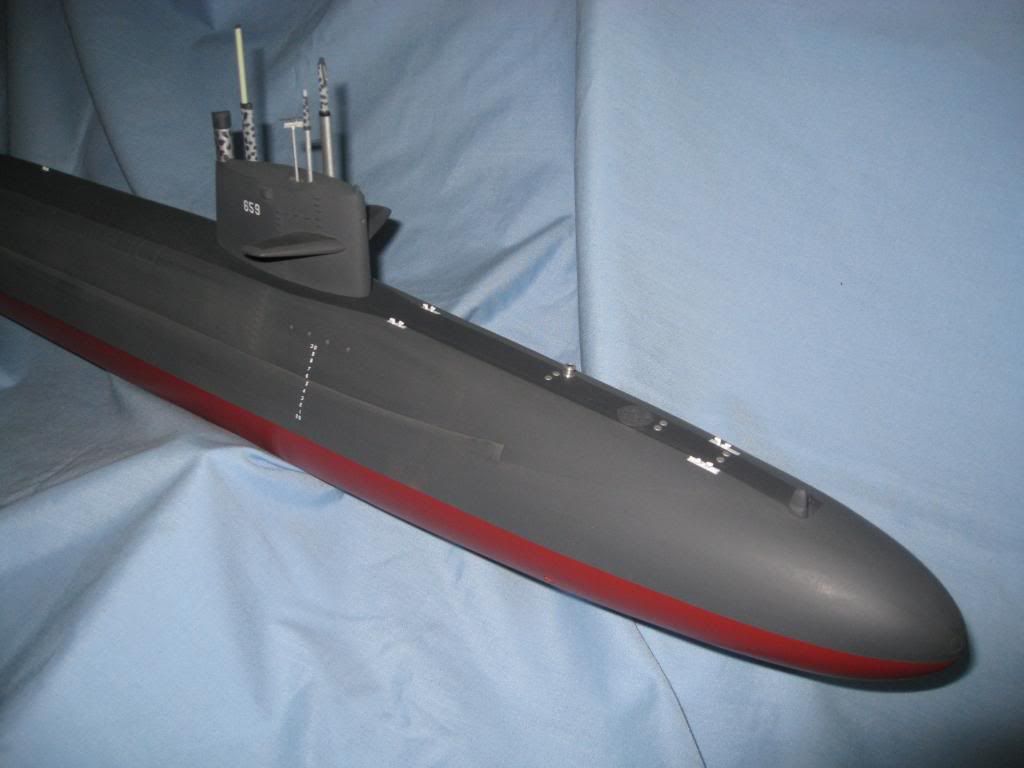
The next three photos show the details on the main deck and sail working forward from the propeller to the bow.
The display would not be complete without the “builder’s plaque†so I’m having one laser engraved in black background with gold lettering at a local trophy shop.
It will look like this, centered of course:
USS Will Rogers (SSBN-659)
Benjamin Franklin Class Ballistic Missile Submarine
“Last of the Forty-One for Freedomâ€
Built by Electric Boat Division of General Dynamics Corp., Groton, CT
Laid down 20 Mar 1965 Launched 21 Jul 1966
Commissioned 1 Apr 1967 Decommissioned 12 Apr 1993
Model by William C. Rogers, Sr. Scale 1:120
At this point I thank, again, all of you who offered help in the way of information, tips and suggestions in completing this project.
Will,
With all the hard work you put into this beauty, have you considered putting a mirror underneath the boat to show off your handy work on the bottom? I've seen it done before and it's kind of cool to be able to see the lower detail. I too look forward to your next project.
Well thanks very much guys, I appreciate your comments.
About the mirror, yes, great idea. I did that on my Blueback display model several years ago. On that model I was fortunate enough to have photographed the entire bottom while she was on dock in Portland, OR. The model also has the TDU (Trash Disposal unit) overboard. The mirror has to be angled about 15 to 20 degrees to get the best perspective of the bottom.
As to the next project, I'm not sure. Any suggestions?


Comment