Attention all registered users. The new forum upgrade requires you to reset your password as you logon for the first time.
To reset your password choose this option that is displayed when you attempted to login with your username: "Forgotten your password? Click here!"
You will be sent an e-mail to the address that is associated with your forum account. Follow the simple directions to reset your password.
If this is your first visit, be sure to
check out the FAQ by clicking the
link above. You may have to register
before you can post: click the register link above to proceed. To start viewing messages,
select the forum that you want to visit from the selection below.
She will be good, rumor has it the wtc will have scale power too: 53000 hp / 72 = 737 hp...give or take a few horses! That should make a bow wave...<grin>
Rocking and rollin’ away on this Seawolf...We’re starting to get a nice pace on her. Not breakneck, but not nothing like before, lol!
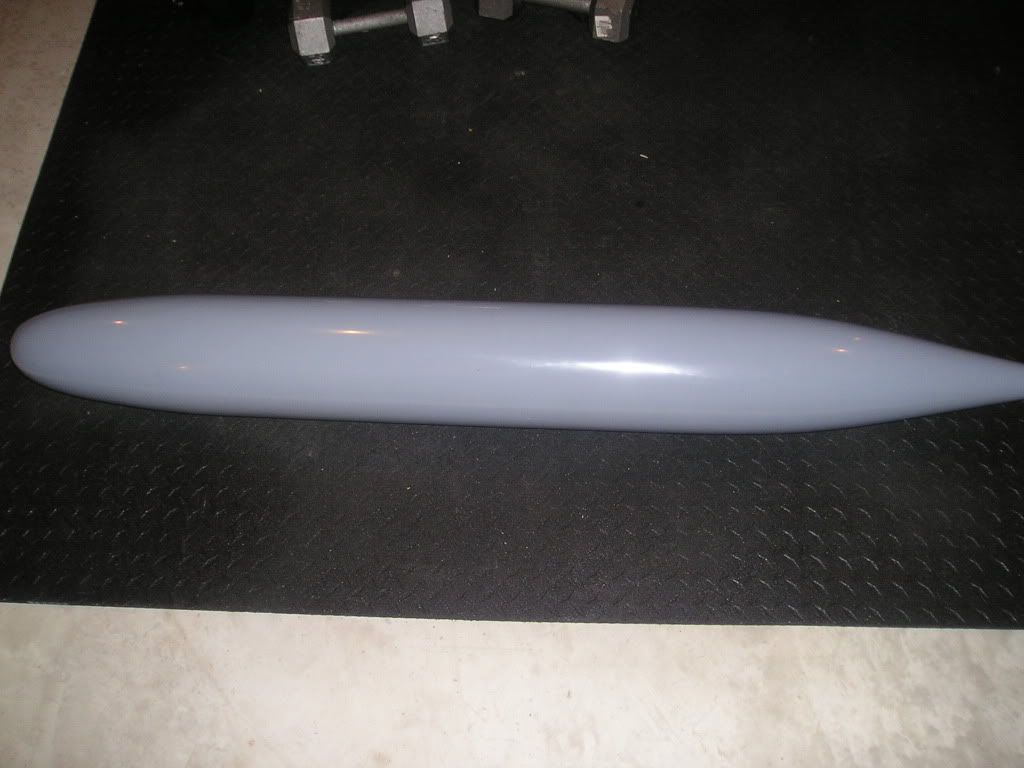
A full day and a half was spent on plug surface preparation getting it ready for intermediate moulding. No detailing has been applied as it’s much easier to polish the plug if you don’t have to worry about wrecking that stuff. The same procedure was used here as was used multiple times on the Permit/Jack project.
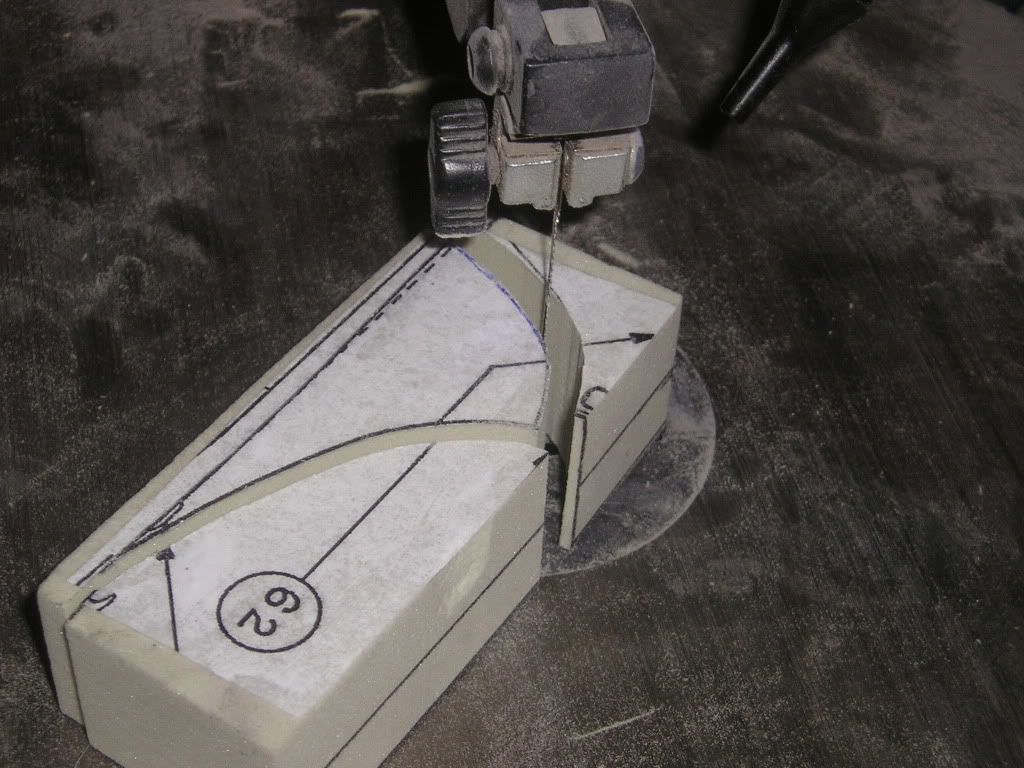
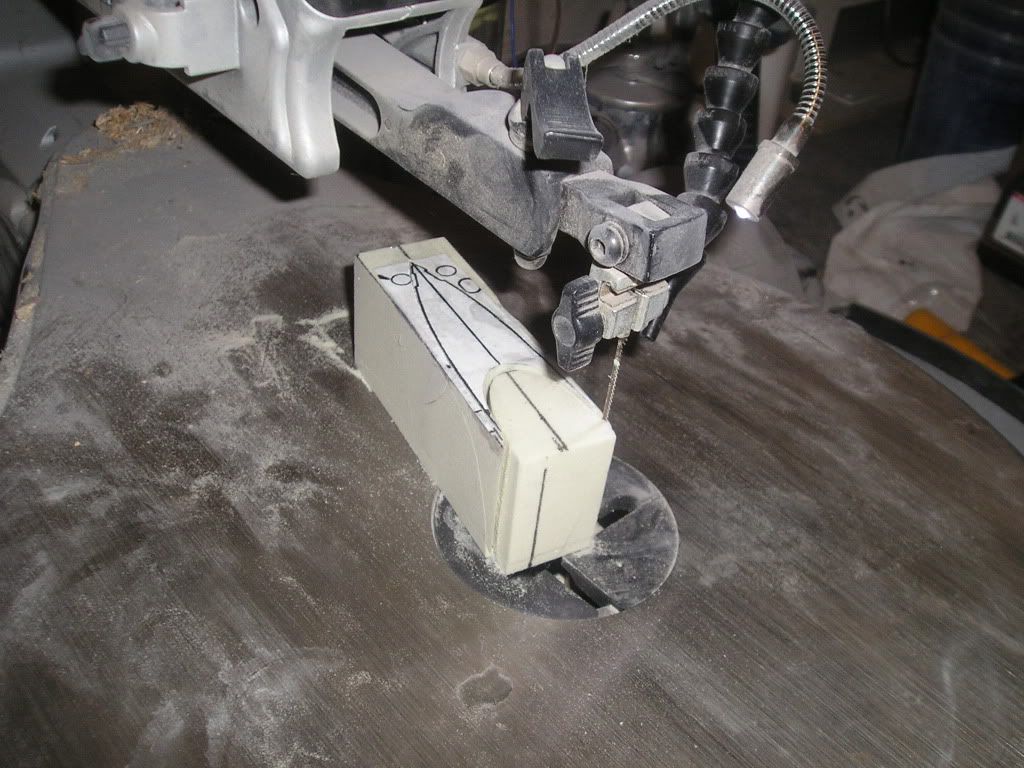
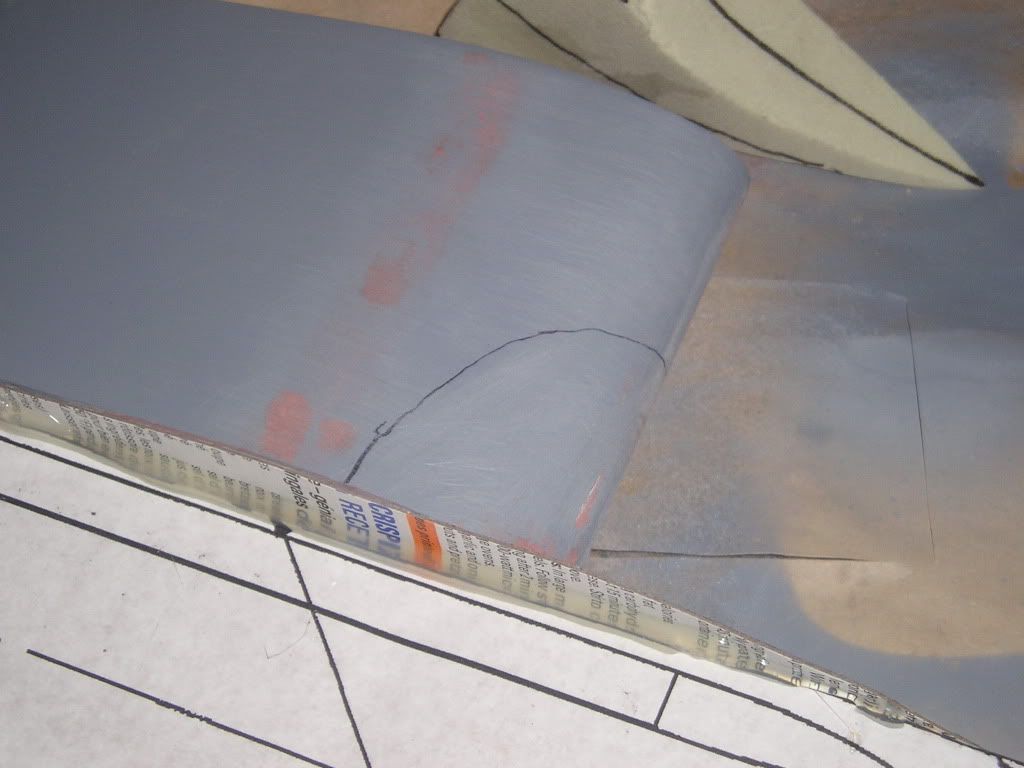
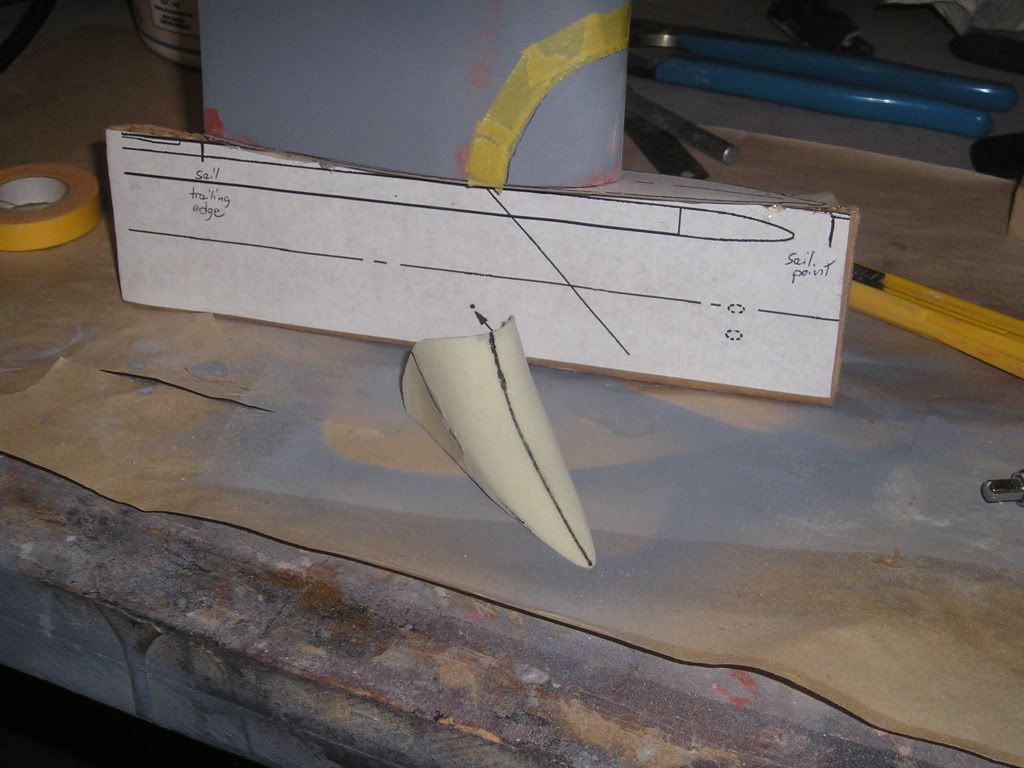
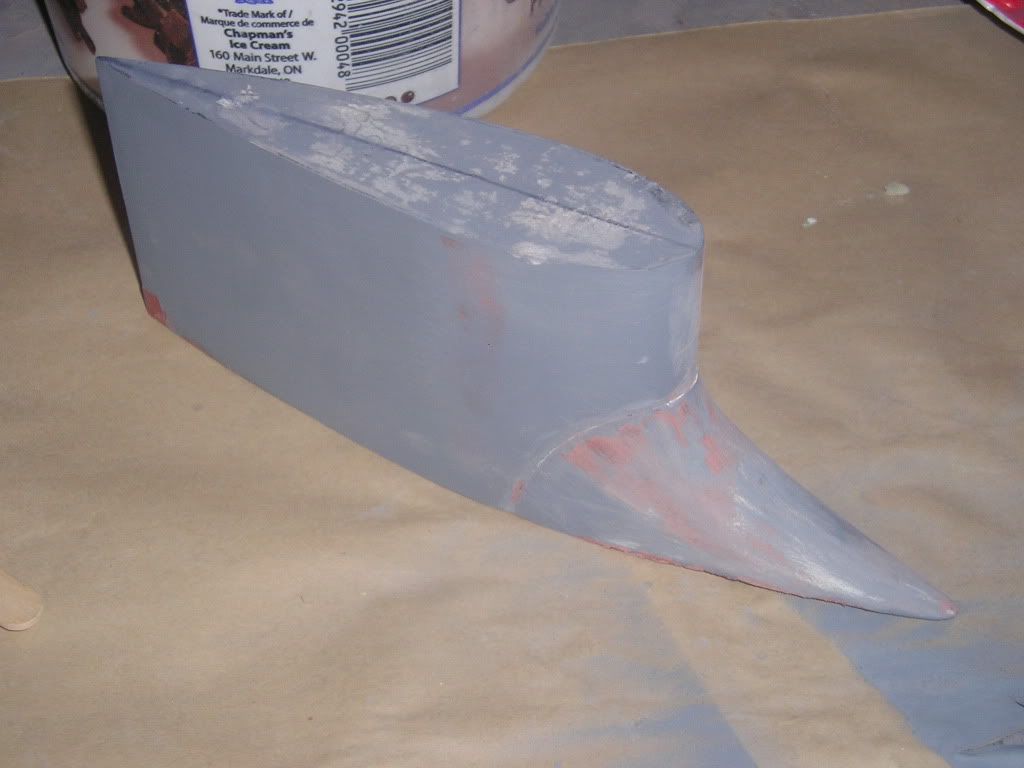
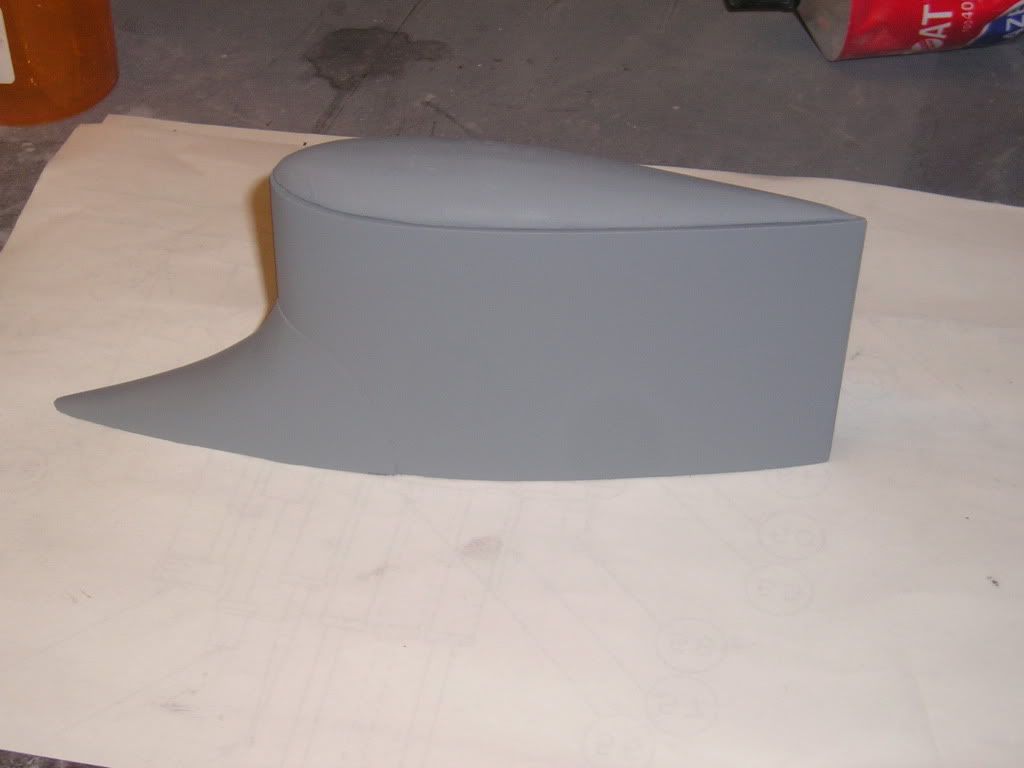
Now because I want to do intermediate mould-work at the same time I am working hard on the sail. Probably one of the more complex shapes on this submarine is the fillet on the front of the sail that serves as streamlining and helps counter the snap roll phenomenon.
I use the same technique as before with the basic shape]http://i171.photobucket.com/albums/u319/Rapperkiller/Seawolf/P1012279.jpg[/img]
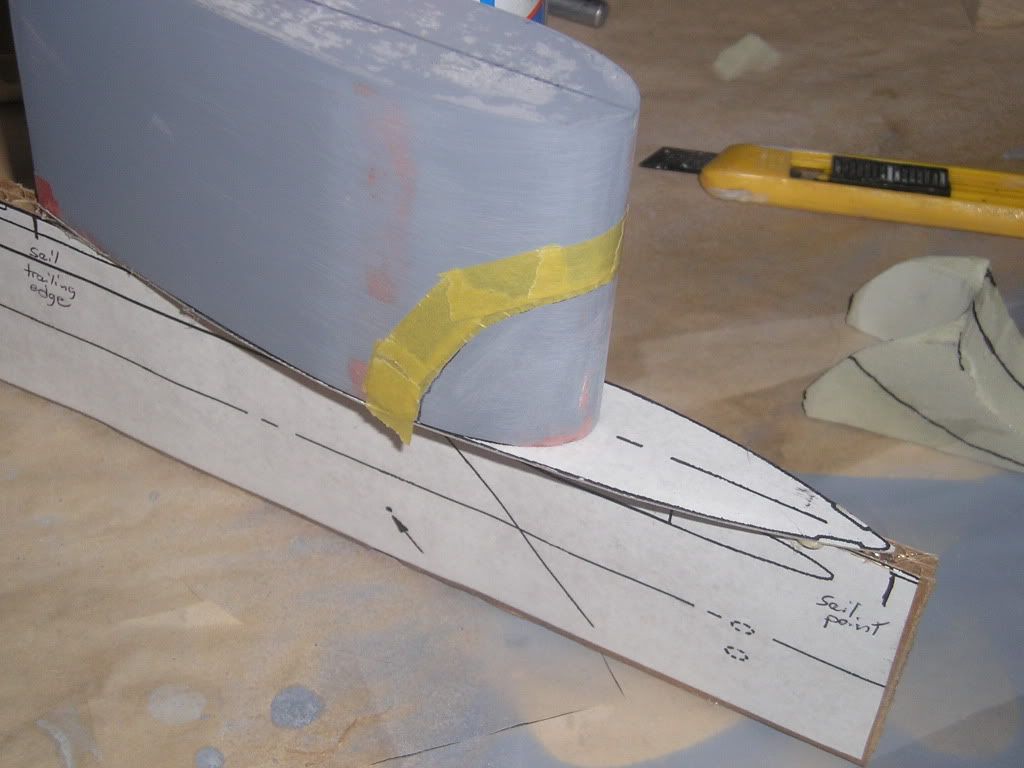
I then glue the top profile of the fillet on – care was taken to get it perfectly aligned with the side profile location.
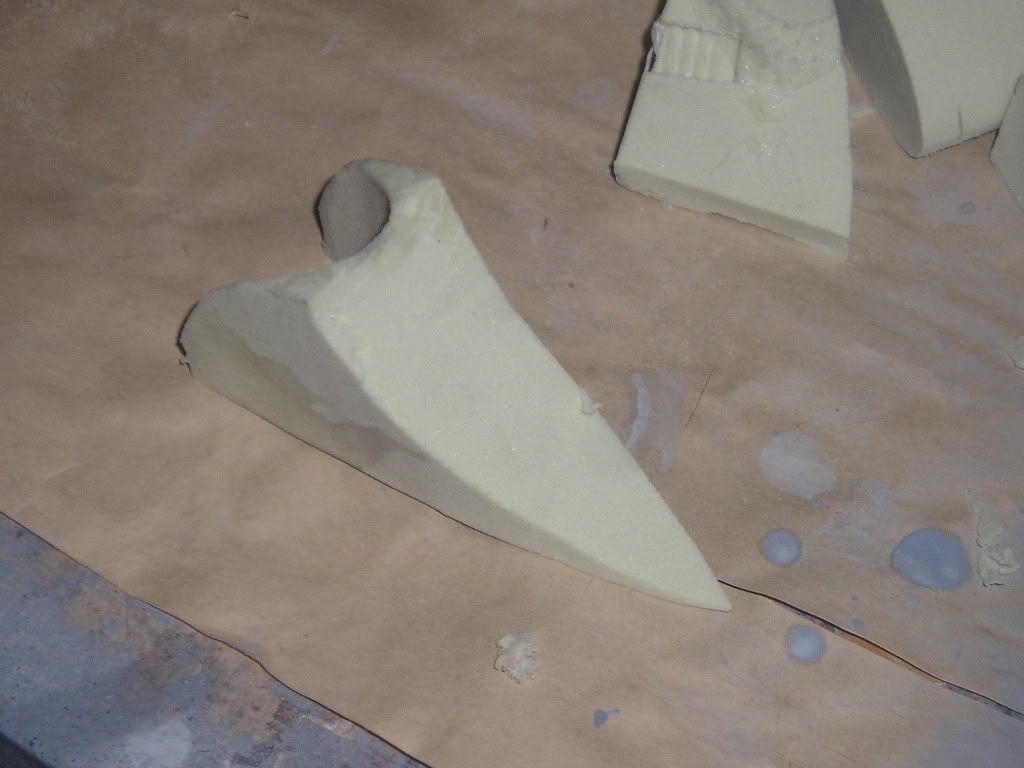
Now I have the basic shape...
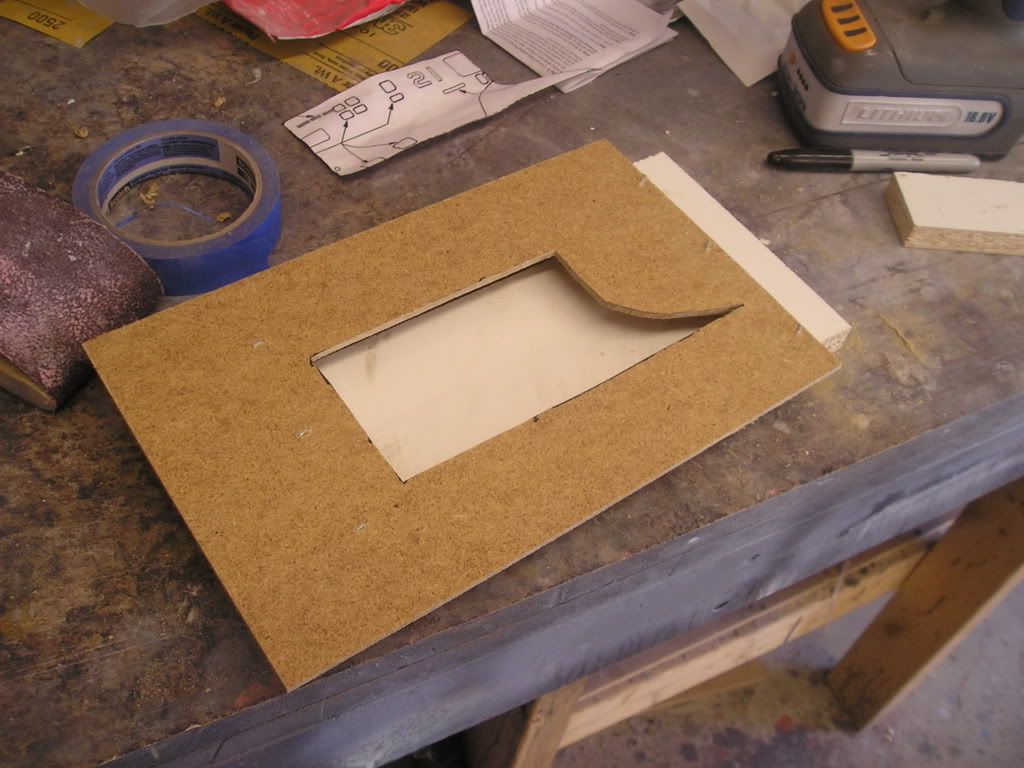
On to enabling myself to fit this part properly. I’ll adhere the top-down profile to some cereal box cardboard, and then the bottom of the side profile to some very thick, rigid cardboard. I love cardboard; it’s cheap and plentiful building material. I liked using it as a kid to make laminated finger skateboards and cardboard half pipes to sell them for exorbitant prices to my friends!
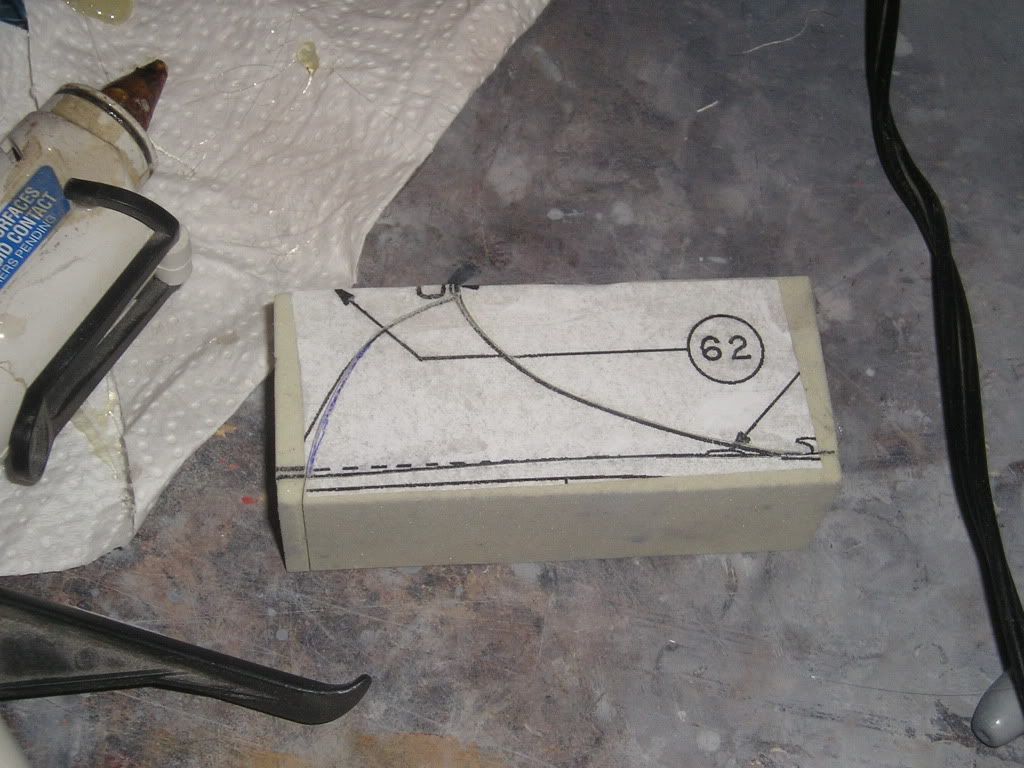
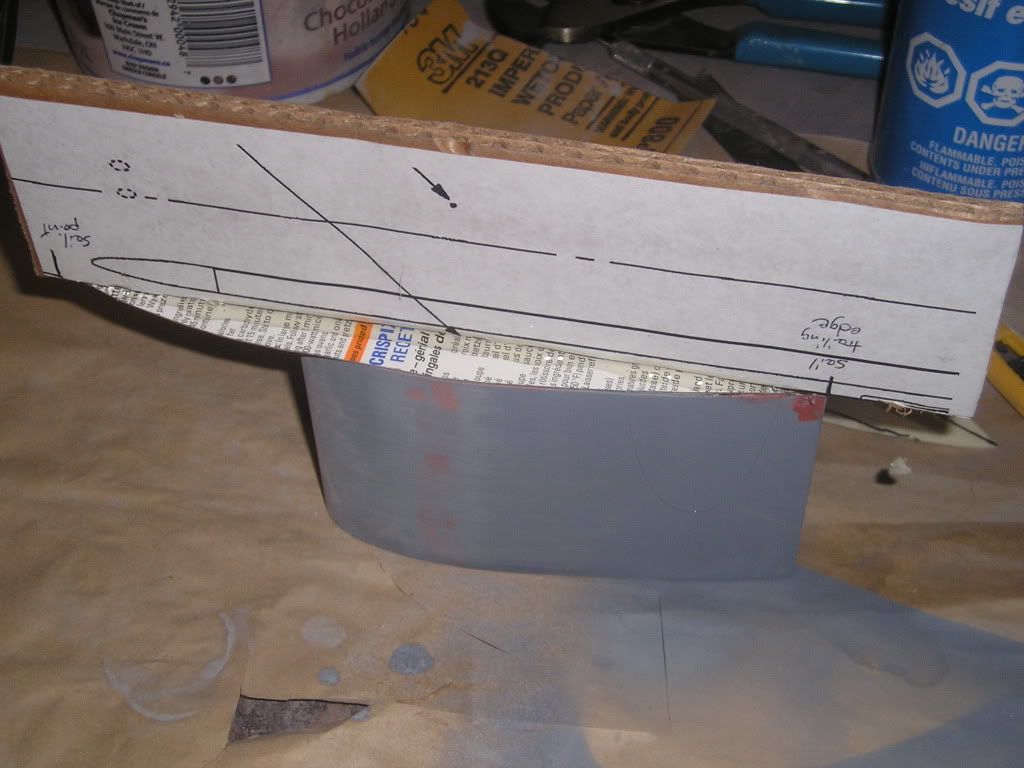
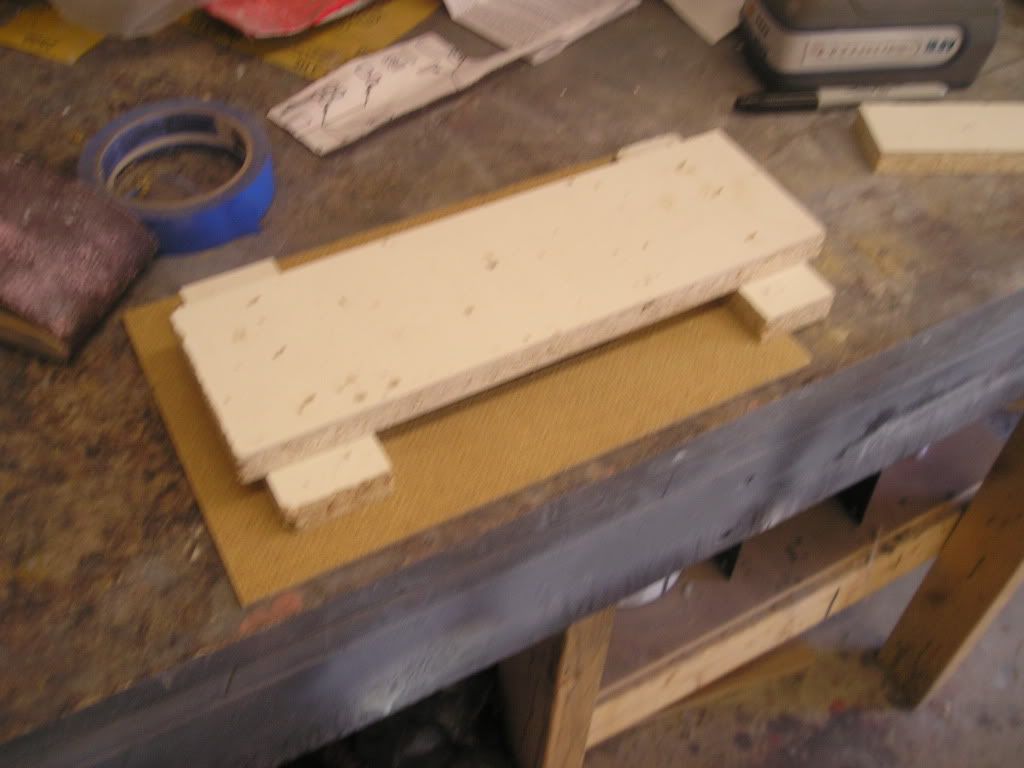
The sail Is hot melted to the top-down profile, and then this is hot melted to the bottom profile. Remember, the sail will not be perfectly flat against the round hull. Only when it is hollow will it fit right, therefore the bottom will have a kind of funny look to it for now.
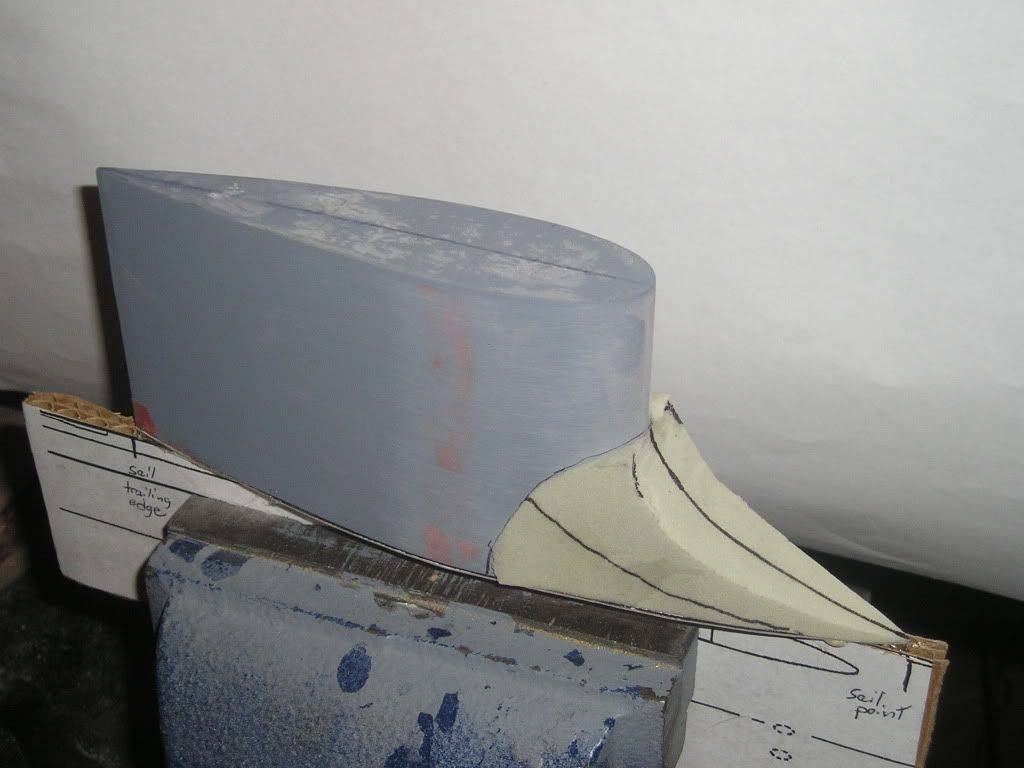
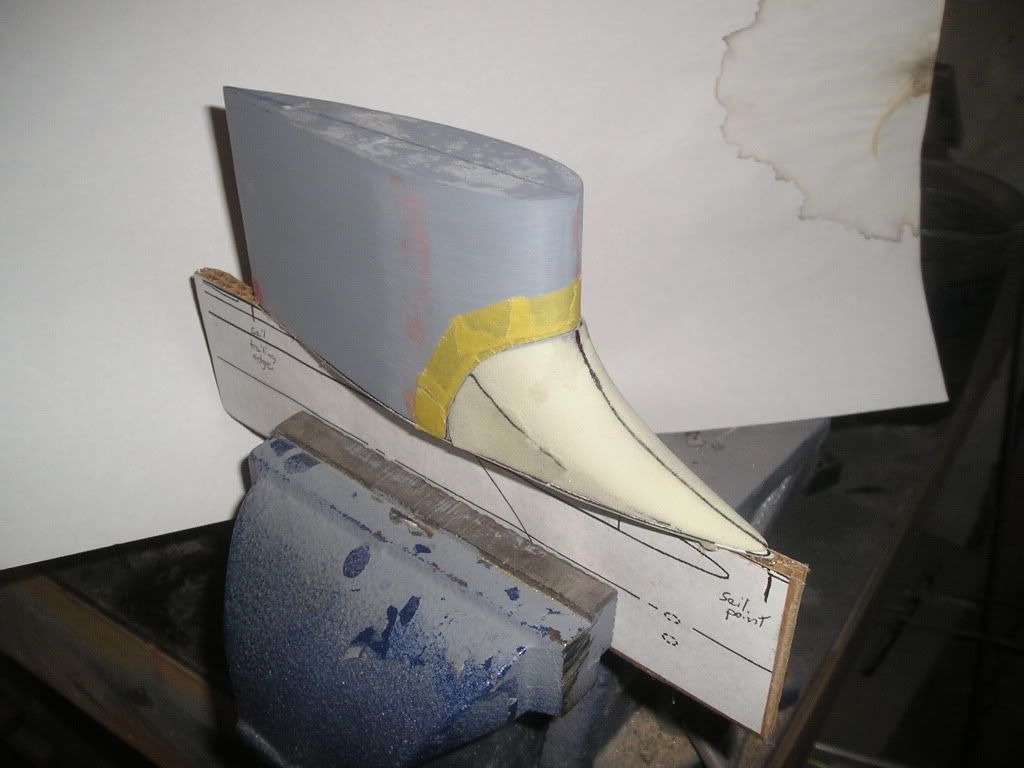
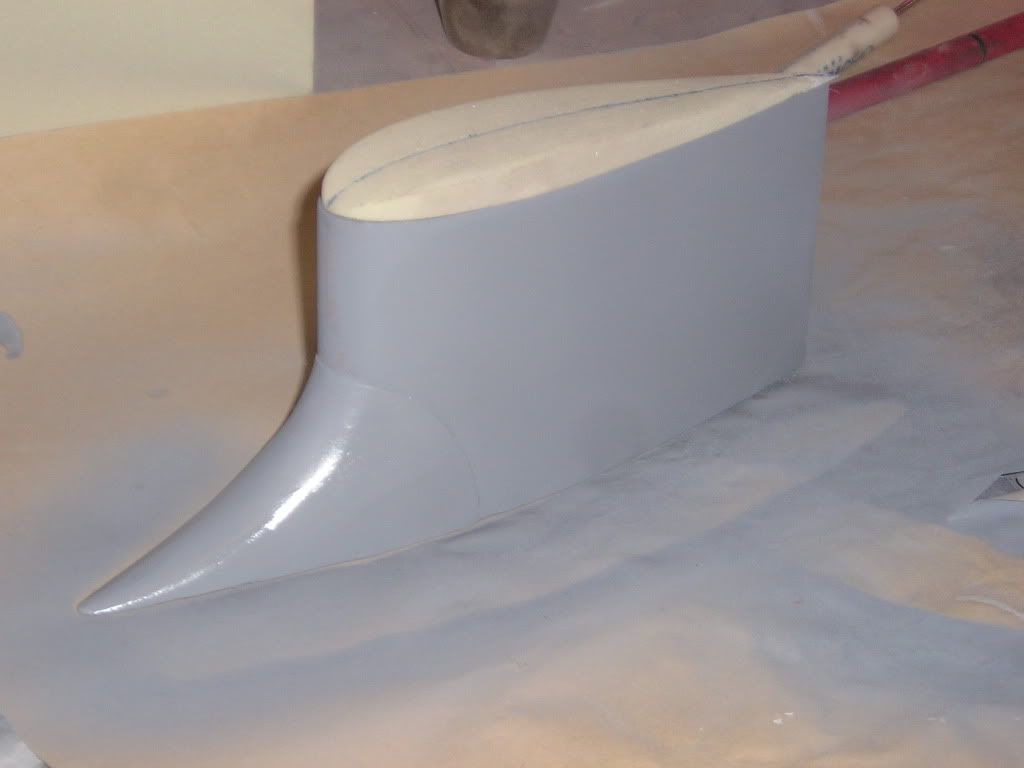
The fit of the fillet was pretty good right off the get-go. Only a little sanding was needed to get the fit right.
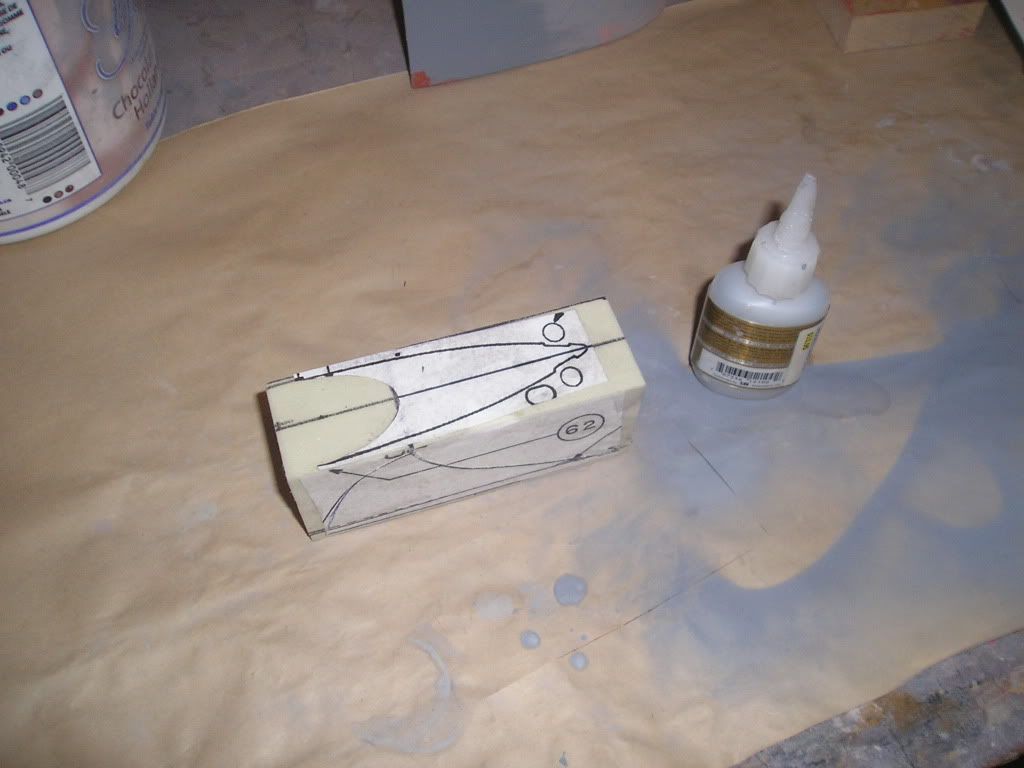
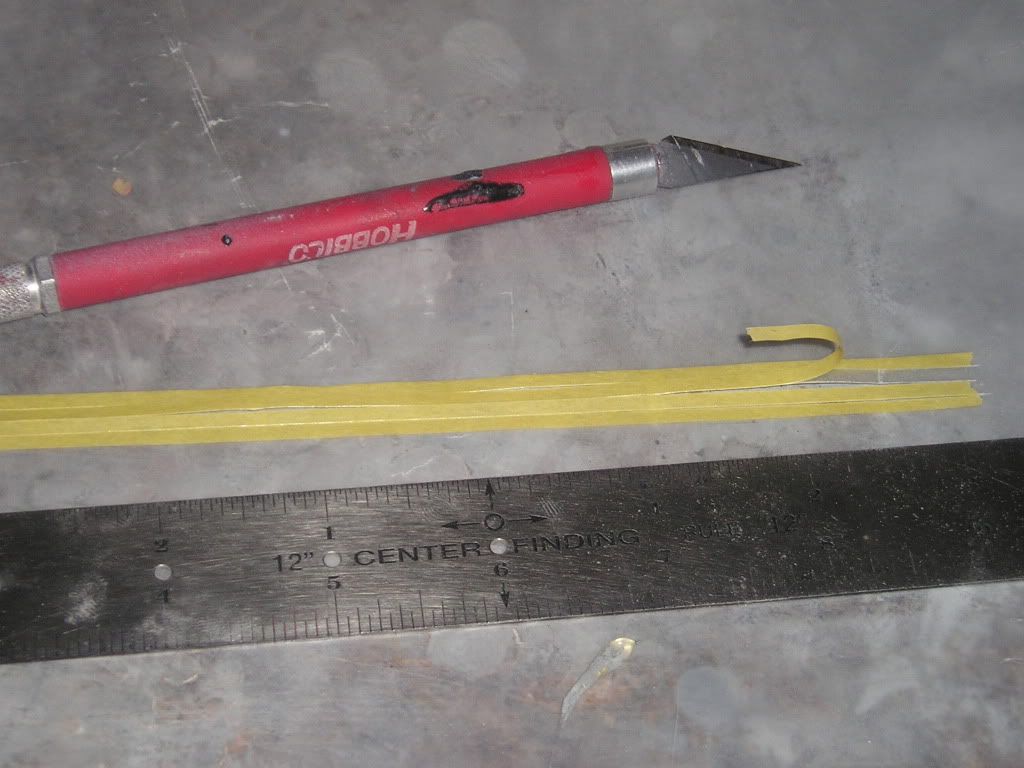
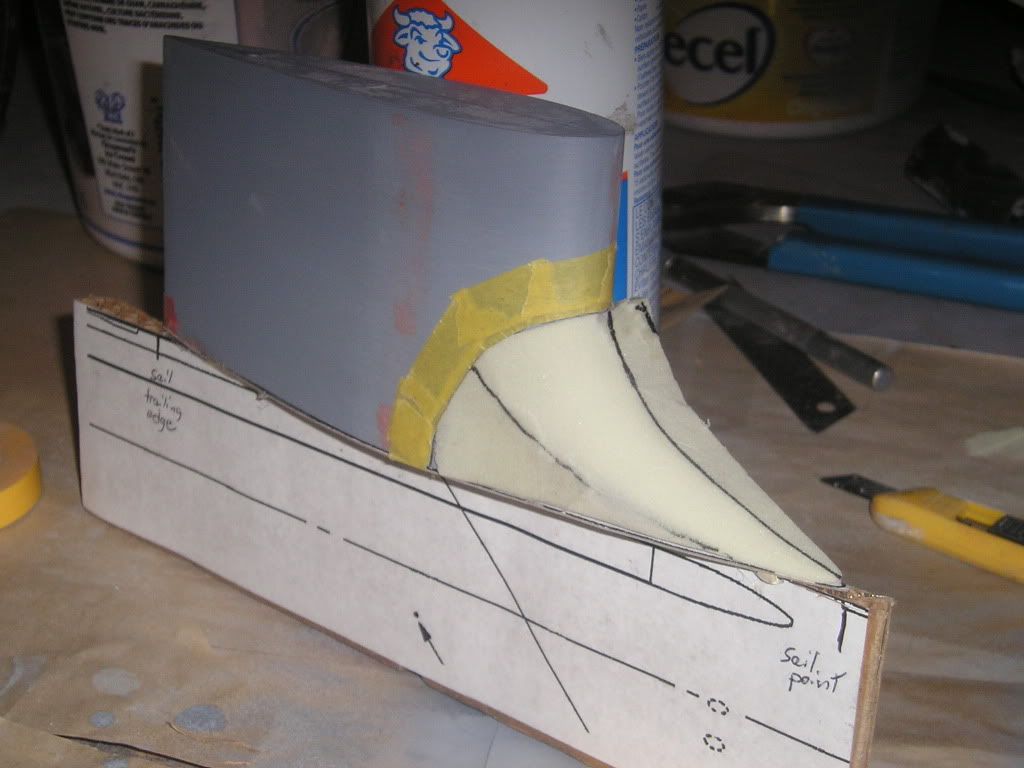
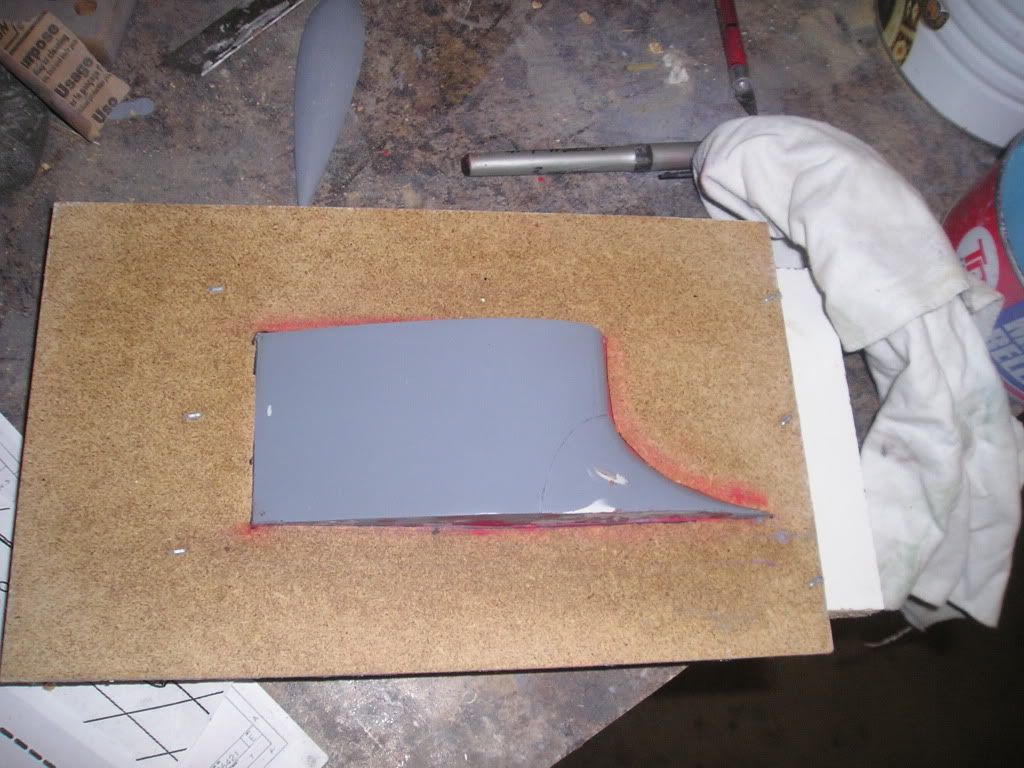
Once fit, I taped off the line that will represent the slight demarcation between the sail and the fillet. Tamiya tape was used here, cut into very thin slices.
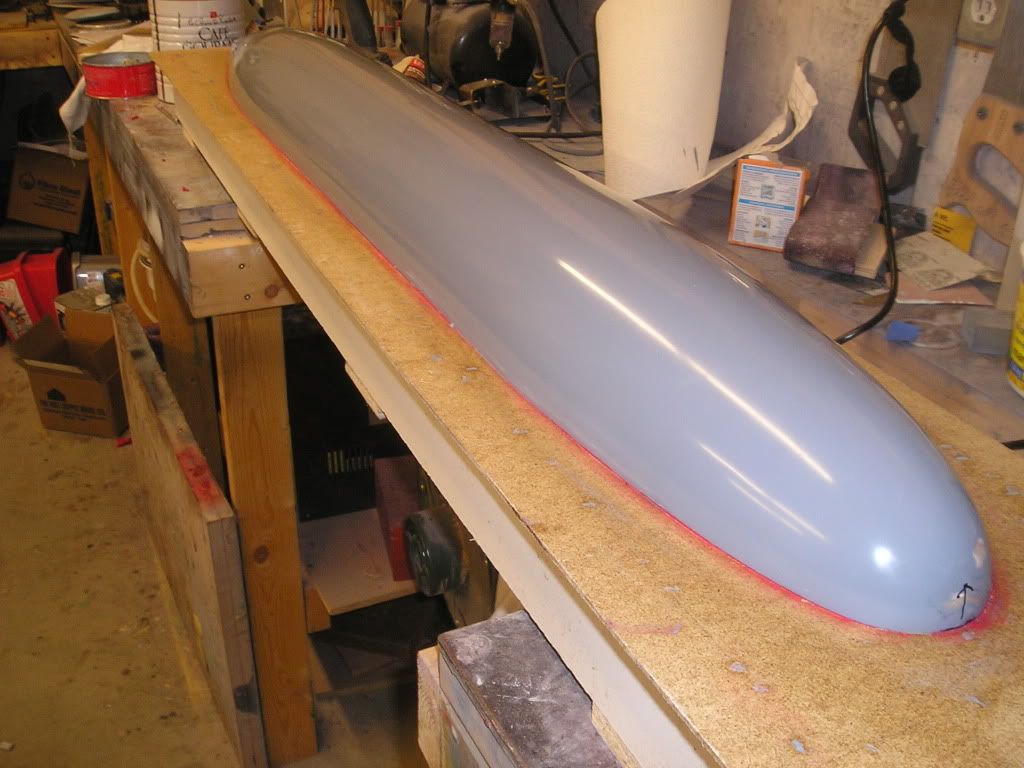
Looking at lots of pictures of the fillet shape for reference, I simply used sandpaper to sculpt the rough shape.
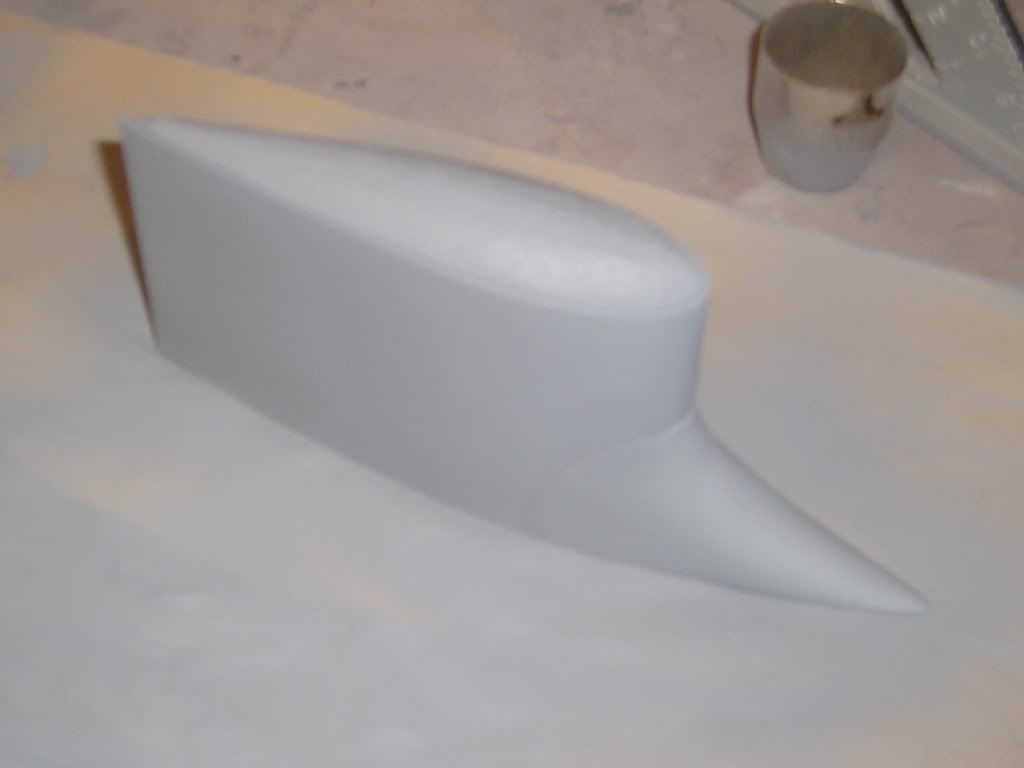
The work on the sail continues...
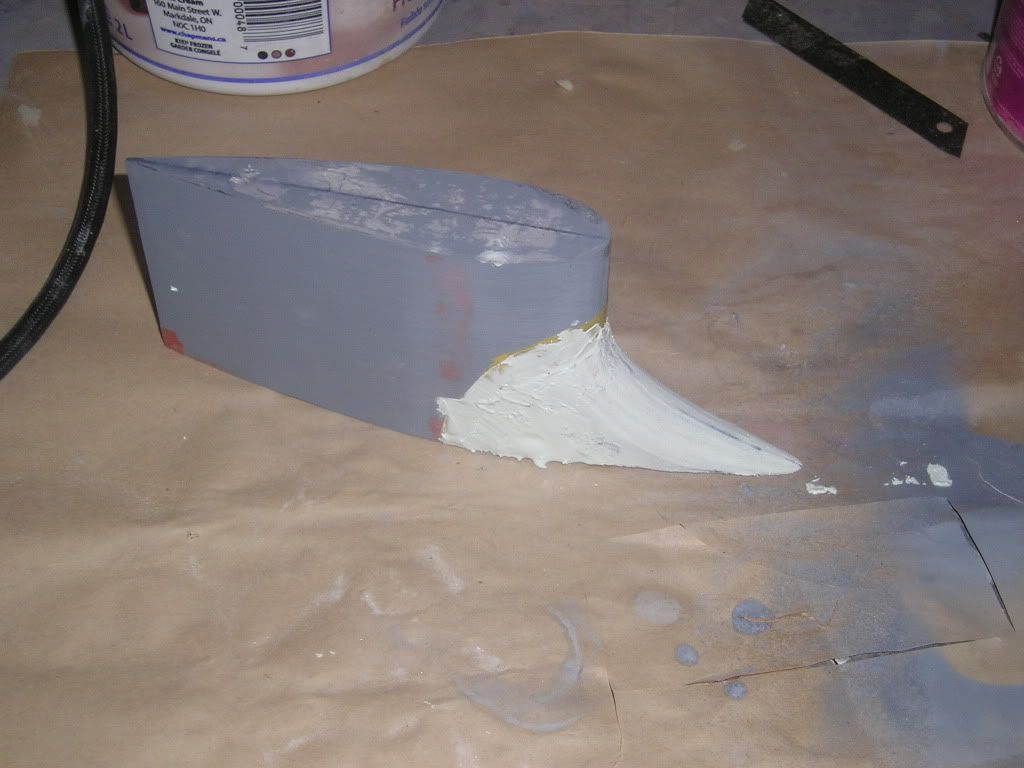
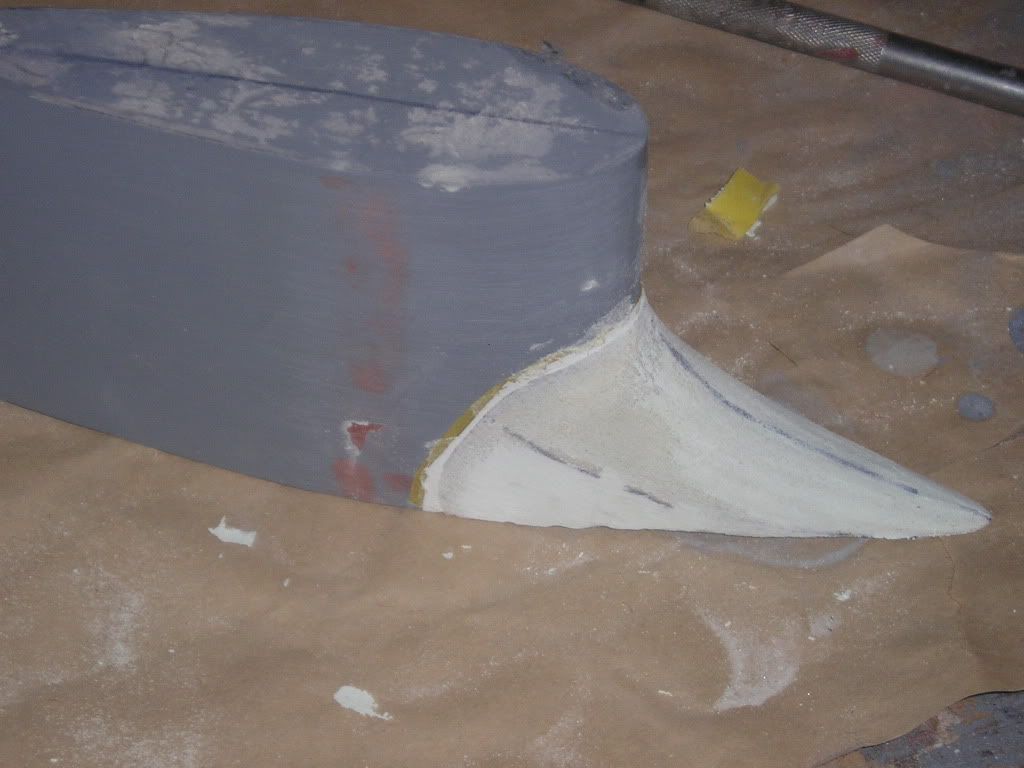
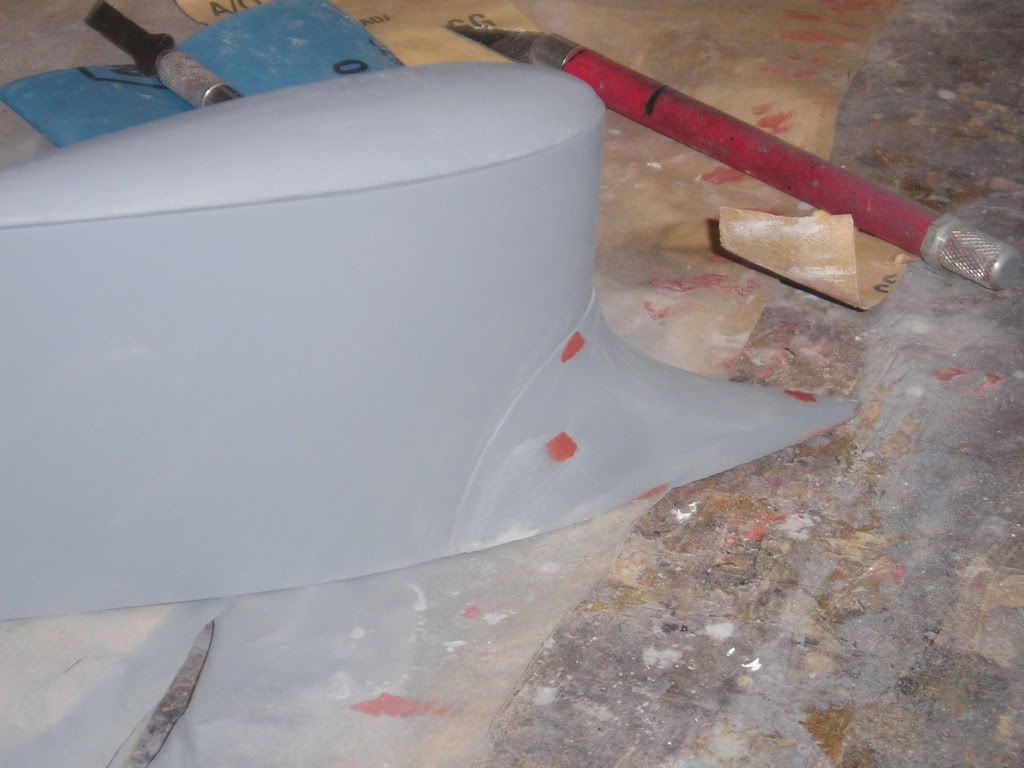
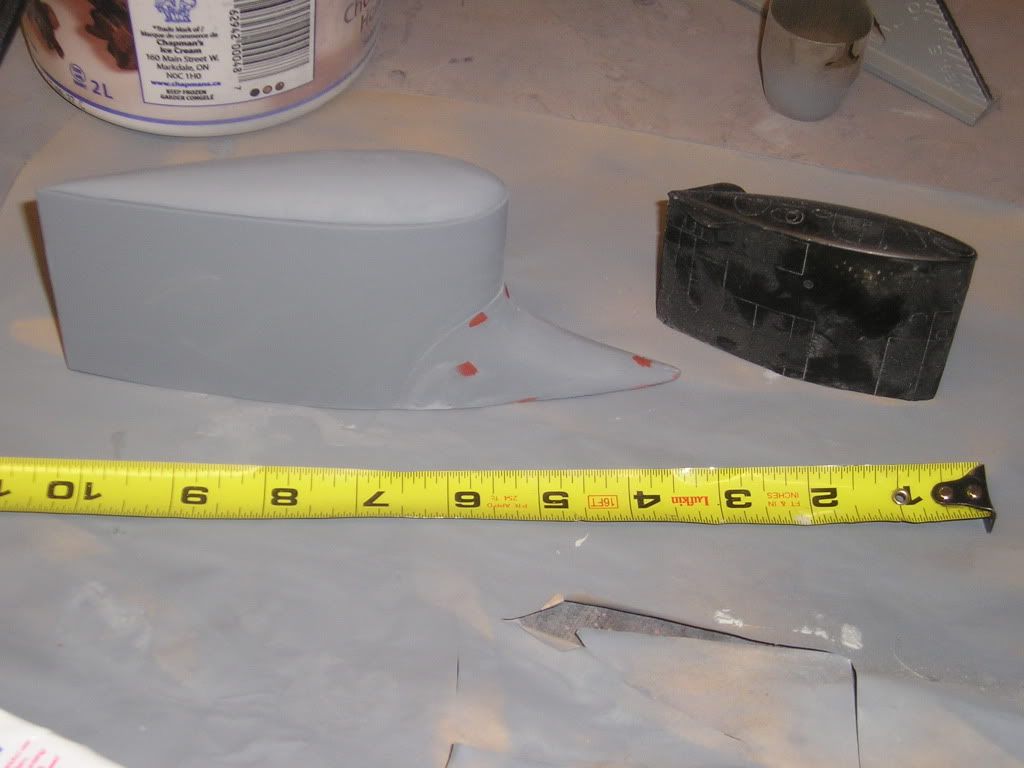
Today's work has been on refining the fillet shape along with some body work. Also, the cap has commenced construction. Note that there is a gap around the whole thing when placed on the sail. this is to accomodate the special coating beveling. Care is taken here to ensure that the demarcation line between the sail and fillet is consistent using masking tape as a depth guide when sanding.
Check out this comparisson between the Permit sail and Seawolf. I can't wait to actually have room to work on the scope rack for this model!
Joel,
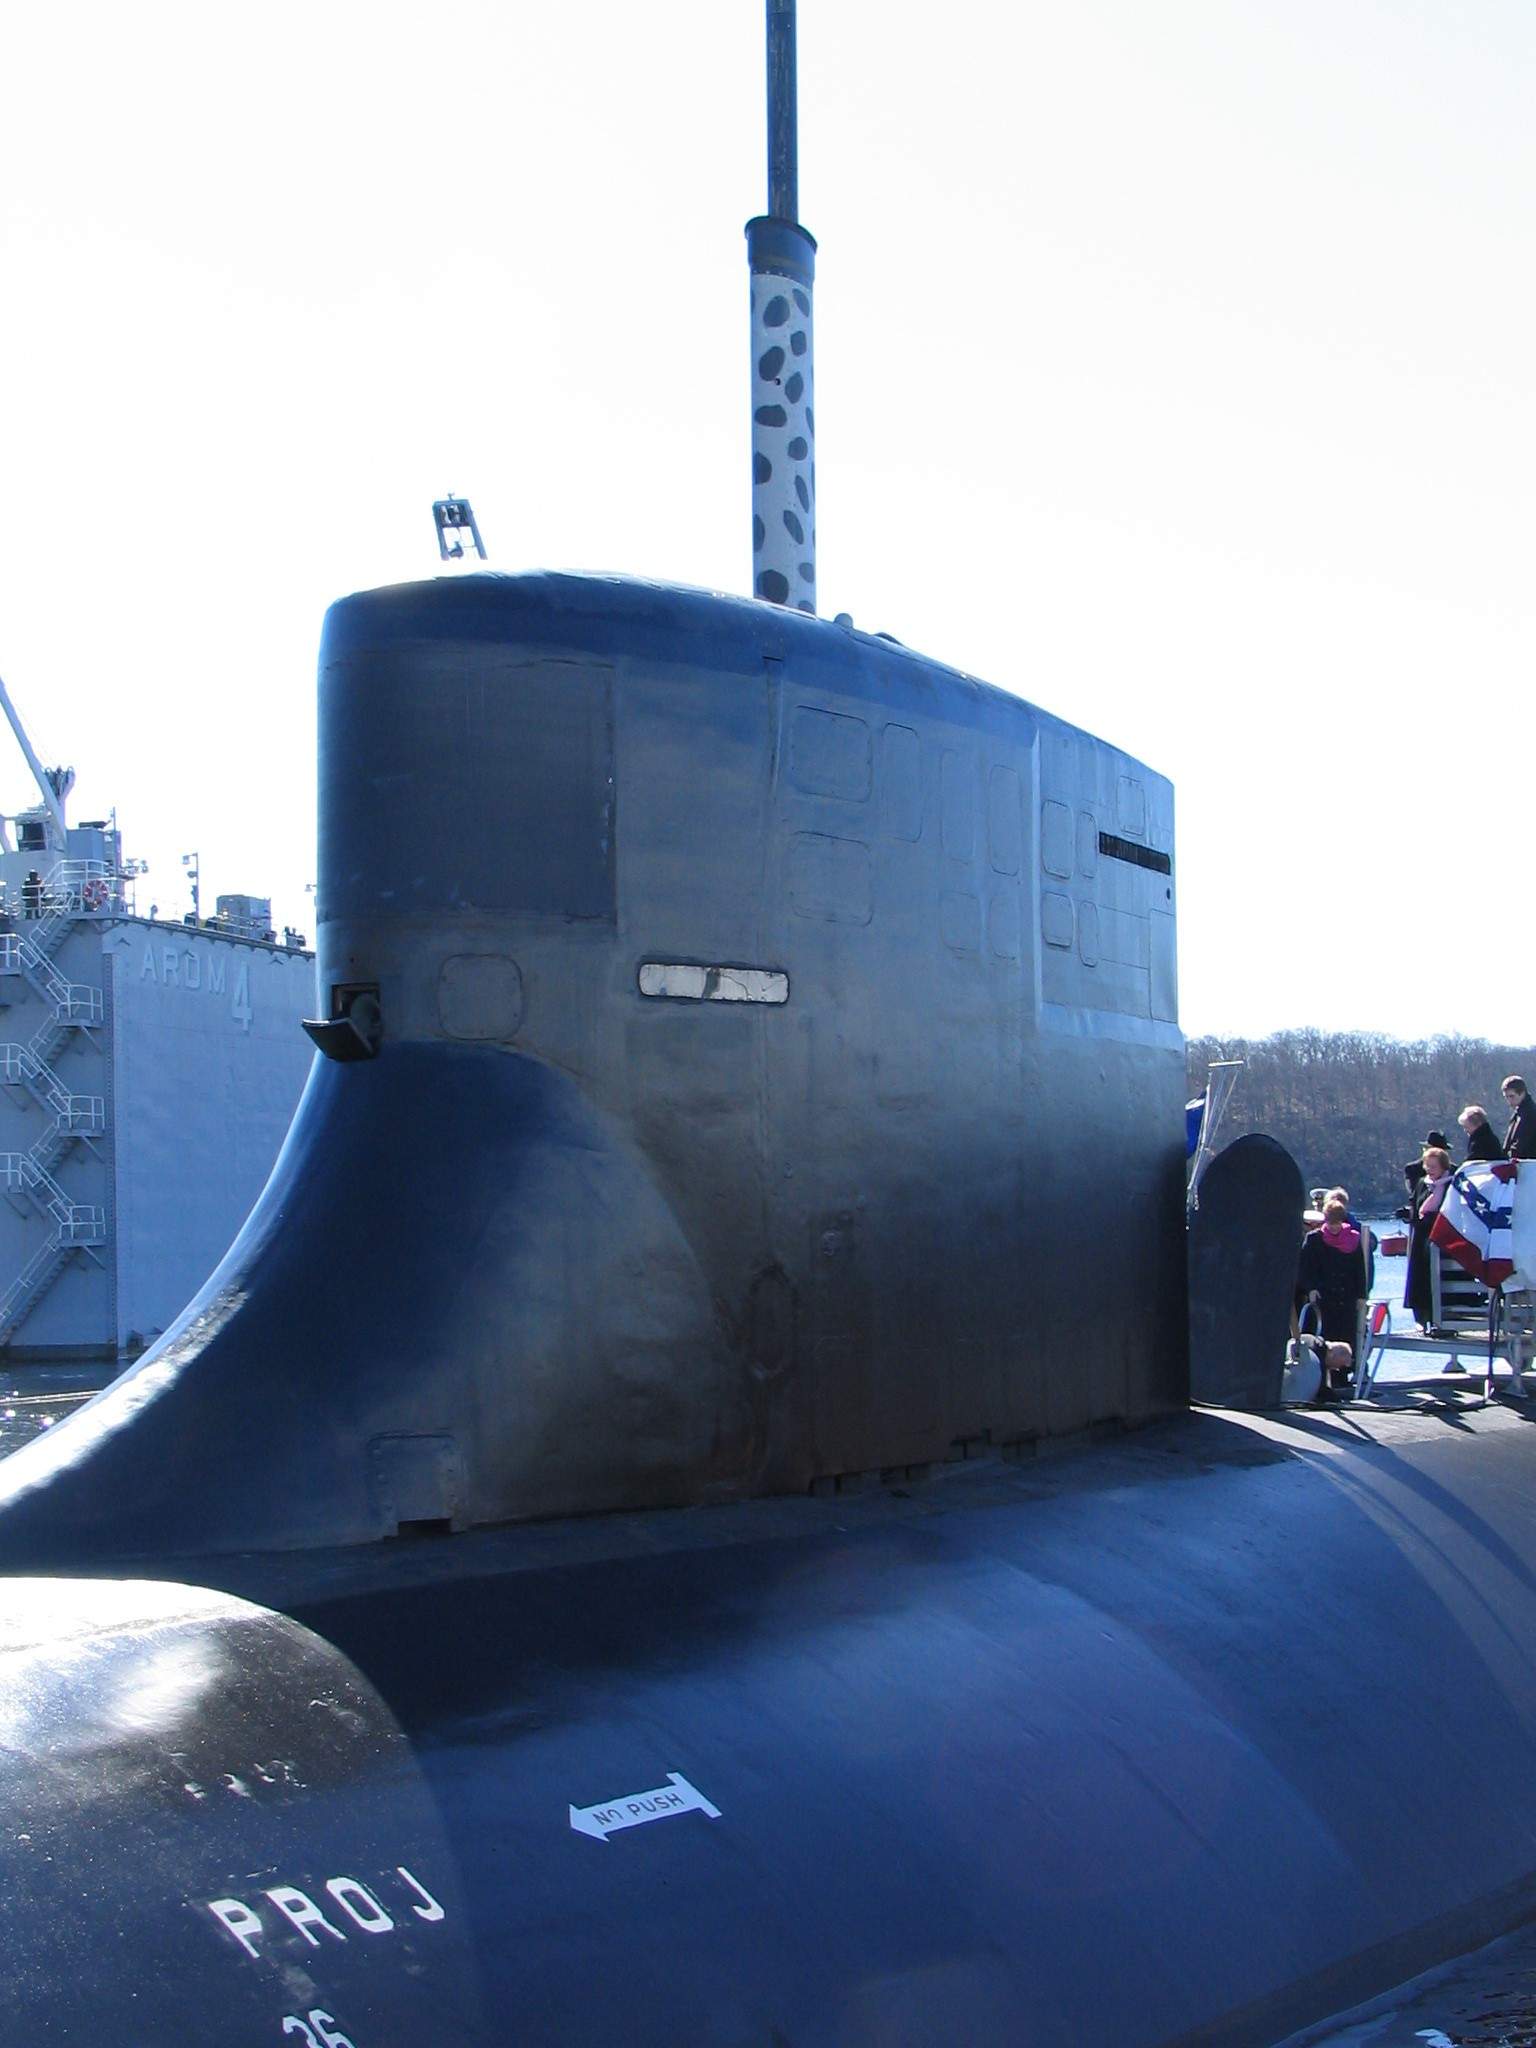
Looking real good! A word of caution though, the plan your using shows two notches in the cusp for the ballast tank vents that I don't remember seeing on the real boats. I checked Navsource and found a couple of shots at the right angle and they're not there. Also here is a high res picture of the carter sail from navsource that may be helpful. Check out Navsource for the high res version of the 022.
Hi Don,
You've got a good eye, I haven't seen anything myself that proves that that those two notches actually exist so I just left them out on this preliminary plug mould.
I can't see the pictures you posted, maybe it's my browser?
Thanks,
Joel
No not your browser. I can't see them any more either. They were there when I posted earlier, must have still been my cache. I changed the pictures to links, they are all high res so click on the picture to get the bigger one.
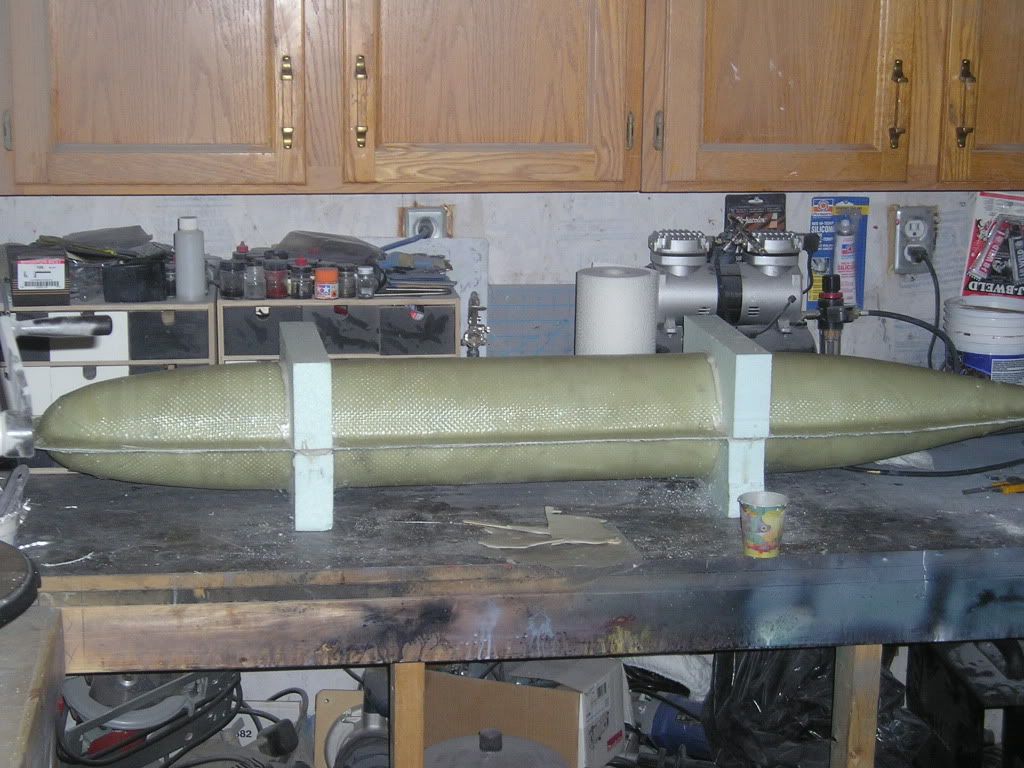
There are a couple of reasons for doing intermediate moulds for this model. The first is to give myself some final plug moulds that have a scribe-able surface. The second is to produce to produce two hull halves...much easier to apply details to and to ensure everything is flush and perpendicular of parallel in comparison to the central horizontal axis, very hard to do with a sewer pipe that has to constantly be moved around to access opposite points. This lesson was learned from doing both styles with Permit and Jack. The third reason is to allow for molded in indentations that will be used to represent the rubber coating beveling and such, but I'll get into that later when its time.
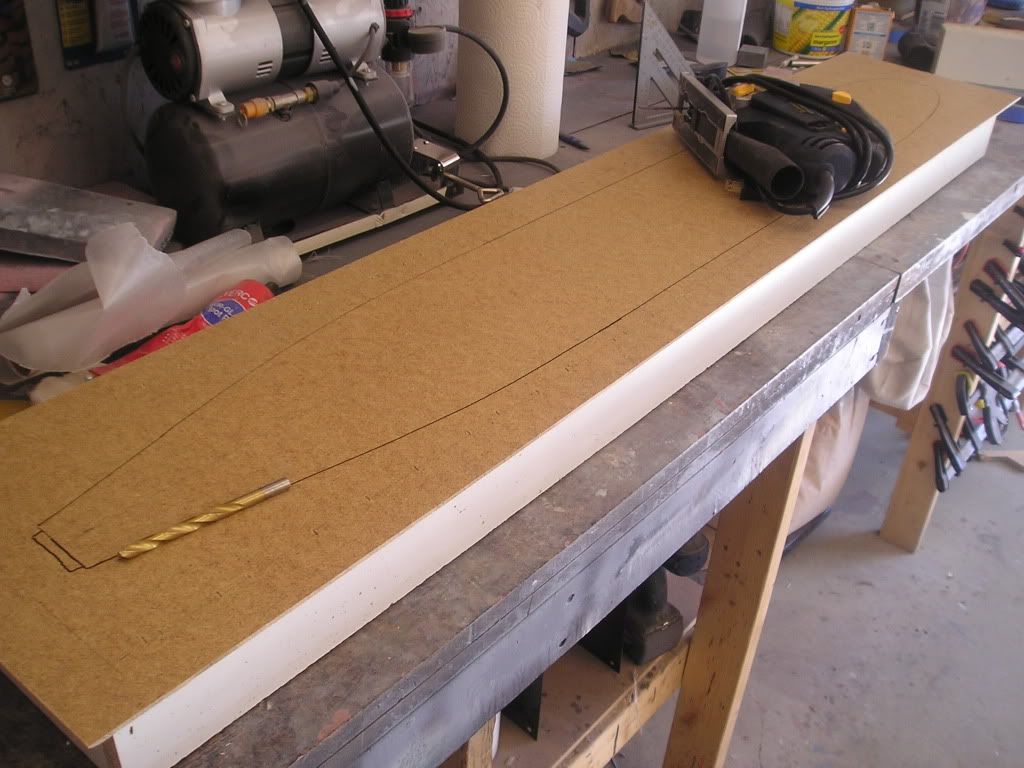
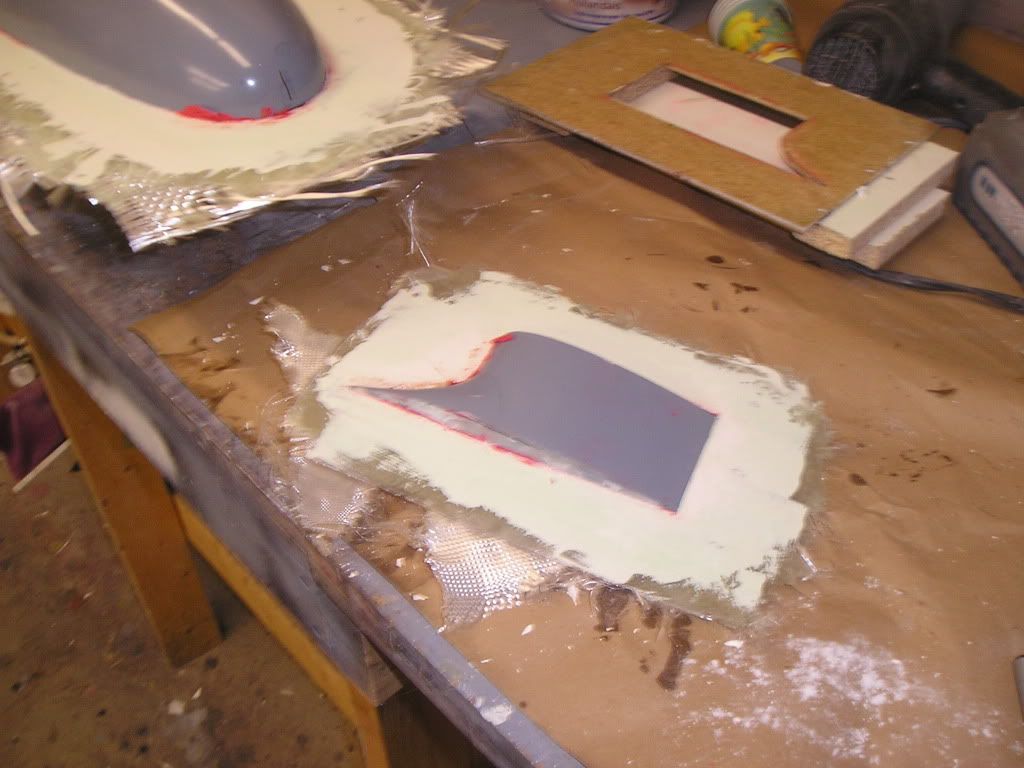
I had to make a parting board so i could split the plug in two. Pretty basic, just some particle board ripped down on my table saw with a hardboard top surface glued and stapled to the rectangular shape. I cut out my plans and traced the shape to the hardboard then cut it out with my jigsaw. This cutout gave me my first true comparison of the hull shape to the actual print, and the results are great, but as my buddies in Megadeth are prone to say; "So Far, So Good...So what!".
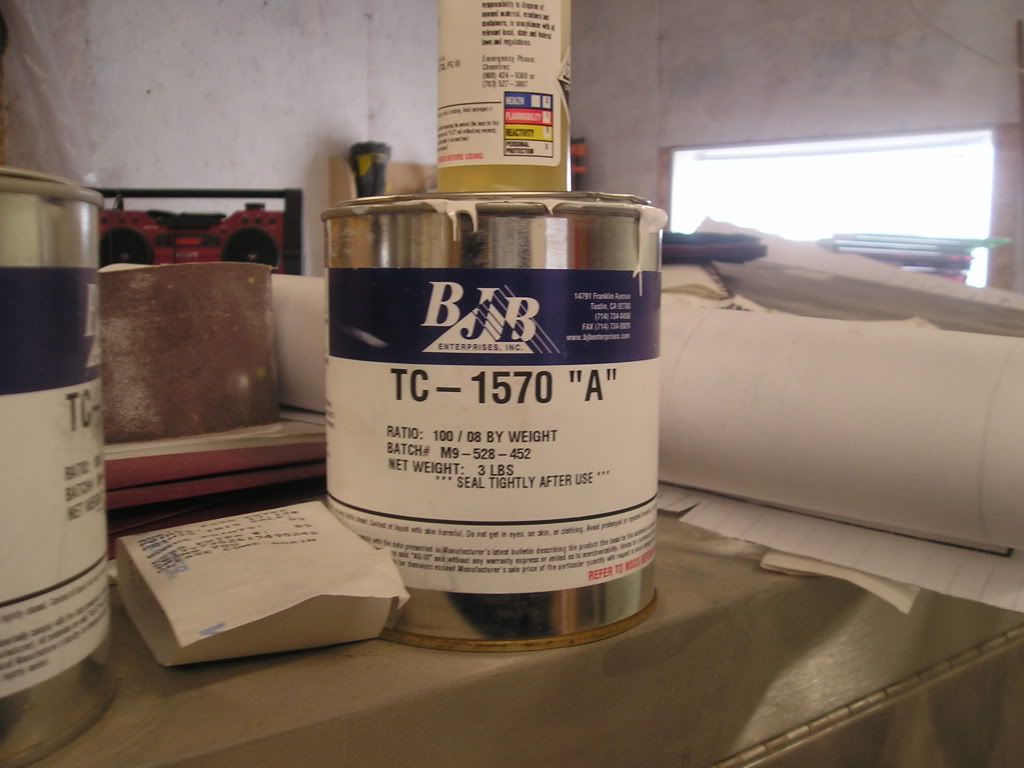
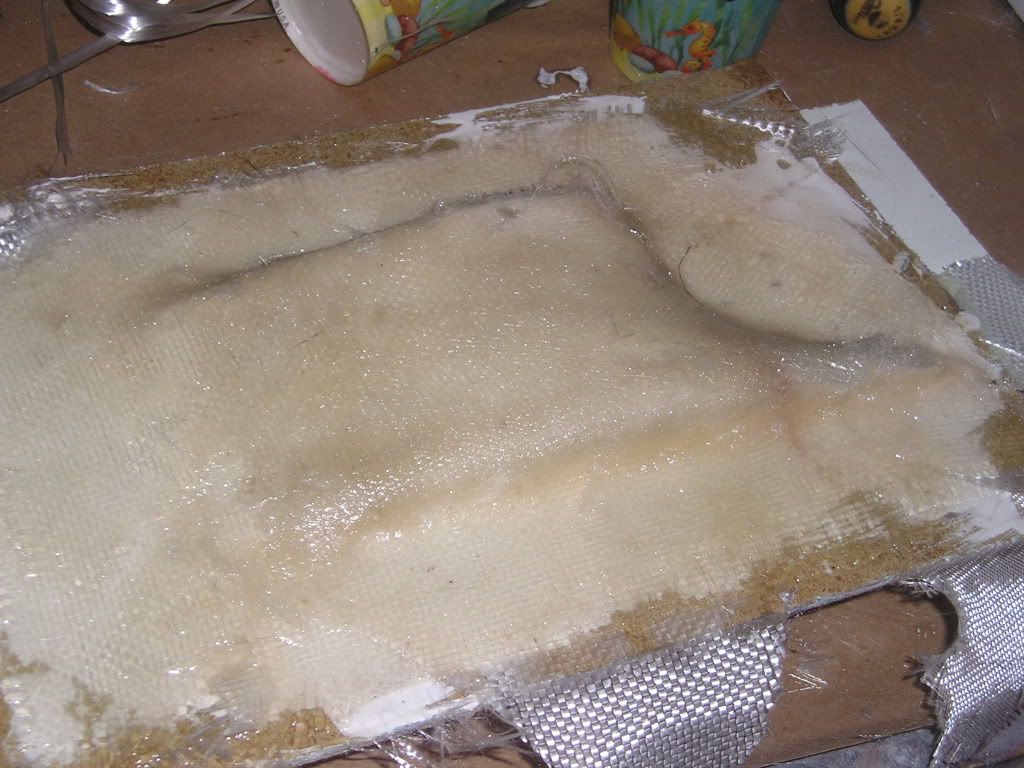
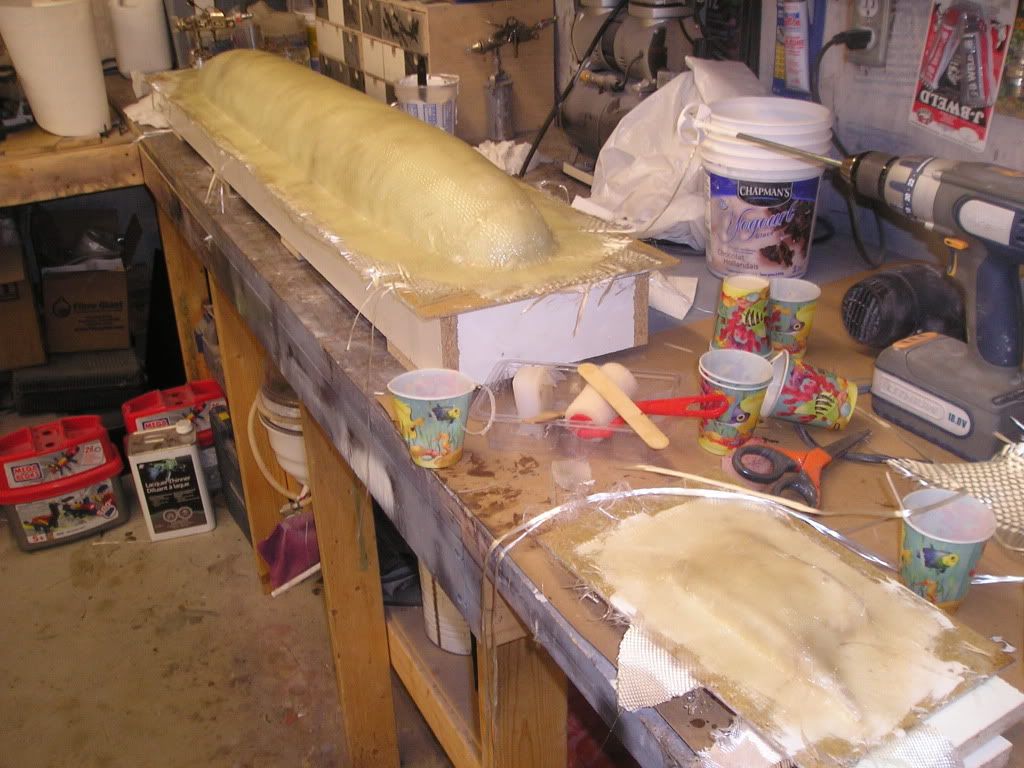
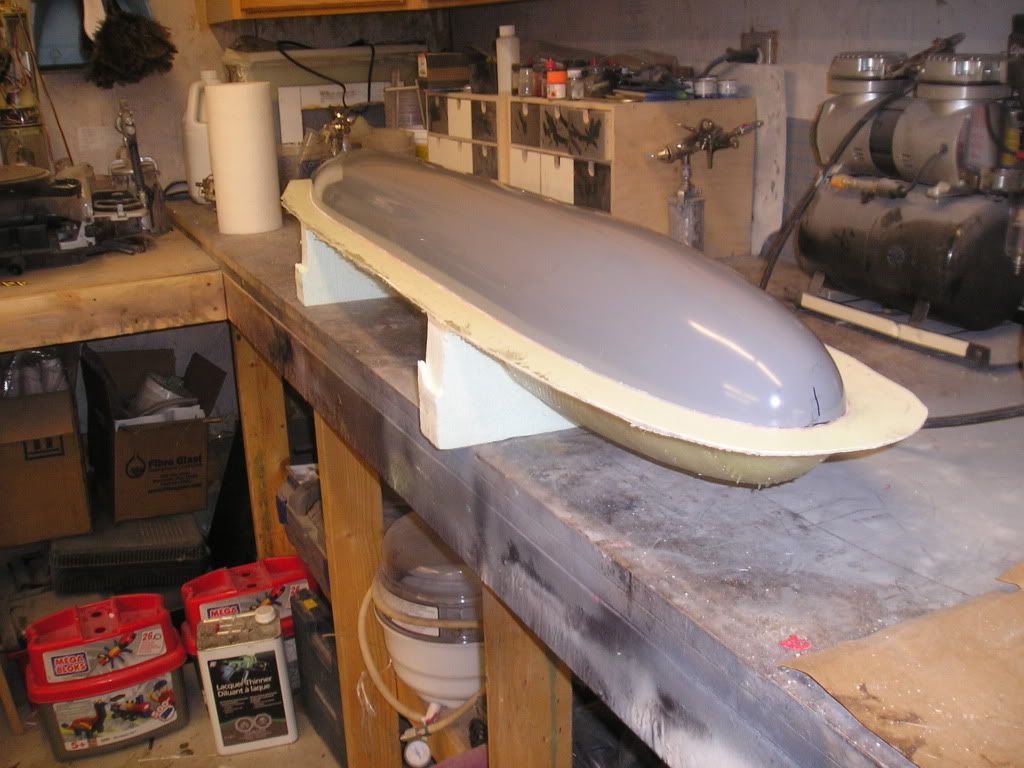
The plug itself was held in place at its mid-point marks using modeling clay, and any small gaps between the parting board and the hull were filled with clay as well. Once in place, the plug was well waxed and a layer of PVA was applied. The classic parting/release agent combo. This time around I am experimenting with BJB 1571 epoxy surface coat as my first initial layer before fiberglass. Not a necessity, but I like to try new products all the time to give myself a good knowledge base as to what would work the best for certain applications. In this case, we have a very heavy product; I think it is aluminum filled and very thick and sticky. The only way to get it to mixing viscosity was to heat the can up in hot water in my sink, mix the part B in very fast with my drill mixer and then trowel the stuff on with a Bondo applicator, not much pot life in epoxy when you warm it up to the temp I had it, but I worked quickly and systematically and got 'er on. It looks like it'll do the job, but we will see when I pull the moulds off.
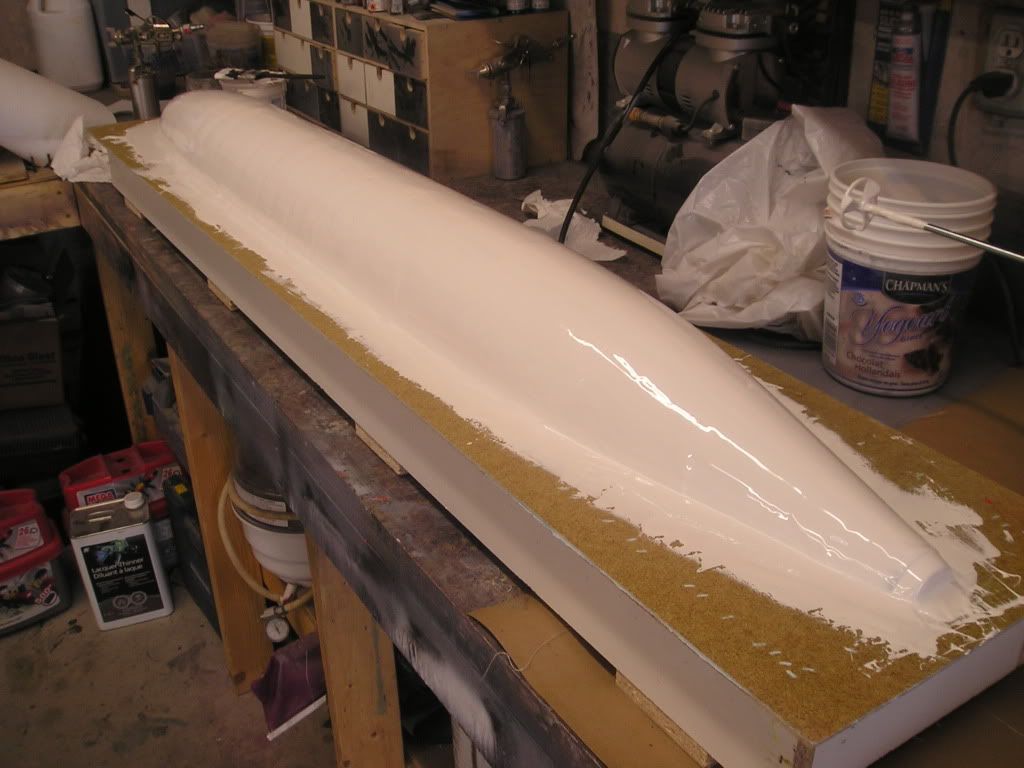
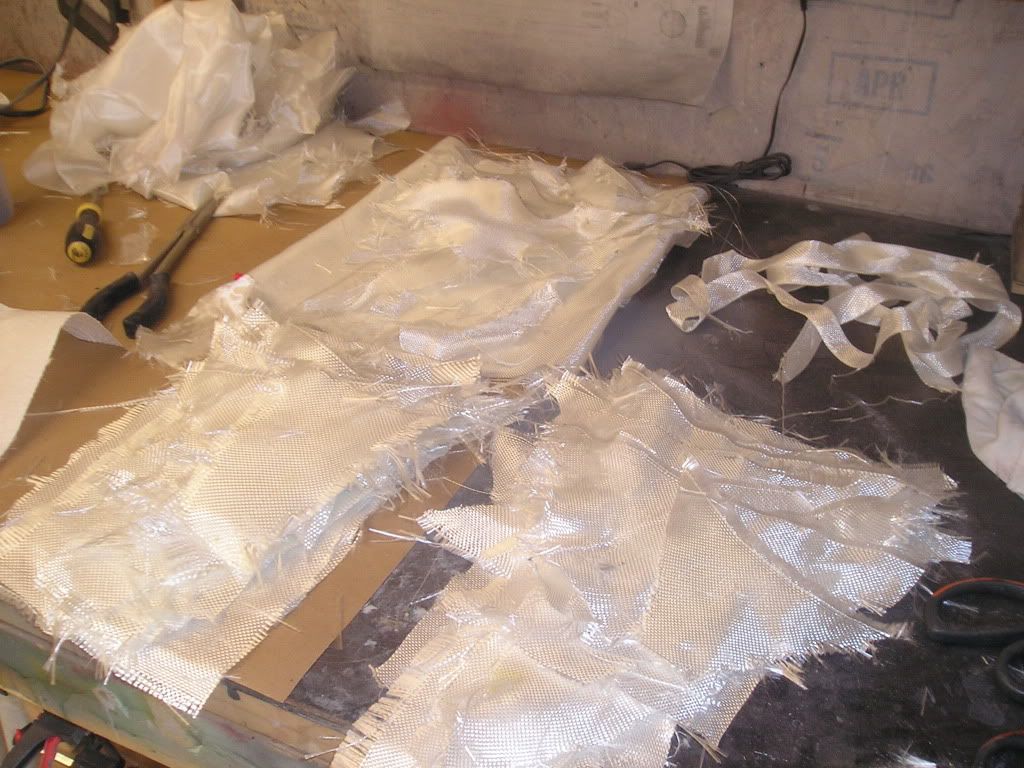
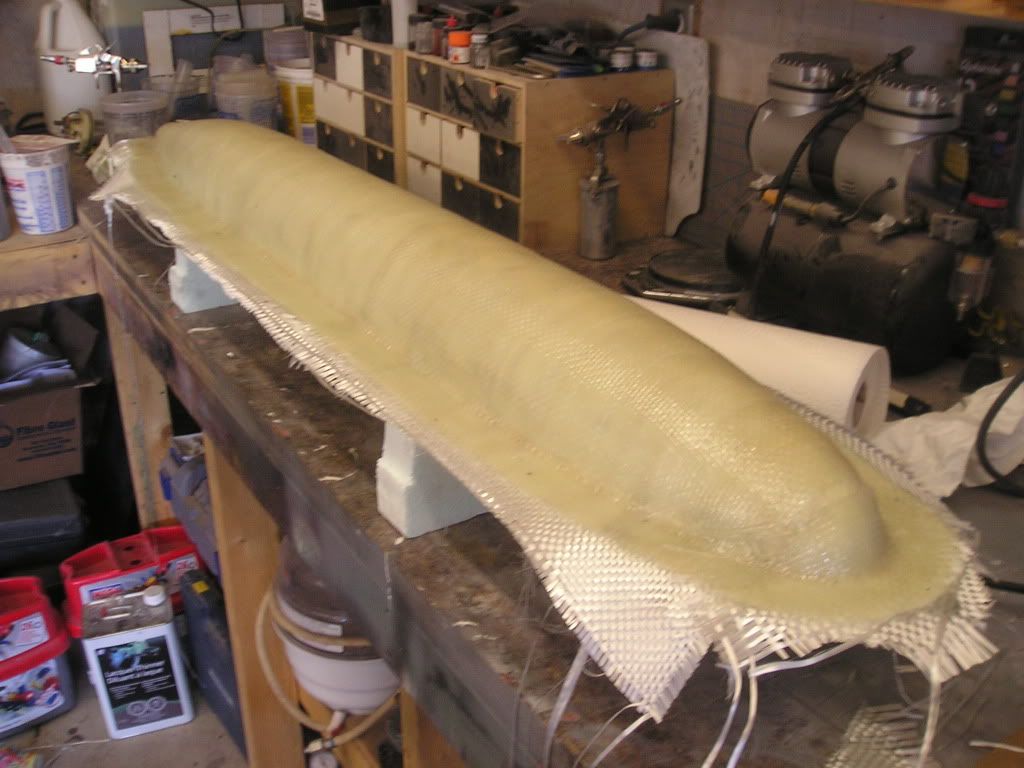
Lamination of the subsequent fiberglass layers was done using stuff from my big cutoff bag and West System epoxy using fast hardener (I can use the fast because my heater broke down in my garage, so it's nice and cool in there!). I am using epoxy because I want total, absolute reproduction fidelity...no shrinkage and warpage wanted at this cat's garage! Final layers were built up using woven roven which is a good, strong cheap high build up fiberglass. I am not going as thick as my normal moulds because I want a fair amount of flex in this mould for release purpose, plus I dont have to worry about damaging any detailing because there isn't any yet.
Love the mixing cups Joel,
The wolf's coming along great. I swear I can hear the back ground music from Jaws just prior to the shark attacking. Go man go!
Continuing on with these el-cheapo moulds (cheap compared to what I project the final ones will cost)
The original plan before, was to do one single half mould and then from that, makes the two final plug halves. I changed my mind though; I want the piece of mind knowing that the two halves will mate together perfectly, and I think things will be faster if I have access to both halves in parallel instead of doing them in tandem.
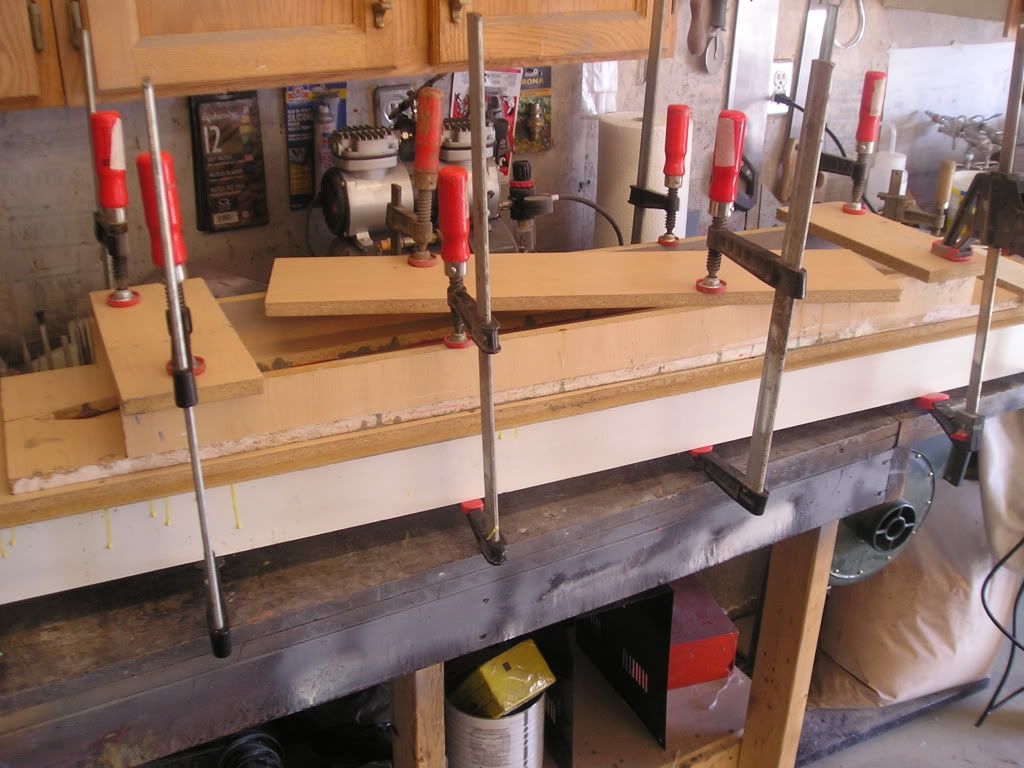
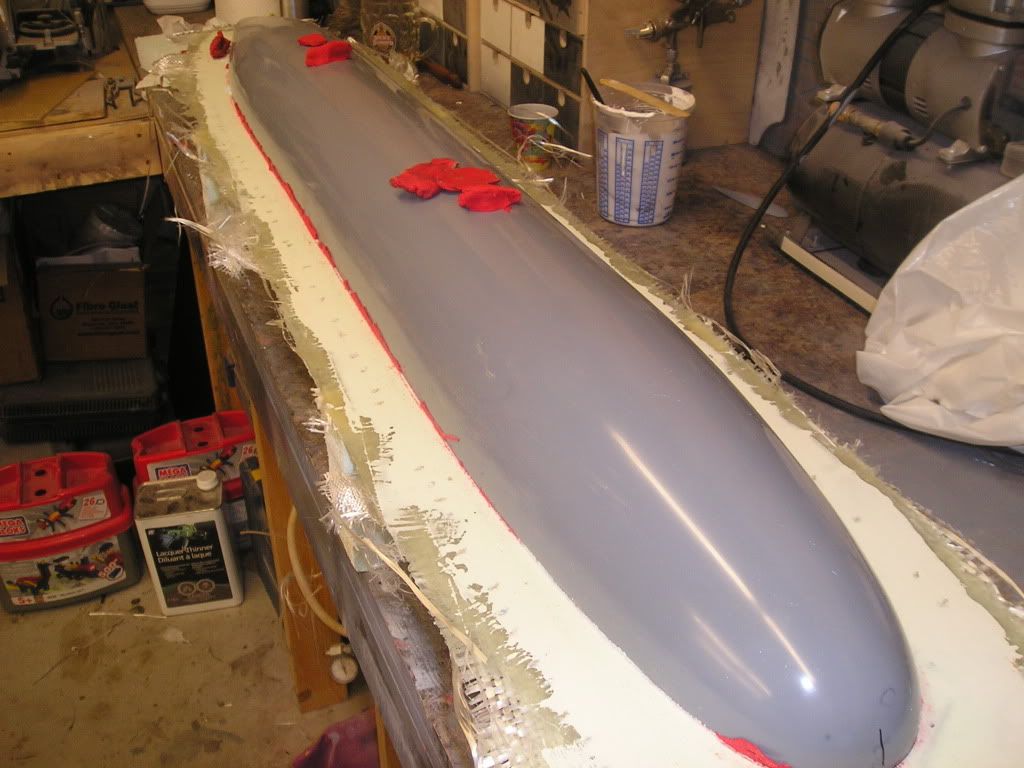
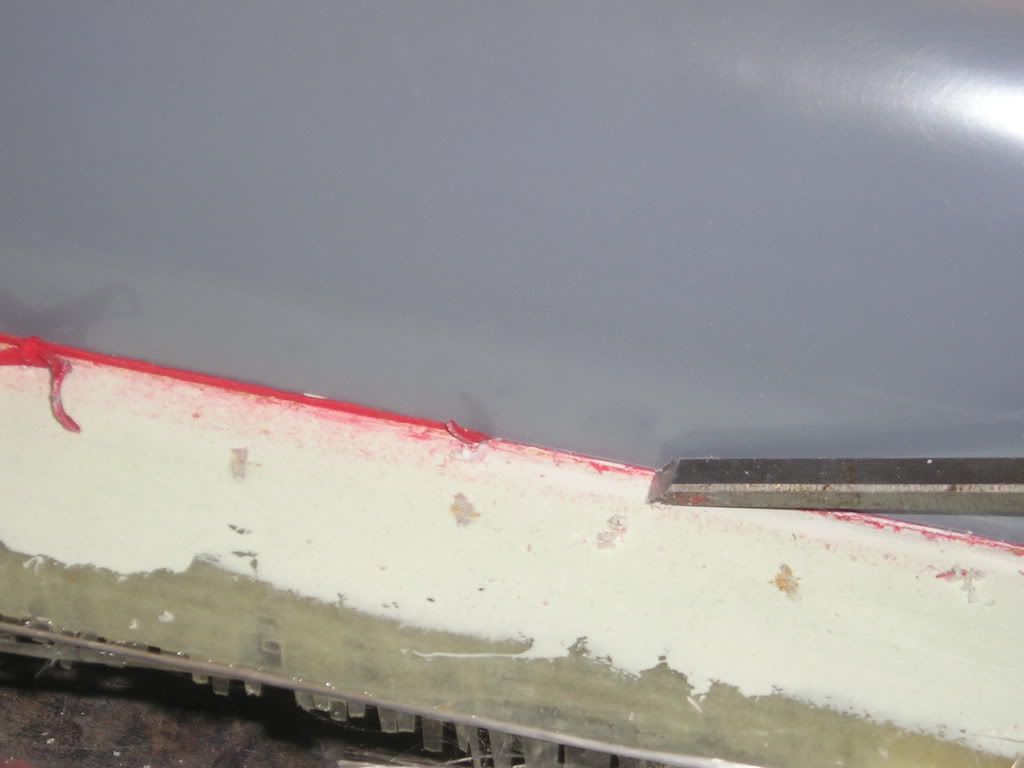
Before doing the top layup, I had to do a little chiselling of some errant epoxy and residual modeling clay. A super sharp chisel is the order of the day, and being careful not to scratch the hull is the only way. Note the 2†flexible Styrofoam used as legs for the mould halves. I will stiffen them up with fibreglass after the plug is removed.
Here’s the top halves laid up and now I’m just waiting for curing. They should be good to go for next weekend for starting the detailing.
Not in this case Matt, at this stage in the game we're going cheap and dirty with hopefully only one pull from each half. The keyed master mould will come later.


Comment