Attention all registered users. The new forum upgrade requires you to reset your password as you logon for the first time.
To reset your password choose this option that is displayed when you attempted to login with your username: "Forgotten your password? Click here!"
You will be sent an e-mail to the address that is associated with your forum account. Follow the simple directions to reset your password.
If this is your first visit, be sure to
check out the FAQ by clicking the
link above. You may have to register
before you can post: click the register link above to proceed. To start viewing messages,
select the forum that you want to visit from the selection below.
Looks like this will be a great kit, can't wait. Really lots of room in there for playthings - cameras, alternative propulsion experiments, Merriman's 1/72 torpedo system if he ever starts selling it.
I looked at the Permit instructions and was blown away by the attention to detail. Anybody who puts set screws on the planes themselves is OK by me (can't tell you how many times that would have helped me)! More power to you...
Steve,
Basically the stern plane connections were the result from the desire for an easy zero calibration instead of having to muck around inside that small tail cone...thanks for the comments and I like your user name btw, it's almost like a character out of George R.R. Martin's " A Clash of kings", some of the best fiction I have ever had the pleasure of reading!
Sunworksco,
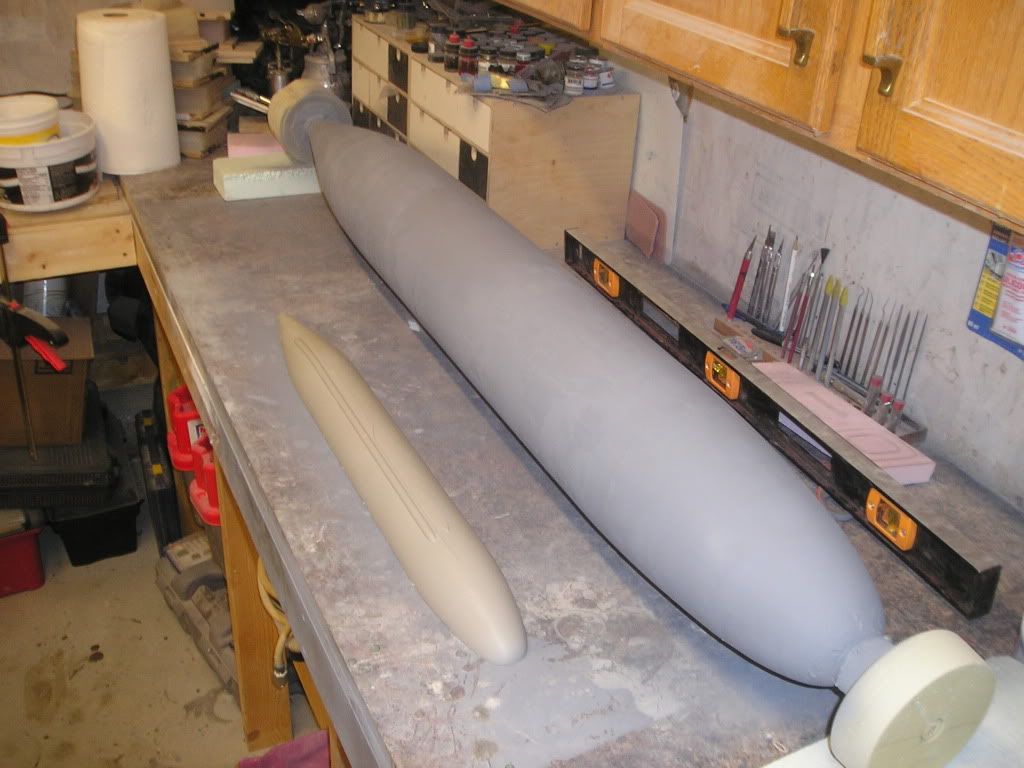
This model will be almost 60 1/8" long by 6 23/32" at it's widest (exterior). I will determine the optimum wall thickness once the hull mould is completed as I think there will be a little experimentation to get it right. I am predicting in the neigbourhood of 3/32". I don't have the prints here in front of me, but I would roughly guestimate the parrallel midsection to be around 40" long..plenty of room for a fat, long WTC and whatever else you can concoct to go in there. Bear in mind that I will attempt functioning retracting dive planes and will be continuing work on rotating torpedo shutters, so these items and subsequent machinery will take up some space in the bow.
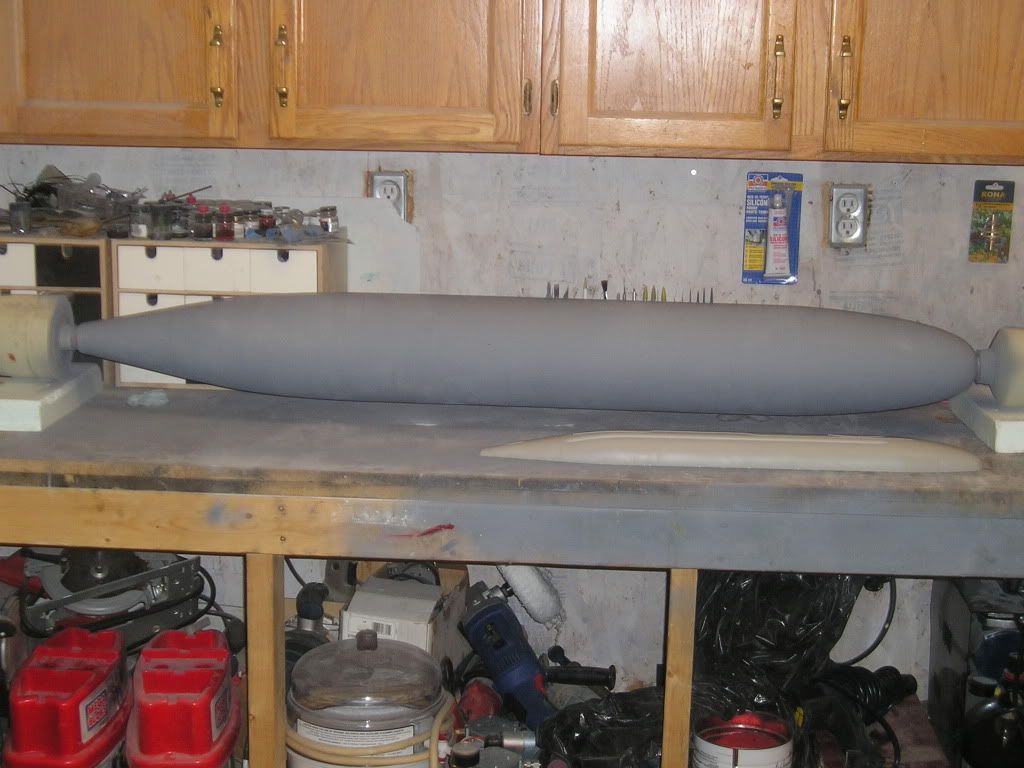
Here is where I stand today with Wolfie:
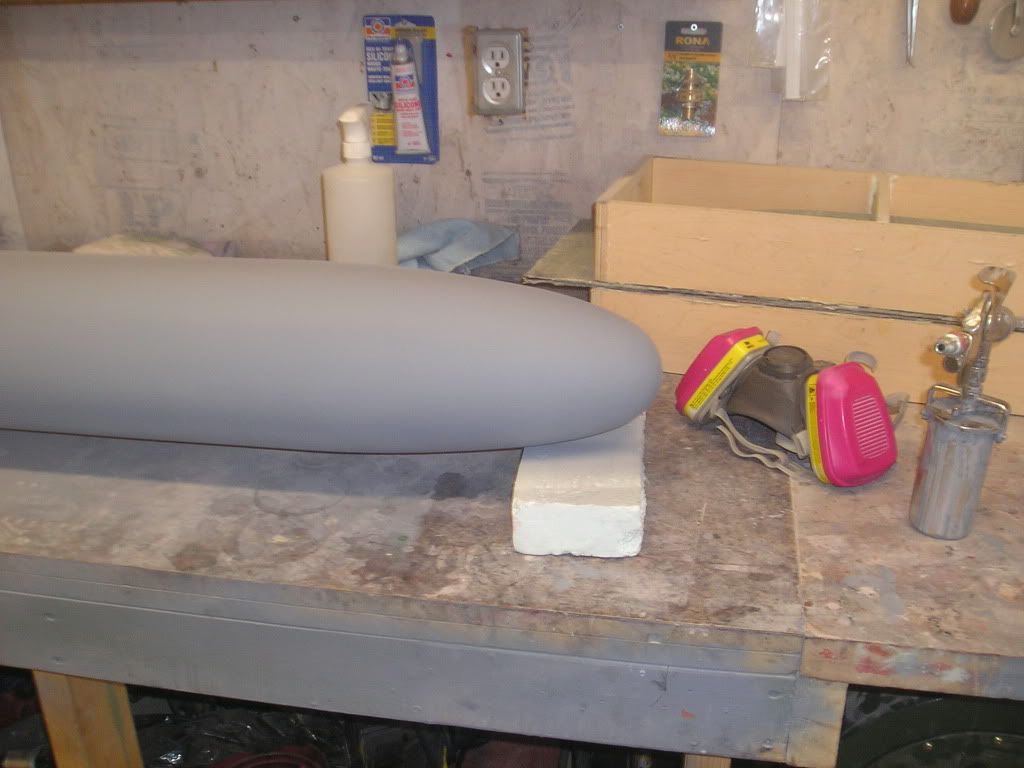
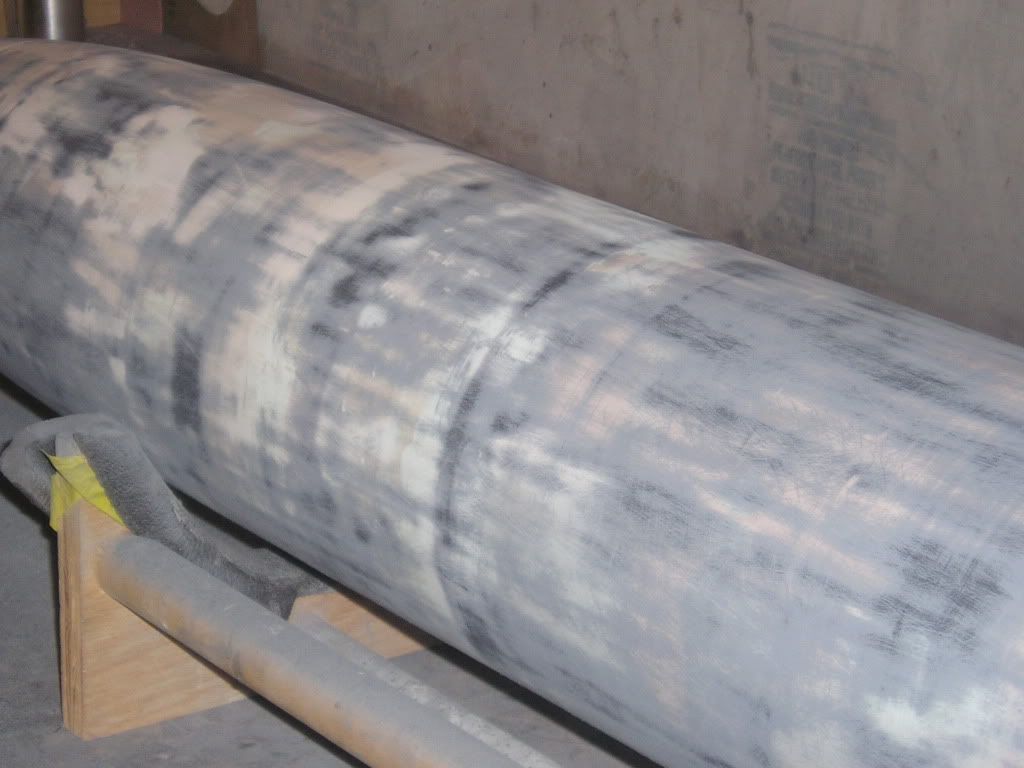
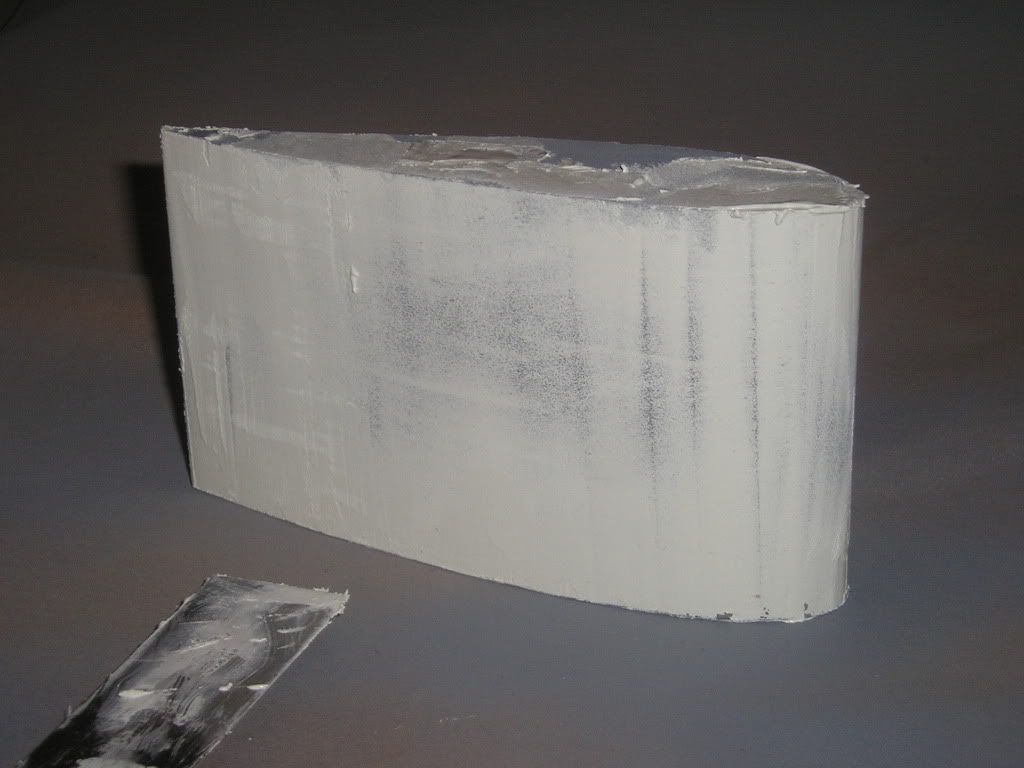
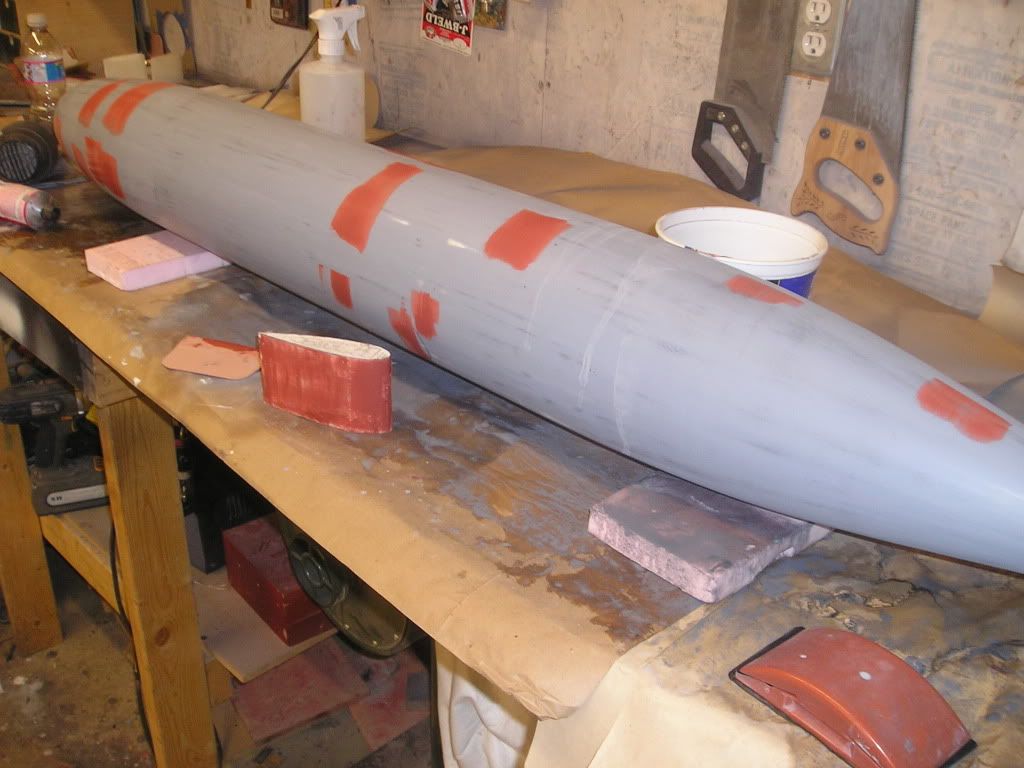
Last night I sanded down the primer coat using a block sander. This gave me depth perception for eying all the dings, grooves and imperfections (low spots) I have on the surface because of its darker color in contract to the lighter filler underneath it. Later, when finding the finer imperfections I will spray cheap black spray paint on top of the grey primer...more on this later though.
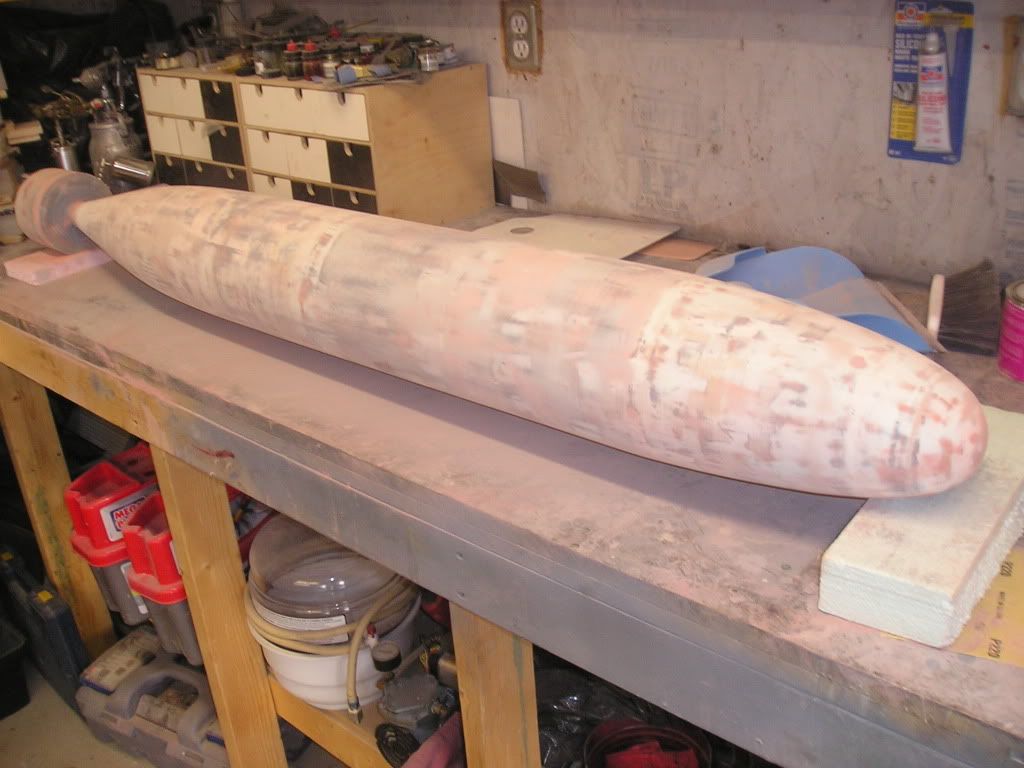
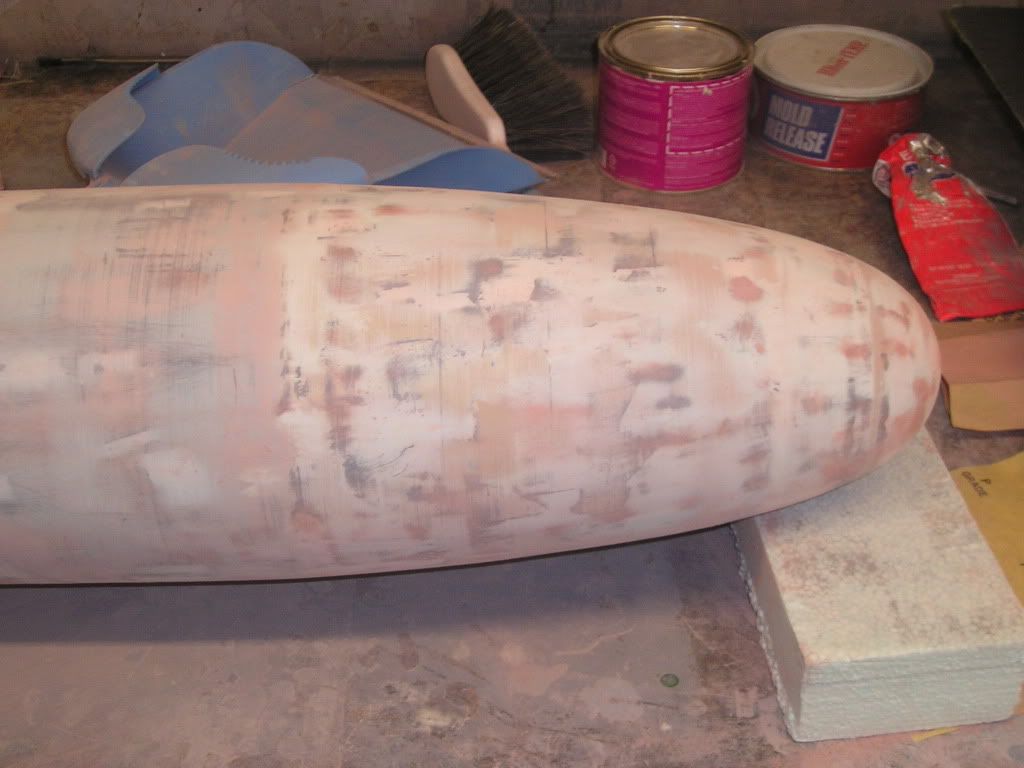
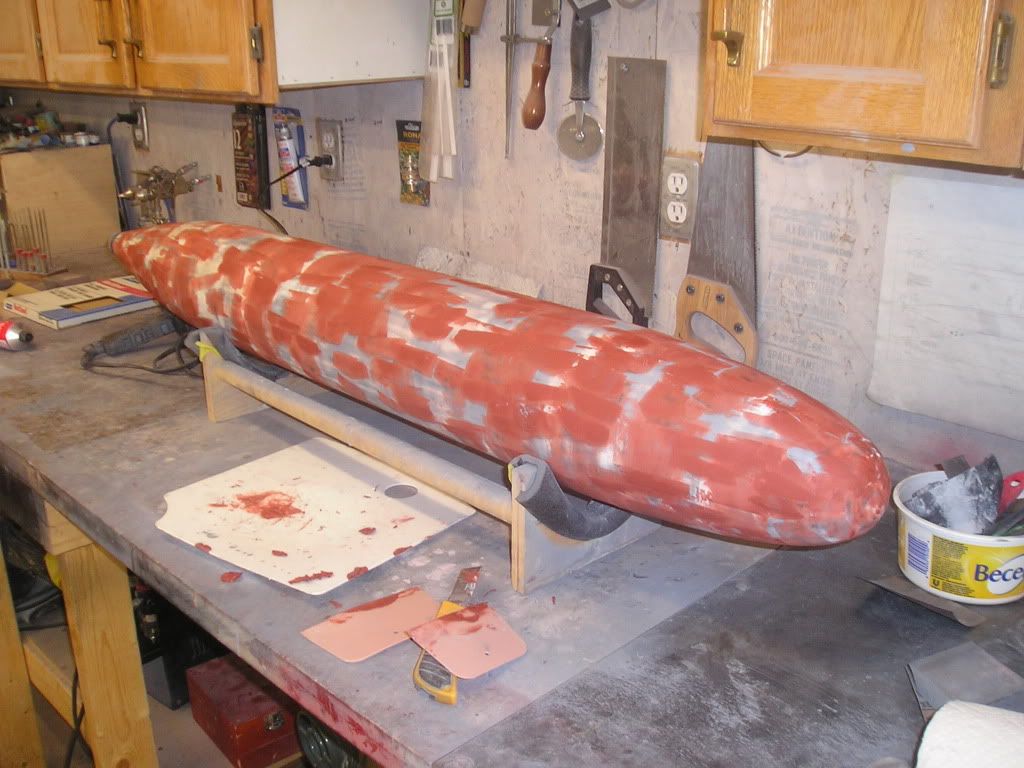
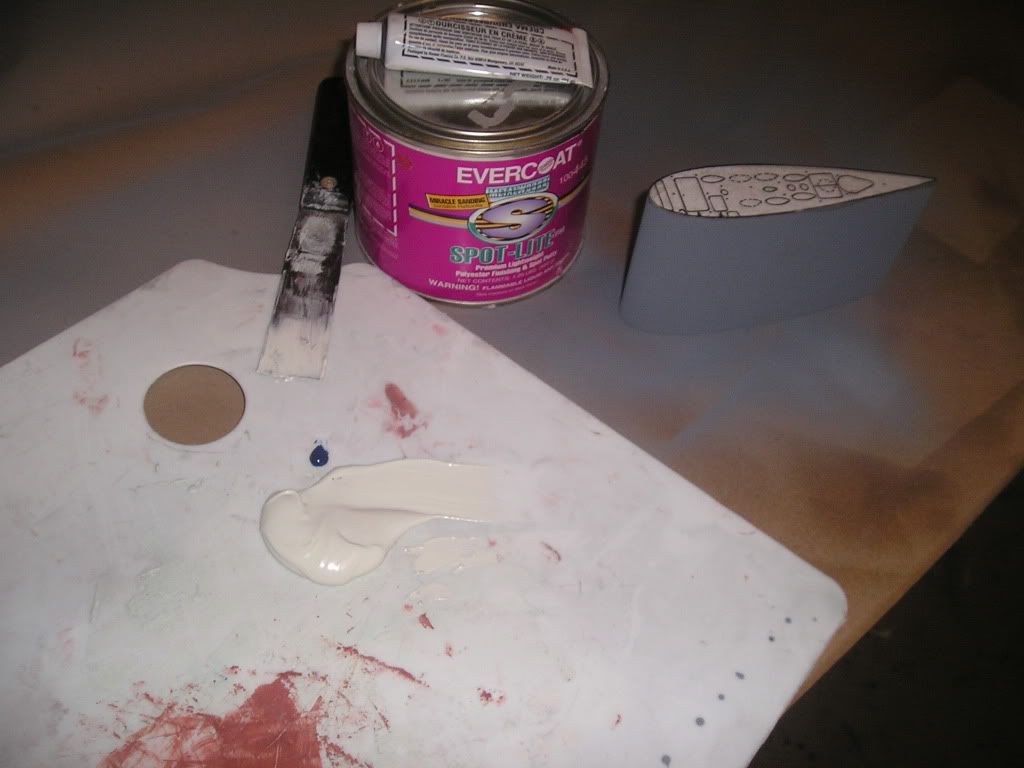
After sanding the primer down I used a plastic Bondo spreader and coated the whole hull with red Evercoat glaze, paying particular attention to make sure the low spots were filled out. When dry, almost the entire glaze coat was sanded down, leaving just a few red spots here and there. I don’t want to see a lot of red left on there because that is not the purpose of this product. Its use is to fill minor imperfections like low spots and scratches. Pretty boring stuff for you guys to read, but essential nonetheless to get a good finish.
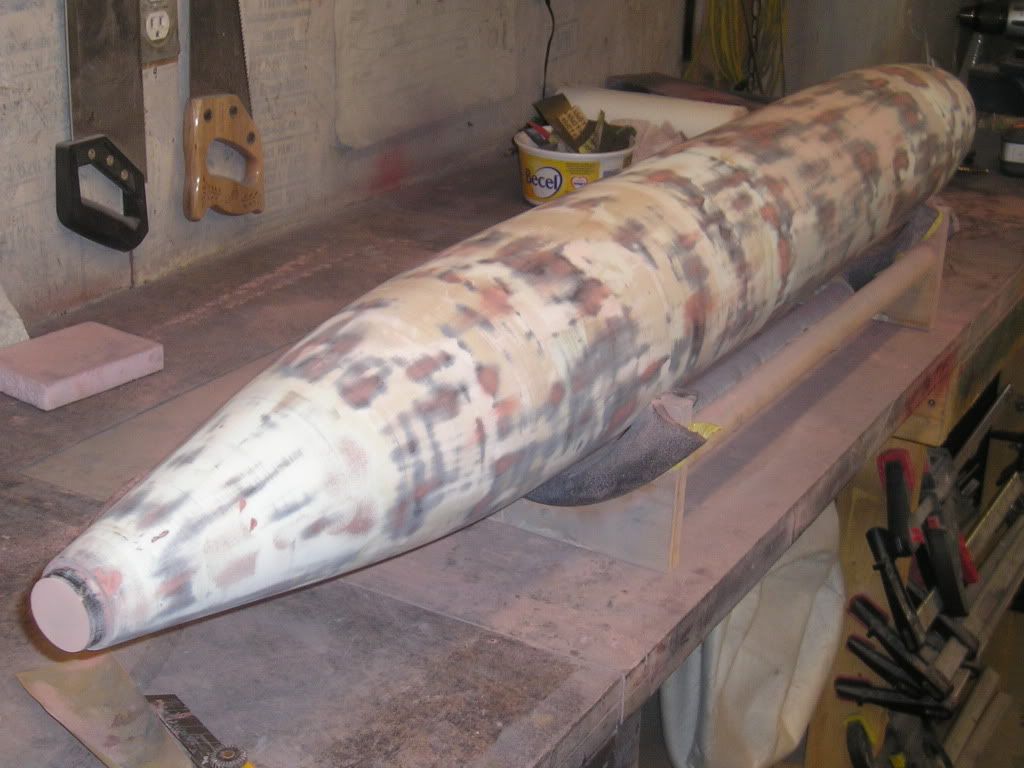
Notice the front excess material has been cut off now and the bow tip has been shaped out. The rear material will be cut off later because it is nice to have for rolling the plug around on the bench;
A heavy coat of primer applied; this time it will be staying on I will work on top of it now fixing up the small stuff.
Wondering if you've considered how accurate the designs themselves are (Greg Sharpe's I assume)? Are you using that as a single source for the hull shape?
I don't have any reason to doubt the design, mind you, I just don't know where he got that information, so I'm curious how authoritative it is...
Hi Steve,
I am using Greg's plans for most (not all) of the general characteristics of the boat. I have it on good authority that the parts that I will be using from the plans are very accurate indeed! However, there have been quite a few differences found on it since the drawings were first made and these will be incorporated into the build.
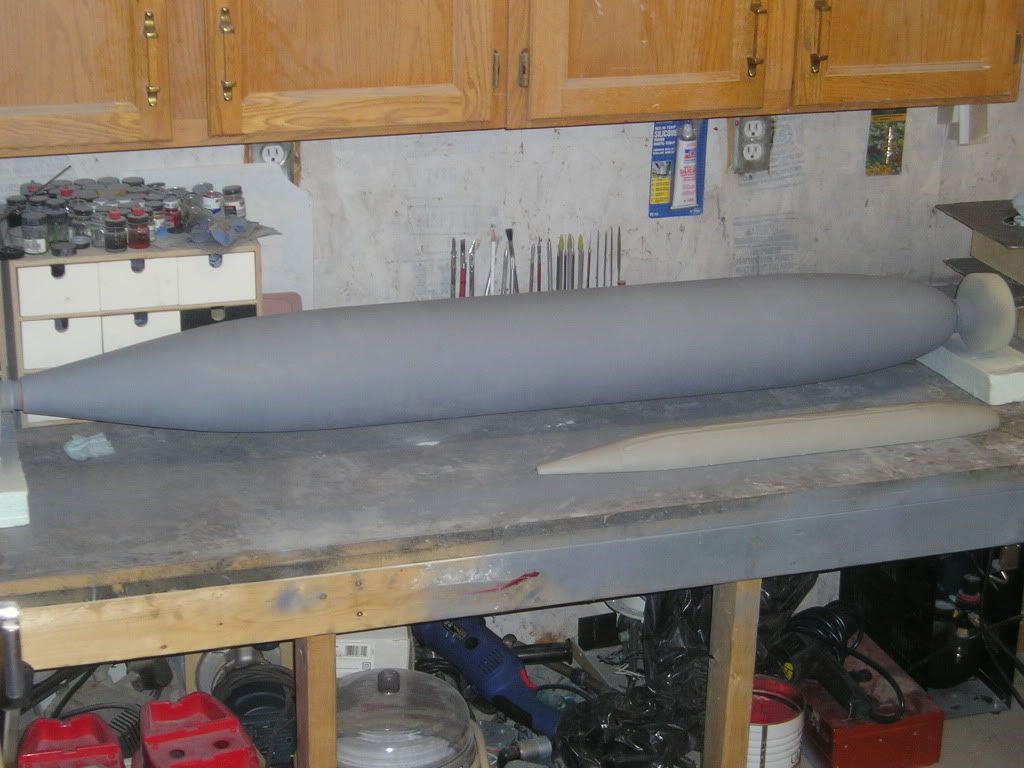
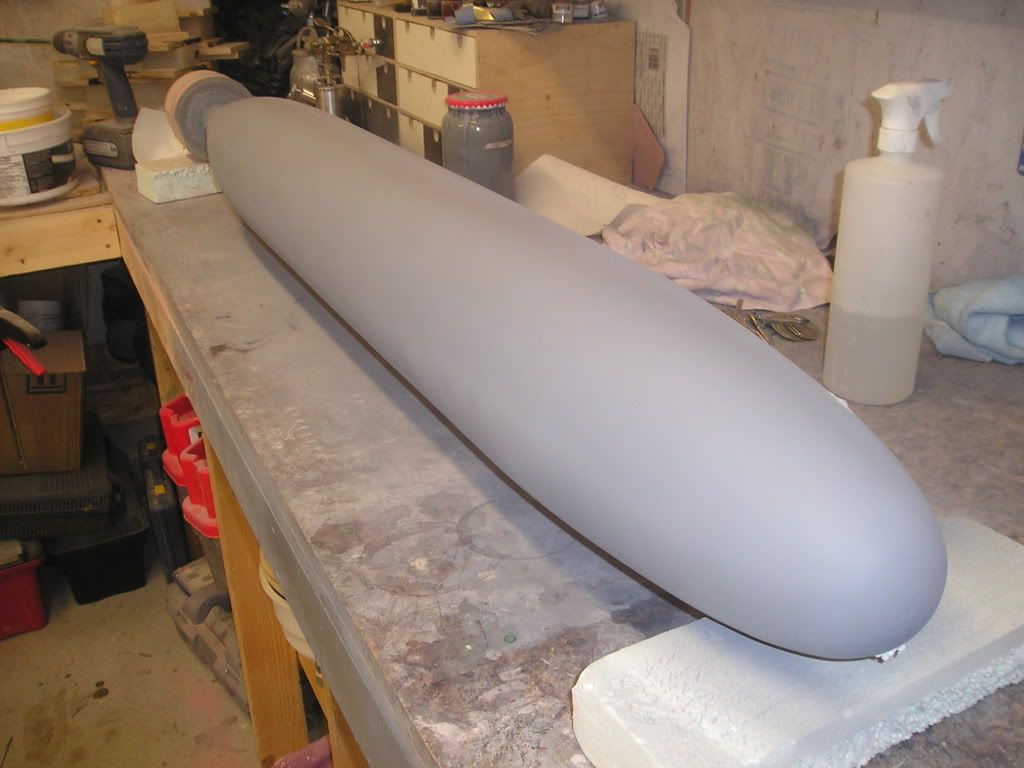
Ok Basic hull shape is done, now we have to start working on the small stuff that will help my cause later in the game. This plug has to have an absolute flawless finish to be able to advance to the next step: intermediate half mould. The first step to acquiring this “class A†mirror finish is to sniff out all of the low spots in the hull, and we’re not talking moon craters here, we’re talking about imperfections that you can see in certain types of lighting from certain angles.
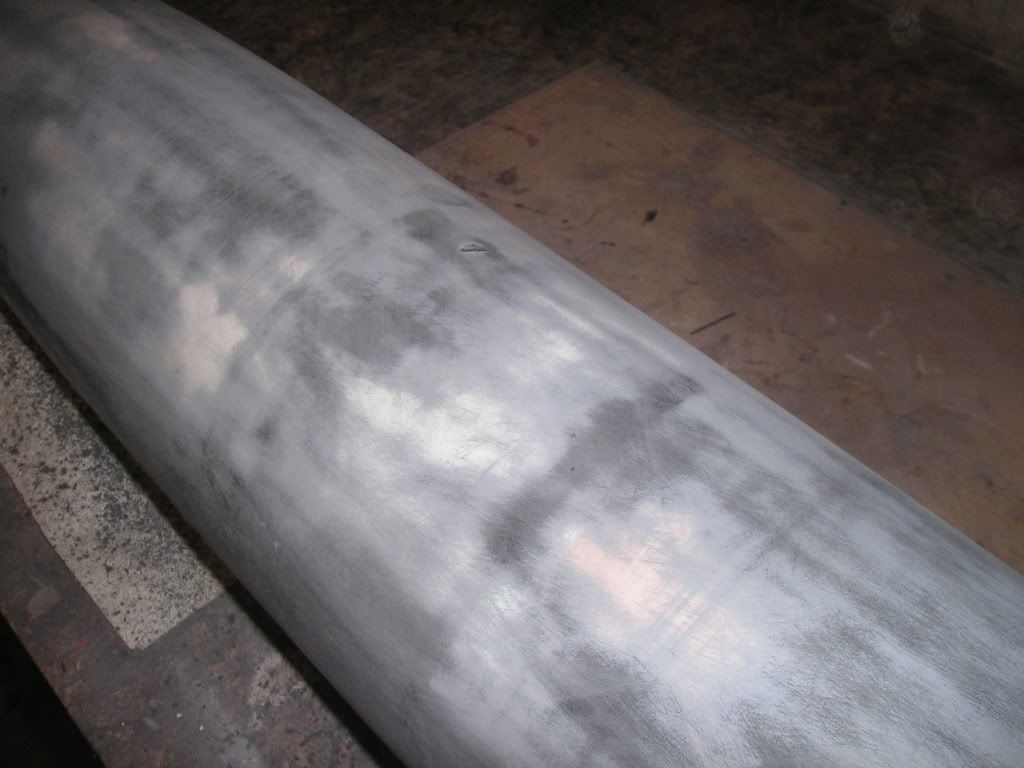
I did a light coat of black spray paint over top of my grey primer coat. I used the cheap stuff because it gets sanded off anyway, but I almost regret using this garbage even for this task. It takes a long time to dry, and when it does it plugs up sandpaper like that was its sole mission in it life. Once dry this paint coat is lightly block sanded, and in doing so we get these miraculous black spots left over. These are the low spots we need to get rid of. I’ll fill these with red putty, let dry, block sand, prime in grey and repeat this “black paint low spot hunting†routine until I find no more low spots...voilla! The first step to the Class A finish is done.
There are very few Subcommittee members who would undertake such hugely ambitous projects as scratch building the USS Jack and now this!! You have my admiration and attention. Thanks for your building threads
Alright,
I got some bona-fide new work done on this model today while I was waiting for primer and filler to dry on the hull plug. I found some more low spots because I’ve been trying a firmer backer for my block sander. I went this way because looking at the plug from certain angles I could still see some nasty imperfections that my initial guide coat didn’t pick up. I figured it was my foam backer and lo and behold, I was right.
Anyways, I started out on the sail and things are going pretty good with that. I am making the sail in multiple stages. Build the base sail (no fillet, no cap), make a mould of that part, add negative detailing to the mould (anechoic coating bevelling), make a reproduction of the base with a very heavy surface coating for scribing and also make it so it will be hollow. From there, add a cap and then the front fillet. I’ll describe this better when we get to each part.
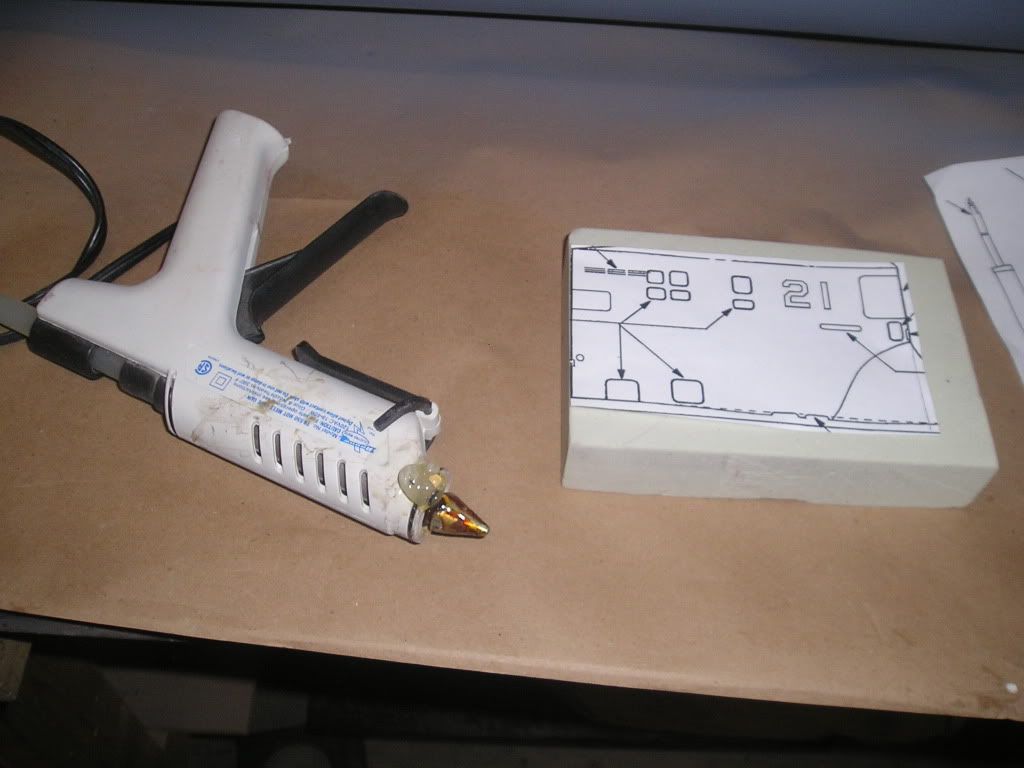
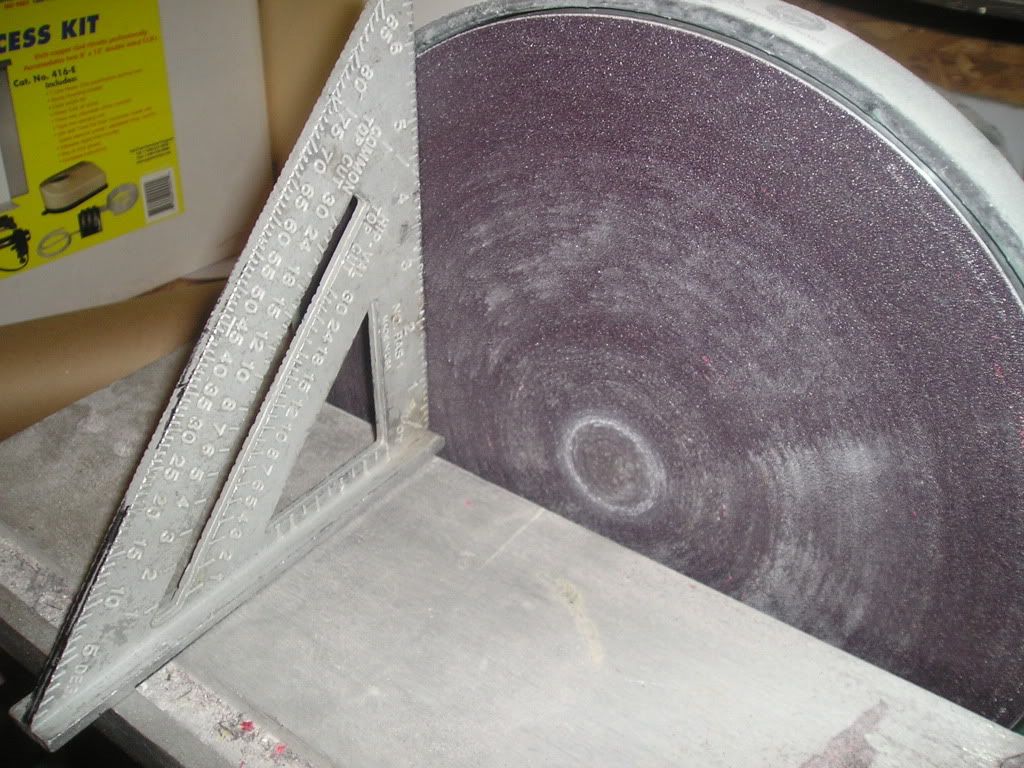
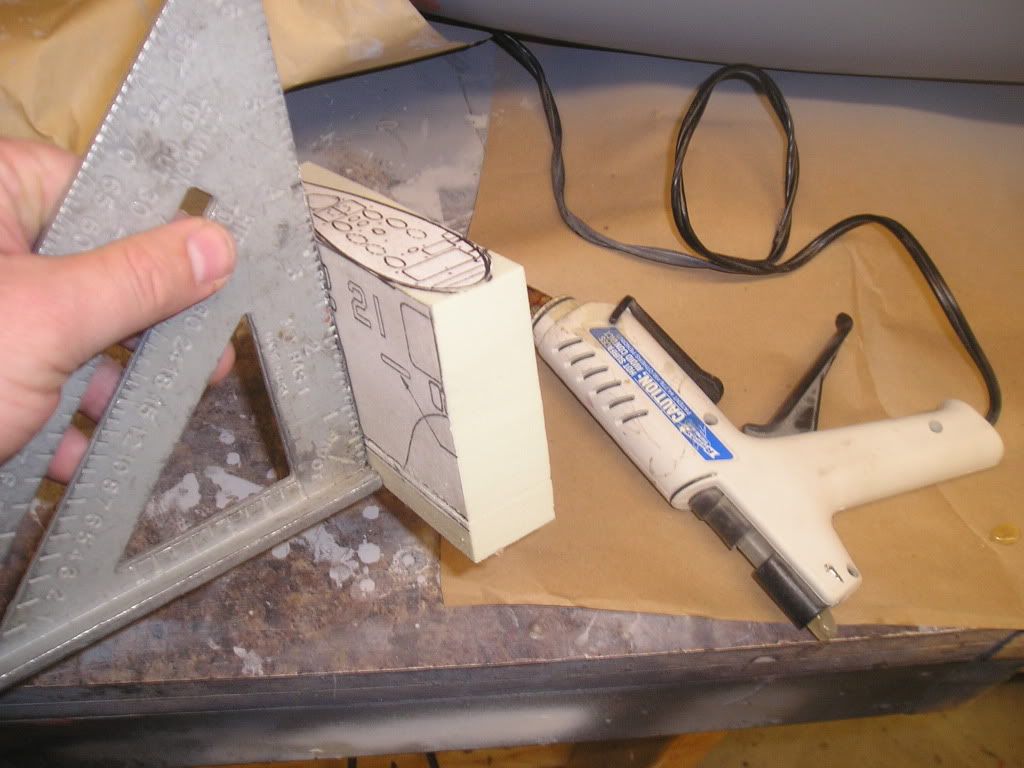
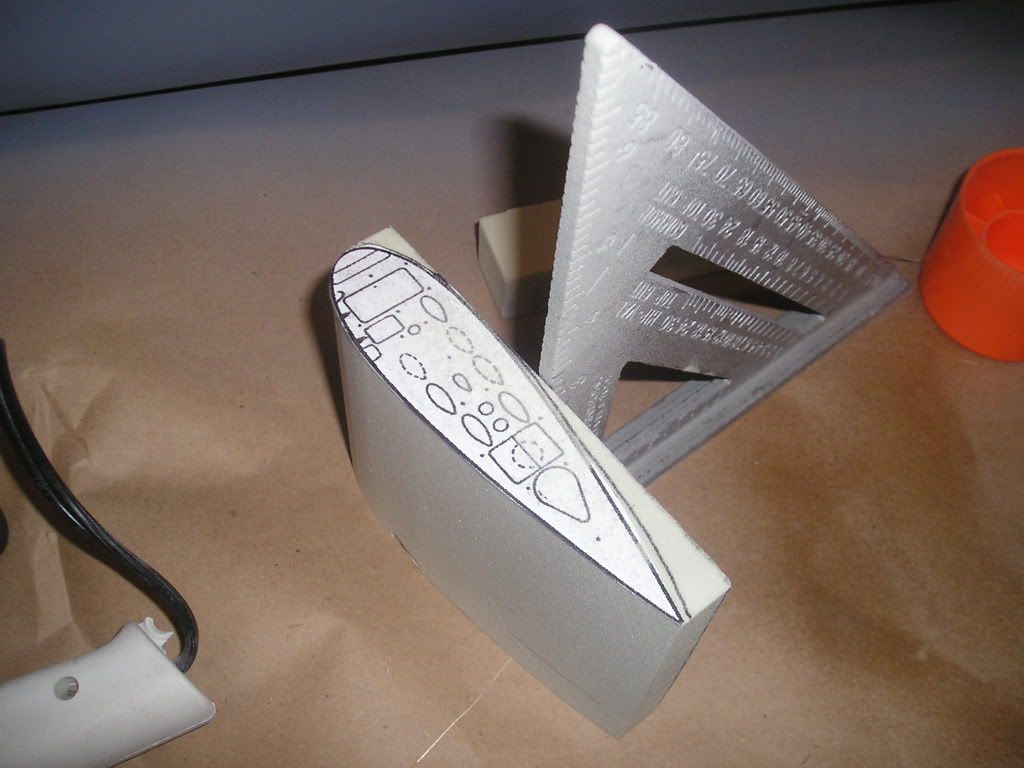
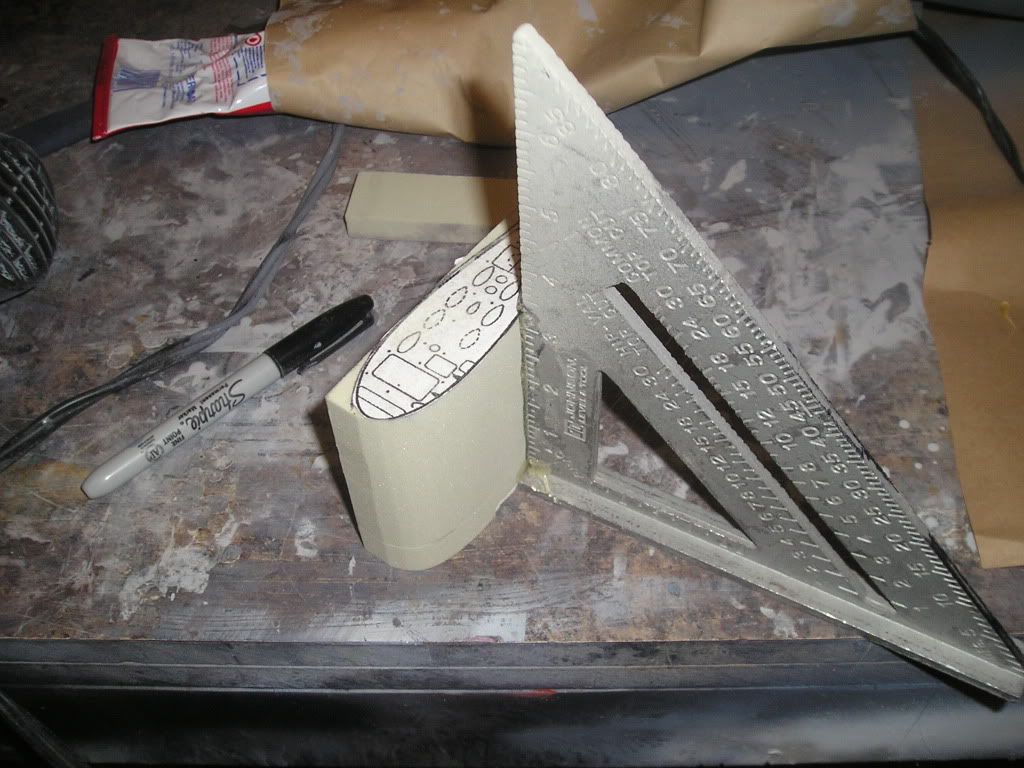
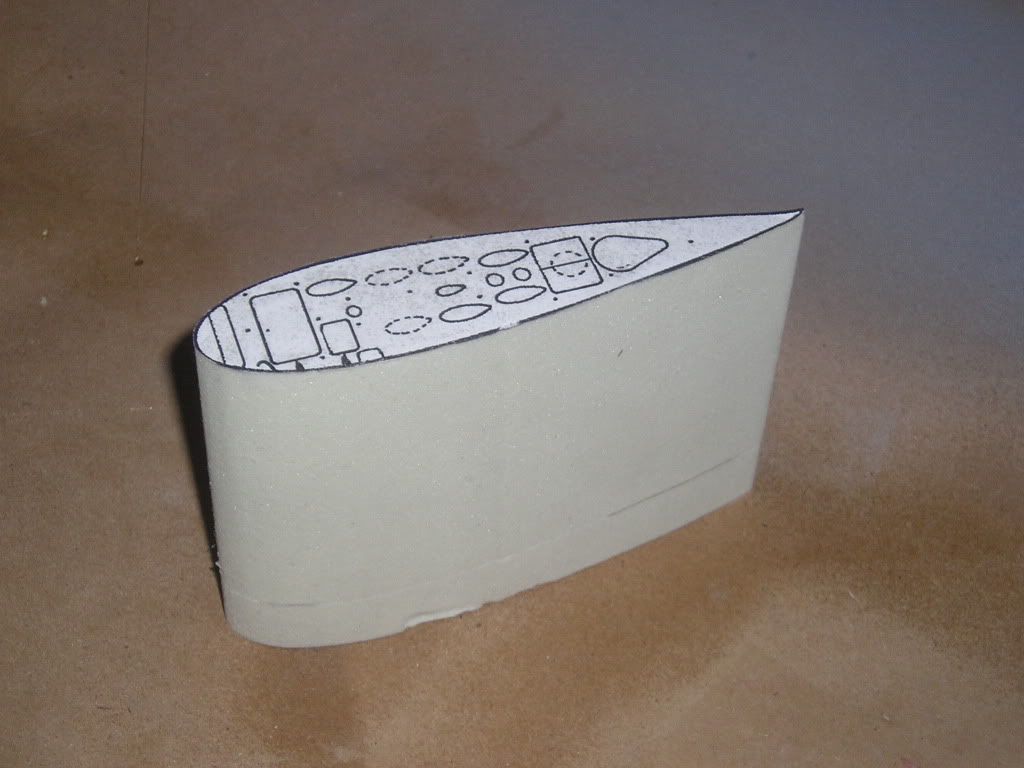
Creating the base was started by taking a perfectly square piece of Renshape and CA gluing cut-outs of the sail shape both side and top. The bottom of the sail is not perfectly straight because of its teardrop shape that follows the curing hull. I cut this line using my scroll saw and then temporarily hot melt glued it back into place. I ensured that my table for my disc sander was absolutely square in relation to the sanding disk. I hot melted the side of the Renshape block to my square let cool and went at removing material knowing that what I was doing was square. When the material from one side was removed I moved the square to the other side of the sail. This is pretty much the same thing I did on my Permit...might as well because it works very well.


Comment