Monstrosity! 1/72 Seawolf

Collapse
X
 
  • Time
  • Show
Clear All
new posts
  • boss subfixer
    Junior Member
    • Aug 2004
    • 656

    #16
    A question about the anechoic

    [quote]A question about the anechoic coating]

    Yes it is and BTW the Seawolf and Virginia class didn't get tiles. It's called MIP for Mold in Place. A mold is set up and mounted on the hull and the rubber compound is injected into the mold and allowed to cure.

    [quote]I see in one of the above photos that the torpedo tube doors and bow diveplanes of SSN-22 are flush with the hull surrounding them (a great photo btw!).

    Since I am building a Trumpeter Seawolf, which represents the shakedown status, and I am going to model it in that status, here is the question]

    If I remember the Trumpeter version correctly it shows the transition area where the MIP ends and the hull begins around the torpedo doors, I could be wrong. Even if it doesn't you won't have to do anything because the doors are flush to the hull any way. As for the bow planes, I believe they did stick out a little at the root and the MIP was put around them on the real boat. I have to look at my Trumpeter when I get home.
    Hope this helps
    Comment

    • manowar
      Junior Member
      • Jun 2007
      • 173

      #17
      We might have a change

      We might have a change in plans...
      Joel

      Comment

      • manowar
        Junior Member
        • Jun 2007
        • 173

        #18
        Ok,
        Here's the next question to

        Ok,
        Here's the next question to keep the ball rollin' here while I wait for some material to arrive! How far back does the " special hull treatment" go back? Does it end before the pump jet? Does it cover the pump jet too? I have a hankering it does because of the noise the prop inside could generate...but I'd like to hear your comments!

        Thanks,
        Joel

        Comment

        • manowar
          Junior Member
          • Jun 2007
          • 173

          #19
          Hull part 1

          …And we’re off!

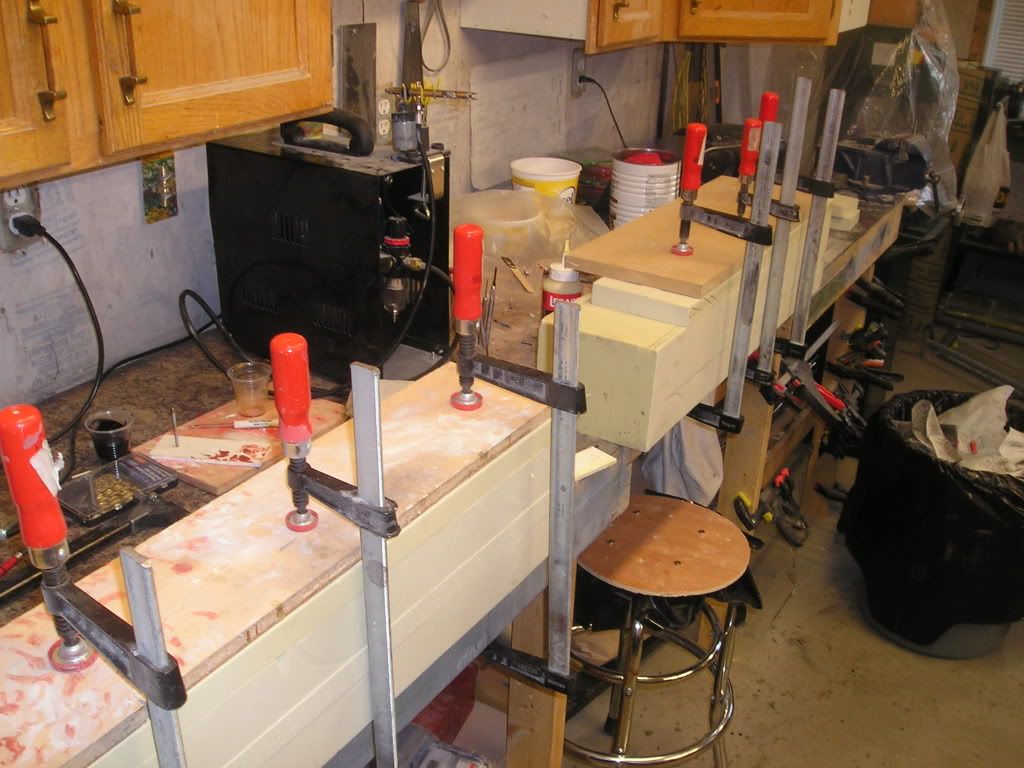
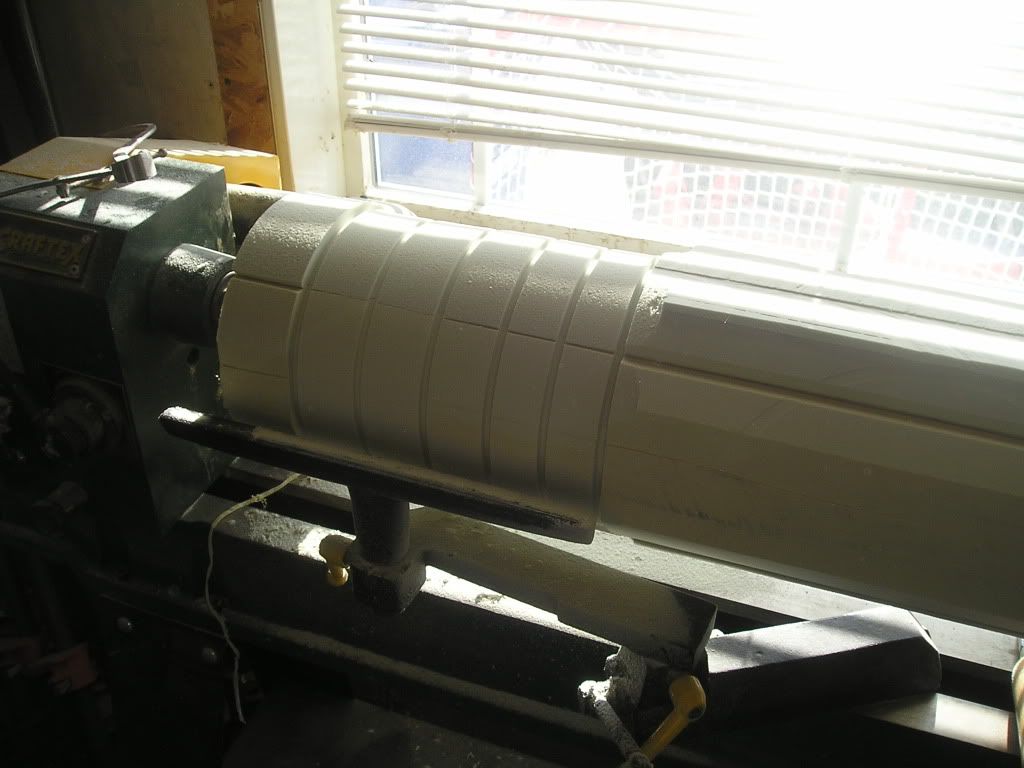
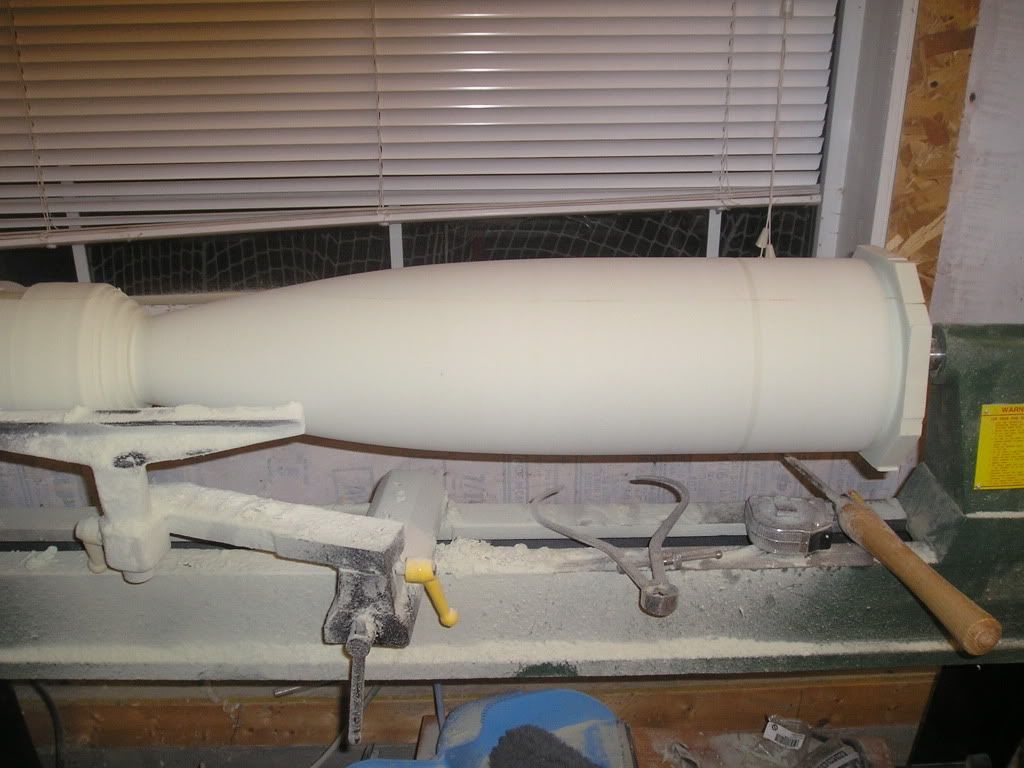
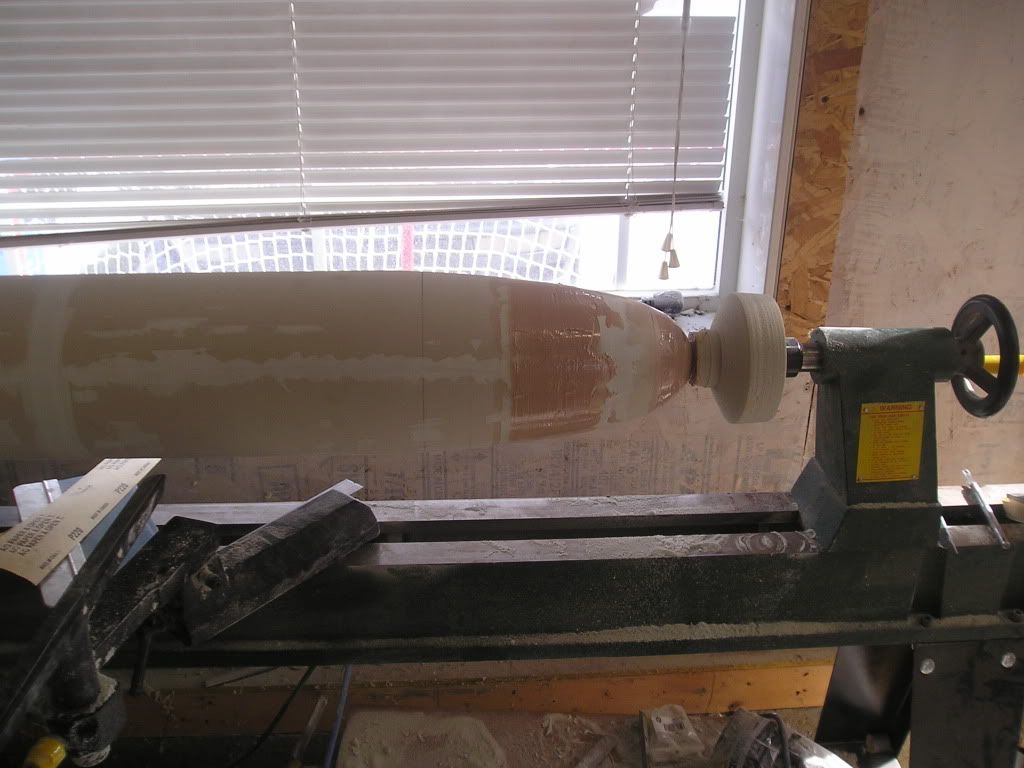
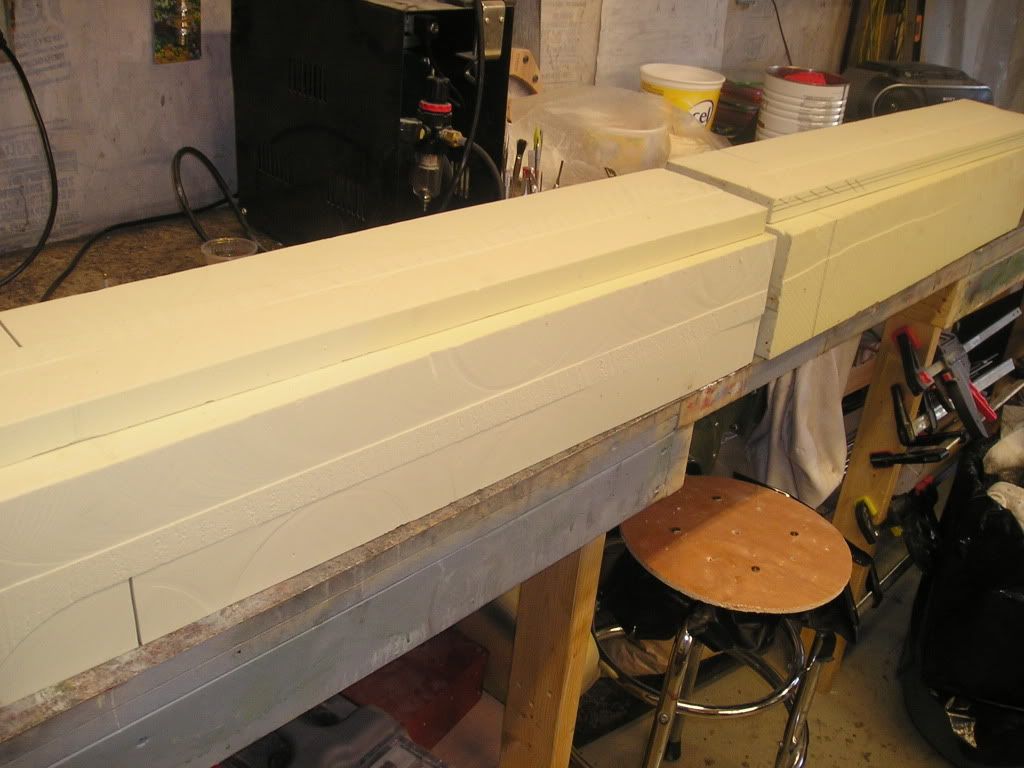
          To get started here we’re going to go whittling the hull out first. The material used to machine the basic hull shape is not wood, but Renshape prototyping tooling board. A nice man happened to donate a bunch of the stuff for me to try out. When I asked why, he simply replied “wood is dumb”. So, I have a whole lot extra white pine planed down for gluing, but chances are I will never get around to using it for this purpose…The Renshape was just too good not to use again.

          Here are the Renshape planks clamped down to the bench and waiting for the glue to dry:


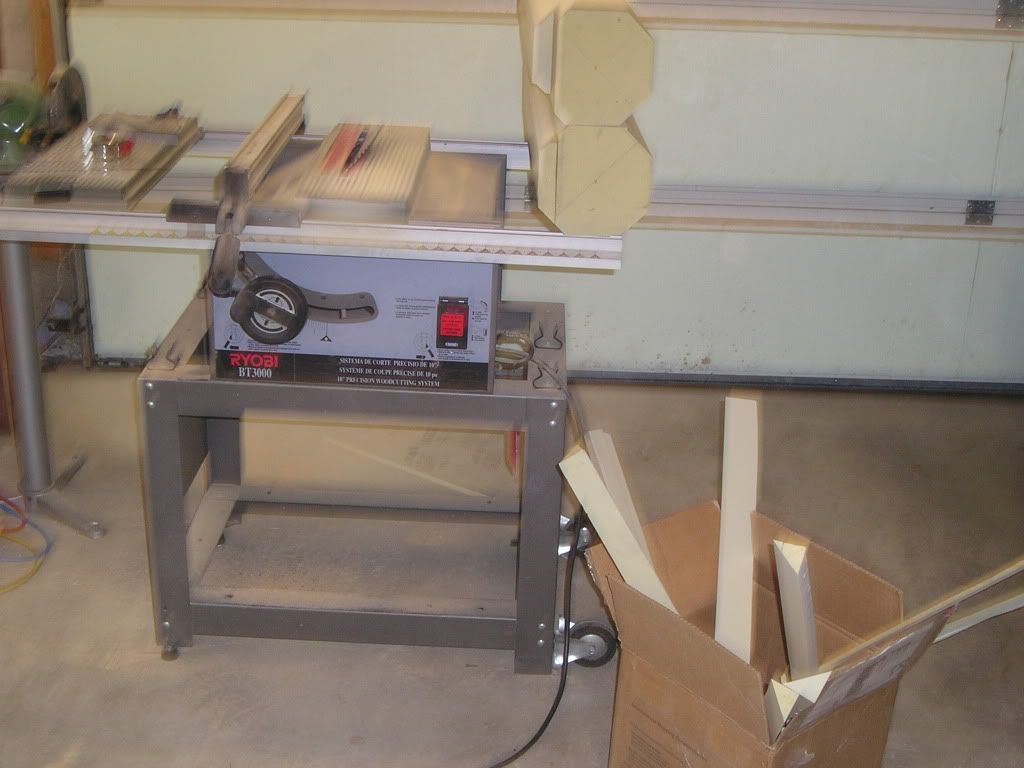
          The corners sliced off the blocks so there is a little less material to remove. I might be able to use this extra cutoff stuff somewhere down the line.


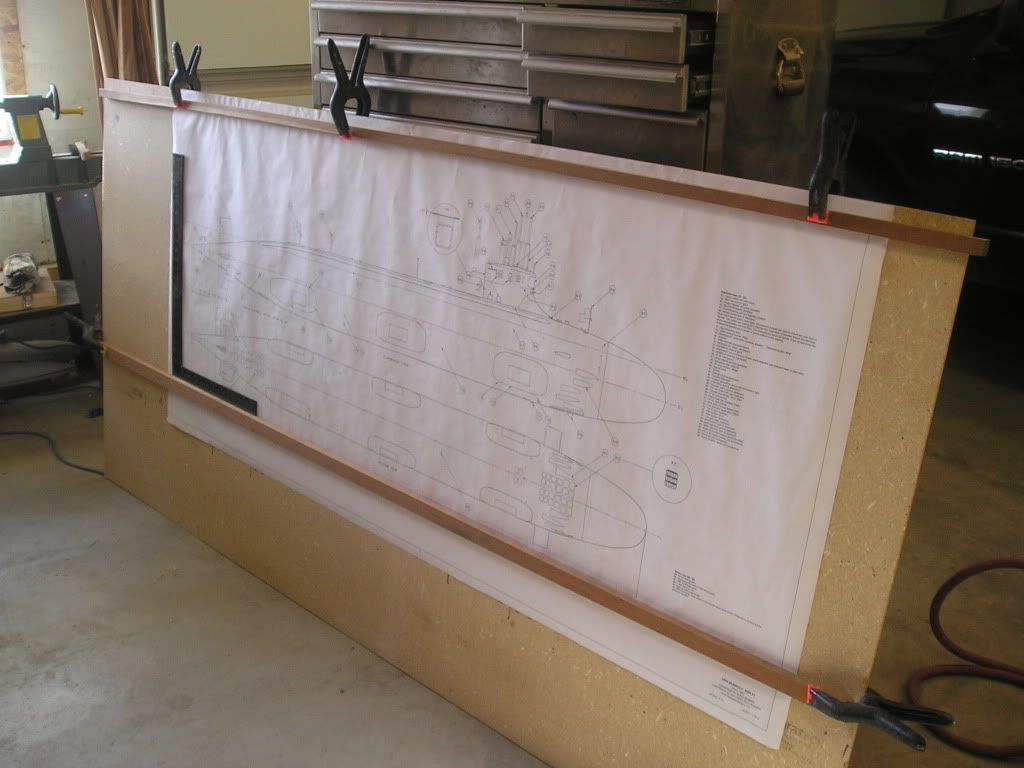
          I clamped my plans to a 4 x 8 sheet of particleboard. I can move it around when needed and it has a hard backing for markups. I clamped a straightedge along the bottom line so I could use a square for easy referencing. Notice that this boat will be big. No ifs, ands or buts!


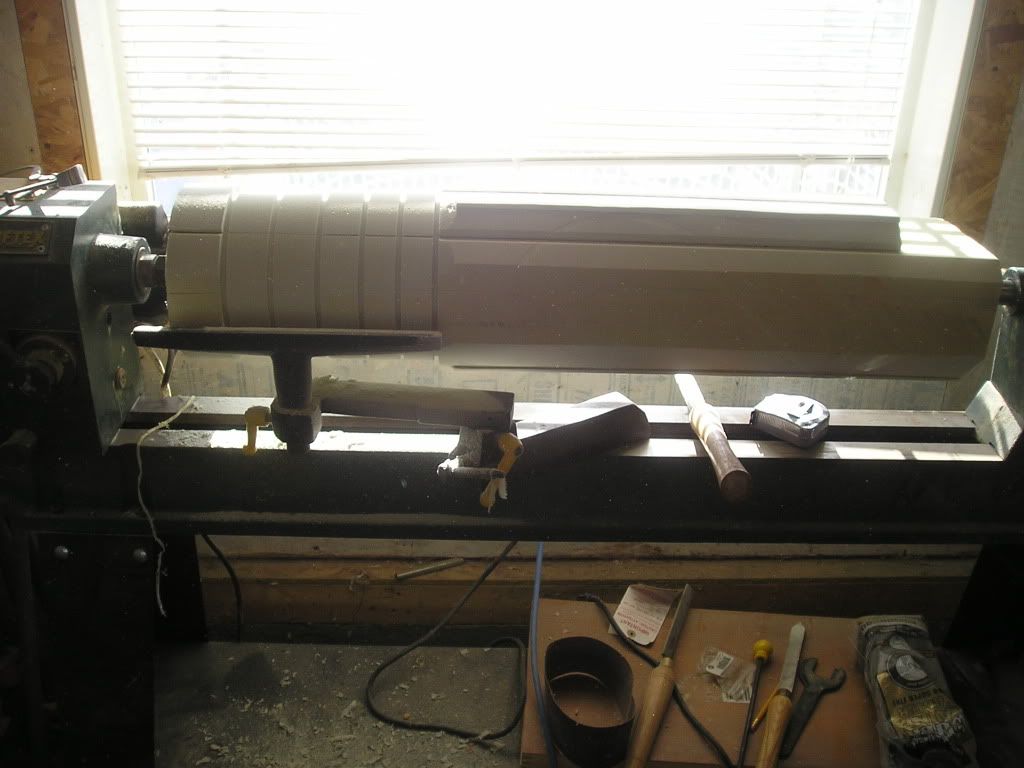
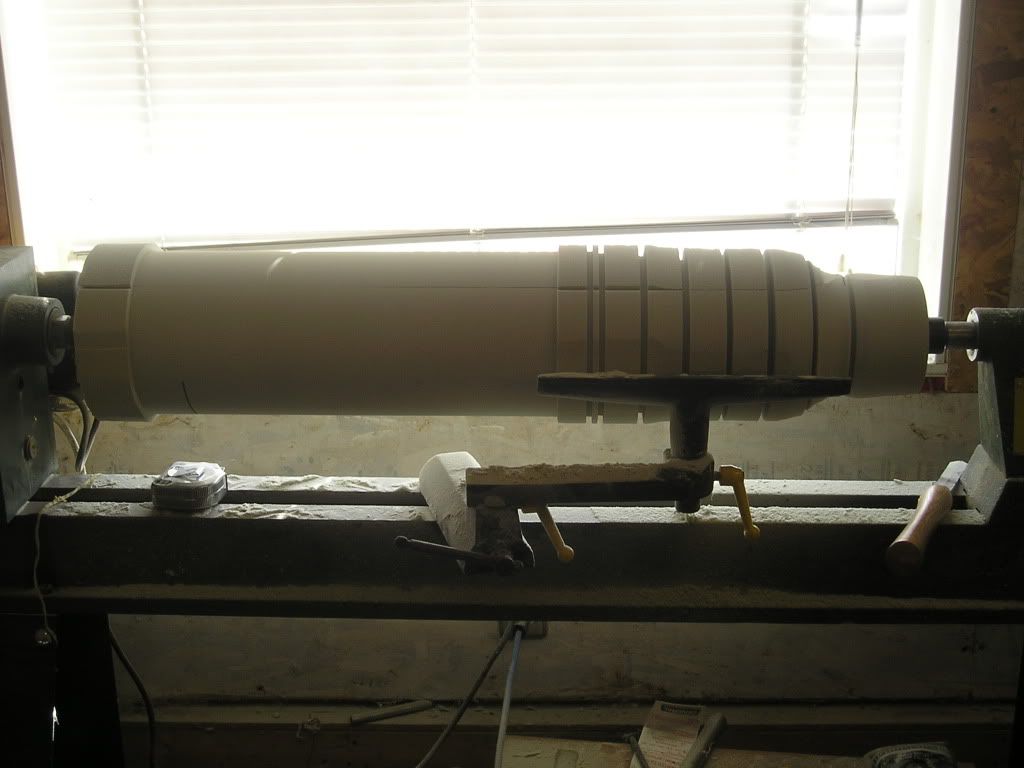
          When machining, I liked to do one section at a time usually the width of my tool rest. I also started by doing the parallel body parts first (by parts, I mean I had to split the hull in two because of lathe capacity). I would transfer measurements directly from the drawings using calipers. To get the depth of each section line I would use a parting chisel. To remove excess material I used a gouge. To remove finer amounts I used the round nosed chisel. Once very close to where I wanted to be, I would hold a long strip of 220 grit sandpaper with two hands over the work with the lathe on slow, and move it along, back and forth until I was happy with the results. I must say I have never used material as nice to work with than this urethane foam model board!


          Stern half to come,
          Joel

          Comment

          • stark
            Junior Member
            • Jul 2006
            • 243

            #20
            Man this is going to

            Man this is going to be a Big One Joel, love the all hands on build! The Skill it takes for a man to build from a set of sheet plans, to a model, then make copy's, not many can! Look forward to the end product.

            Brian

            Comment

            • manowar
              Junior Member
              • Jun 2007
              • 173

              #21
              She will be a labour

              She will be a labour of love Brian!

              Comment

              • steveneill
                SubCommittee Member
                • Jul 2009
                • 716

                #22
                You're a nut. But I

                You're a nut. But I like you.

                Big darn boat. Good!

                Steve
                www.steveneillsgarage.com

                Comment

                • stark
                  Junior Member
                  • Jul 2006
                  • 243

                  #23
                  Anybody that makes these boats

                  Anybody that makes these boats from scratch is a little nutty , and the labor of love makes the best boat!!

                  Comment

                  • manowar
                    Junior Member
                    • Jun 2007
                    • 173

                    #24
                    Hee hee heee Mwhahaha! http://www.subcommittee.com/forum/icon_twisted.gif

                    Hee hee heee Mwhahaha!

                    Comment

                    • manowar
                      Junior Member
                      • Jun 2007
                      • 173

                      #25
                      On to the stern now...
                      I

                      On to the stern now...
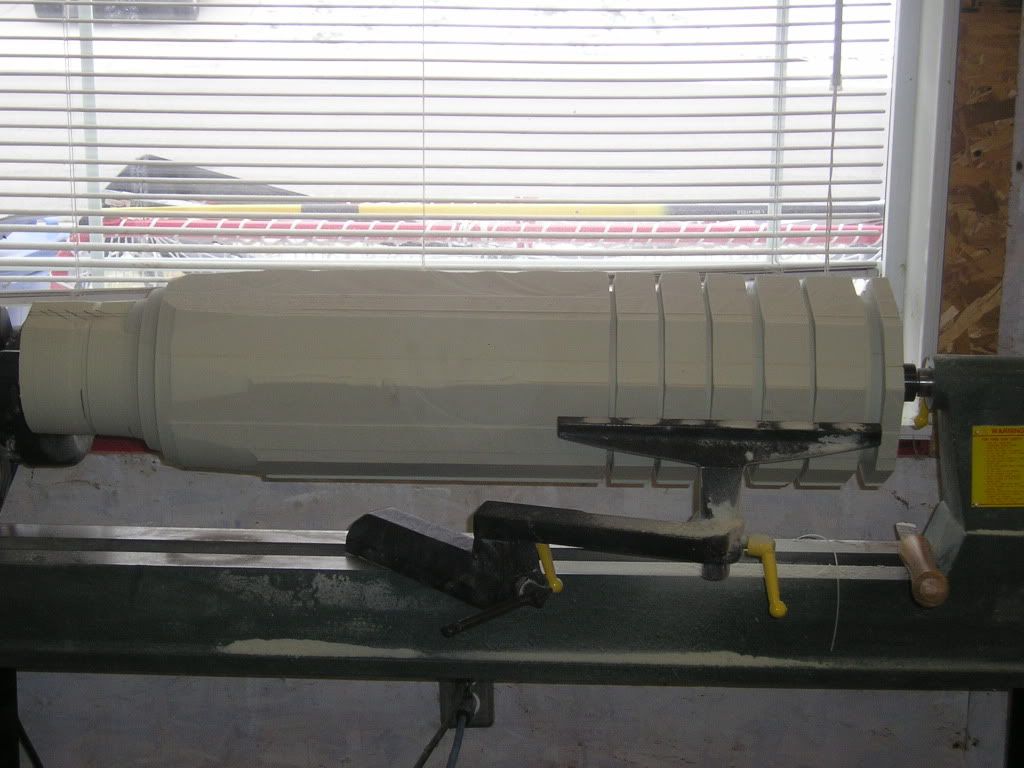
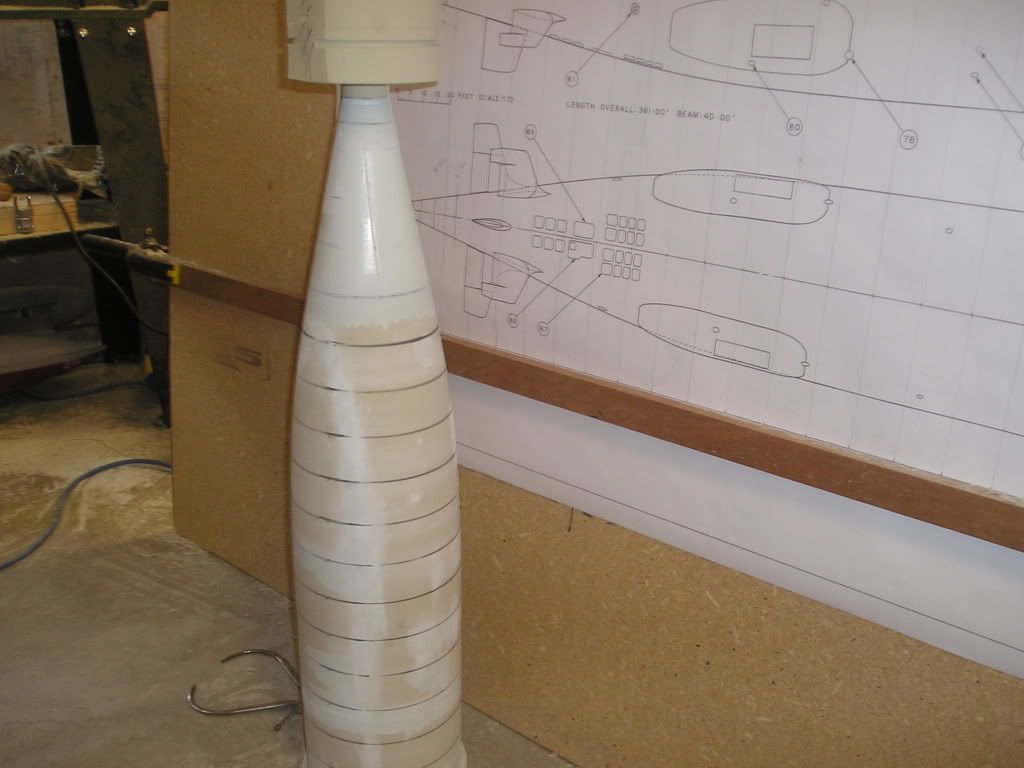
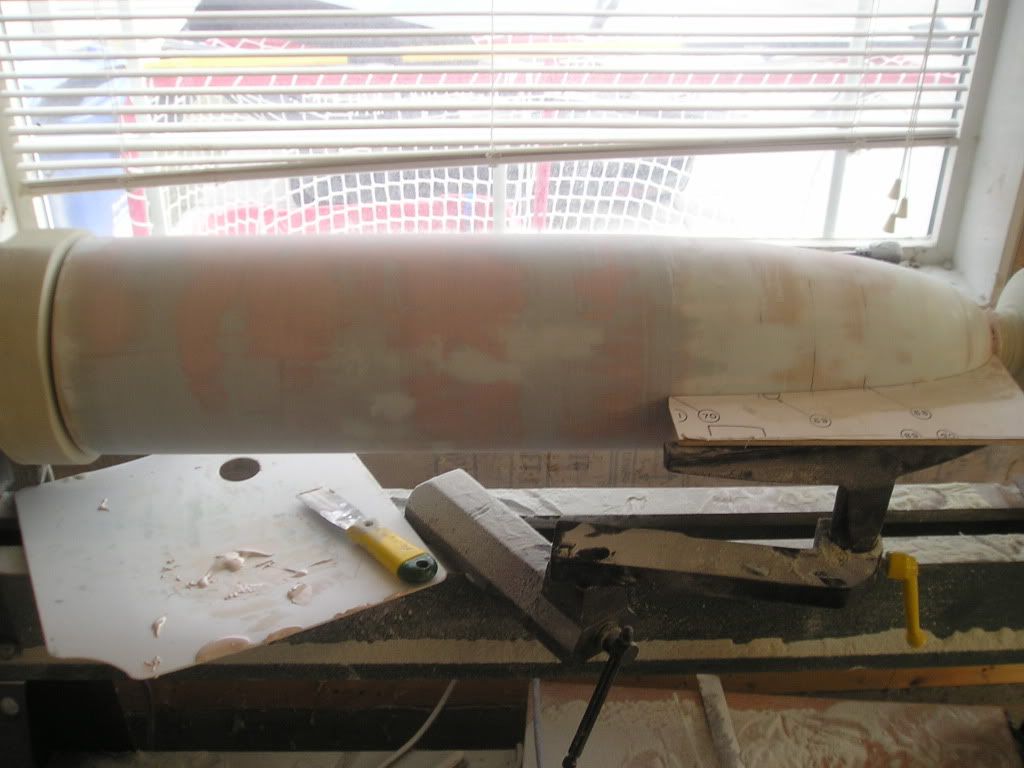
                      I removed the forward section from the lathe, but I will not remove the excess material at the ends as I will want to put the work back on the lathe, probably several times. You just never know, you might have to turn something later even though you think you are done now.
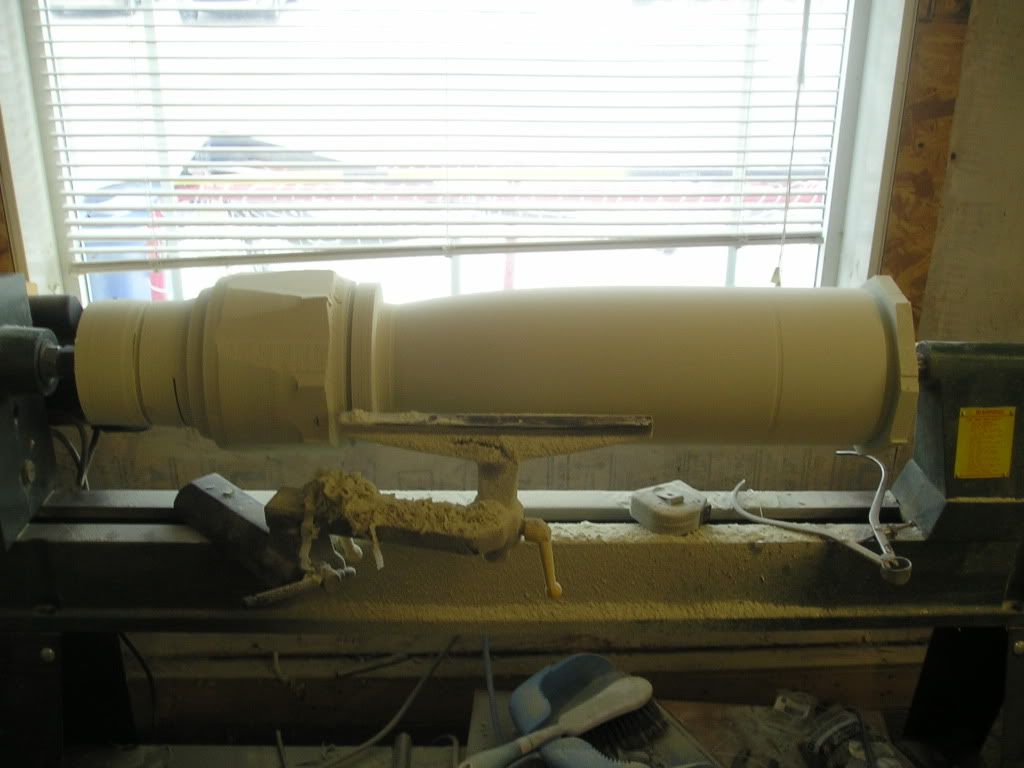
                      The same process for the after part of the hull as the forward part of the hull...parallel section first, then on the shaped stuff.


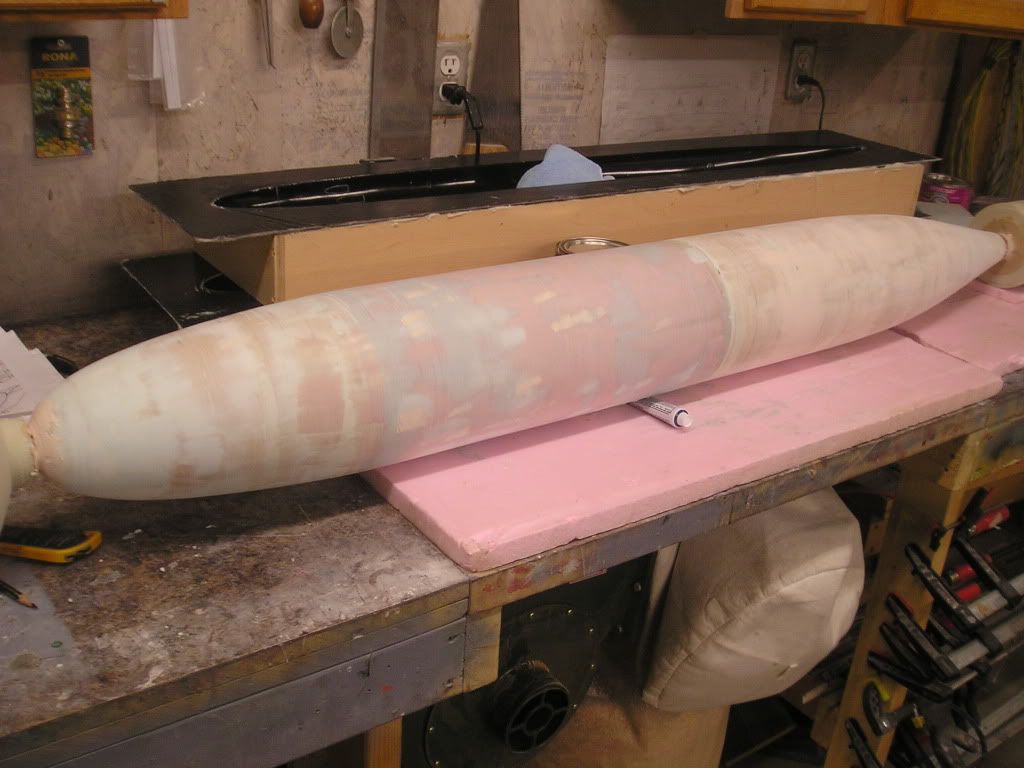
                      You’re seeing lots of filler here, and you will be seeing lots more before it’s done. What I found is that even though I’m using very sand-able filler, it is still way harder than the surrounding foam. Therefore when sanding on the lathe I end up removing too much foam and not enough filler. To counter this I’m going to skin the whole thing with filler. That way I’ll also fill in the tiny little pours that accompany this medium density foam material.


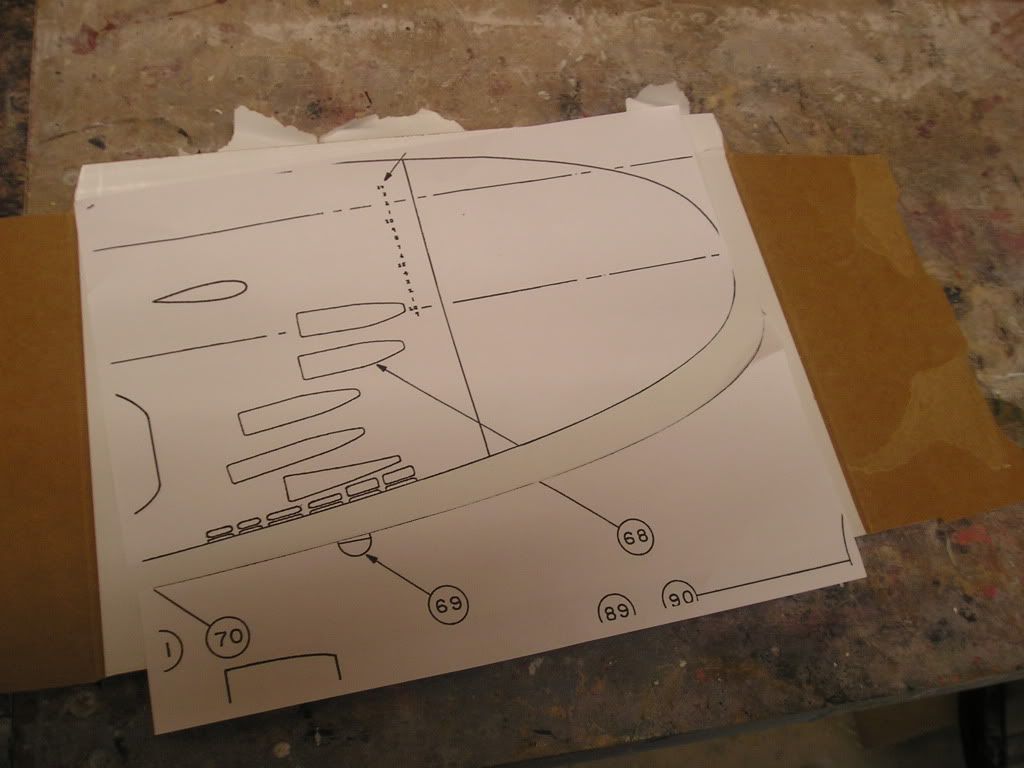
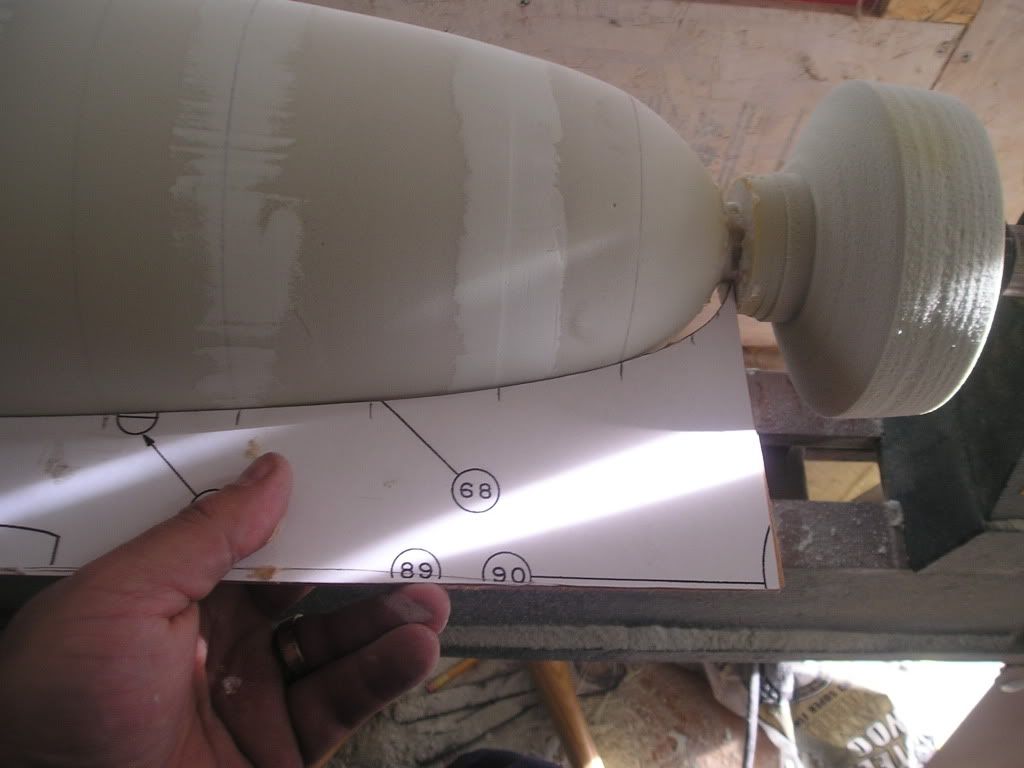
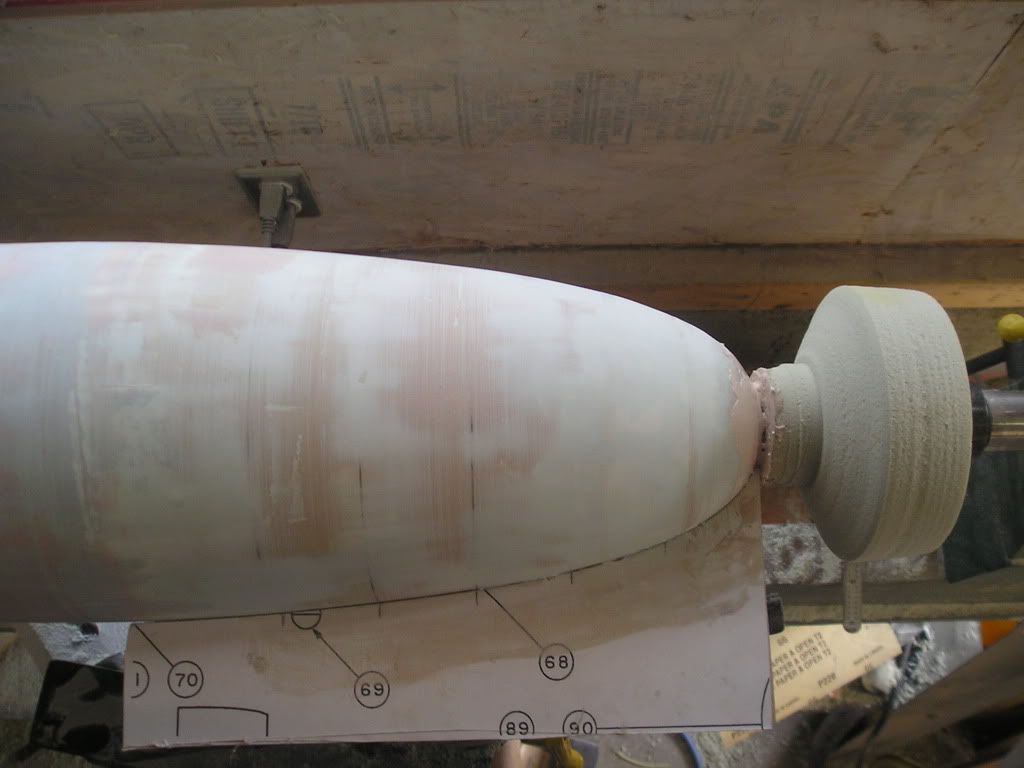
                      While waiting for filler to cure I slapped the forward section back on the lathe. Something was wrong to my eye with the shape of the bow. To check my work I cut out that section from the plan so I could compare it directly onto the hull. Sure enough, I was way off with the extreme front and missed a bit of the round shape leading up to the nose.
                      To fix this, I glued this section of the print to some cardboard and then to some thin plywood. I then proceeded to used this as a scree. Basically I slathered filler (In this case very heavily filled epoxy, I ran out of my Evercoat) on the area where needed, fit the scree tool against the hull and rotated the hull by hand on my lathe creating the shape that I wanted. I’ll do this again after the filler cures to get the shape more accurate.


                      Regards,
                      Joel

                      Comment

                      • manowar
                        Junior Member
                        • Jun 2007
                        • 173

                        #26
                        Hull Part 3

                        Alright on with further progress,
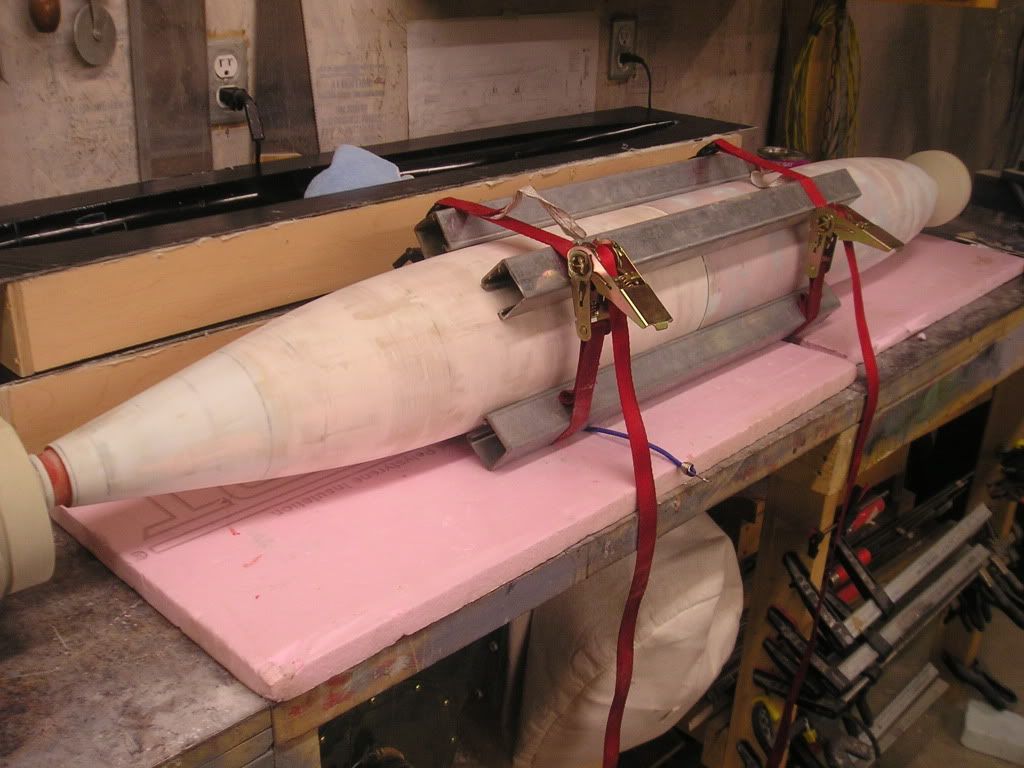
                        The bow shape is fixed, the general shape of the hull is good and measurements have been retaken several times for confirmation. It’s time to glue her together.


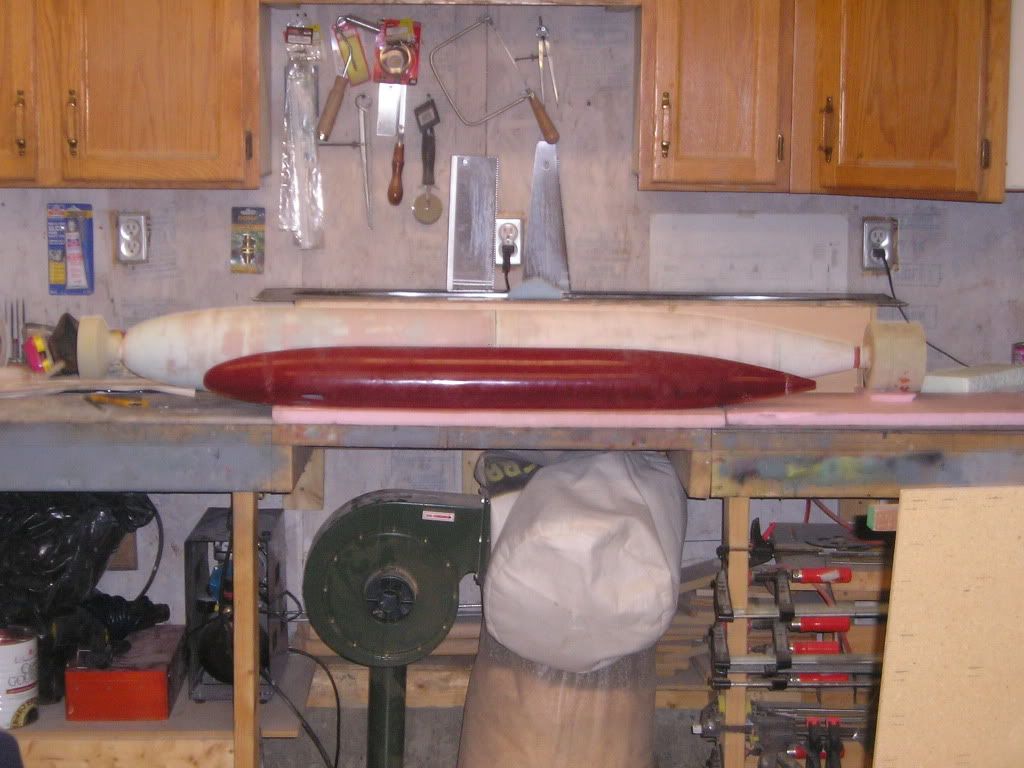
                        Here’s a comparison against the bottom half of the Permit; This truly is a monstrosity!


                        Glued together using epoxy and aligned using electrical strut (cantress) and ratchet straps to hold it all tight together. Putting that all together was fun; sometimes I wished I had three hands.

                        Pump jet installation groove]http://i171.photobucket.com/albums/u319/Rapperkiller/Seawolf/P1011983.jpg[/img]
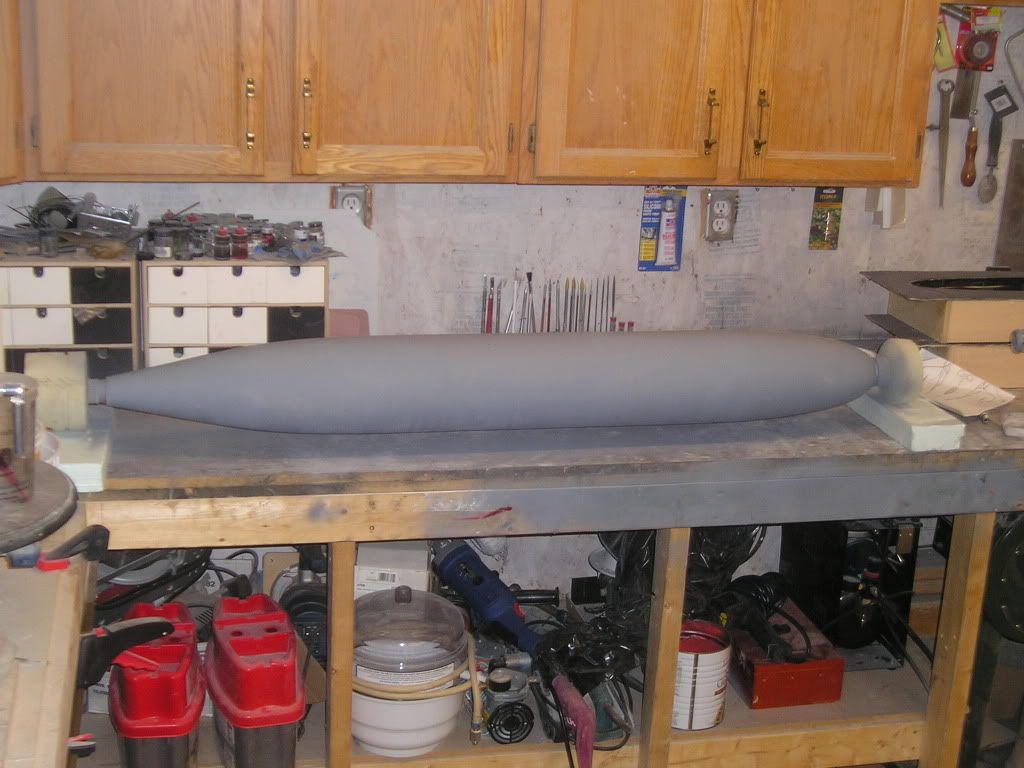
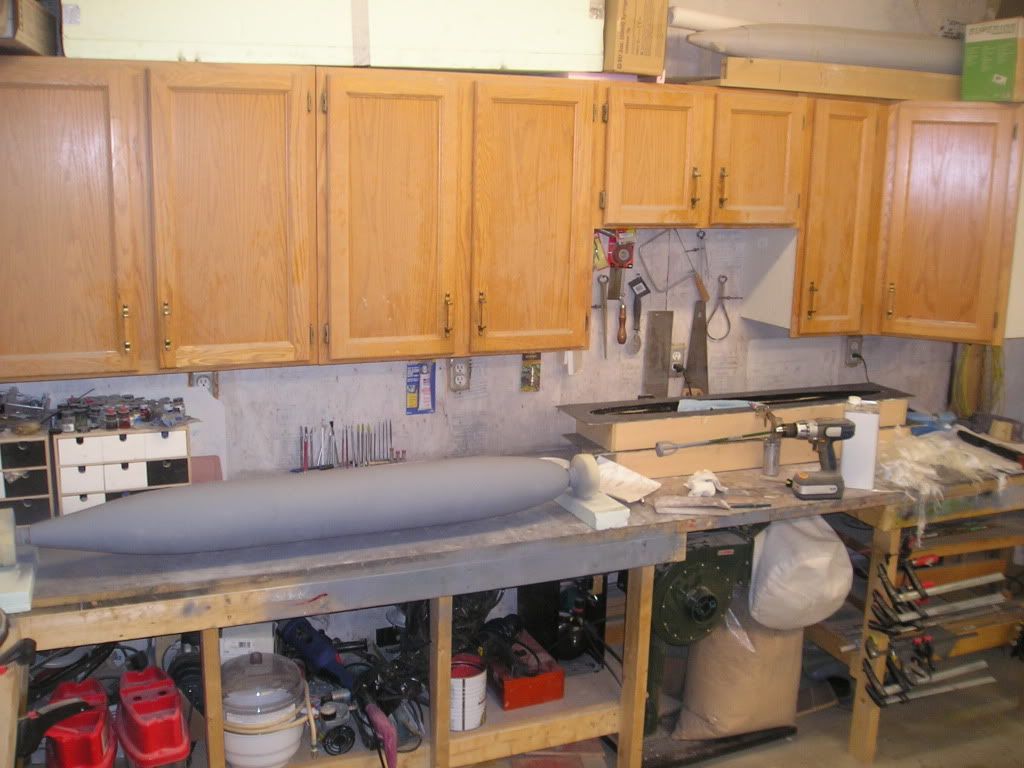
                        This thing practically takes up my whole bench. Funny, in that this plug is twice the size of the Permit’s but weighs about half as much as that mdf plug.


                        Regards,
                        Joel

                        Comment

                        • junglelord
                          Junior Member
                          • Jan 2009
                          • 347

                          #27
                          If only you knew what

                          If only you knew what you are doing....LOL.

                          Thats a masterpiece...plain and simple.
                          Cheers.

                          Comment

                          • bill harris
                            Junior Member
                            • Sep 2009
                            • 54

                            #28
                            Whew, huge boat. But astounding

                            Whew, huge boat. But astounding to consider that it's only twice the size/scale of a Trumpeter Seawolf.

                            Looking forward to following this build.

                            --Bill

                            Comment

                            • manowar
                              Junior Member
                              • Jun 2007
                              • 173

                              #29
                              Thanks guys!
                              I have a Trumpeter

                              Thanks guys!
                              I have a Trumpeter Seawolf somewhere in the depths of my basement. I'll see if I can dig her out and take a couple of shots for comparison.

                              Joel

                              Comment

                              • bill harris
                                Junior Member
                                • Sep 2009
                                • 54

                                #30
                                Please do. My first sub

                                Please do. My first sub is a Trumpeter Seawolf.

                                Double the scale, 4x the area, 8x the volume. Years ago I had a 1/4 scale gasoline-powered Piper Cub which required a full-size van to transport and almost a ground crew to fly (I never flew it alone). I now have a 1/8 scale electric Cub that I tote in a Datsun and occasionally fly alone at the field...

                                Comment

                                Working...