 Tweet
Tweet
Hi everyboay,I’m Andy.Many of friends who build submarine model in first time,they always ask me need a detail building thread.So I collect some photos and videos when I build this boat,post this thread to help these peoples.
Ok,before we build it,let’s open the box and see what inside?Dragon Shark II is the second generation of this production.It used piston tank instead of waterpump tank.Piston tank has more speedy and high reliability. This kit has many modification such as longer hull and suitable for new electronic devices.
I have taken away foam blocks from the box,if you buy from shop or internet ,foam blocks will fill in box to protect kit parts.
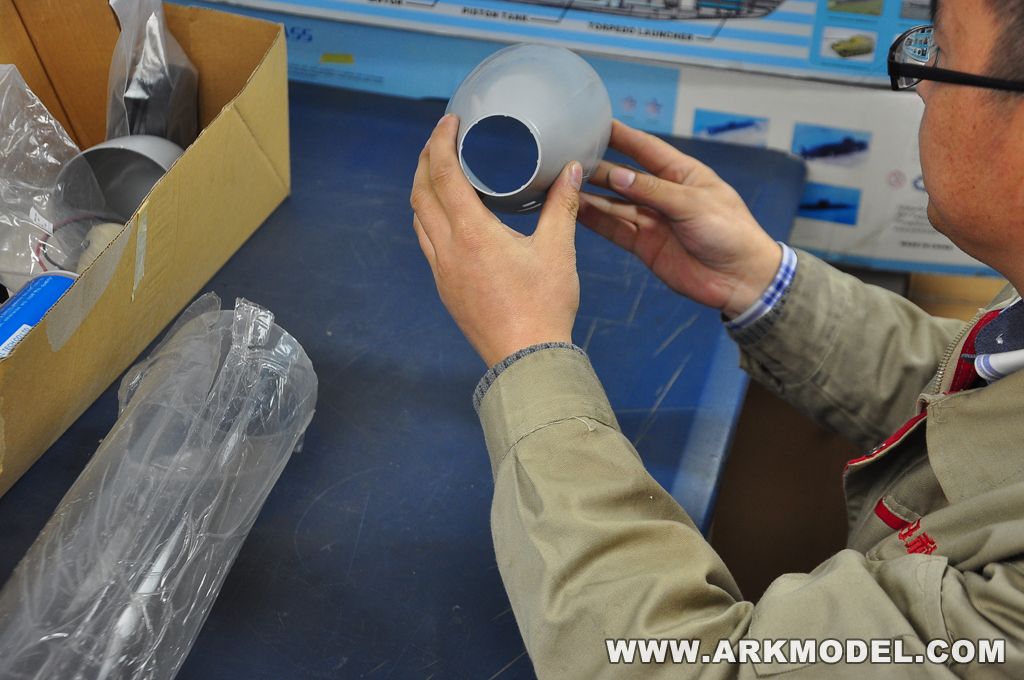
This kit is made by inject ABS,it's strong enough but very smooth.The middle hull is a transparent tube you can see inside it anytime.


This is the core device,piston tank made by Al-metal.Arkmodel’s new device BCU(ballast control unit),it can supply multi fuctions to drive and protect the piston tank and boat.

Servo tray
Servoes are excluded in kit,you must buy seperatly,I strong recommend buy waterproof servo,of course you can buy any 40g standard servo but you must seal it by silicon seal glue.


Ok,before we build it,let’s open the box and see what inside?Dragon Shark II is the second generation of this production.It used piston tank instead of waterpump tank.Piston tank has more speedy and high reliability. This kit has many modification such as longer hull and suitable for new electronic devices.
I have taken away foam blocks from the box,if you buy from shop or internet ,foam blocks will fill in box to protect kit parts.
This kit is made by inject ABS,it's strong enough but very smooth.The middle hull is a transparent tube you can see inside it anytime.


This is the core device,piston tank made by Al-metal.Arkmodel’s new device BCU(ballast control unit),it can supply multi fuctions to drive and protect the piston tank and boat.

Servo tray
Servoes are excluded in kit,you must buy seperatly,I strong recommend buy waterproof servo,of course you can buy any 40g standard servo but you must seal it by silicon seal glue.


Comment