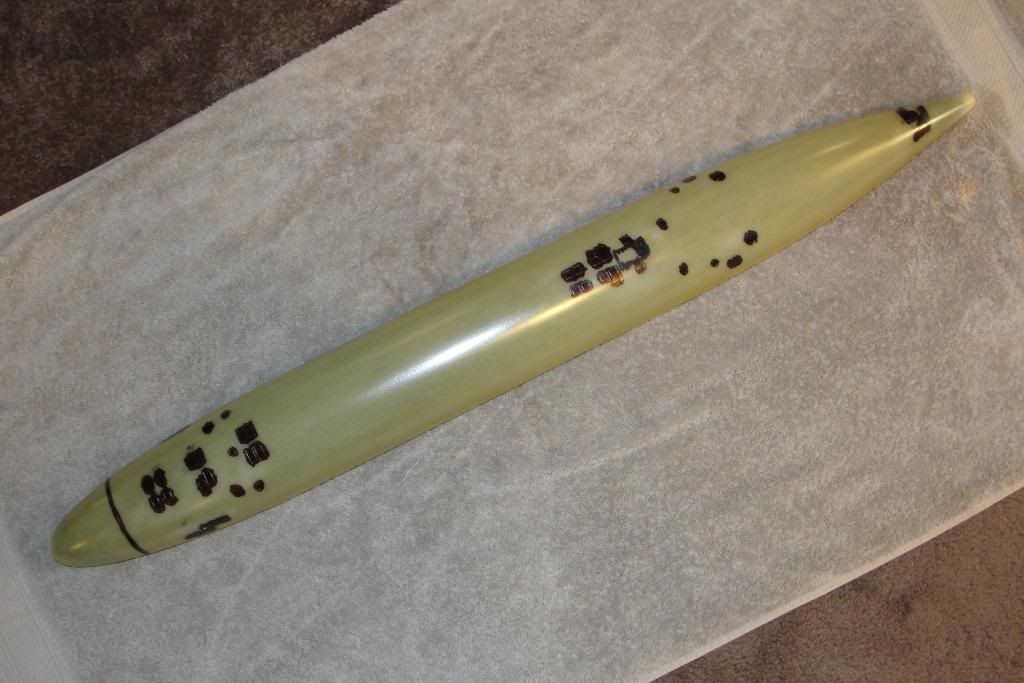
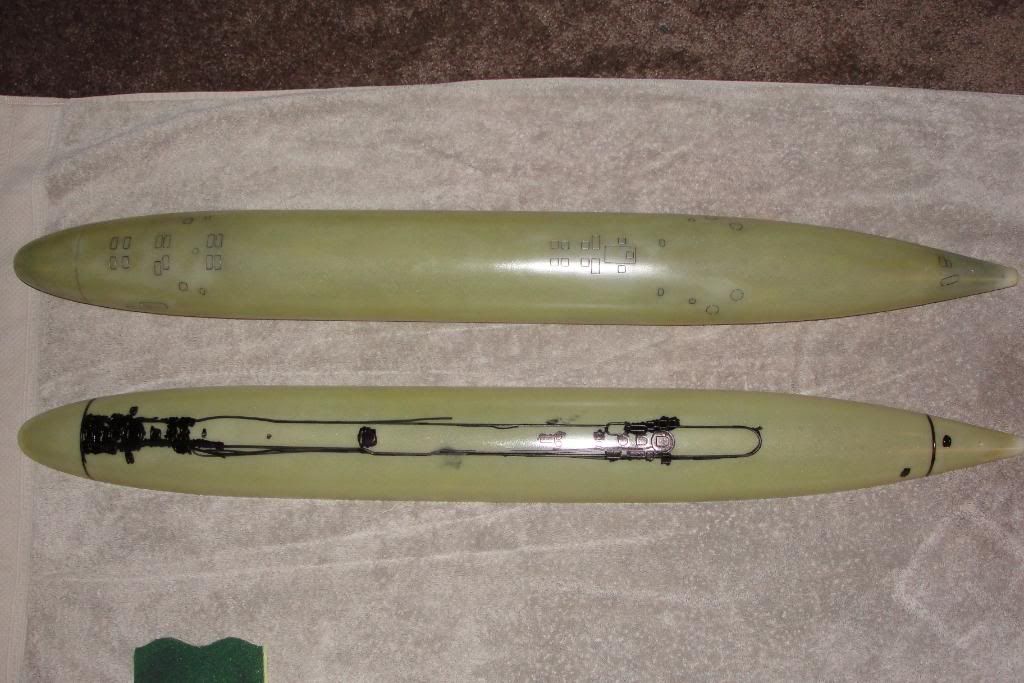
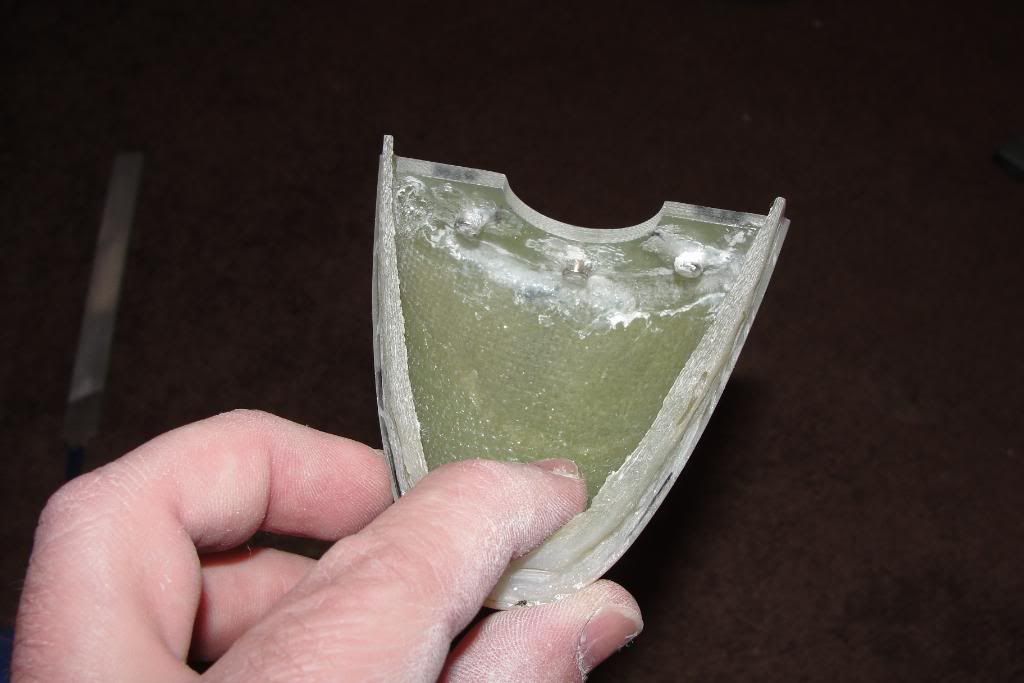
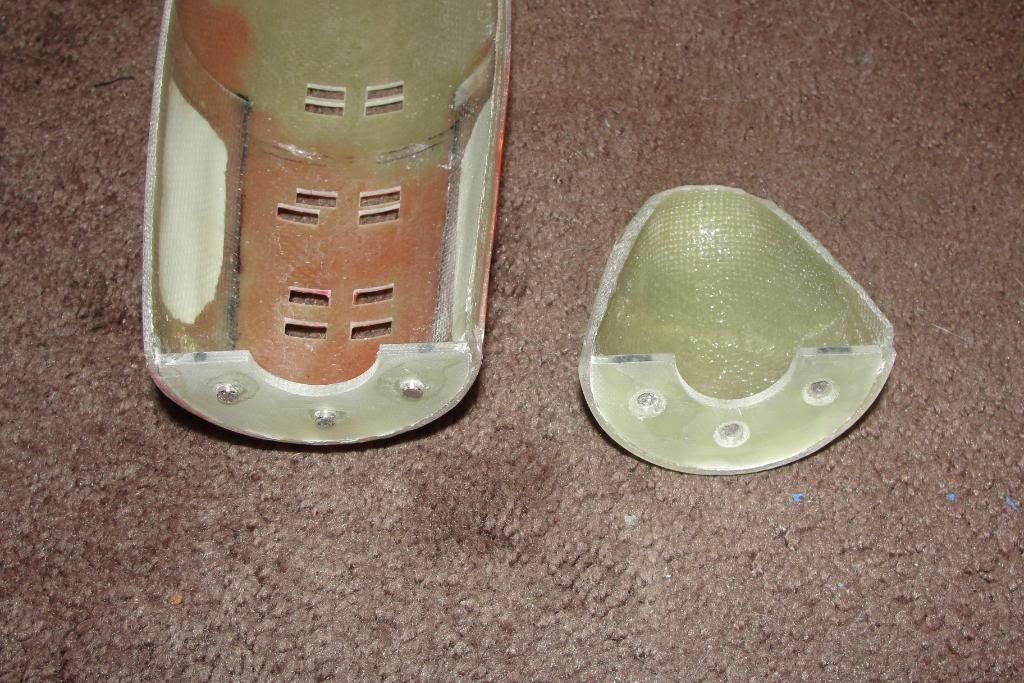
Over the past few weeks, Ive have some free time to get a little work done on a few boats. On the bench right now are a few Thor boats: the Seawolf, Sturgeon, and Permit. Just wanted to document some of the work I've been doing on the Sturgeon. Nothing really out of the ordinary here, except for the hull locking mechanism. You'll understand as the thread continues....
This is the 2nd Sturgeon I'm building. Bought this one a couple weeks ago as an unbuilt kit. Couldn't pass it up for the price. So if anyone is interested in a partially built Thor Sturgeon, let me know… I'll be selling the first one shortly.
Most of the photos speak or themselves. Pretty standard stuff…so I'm not going to take a lot of time and narrate the basic steps. But there are a few things I will explain in detail as the work continues.
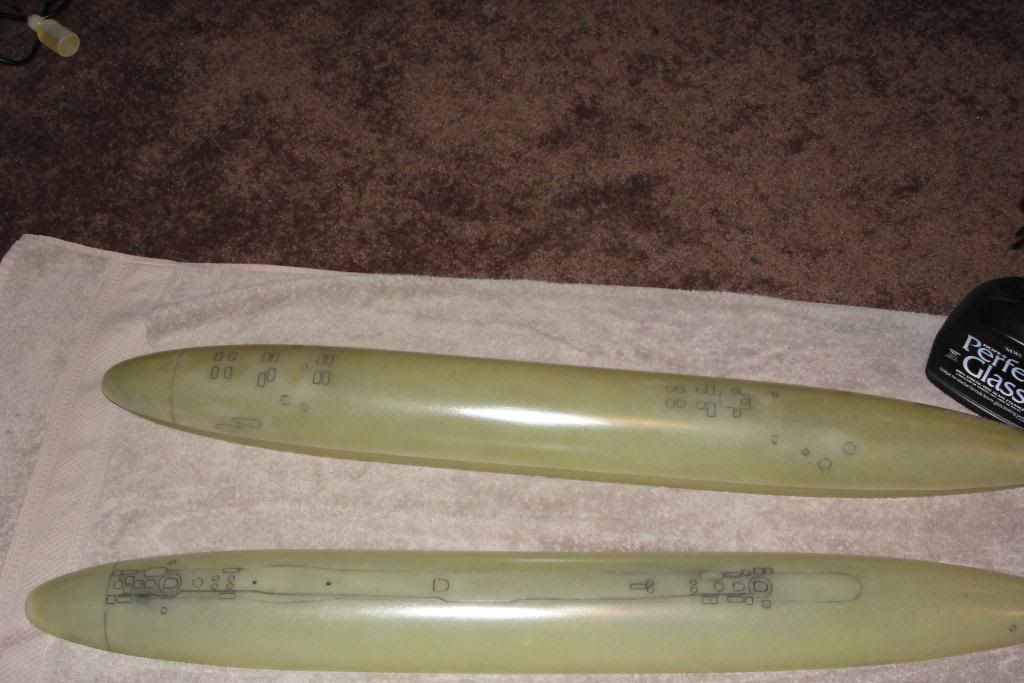
First, the basic prep. The hull was washed down with detergent and a scouring pad to remove the release oils.
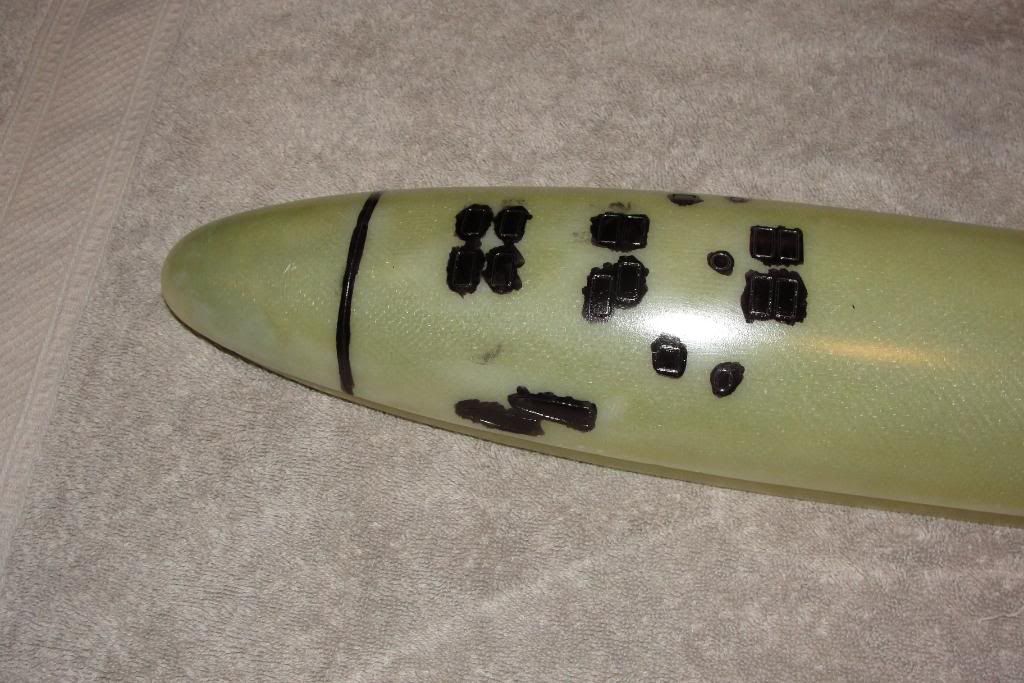
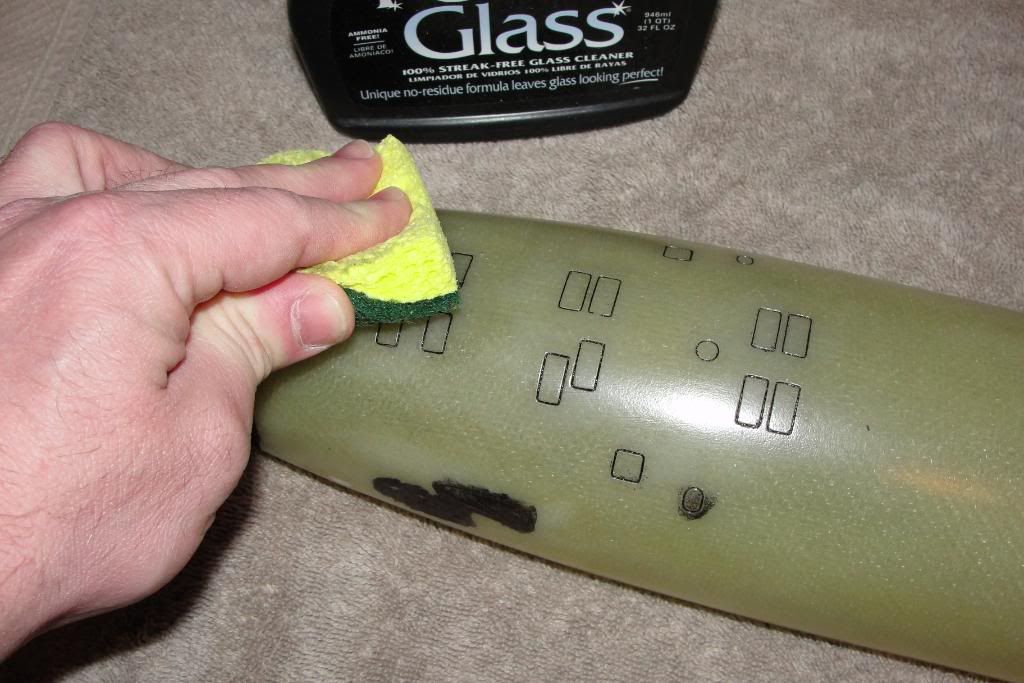
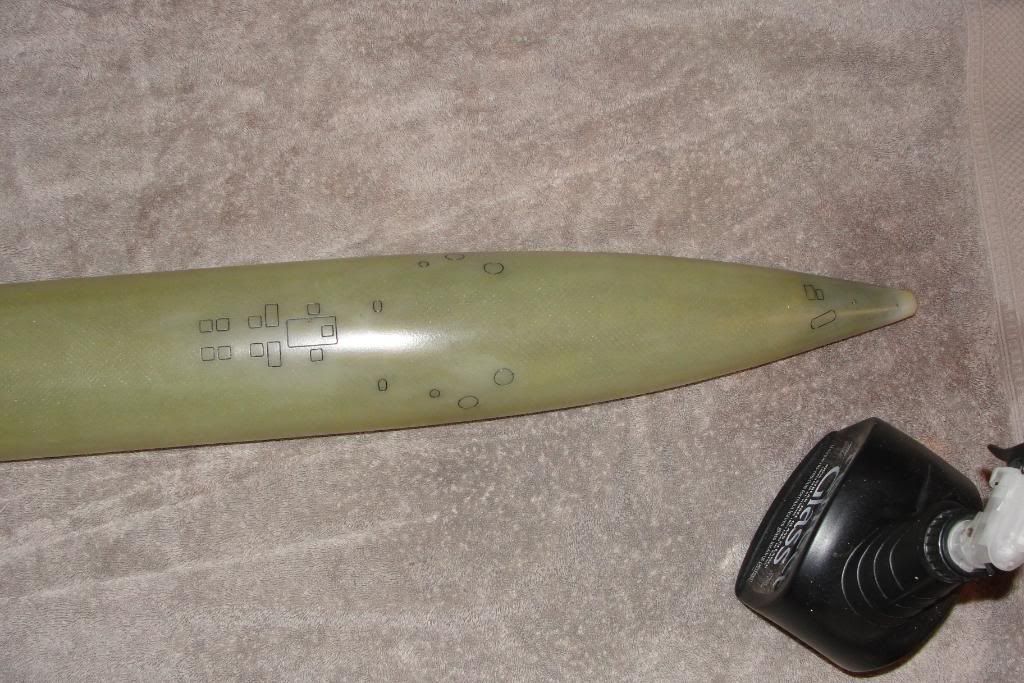
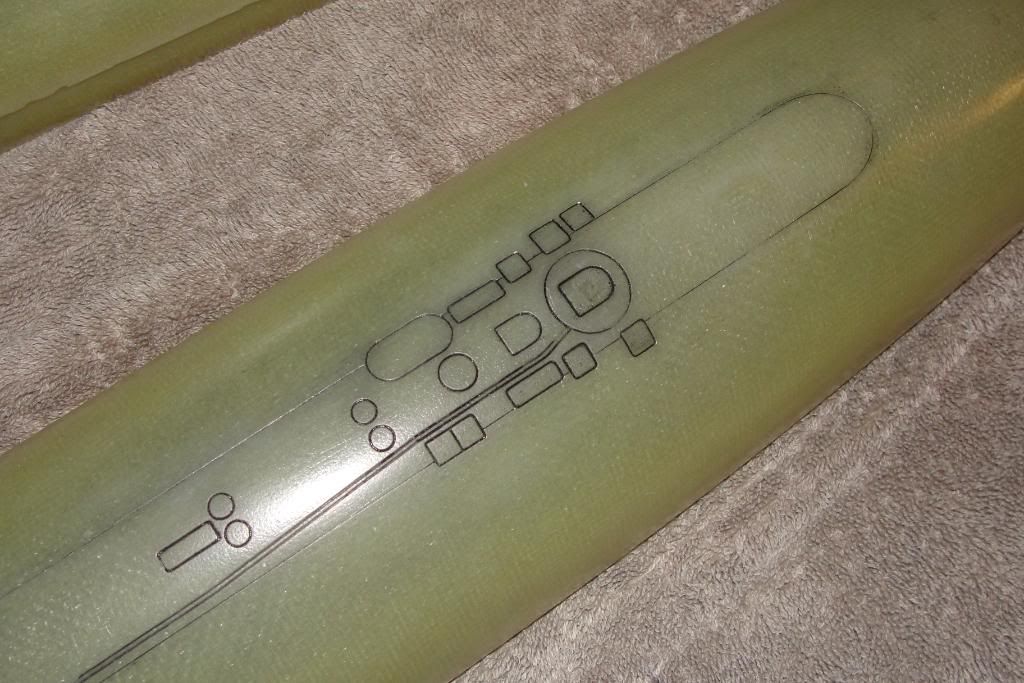
To better see the scribed details, a quick and easy trick I use is to saturate the areas with a black sharpie and let the ink dry for just a few minutes, then using windex and a scouring pad (CA kicker also works very well in place of windex), a quick and light buffing gets of the extra ink, leaving behind the highlighted scribe lines.

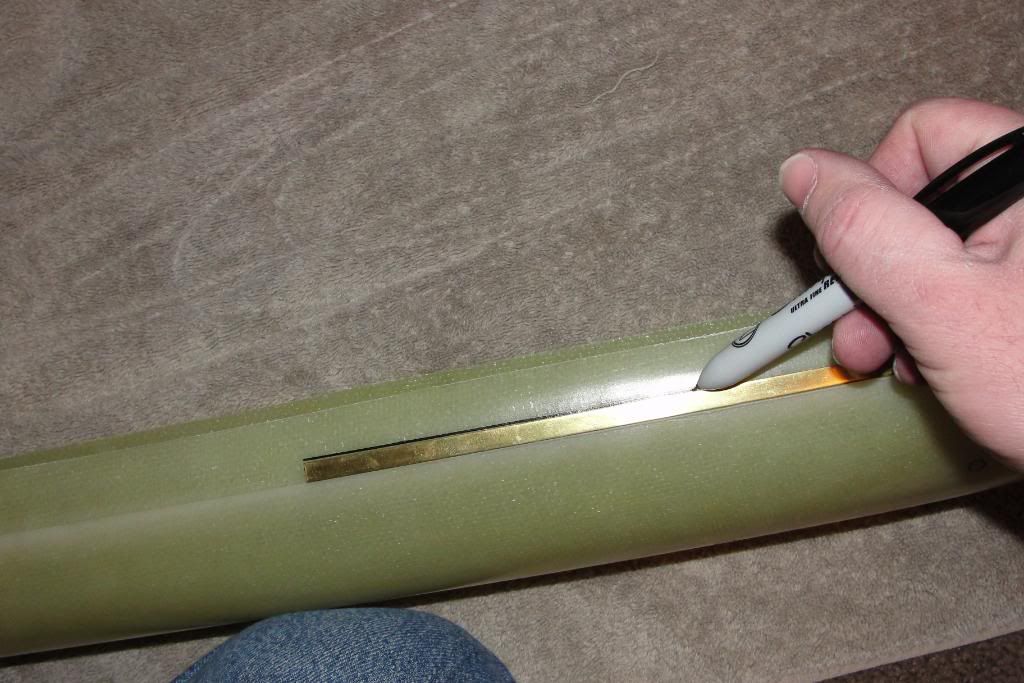
To remove the extra indexing flange, I laid a 1/4" strip of brass along the centerline and marked the flange, and then simply cut away the extra and finished the area with a sanding block. I always also bevel the outside edge a bit when done.
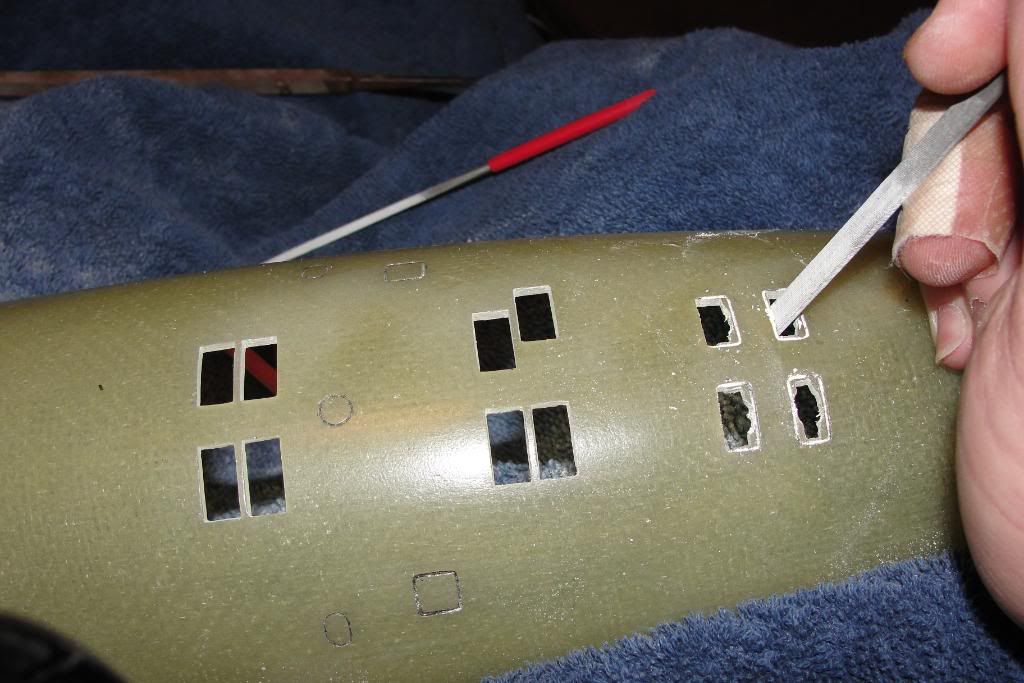
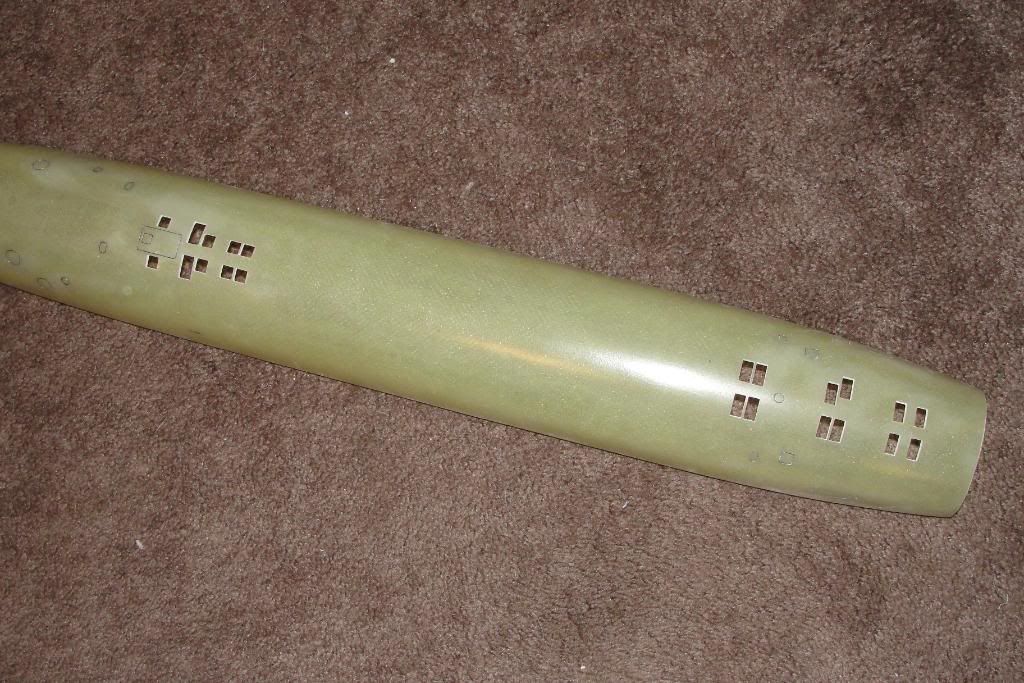
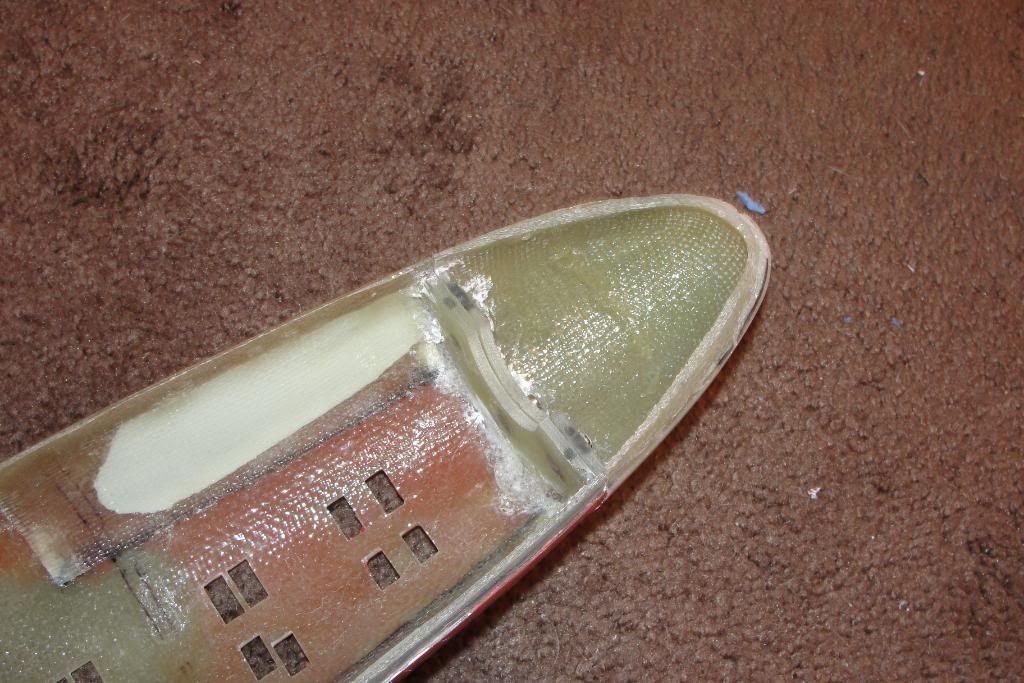
Next, the cuts were made for the z-cut, and the flood holes in the lower hull were opened up. I hate this part. So time consuming!

This is the 2nd Sturgeon I'm building. Bought this one a couple weeks ago as an unbuilt kit. Couldn't pass it up for the price. So if anyone is interested in a partially built Thor Sturgeon, let me know… I'll be selling the first one shortly.
Most of the photos speak or themselves. Pretty standard stuff…so I'm not going to take a lot of time and narrate the basic steps. But there are a few things I will explain in detail as the work continues.
First, the basic prep. The hull was washed down with detergent and a scouring pad to remove the release oils.
To better see the scribed details, a quick and easy trick I use is to saturate the areas with a black sharpie and let the ink dry for just a few minutes, then using windex and a scouring pad (CA kicker also works very well in place of windex), a quick and light buffing gets of the extra ink, leaving behind the highlighted scribe lines.
To remove the extra indexing flange, I laid a 1/4" strip of brass along the centerline and marked the flange, and then simply cut away the extra and finished the area with a sanding block. I always also bevel the outside edge a bit when done.
Next, the cuts were made for the z-cut, and the flood holes in the lower hull were opened up. I hate this part. So time consuming!


Comment