Attention all registered users. The new forum upgrade requires you to reset your password as you logon for the first time.
To reset your password choose this option that is displayed when you attempted to login with your username: "Forgotten your password? Click here!"
You will be sent an e-mail to the address that is associated with your forum account. Follow the simple directions to reset your password.
If this is your first visit, be sure to
check out the FAQ by clicking the
link above. You may have to register
before you can post: click the register link above to proceed. To start viewing messages,
select the forum that you want to visit from the selection below.
The MIPS looks fantastic. Where did you get the info for the pattern of it on the keel? How it's not applied down the center and how it goes around the main ballast vents?
It's got to be fun working on a hull this scale.So much easier to work in all those intricate shapes. Very, very nice. I'm collecting this info for the update of my 1/96 version retool.
Thanks so much Pete! Doing this boat to this scale is yes, somewhat of a blessing in some ways because it is feasble to put all those extra goodies onto her, but as I'm pretty sure you found out with that beautiful big ol' Ohio that you made that the size can be quite cumbersome! I'm really gratful that I built these masters from foam and not wood, moving the thing around would be a little too much like work lol! Can you imagine MDF? I sent you a PM concerning the other part of your question.
Due to my laziness after realizing just how much work it would be to write up reports detailing my latest work I'll put up the link to where the pictures are and get to those reports later. Check it out here]http://www.facebook.com/album.php?aid=33105&id=147922521922927&saved#!/pages/HMK-Creations/147922521922927?sk=wall[/url]
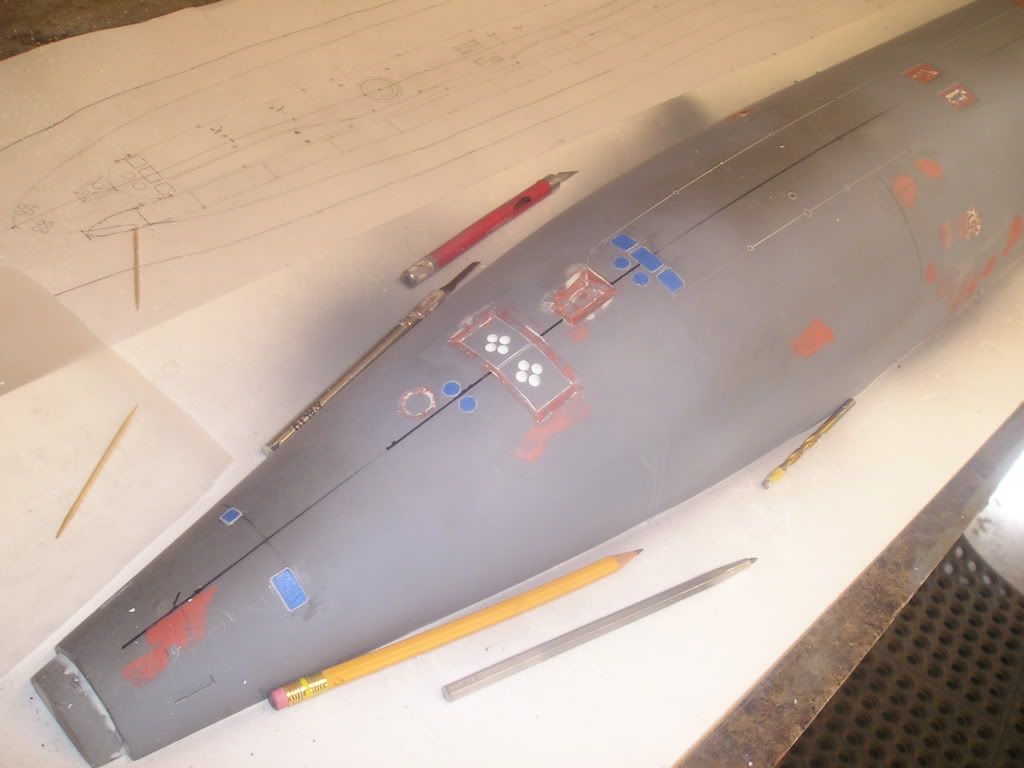
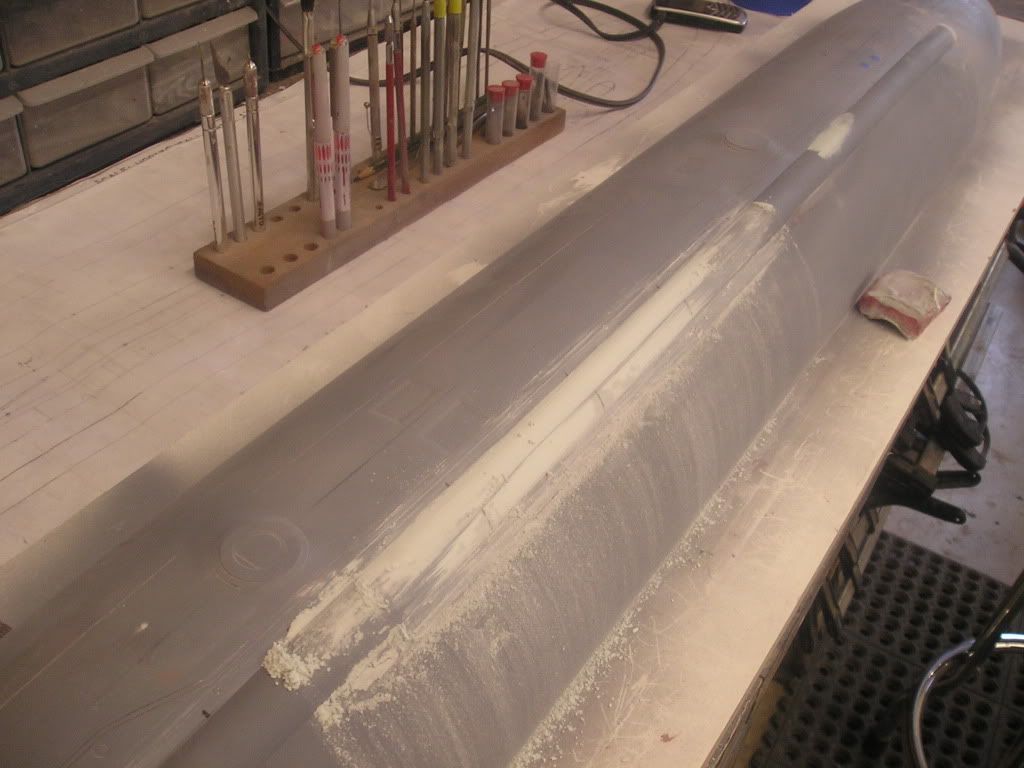
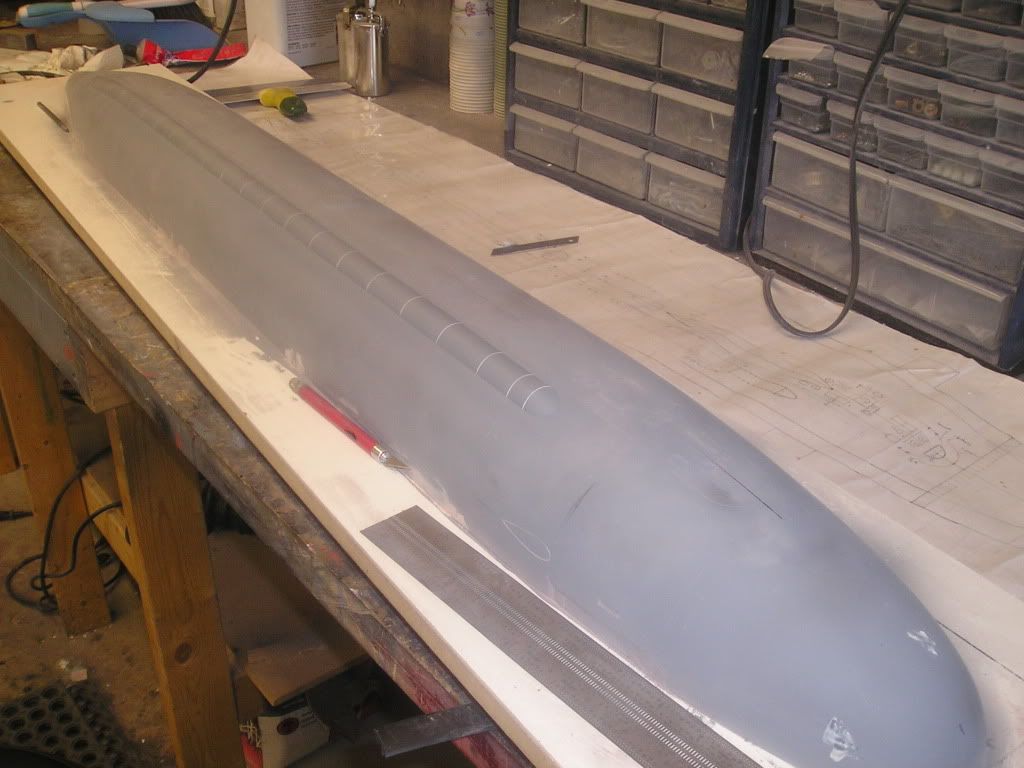
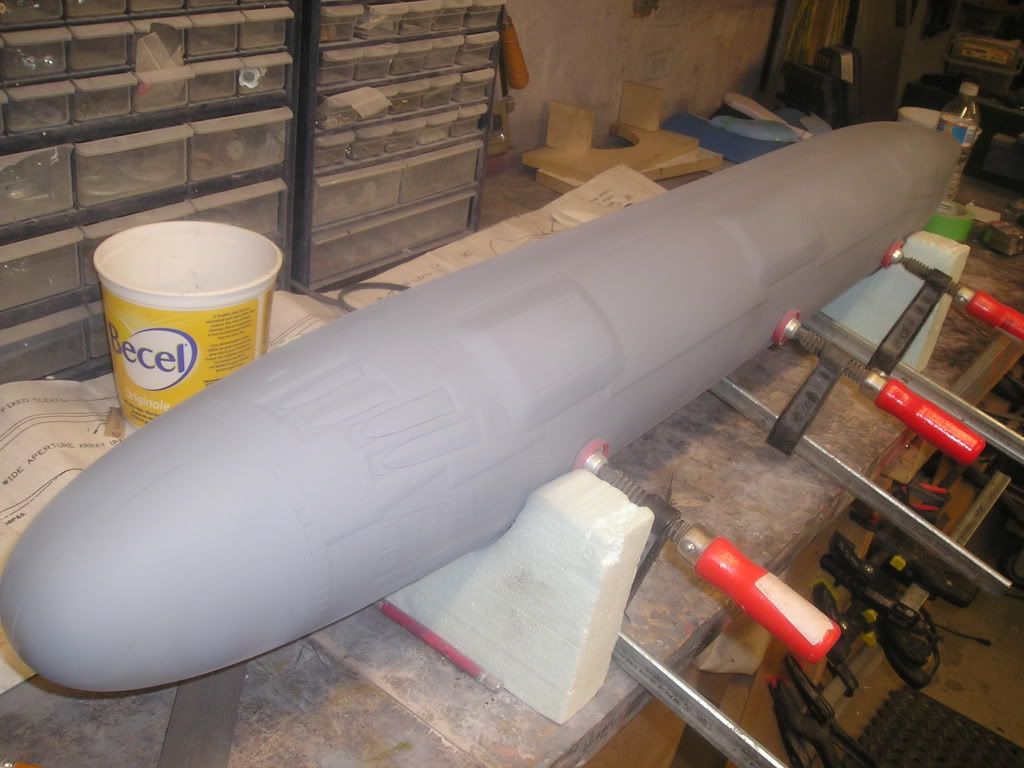
Continuing on with the detailing of the bottom portion of the hull;
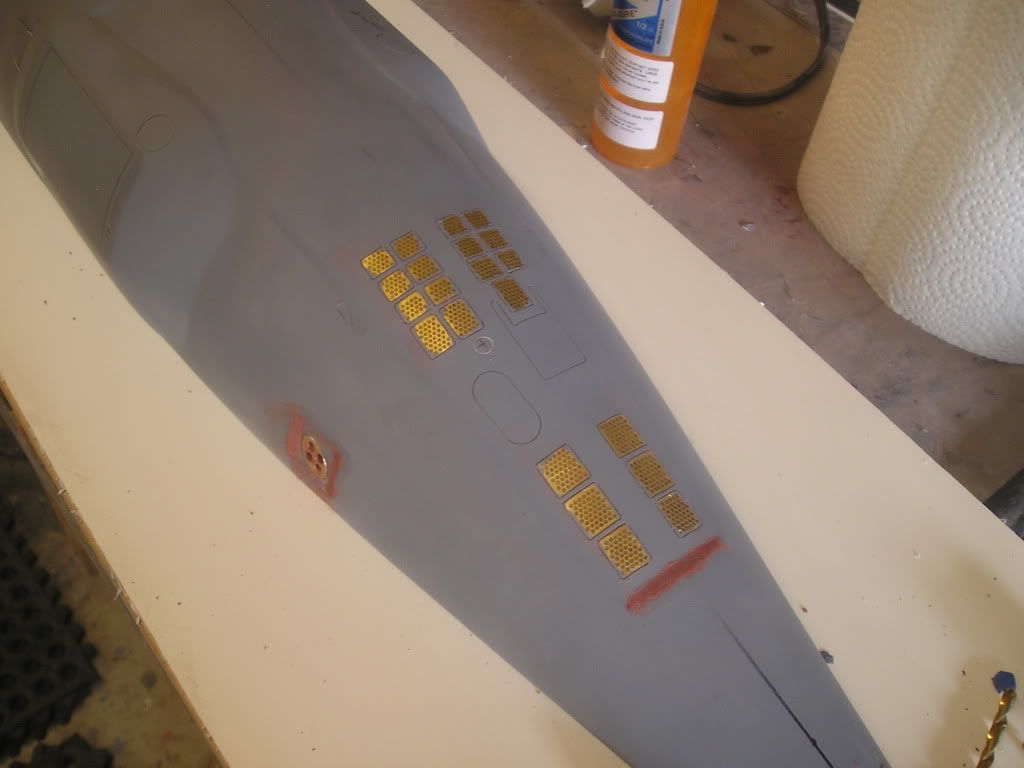
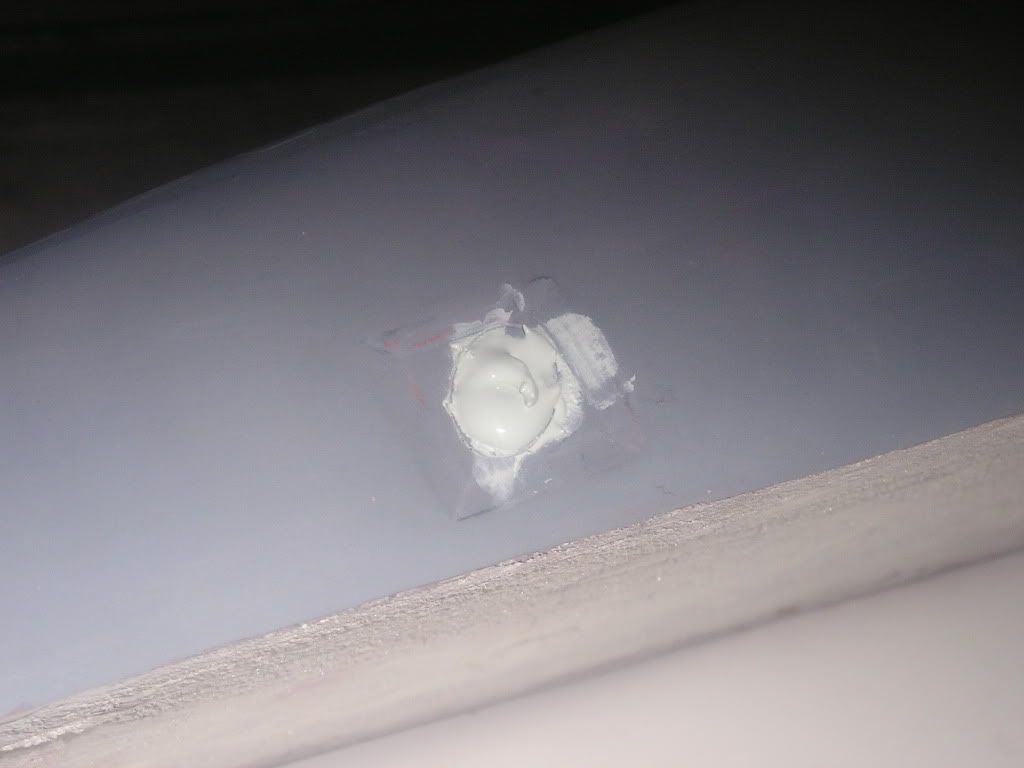
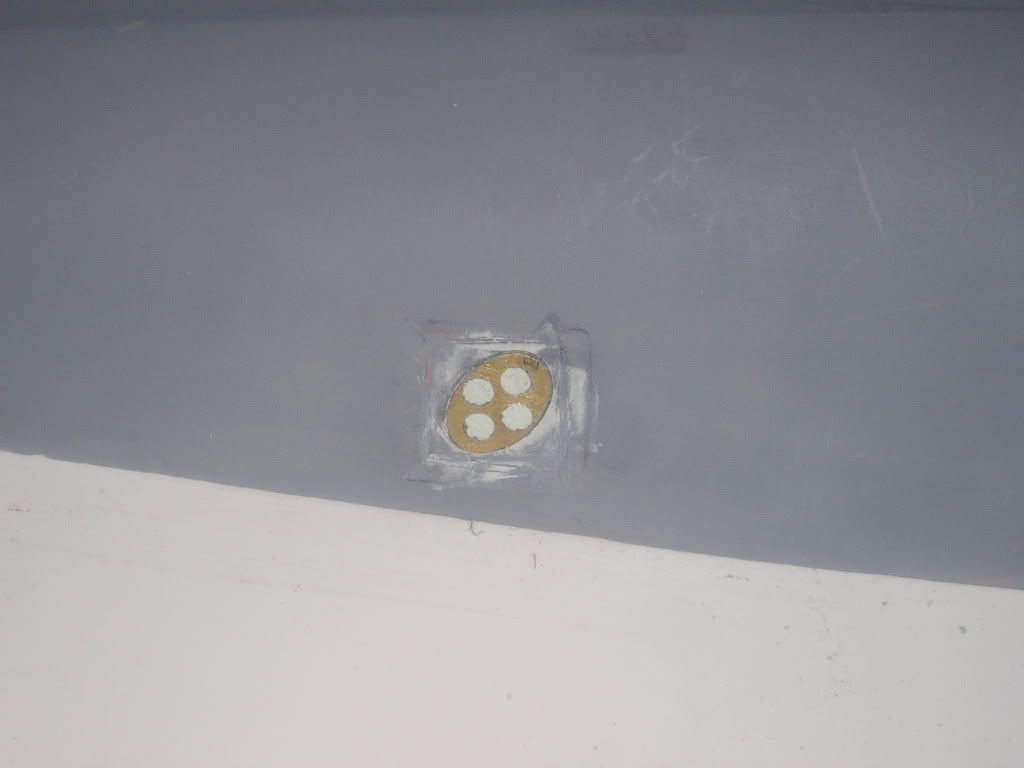
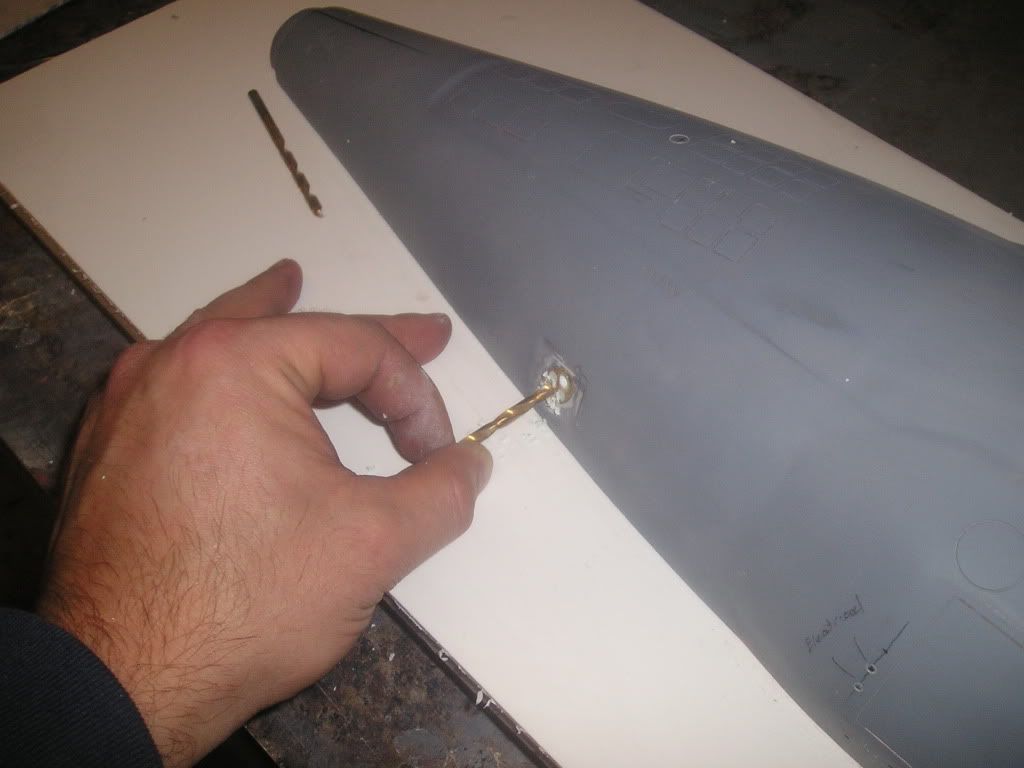
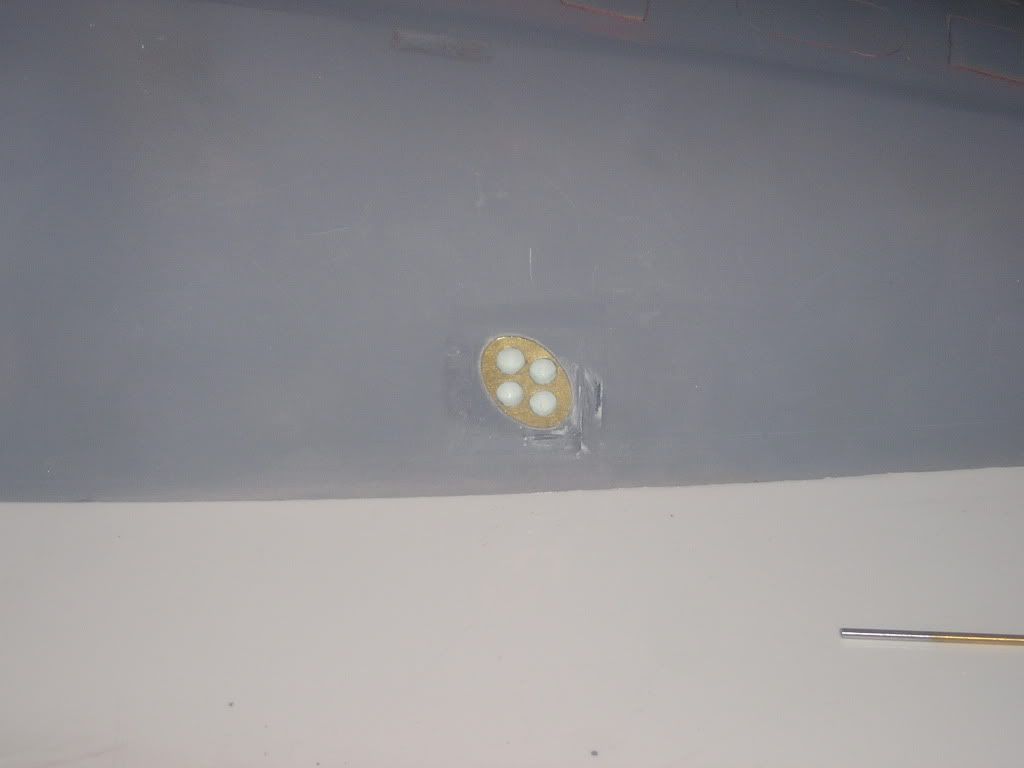
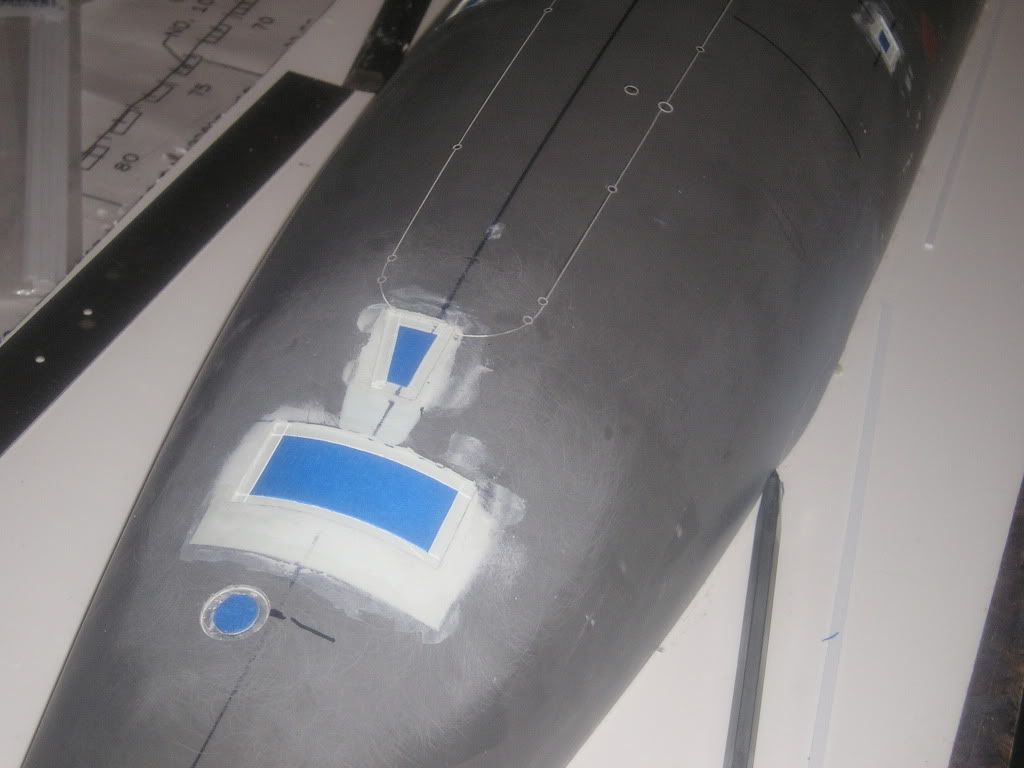
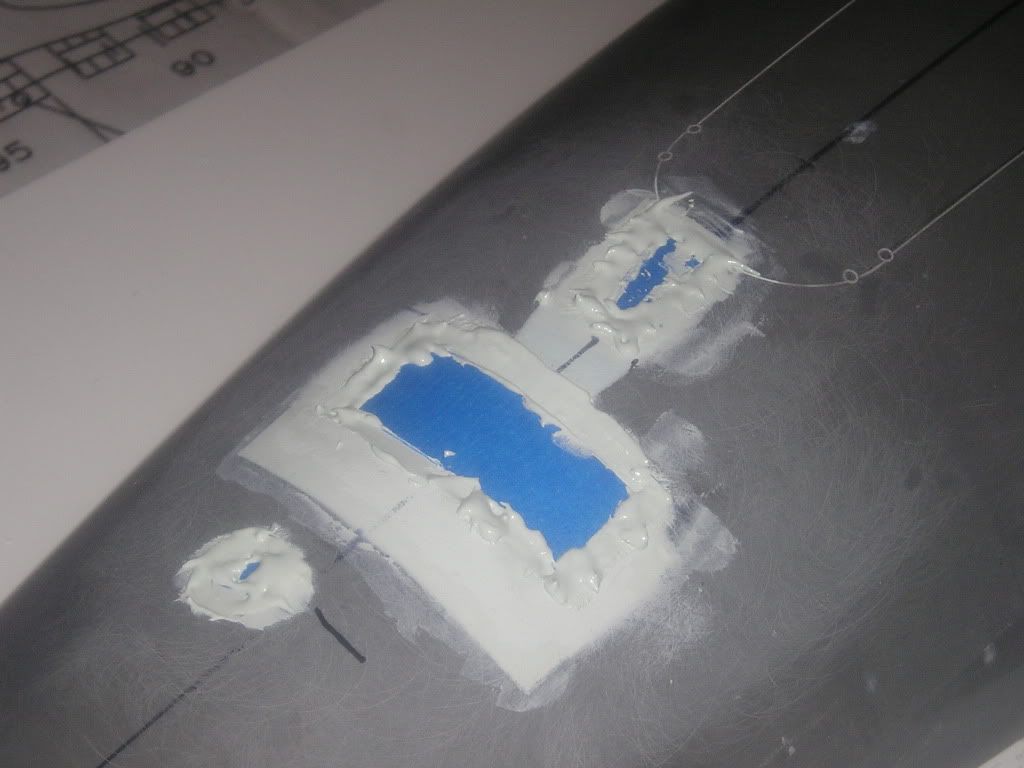
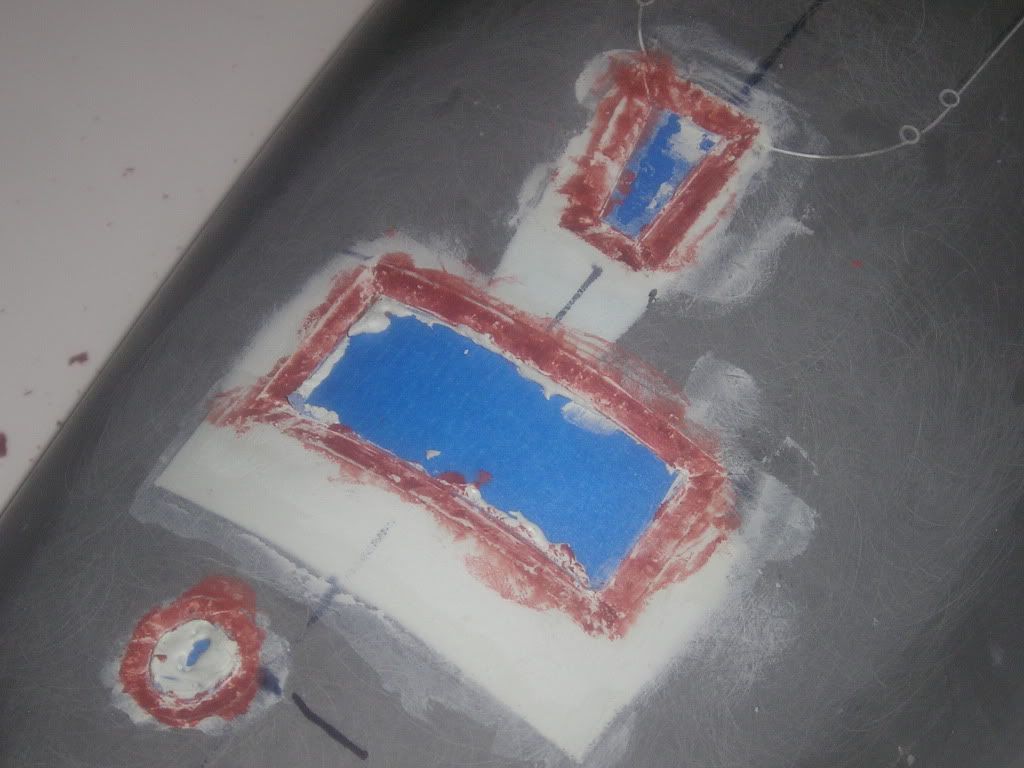
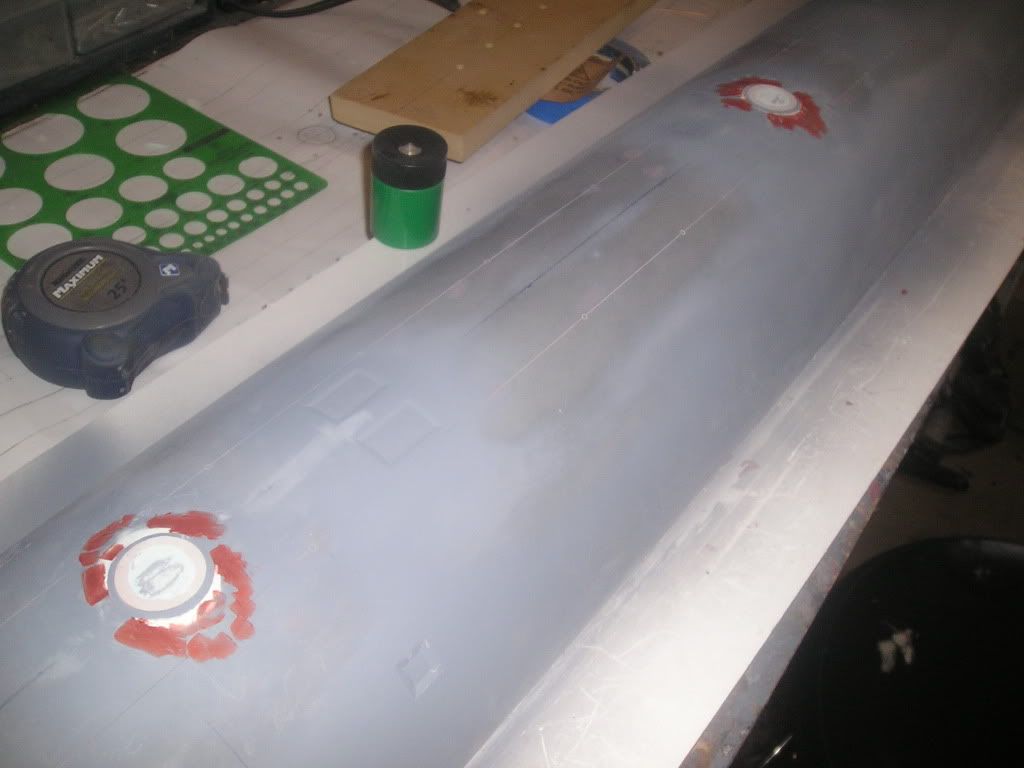
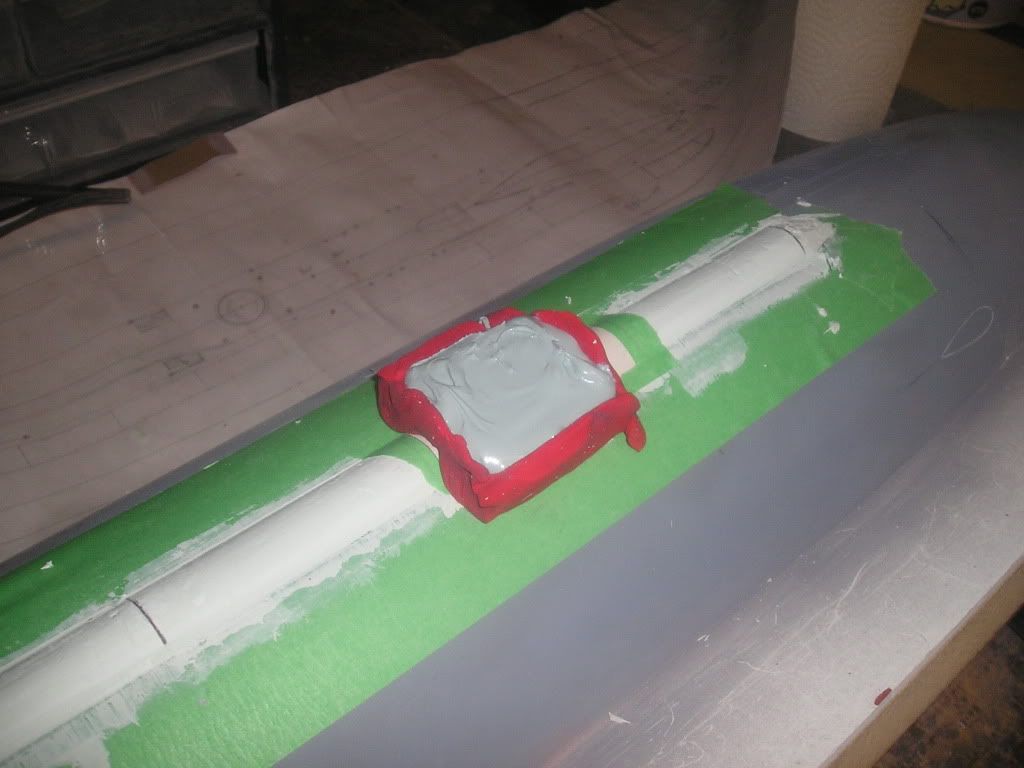
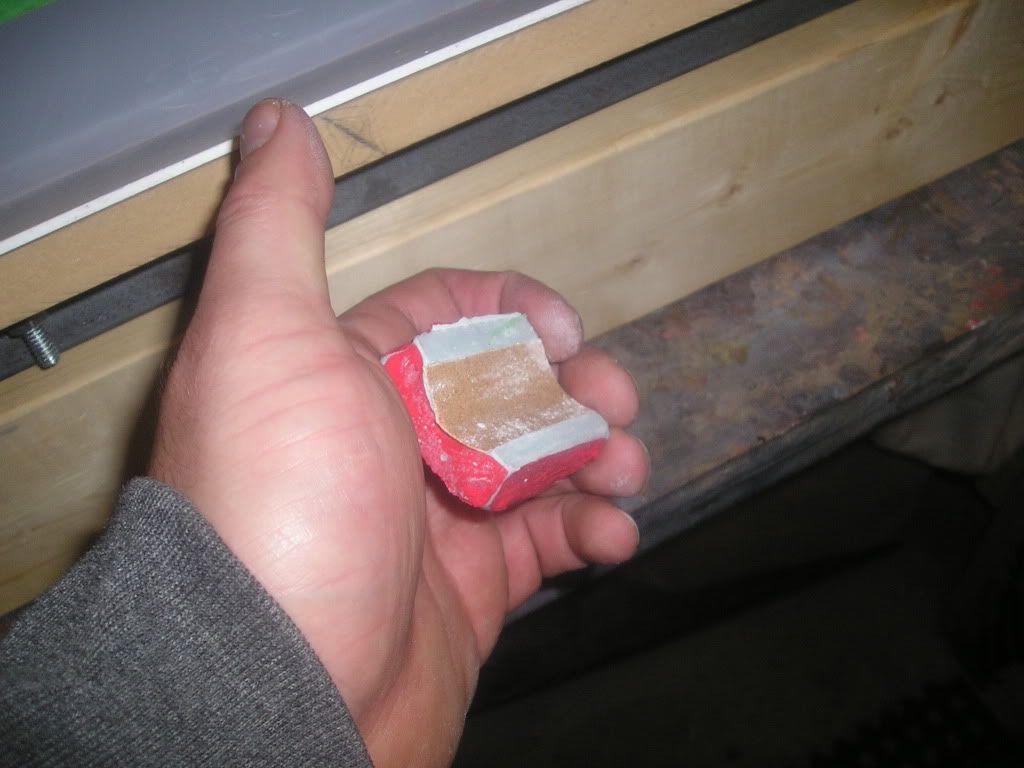
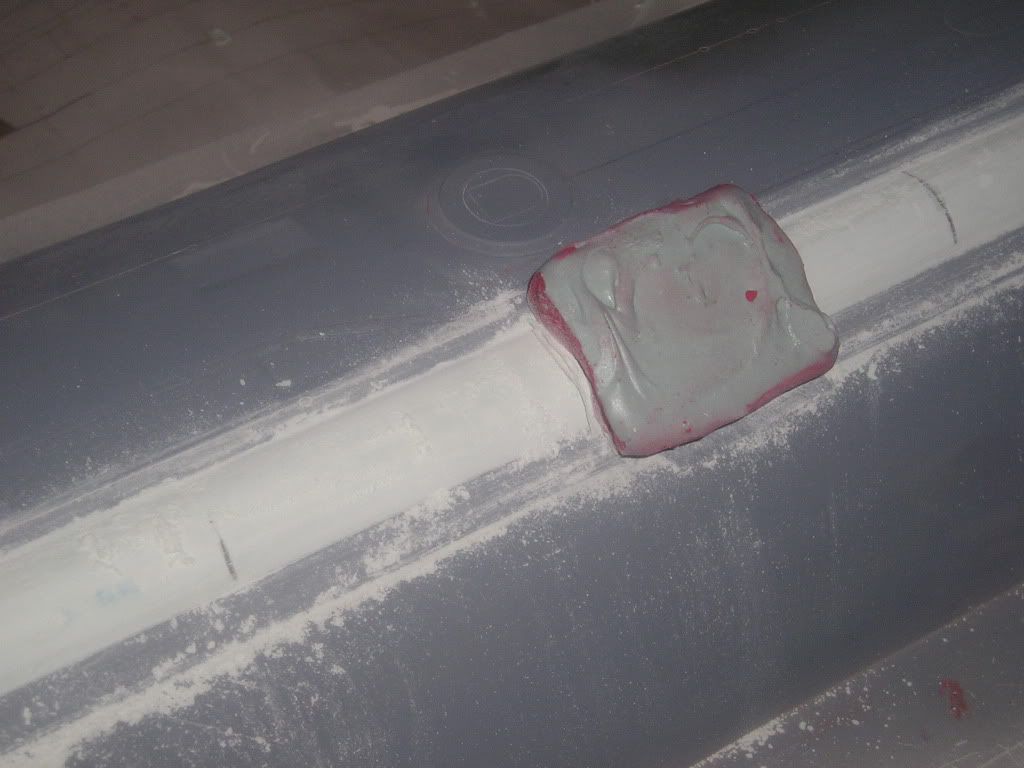
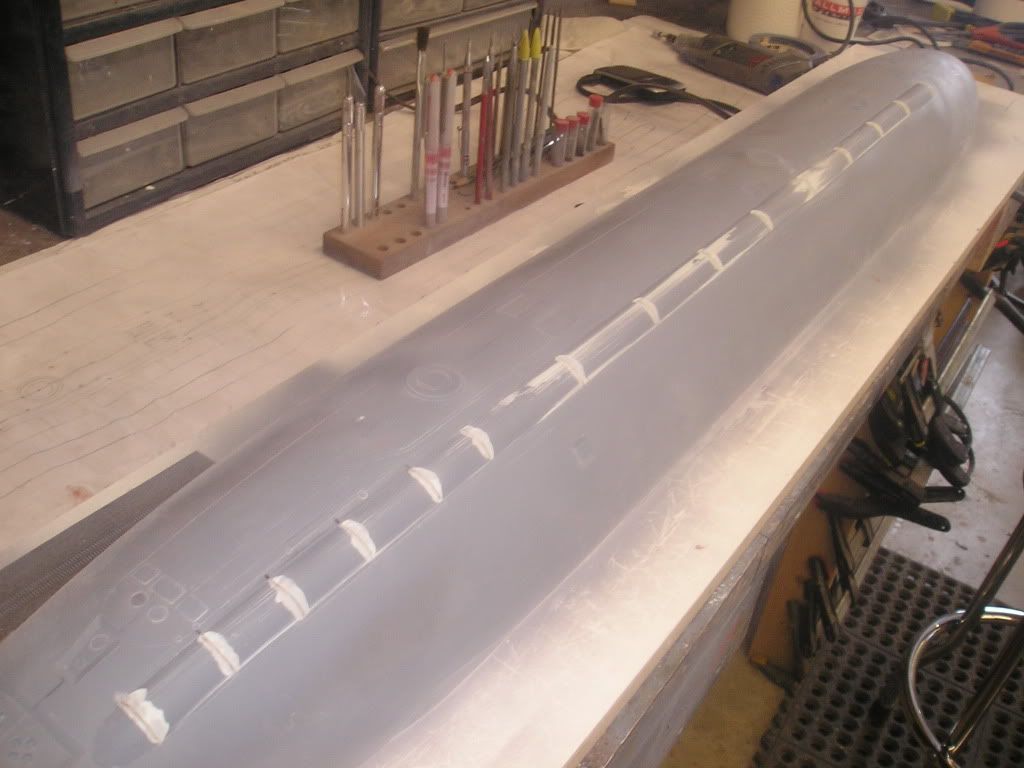
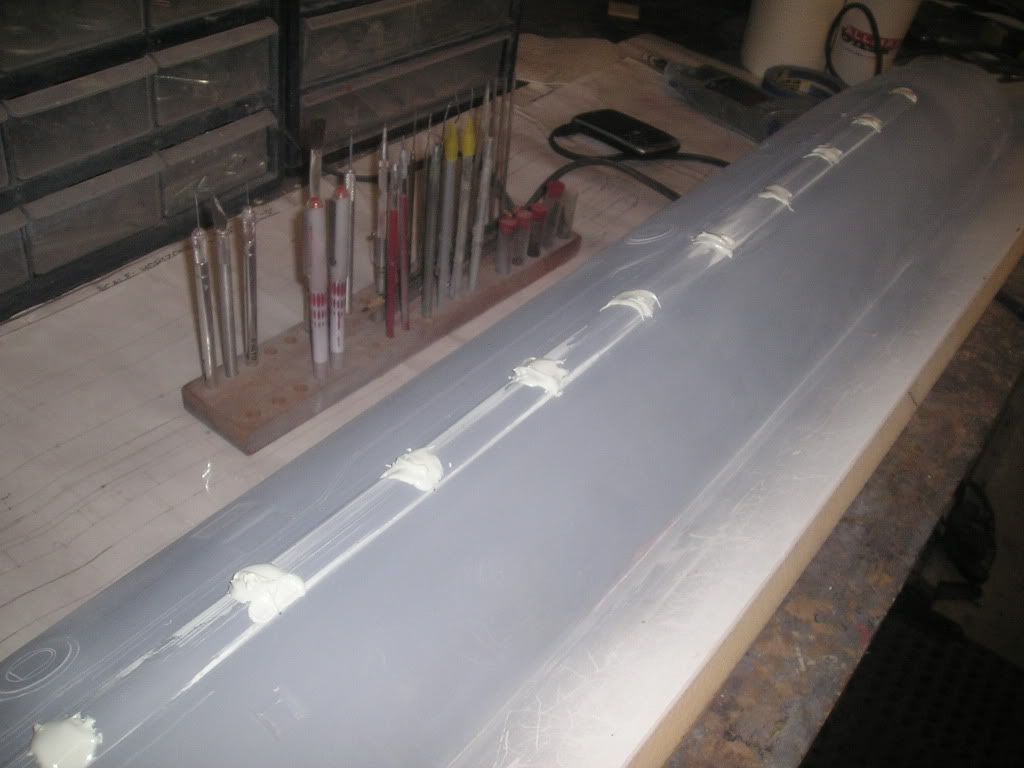
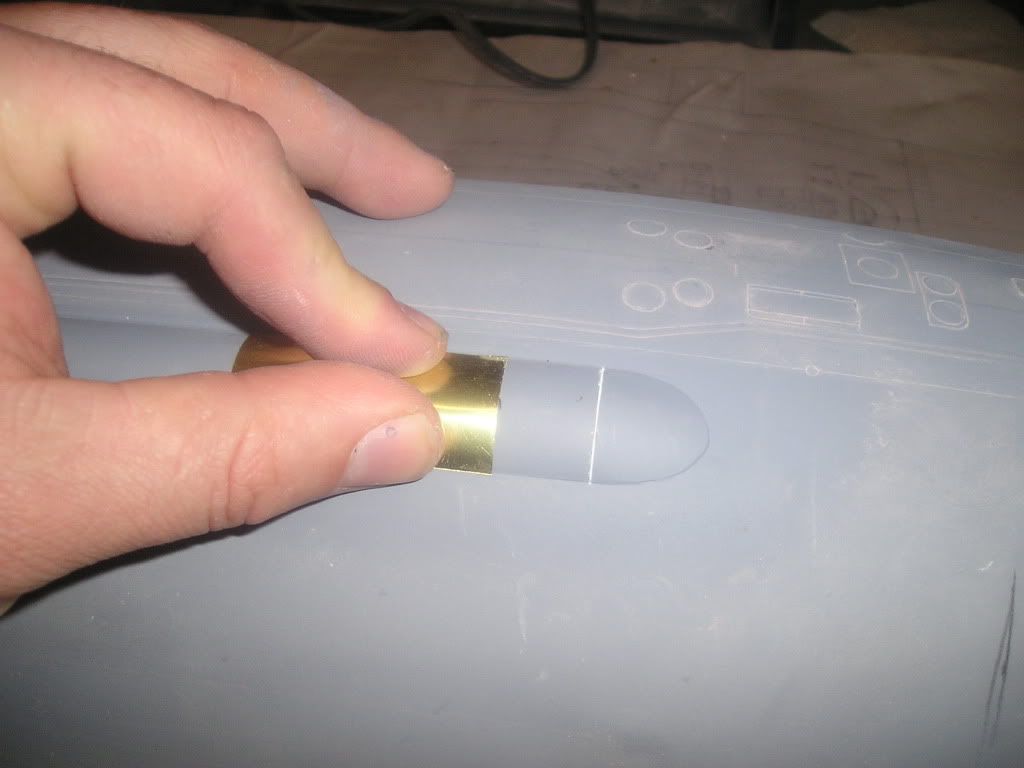
First up are the countermeasure pods. Knowing full well that my substrate is porous underneath where my photo etch part has to adhere to I went straight at it with the drill, formed a cavity and filled with Evercoat filler. I let the filler gel up and then razored it flush with the mounting surface. The PE part was glued on with CA and scribed around the outer perimeter to represent separation. An appropriate sized drill bit used to bore slightly inside each hole for added depth and detail effect further on down the line! And yes, I can do this because I’m going with rubber moulds!
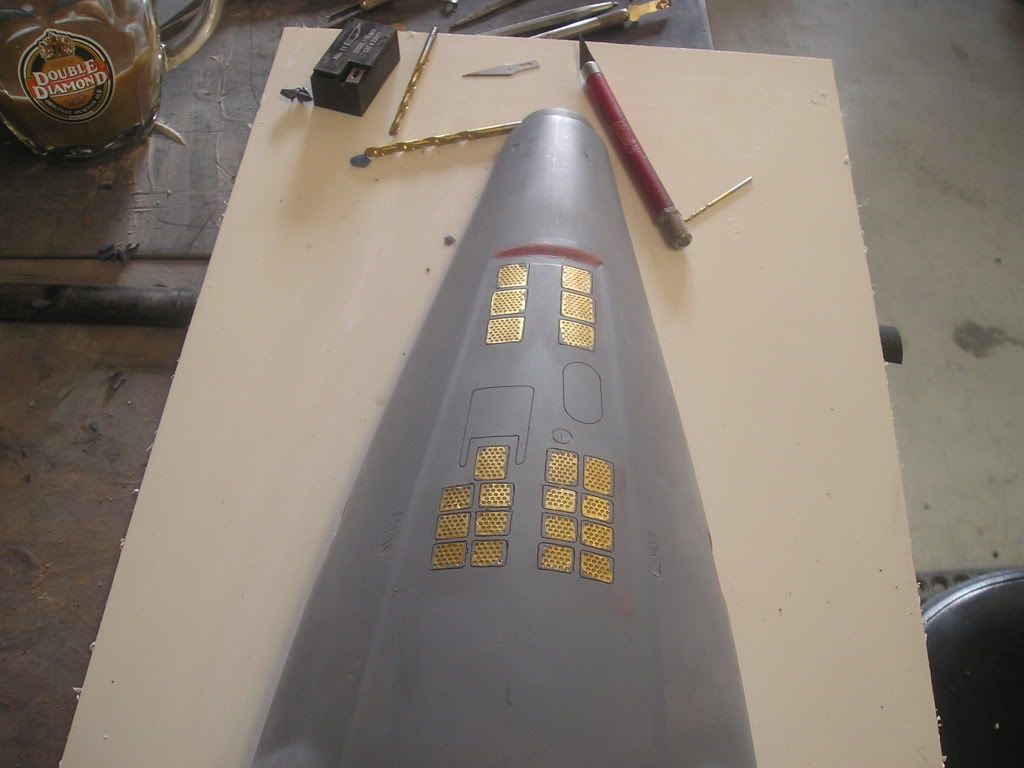
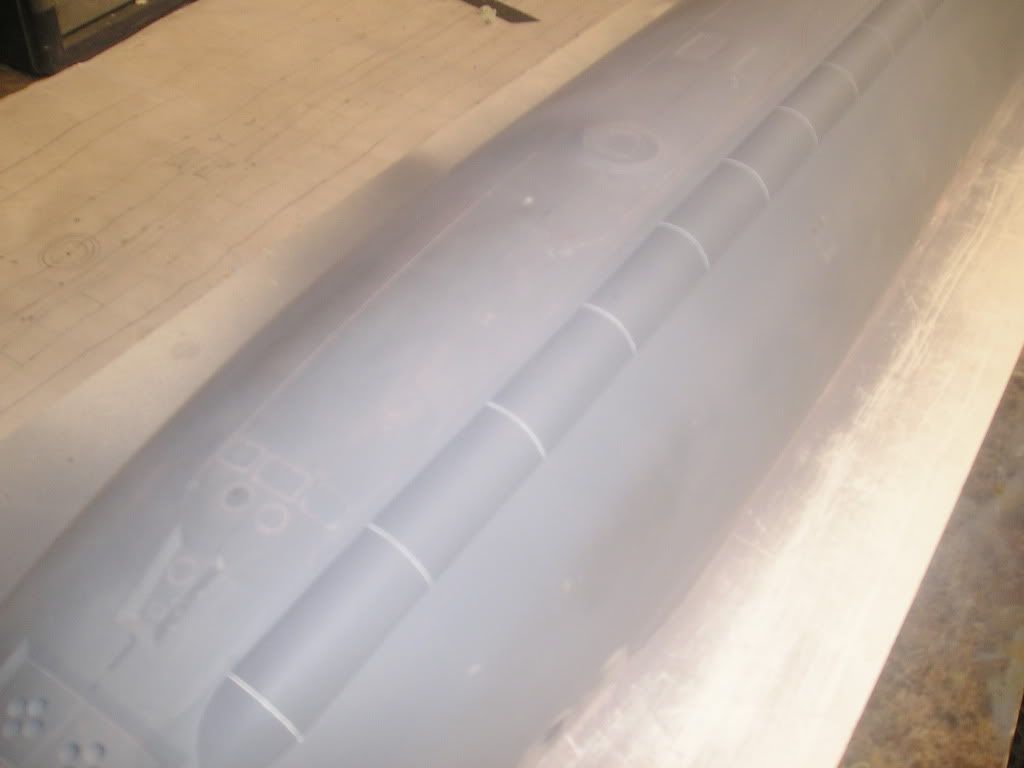
Next up, I had to remove the old protection tape off the back flood grates because it was wearing out and put some new stuff on. The scribe lines all needed to be cleaned up badly, but here is a little taste of how the grating will look on the models]http://i171.photobucket.com/albums/u319/Rapperkiller/Seawolf/P1012903.jpg[/img]
Some more detail work and sharpening up some of the bevelling which has started to soften and round off because of all the sanding going on or around it]http://i171.photobucket.com/albums/u319/Rapperkiller/Seawolf/P1012905.jpg[/img]
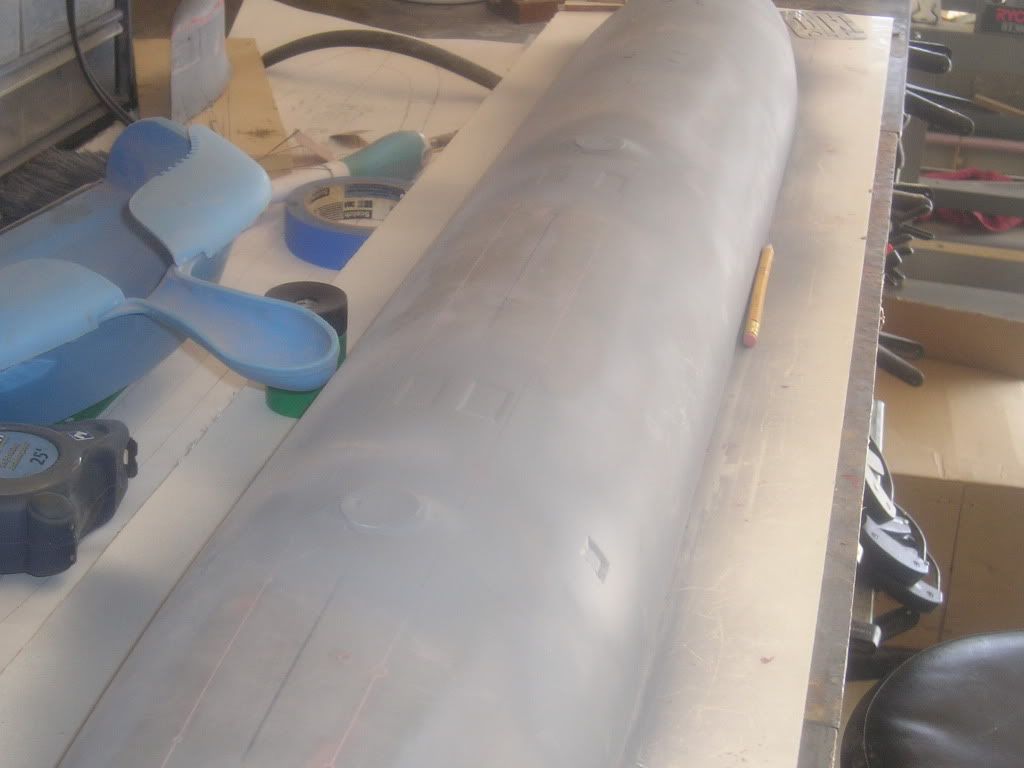
Now we put the bottom half off to the side for awhile and get to work on making the top half pretty!
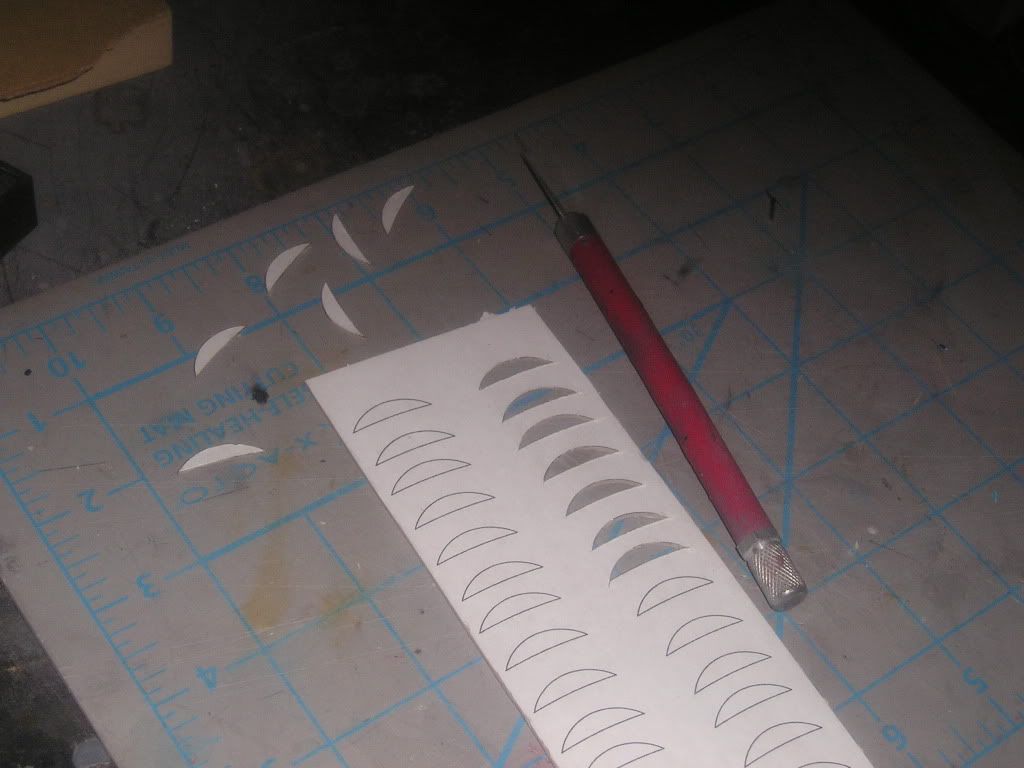
For the sonar dome I am showing the ring of tiling the circles the whole thing
Some scribing and PE installed on the top deck]http://i171.photobucket.com/albums/u319/Rapperkiller/Seawolf/P1012915.jpg[/img]
Here’s a note worth mentioning. Up to this point in my little submarine modelling career I have usually waited until the plug is almost with a mouldable finish to get to the scribing. Not this time, I find that I’ll usually botch up tons of scribes and leave the beaten path onto the hull surface or just plain ol’ need to fix and straighten lots of the lines. To me it didn’t really make sense to have to refinish the hull twice over!
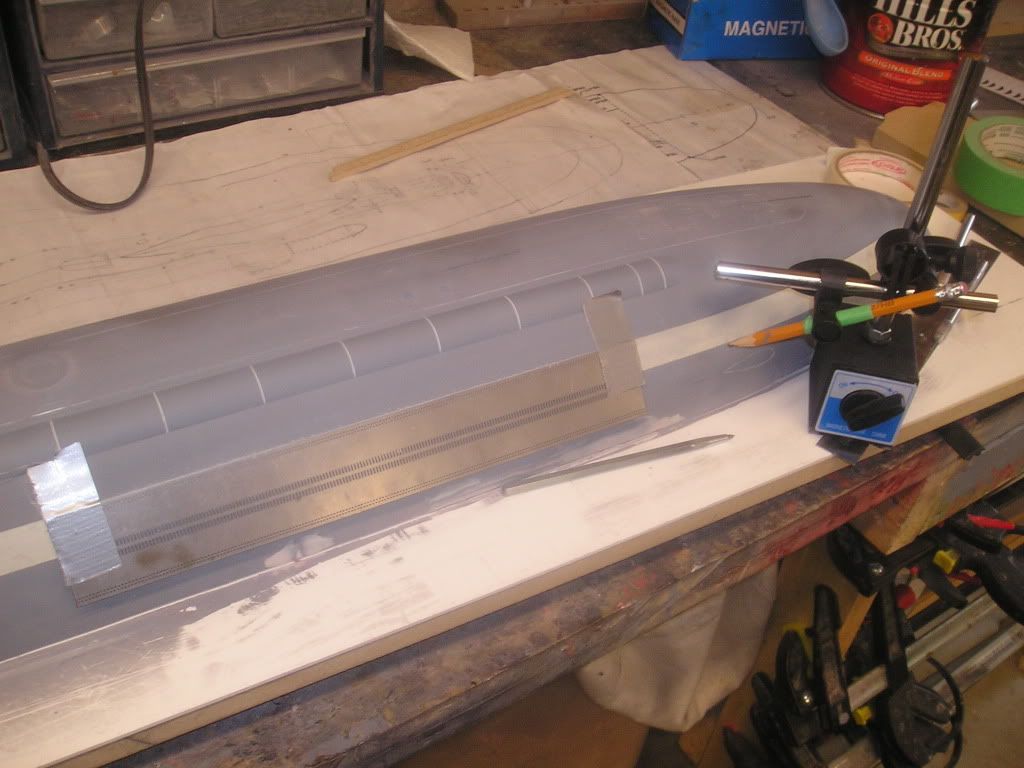
Here are some bevelled sections that had to be moved. See if my pictures tell the tale well enough to get a grasp of what I’m doing]http://i171.photobucket.com/albums/u319/Rapperkiller/Seawolf/P1012917.jpg[/img]
Yay! It worked! I guess when you play with the bull you know you are bound to get the horns, and that’s what happened here. By knowing my future self (in relation to the past)and that I would find screwed up locations in advance (that were done in the past) I figured out a solution in advance, thus putting me a step ahead of the game when the ‘real time screw up’ came! I would have given myself a pat on the back right now in the present but I didn’t need to because I already did in the past. HA! I think right now spending too much time away from human contact...
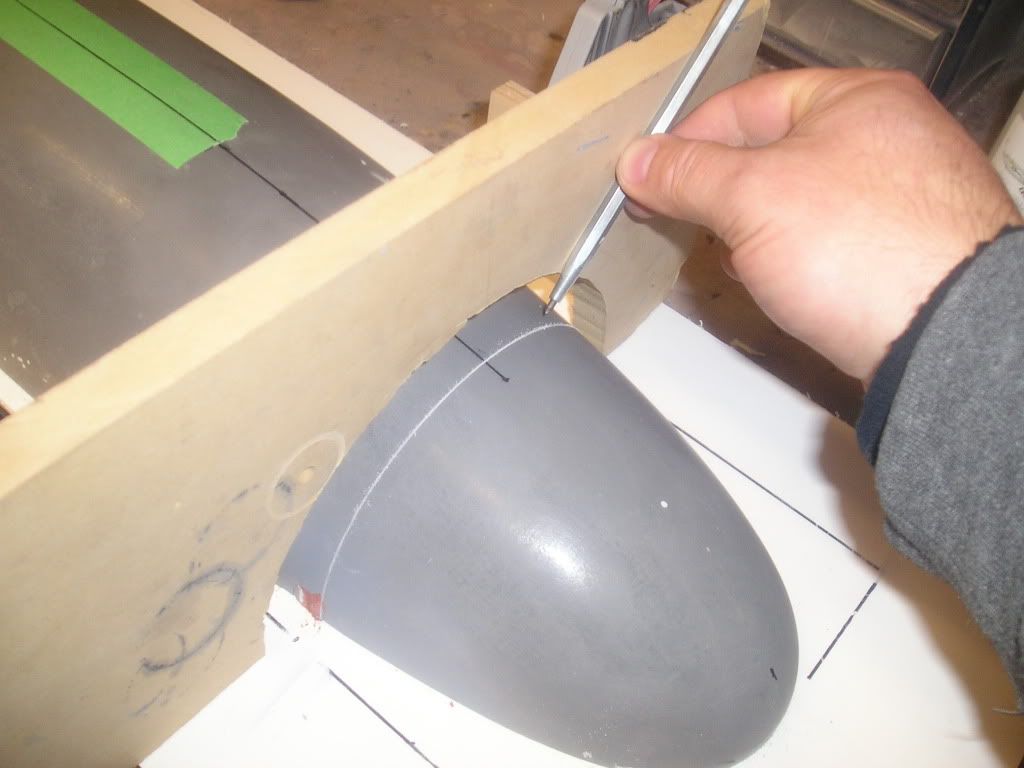
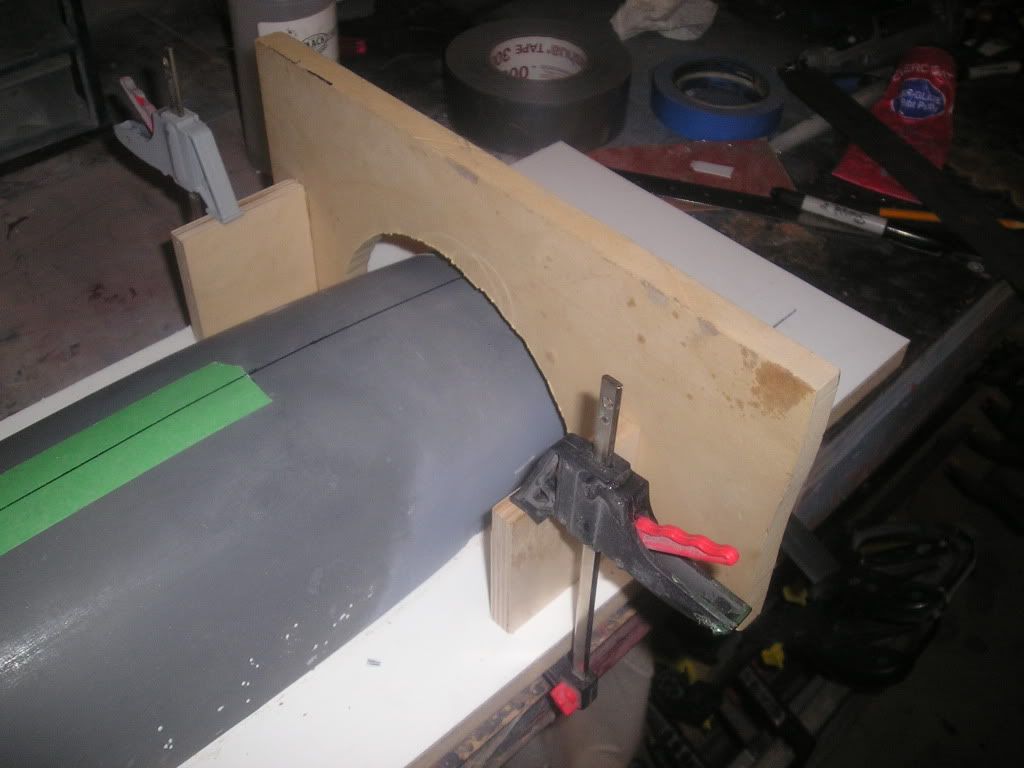
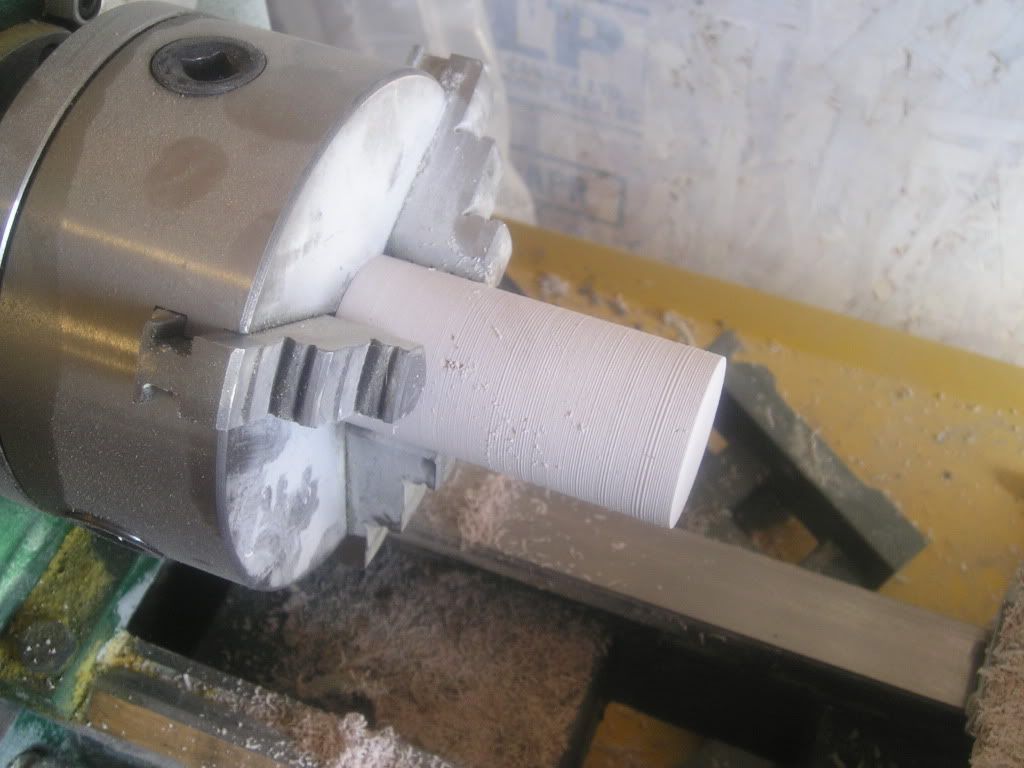
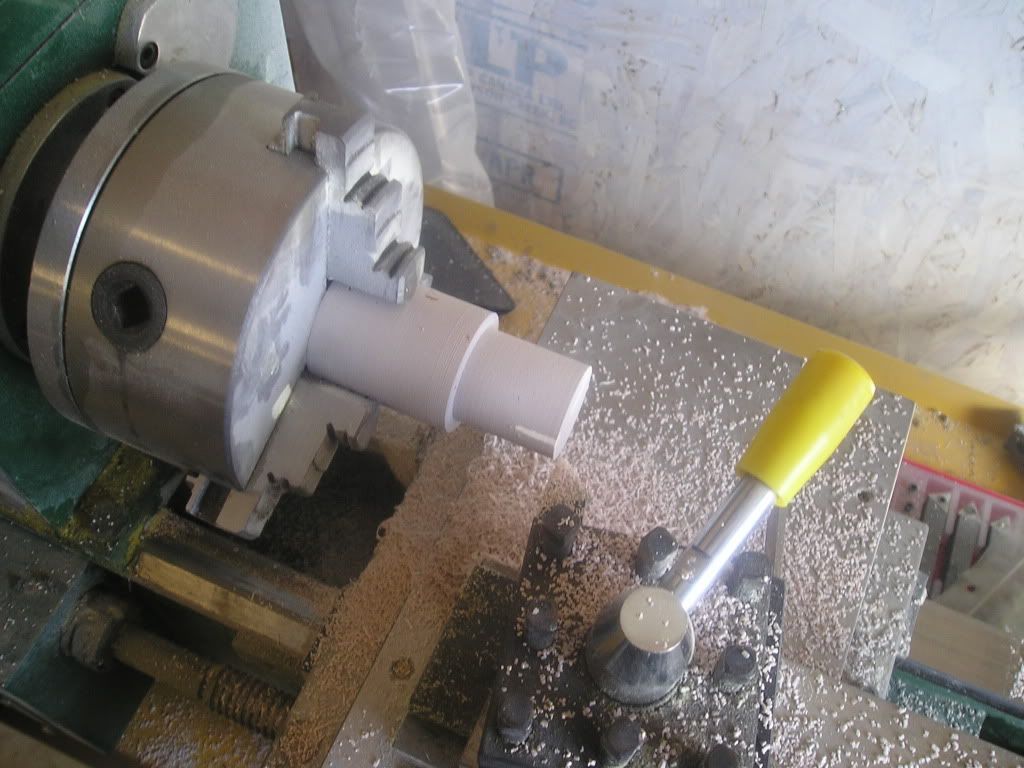
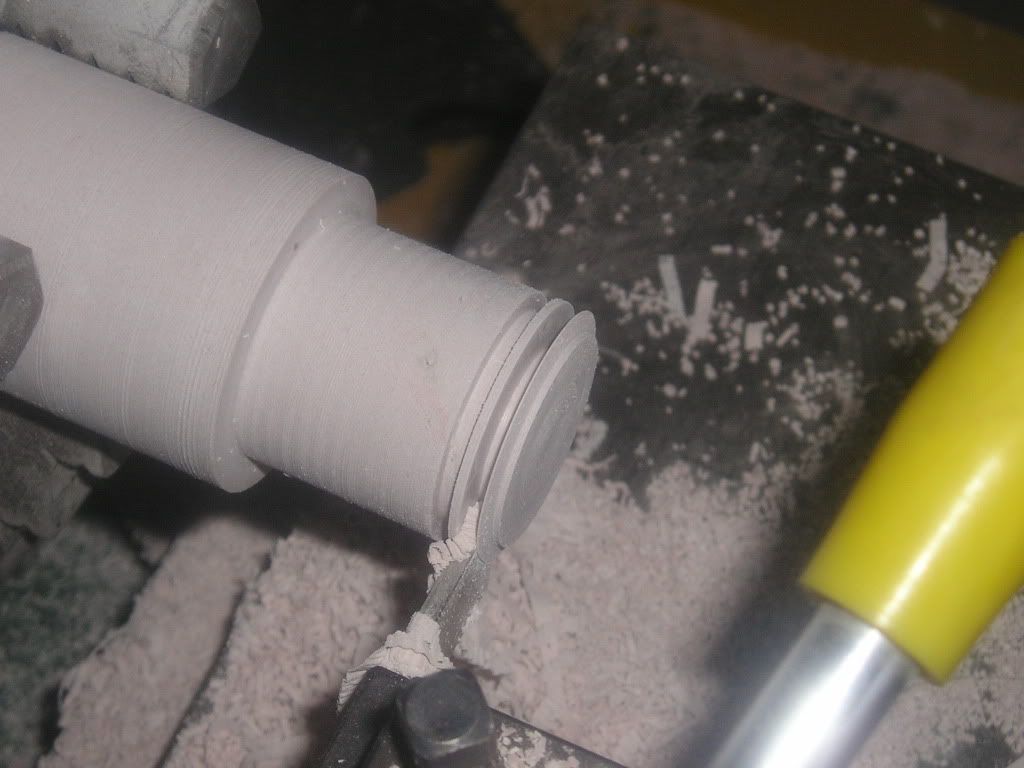
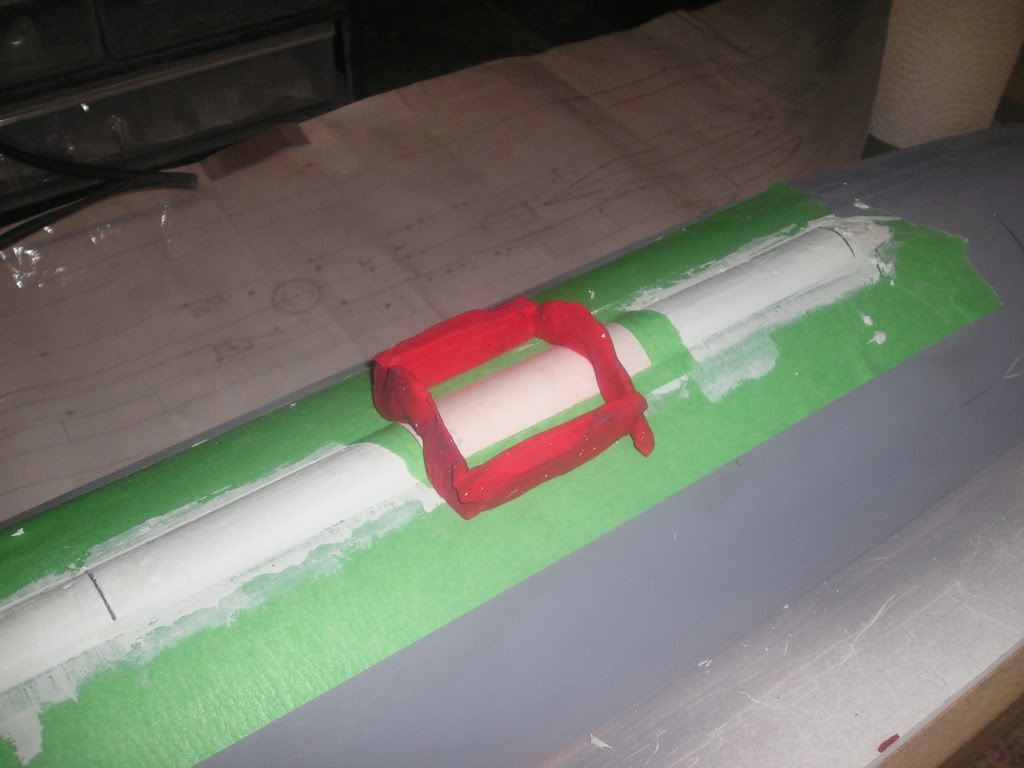
Here’s the machining of the hatch shapes. For the machinable material I chose to use some of this crappy old hard-to-sand filler that I have kicking around. Basically I just filled up a toilet paper tube with the stuff and put it into the pressure pot while curing to reduce the pinholes.
Once cured (and cooled down) I threw the Bondo rod into the chuck and machined away. Nothing really more to elaborate on really]http://i171.photobucket.com/albums/u319/Rapperkiller/Seawolf/P1012957.jpg[/img]
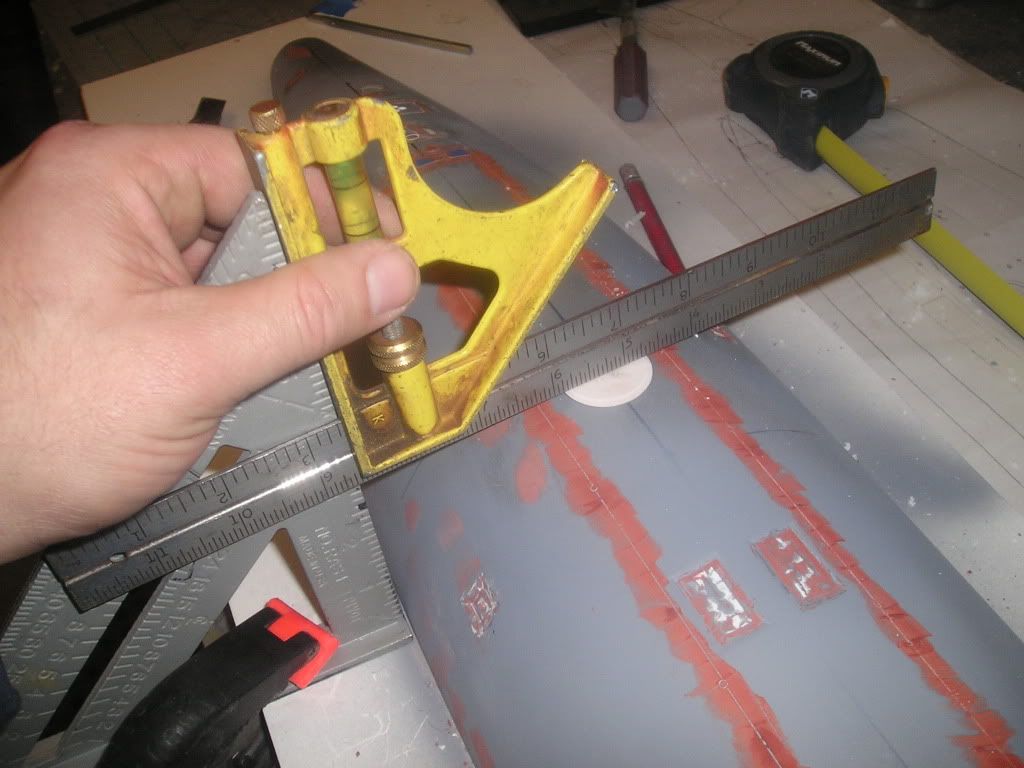
To install these little wafers I left a little round material on the bottom, dead center drilled out the equivalent hole on the top of the hull. This gave me proper length-wise positioning that wouldn’t move one way or another. To position the hatches so that their flat surfaces were exactly perpendicular to the center line of the hull when looking from the front or the back, I used to two squares; on resting on the perpendicular parting board and the other resting on the first square. This second square was held against the hatch surface with full contact until the glue cured. After initial adherence was achieved the gaps between the bottom of the hatches and the gently rounding hull were filled with CA and grouted with baking powder.
Did I at one time say the bottom had far more detail than the top? I was wrong.
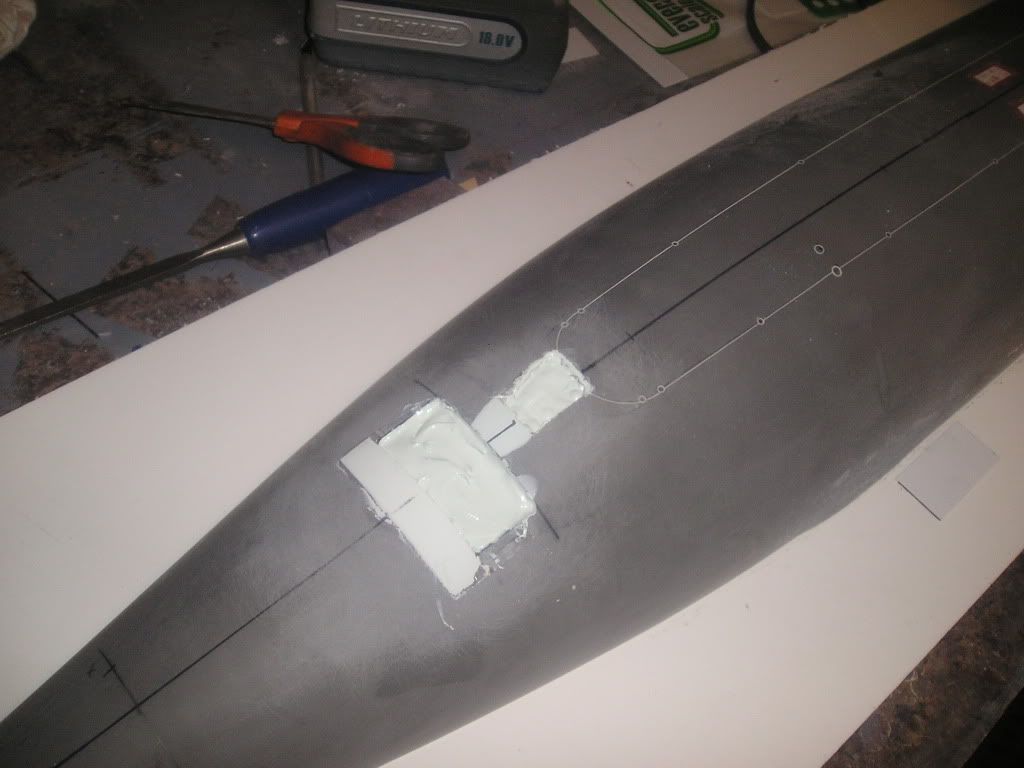
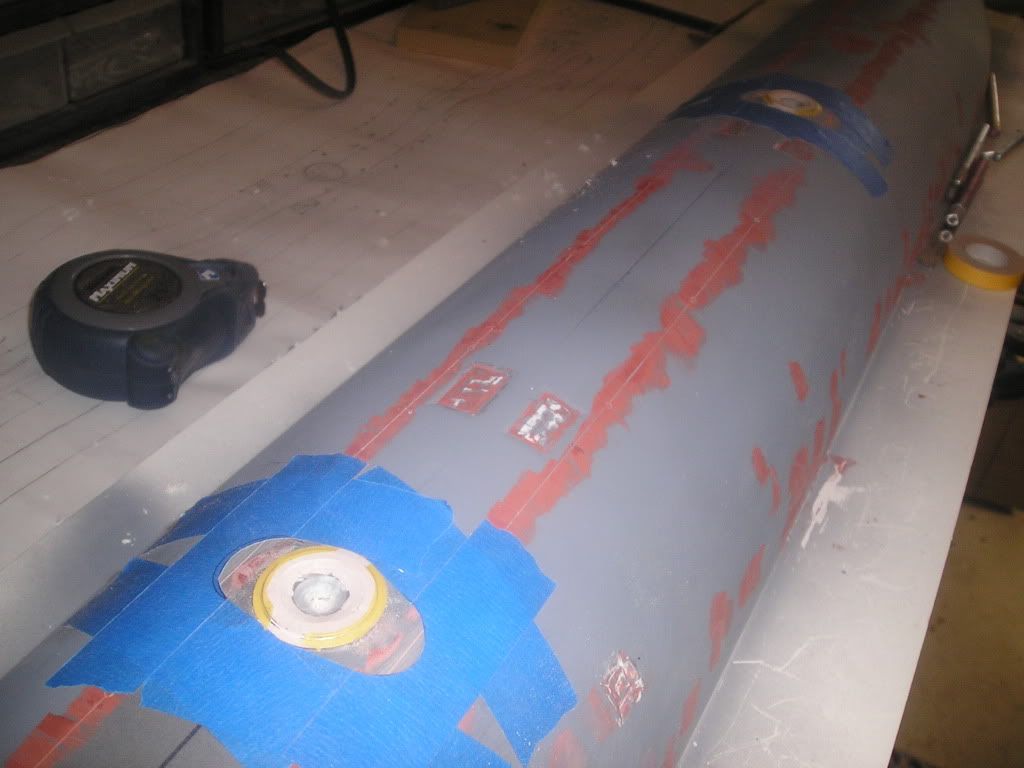
Anyways, the hatches had to faired into the hull just like the real boat. This was done by taping off the area that was to receive filler so that the fairings would be consistent shape all around. This was an important step because if my hatches weren’t perpendicular in any way I would have been able to tell when doing the fairing filling...so, no problems were found and full ahead to the next step of fine filling and sanding to blend in. I had to be very careful not to damage any of the sharp lines on the hatches themselves while sanding.
One other thing to mention here and this is par for the course on this build, is that I had to bore out the tops of the hatches and refill. This was because I found some soft spots in the initial material probably from inadequate mixing on my part. No big deal, like I said, par for the course.
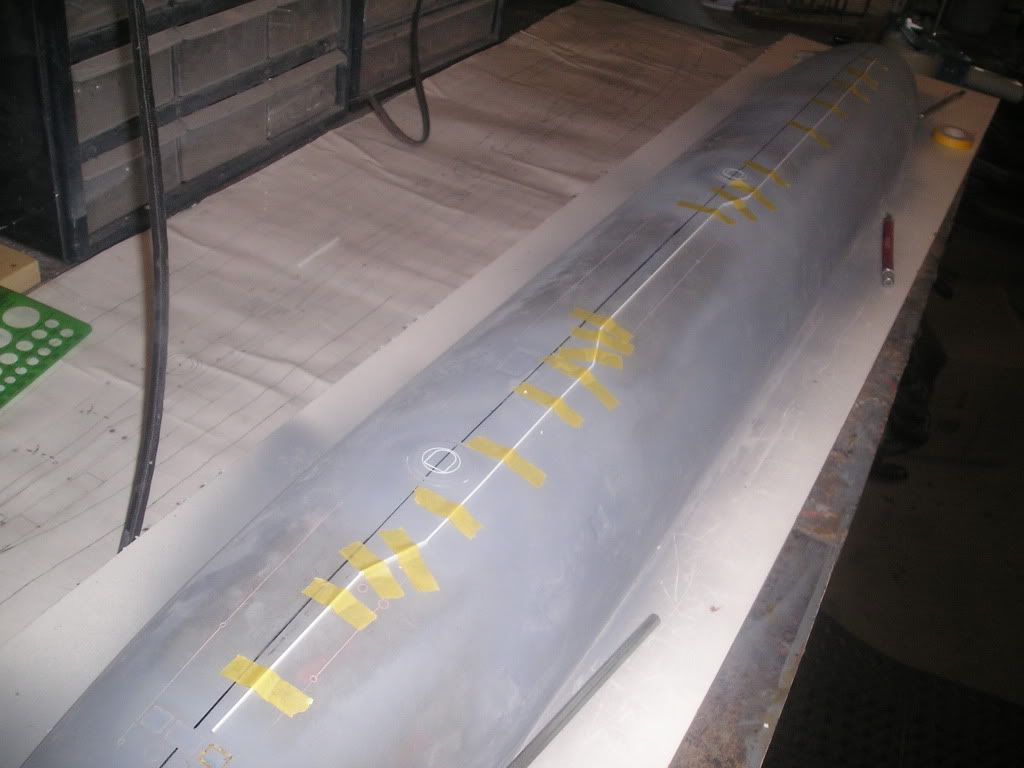
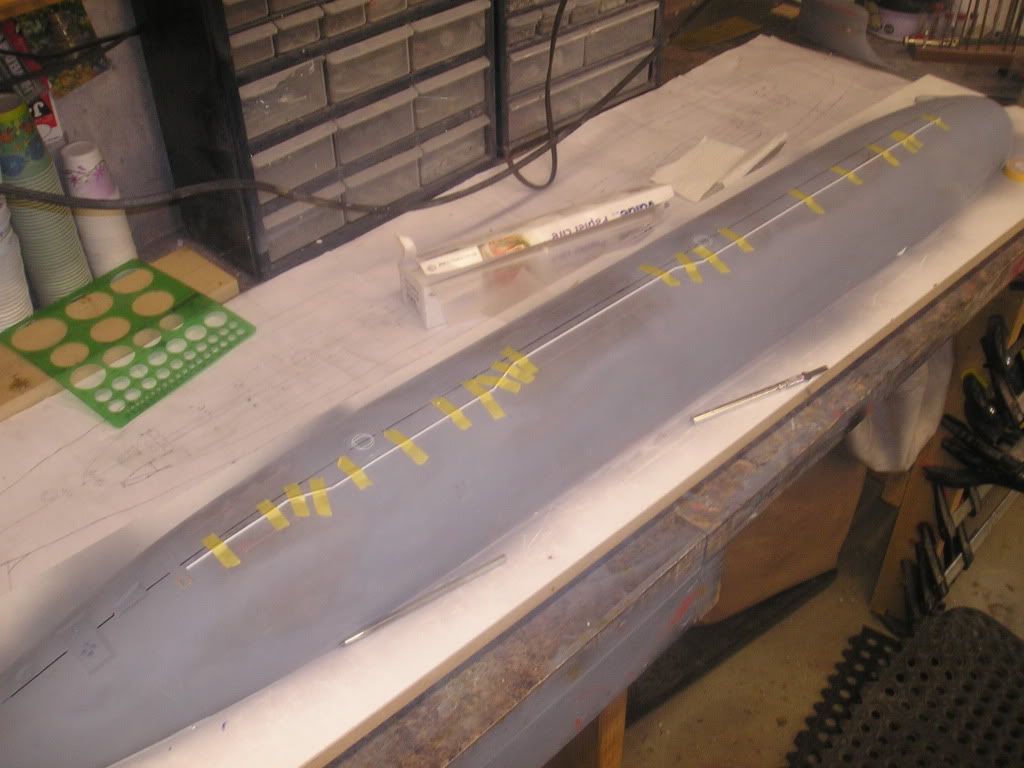
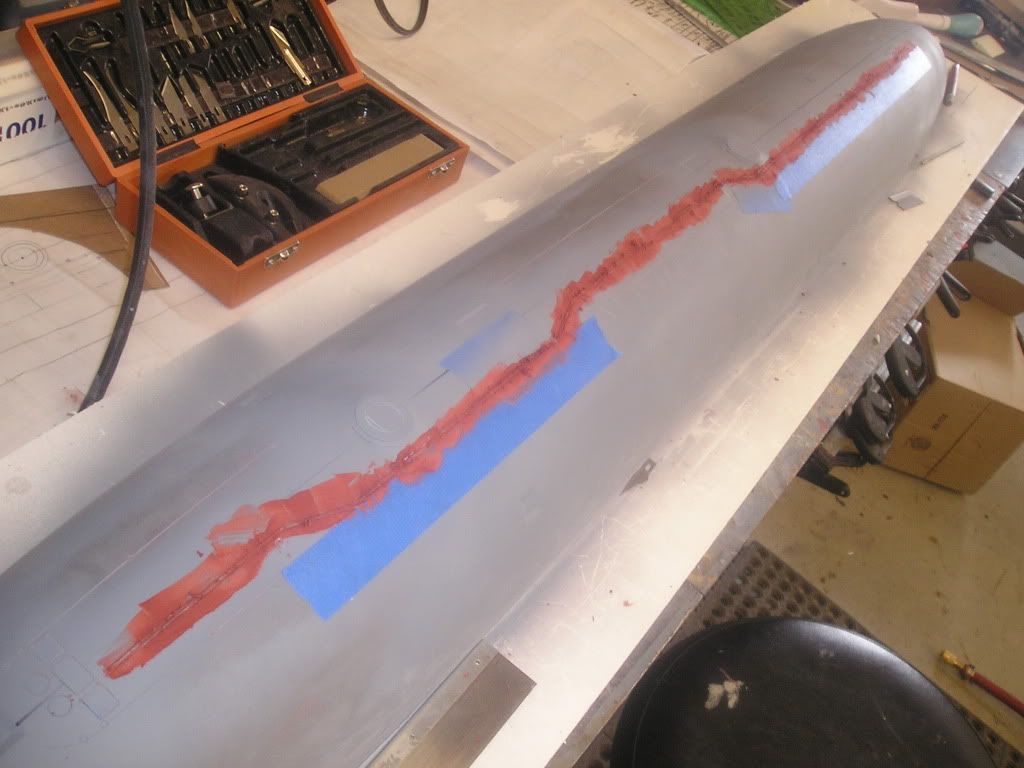
Now, for what I would term as the major scribing task of this project is the safety track. On my Permit, I used straight edges for guiding my scribe tool and it just didn’t give me the consistent width that I needed. I probably had to do that track over about 6 times! For the Seawolf, the entire track is flush with outer surface of the boat because of the application of the rubber, so this means that its entire length will be scribed and nothing will protrude above. When I say I am going to scribe this detail, it certainly wasn’t the only option at my disposal, and if it failed I would certainly have attempted another technique. But here is what I have done here and it seems to have worked pretty good, although still needing a fixing. Nothing ever seems to work first crack.
My guide for scribing is a custom one. I CA’d proper thickness styrene strip directly to the hull following the proper path. Corners were done in a similar manner in which I did the torpedo door bevelling, kind of a fit as you go deal.
To do the actual scribing, I used a traditional scribing tool to start things off, then a razor saw to dig a wider trench, and then I get in there with a plain old hand held razor for slowly working away inconsistencies.
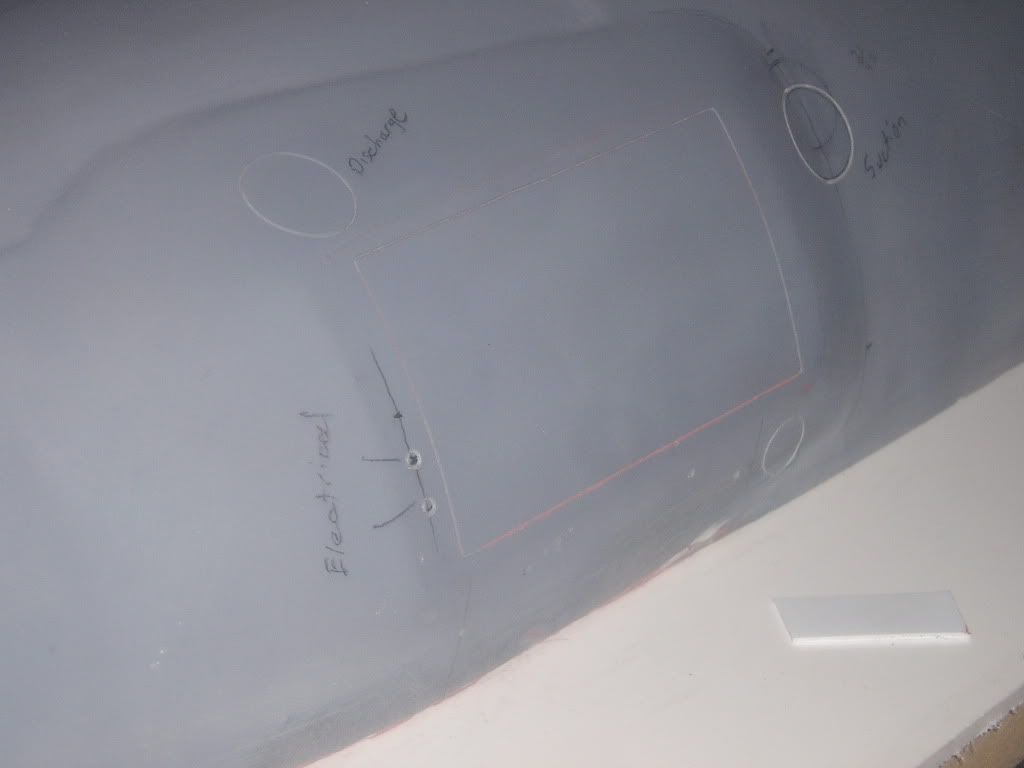
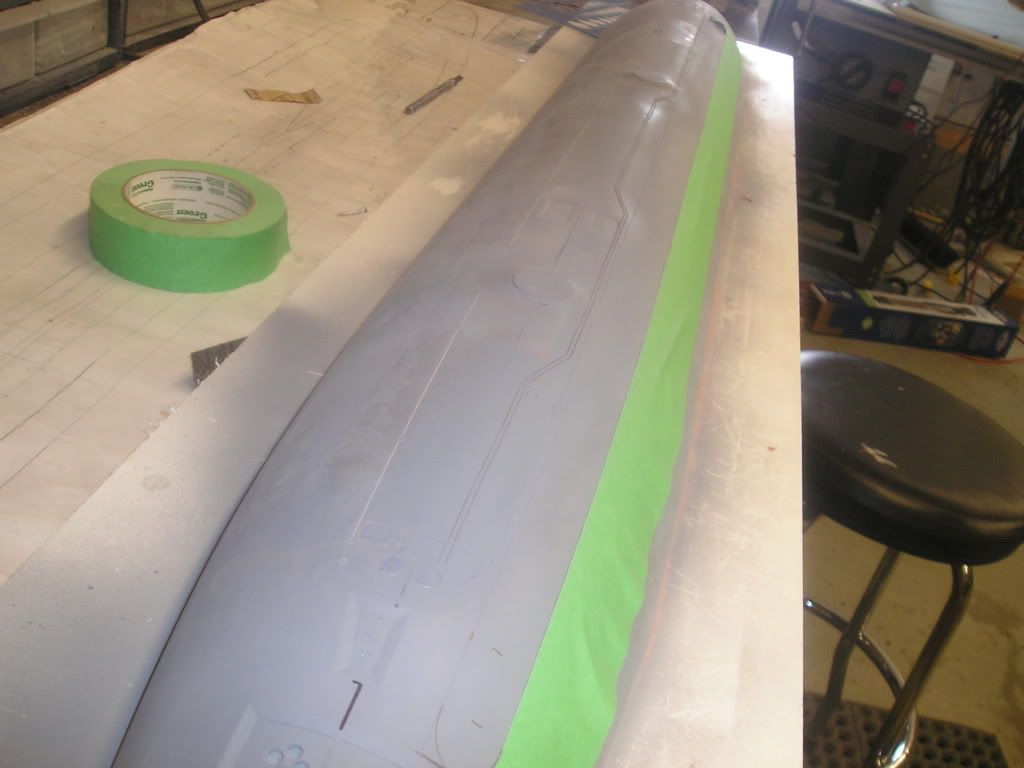
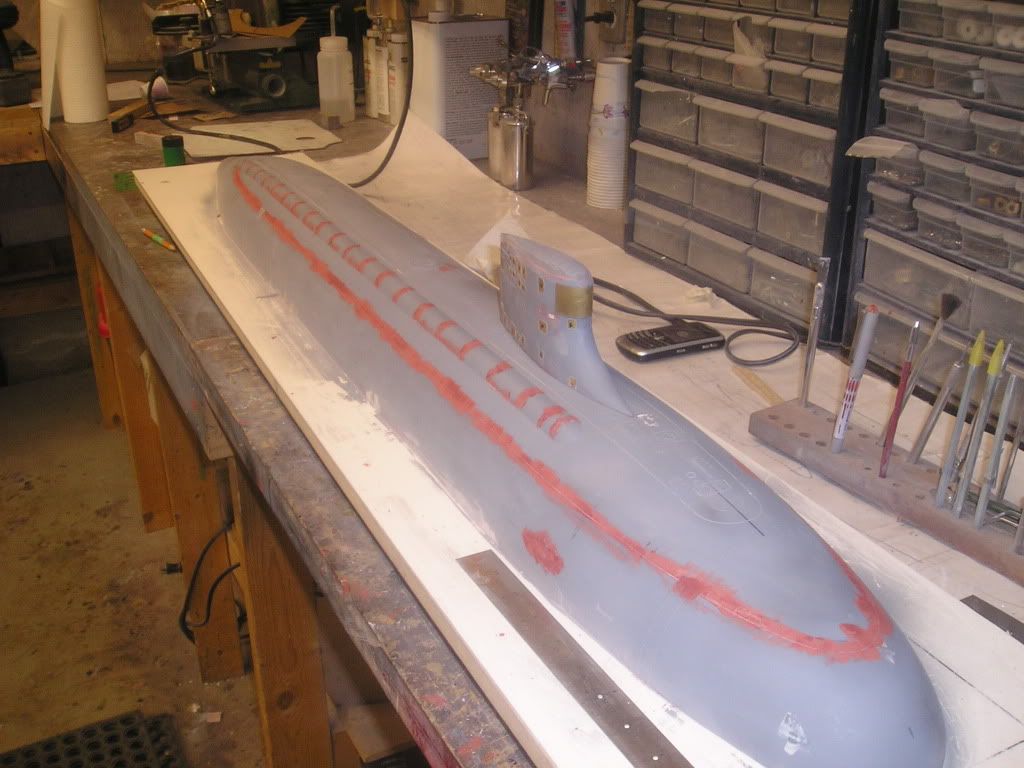
We’re at the biggest, most noticeable detail on the upper half of the boat if you don’t include the sail itself, and that is the fat line towed array fairing.
Here’s some background on this part of the sub. The Seawolf has two (that I know of) towed sonar arrays. First it has a skinny one, which is coiled with a winch and stored within a stern ballast tank. Second is the fat line. This one cannot be coiled and pretty much has to stored lengthwise along the boat. Storing it within the pressure hull is not an option because I assume there is a plausible way to seal this as its entering or exiting the hull. Basically the only solution for the stowage of these bad boys was along the outside of the pressure hull, hence the fairing that we see that runs along one side of attack submarines for the last few decades.
Again, there are many options available at my disposal to undertake this part (eg...skree, external extrusion, foam shaping..bla bla)In a nutshell, I chose to make cardboard profile shapes, glue them directly to the hull and fill between the profile shapes with filler.
First, my array is marked off with pencil and then tape
The profile shapes were created on my computer, printed out and then laminated to cereal box card board using super 77 glue
Then CA’d and grouted with baking soda.
Filled
Here’s a little custom shaped block sanding tool made from filler. When the sandpaper on the bottom gets dull I simply pull it off and apply a fresh peice with double sided tape used to adhere. For precision sanding I will add masking tape layers behind the sandpaper to tighten up the radius for a closer shave!
I had a slight droop at one point of the array. To fix, i added filler to the top of the array and applied lots pressure with my custom block on the bottom of the array. This straightened things out nicely!
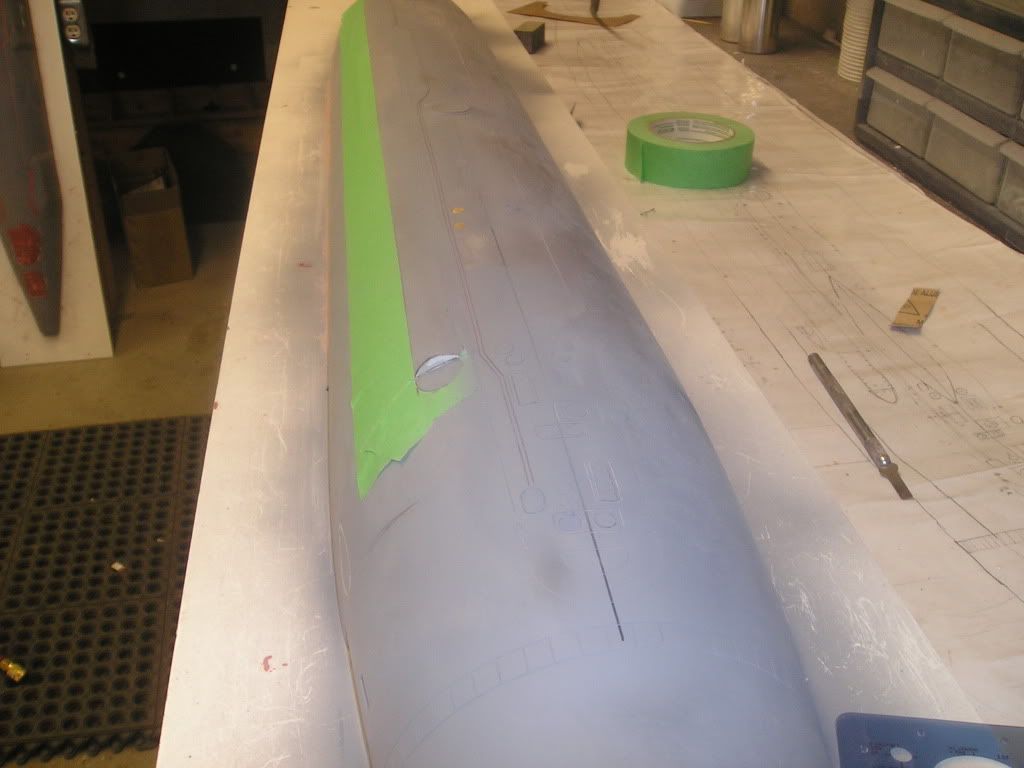
It was obvious that my cardboard pieces were not going give a good finish after a couple shots of primer, so I dug them out with my Dremel and filled with Evercoat. Now my fairing is made from one material and won’t pose any scribing problems later.
Minor scratch filling]http://i171.photobucket.com/albums/u319/Rapperkiller/Seawolf/P1012993.jpg[/img]
With a fairly nice finish on the fairing I could now scribe in the panel lines. As far as finish is concerned I didn’t completely blend the part into the hull. Where it joins the hull, I built up tape layers so that the edge of the fairing ends abruptly, but in a subtle way so as to so that the panel is indeed removable.
Here, work has commenced on the surface water line...the other major scribe on the top half.
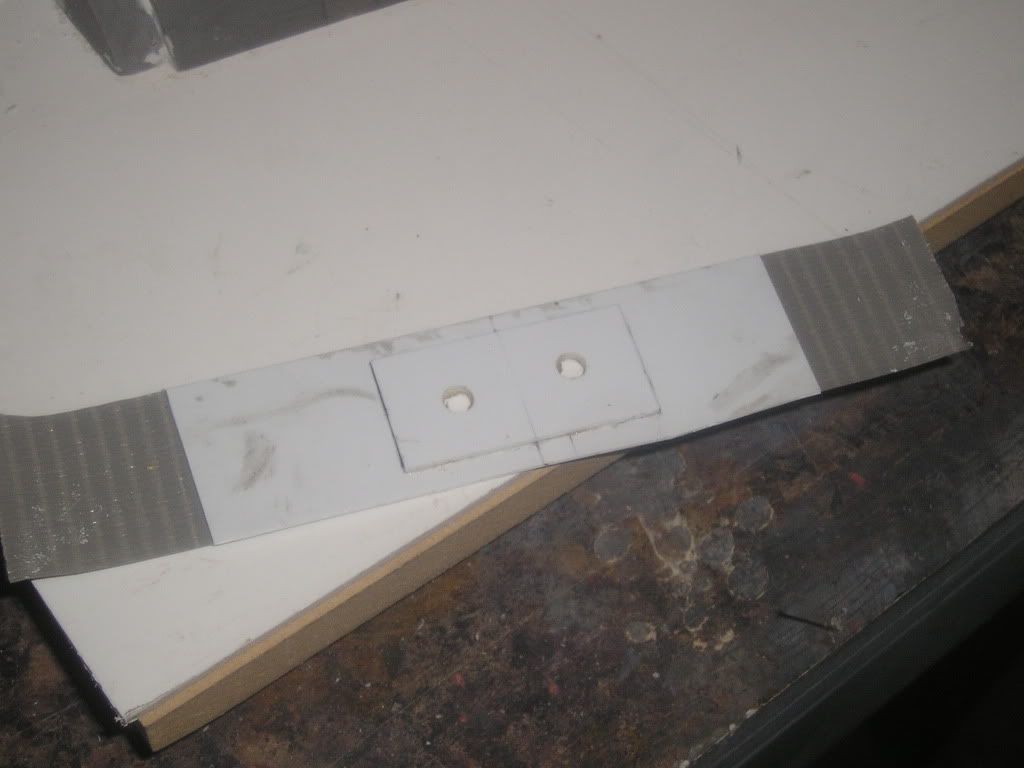
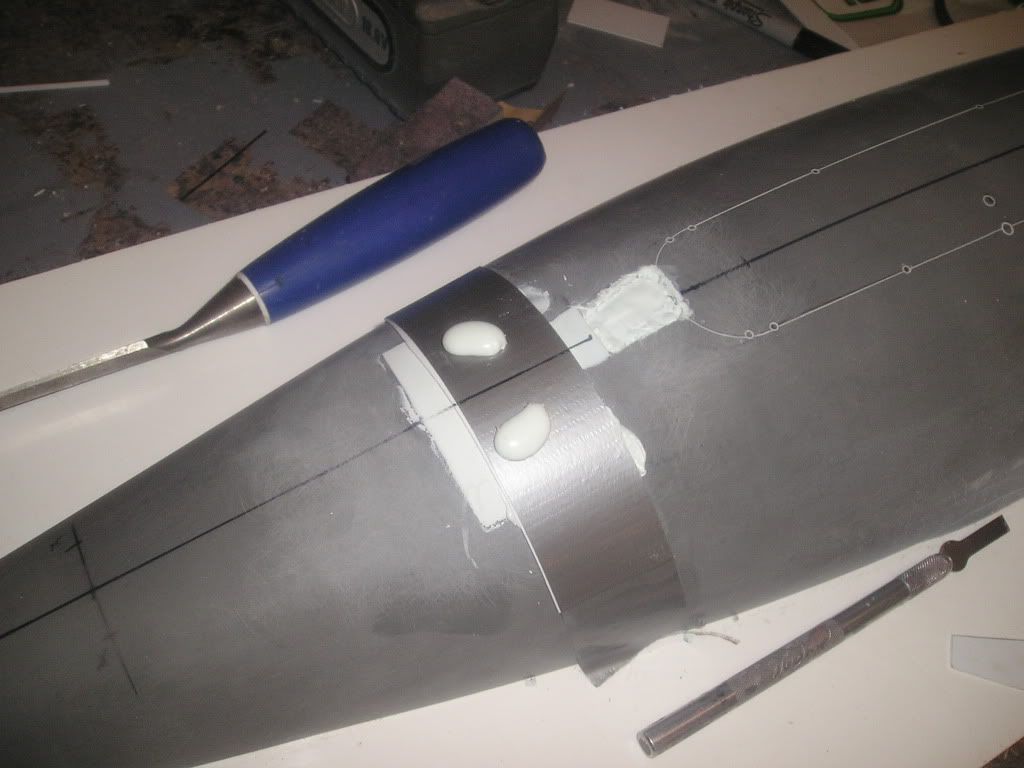
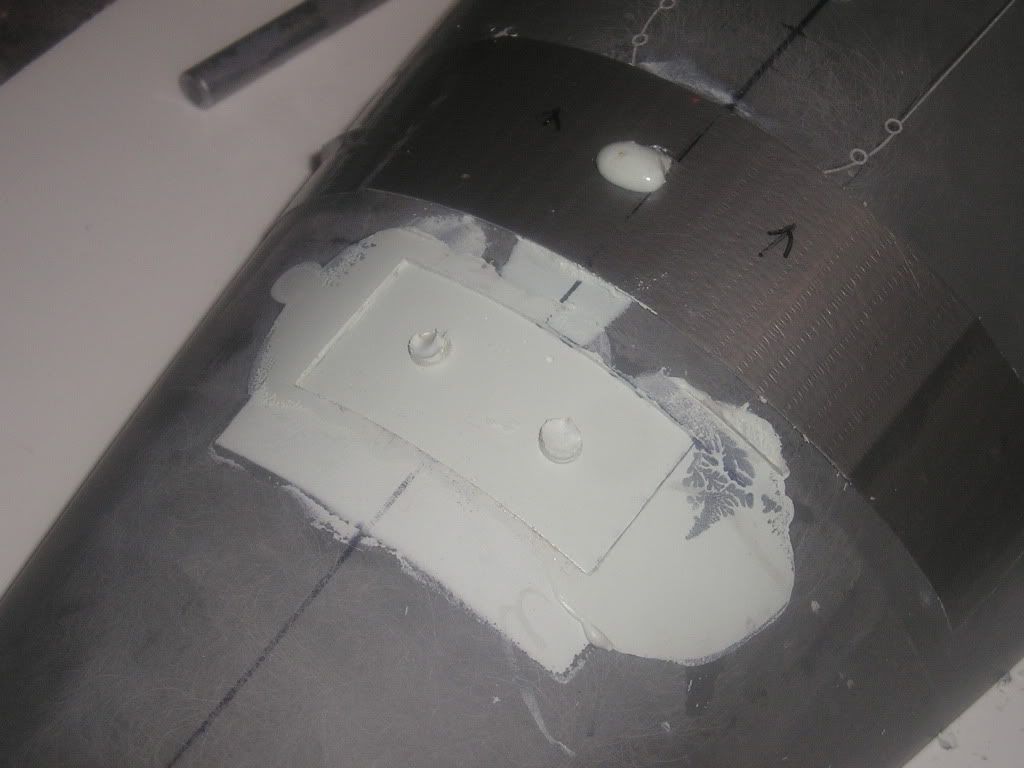
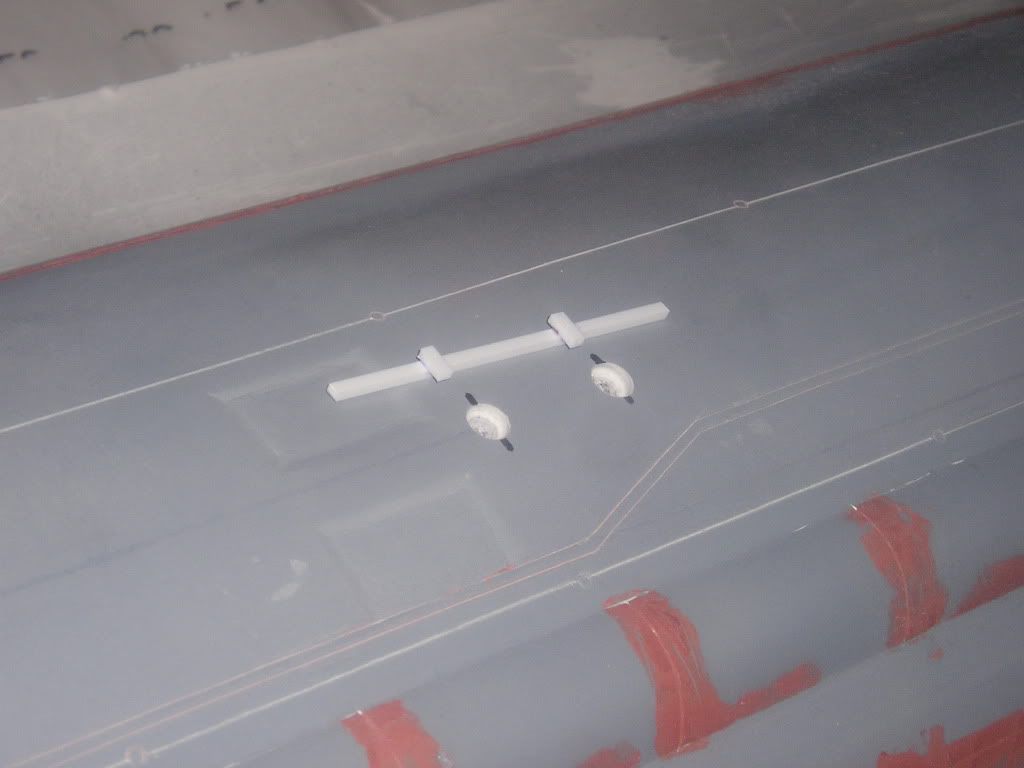
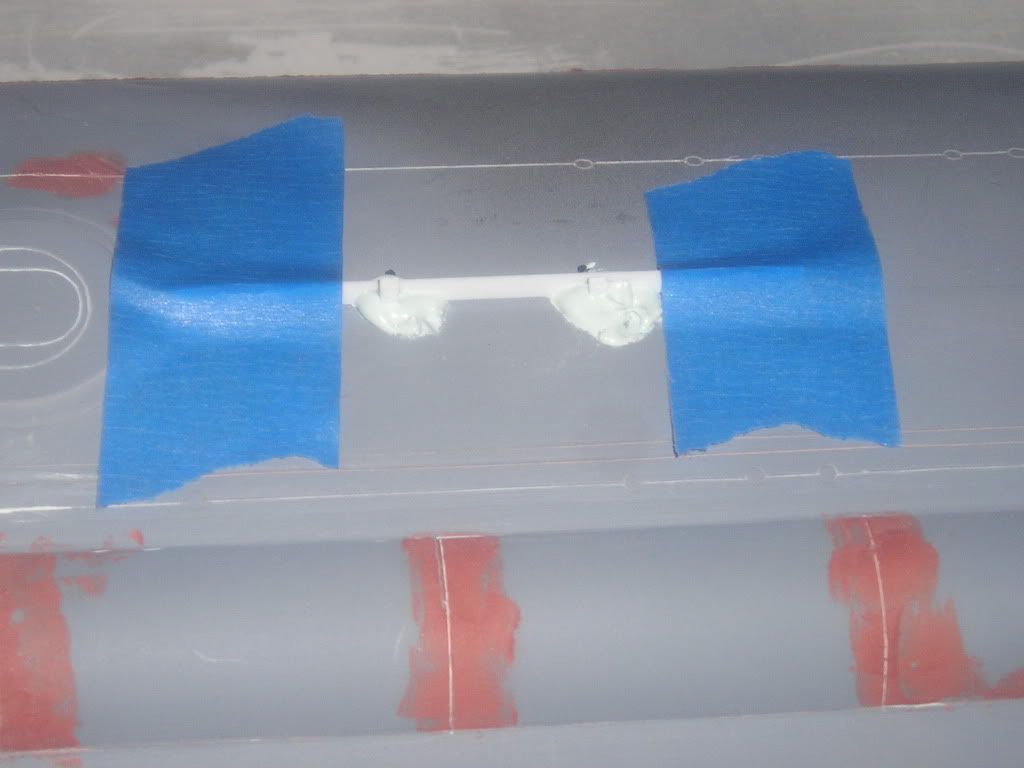
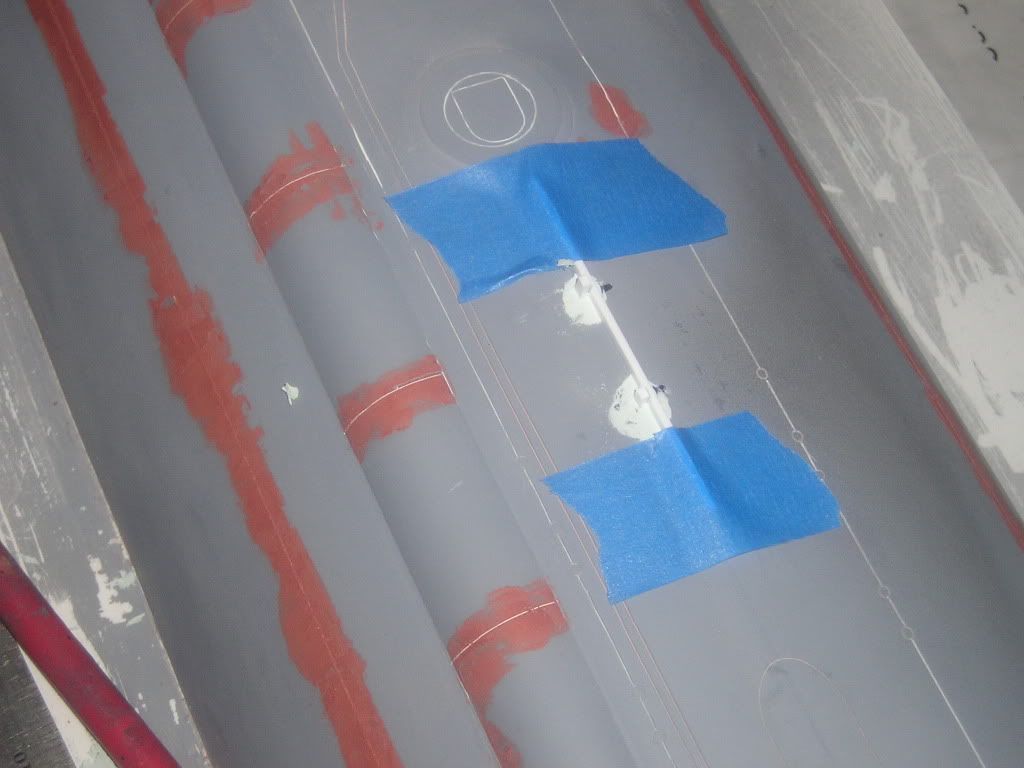
To give the final user an easy way to install the 6 tie off (permanent) cleats on the back of the boat here’s what I did:
Mark out and drill holes where the cleats located. I used the first drill bit I could grab from the tool chest
I took styrene strips and glued appropriate sized rectangular shaped styrene stubs to it, ensuring that depth and spacing was correct
The holes were filled, and the strips with the stubs pointing down were placed into the filler and taped steady to the hull
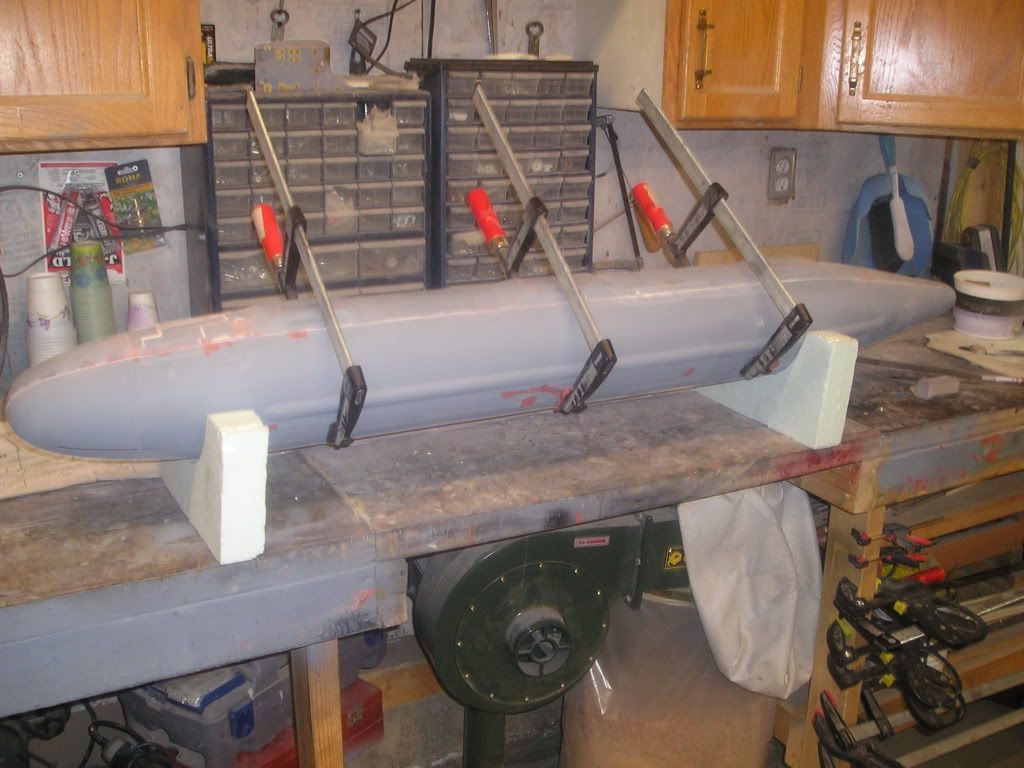
Now it time to put the halves together and make sure all the points that are supposed to match up actually do and work on correcting all the many imperfections]http://i171.photobucket.com/albums/u319/Rapperkiller/Seawolf/P1013006.jpg[/img]
Joel,
This is going to be one hot looking boat. I really like your out of the box thinking with the TP roll filled with body filler.
Keep up the great work.
Don

 Tweet
Tweet


Comment