
 Tweet
Tweet
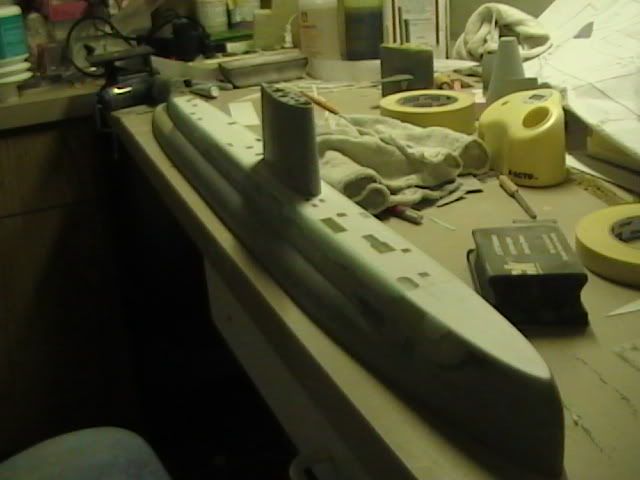
Well it has been a long time now since I did any thing to this model, I had been buying material to work the deck and fitting plans’ photos together to get this part of the work done.
As I did 13 years ago on the first scratch build Nautilus I have done the same method on this one, but I have taken more time to ensure this one is much better that the copies floating around out their today. Buy this I mean it is going to be more accurate than the first, this time around I had three sources of photos to go on.
Pete Piekarski, Chris Nutting, and James Christly all sent me what they had taken or did some research for the effort! Steve Neill even stopped his plan to scratch build a Vac kit of the boat so I would not be out sourced in my effort to sell a few one day! Thanks Steve!!
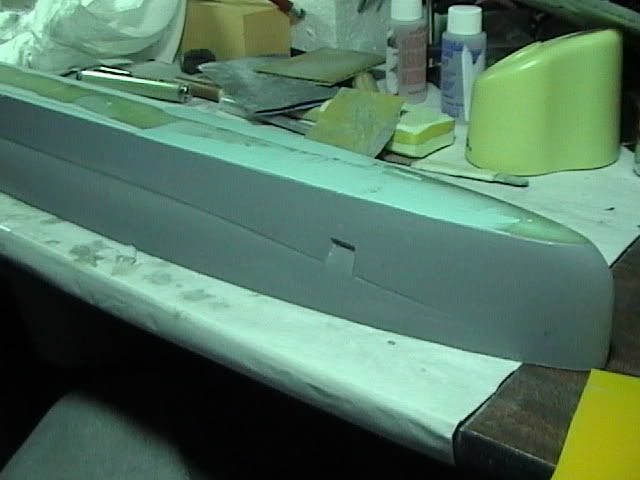
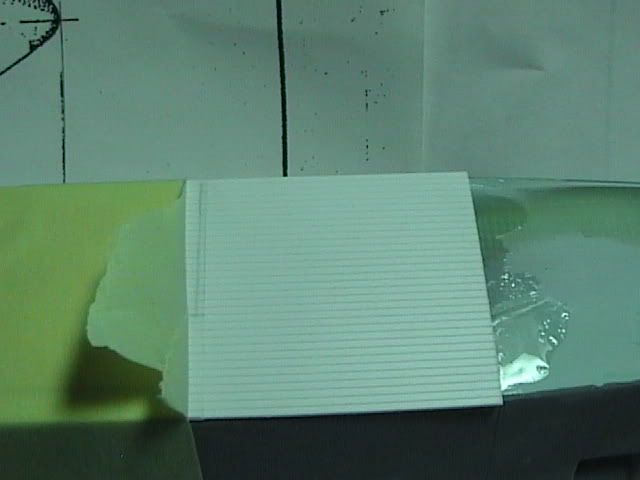
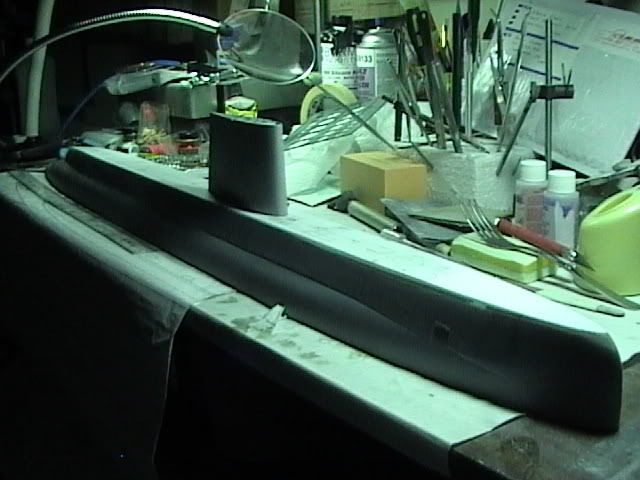
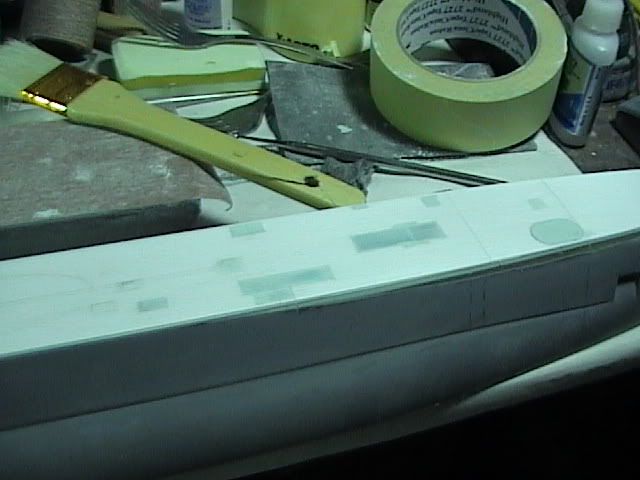
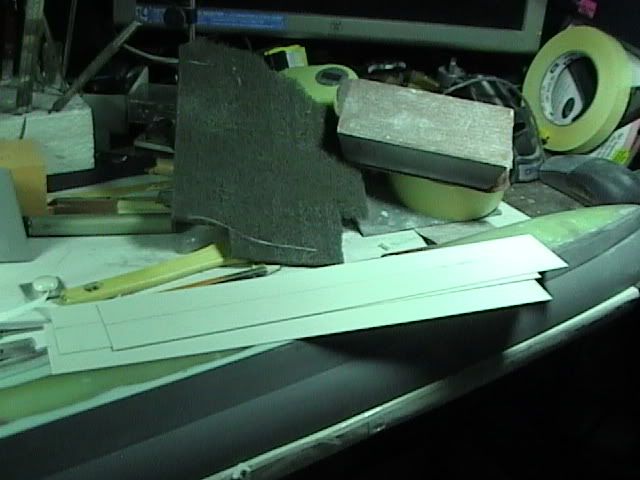
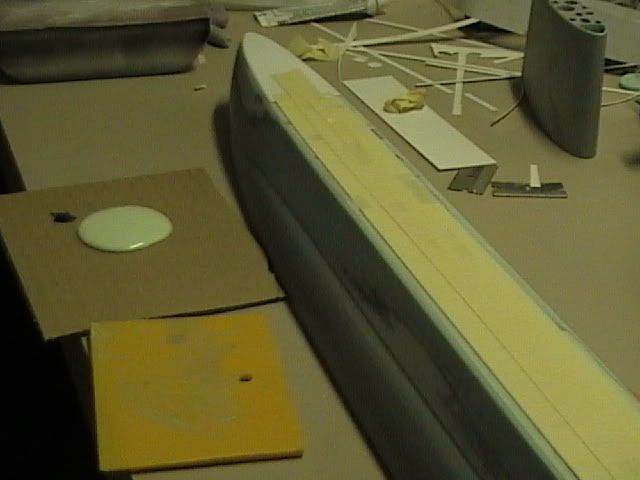
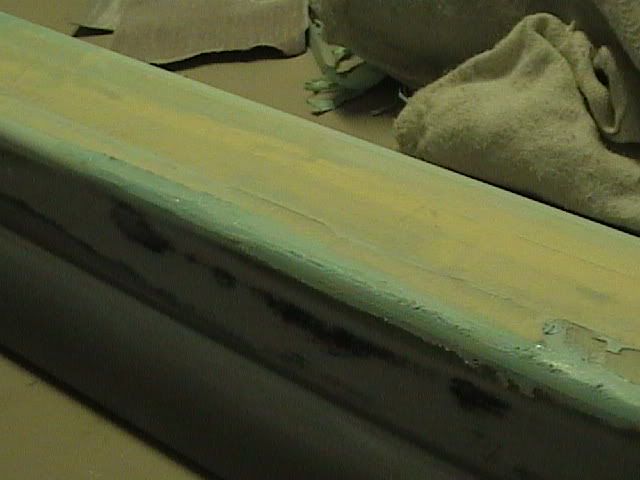
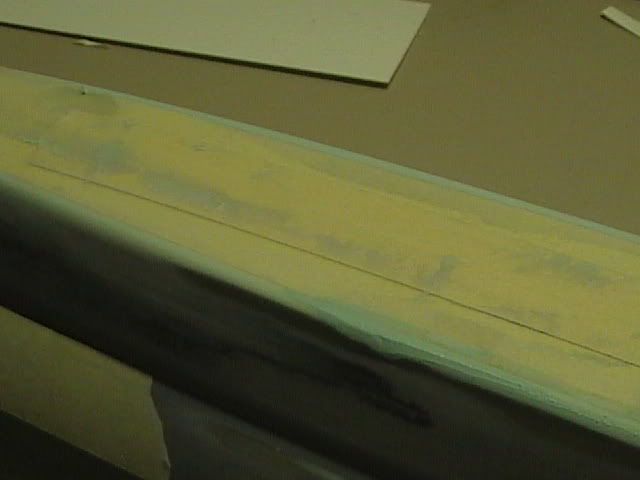
With the deck blocked down to the height needed so the Plastruct preformed plastic sheet could be CA on the deck, it was a simple matter of re establishing the Datum line of the model for center placement of the material. I used Thick CA for this job to give me time for proper placement & to lock it down tight!
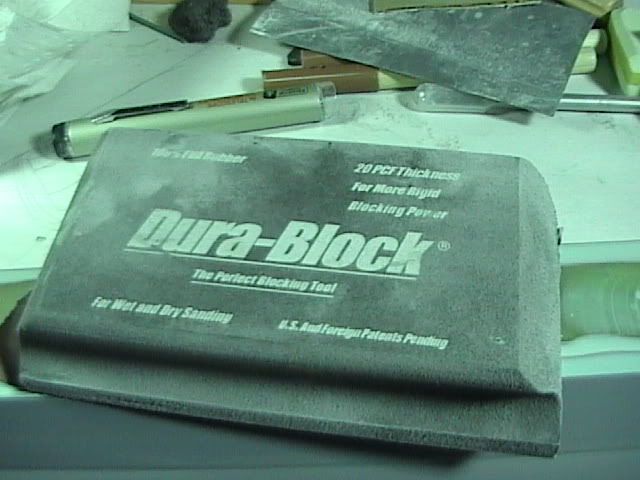
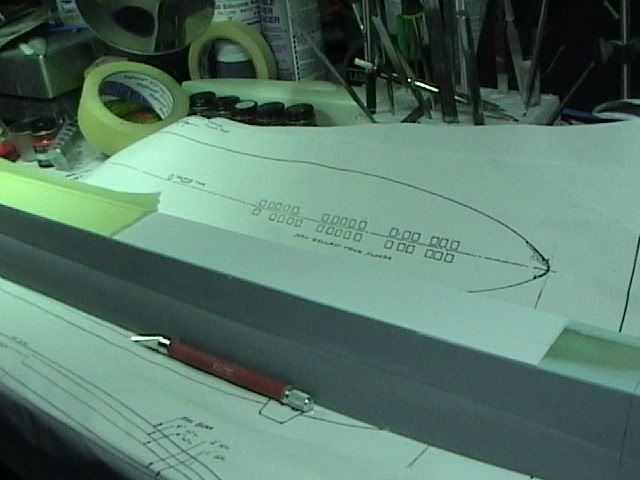
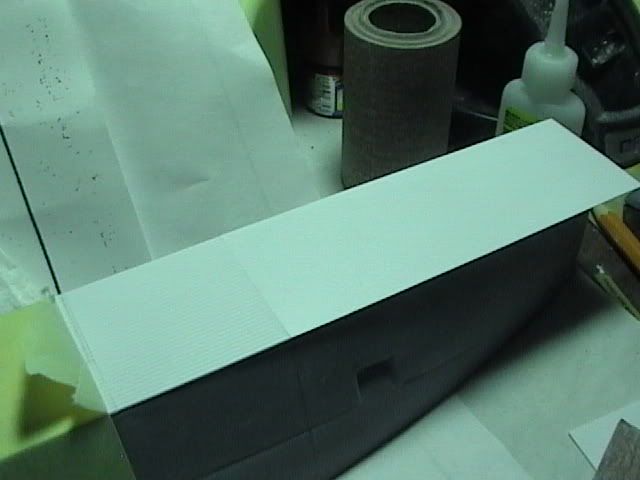
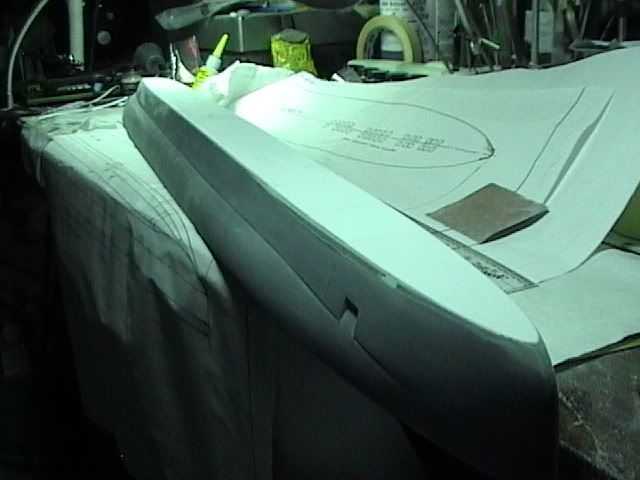
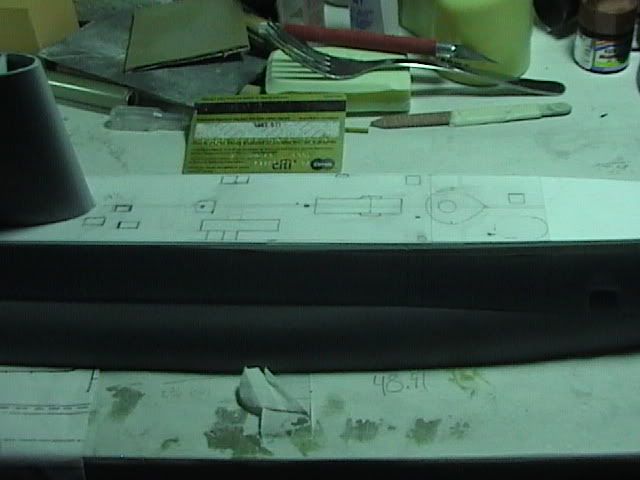
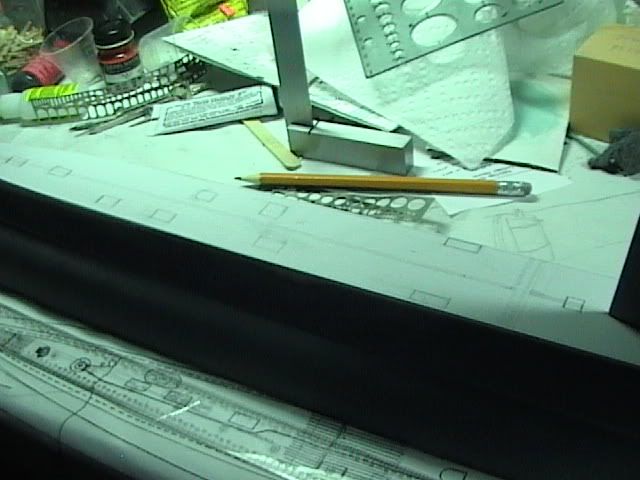
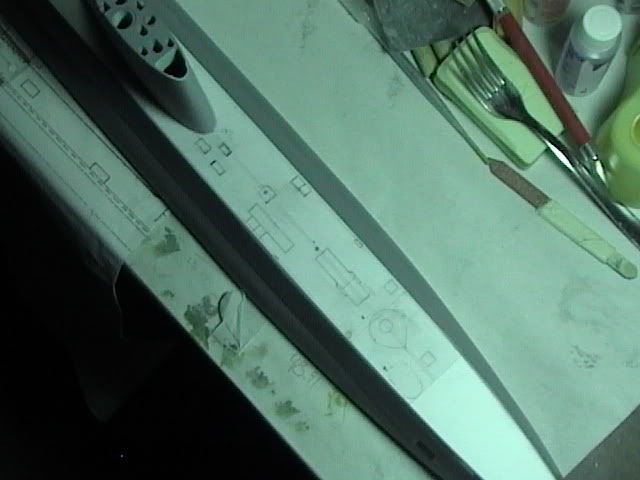
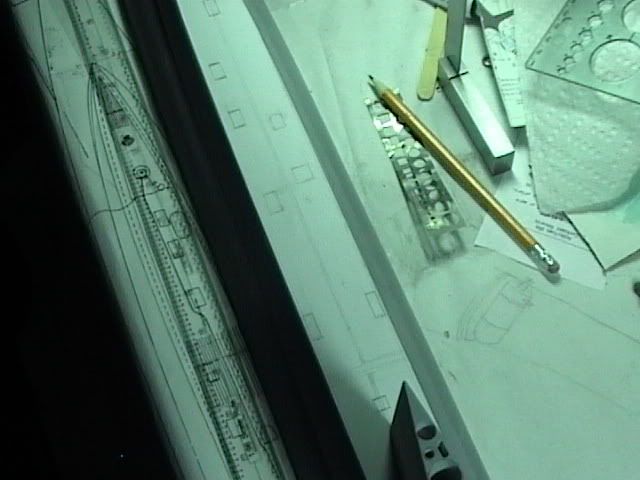
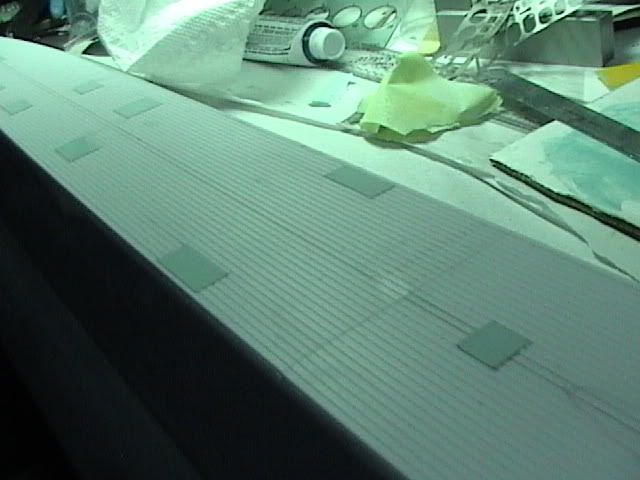
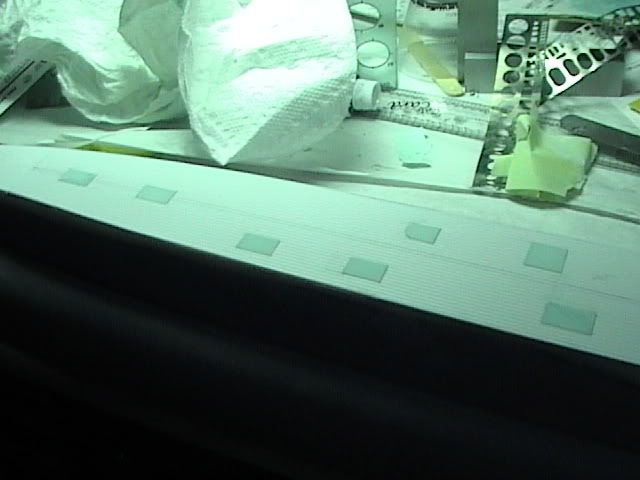
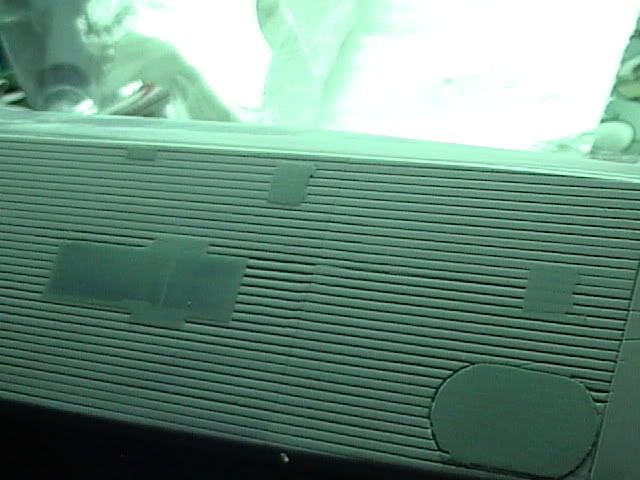
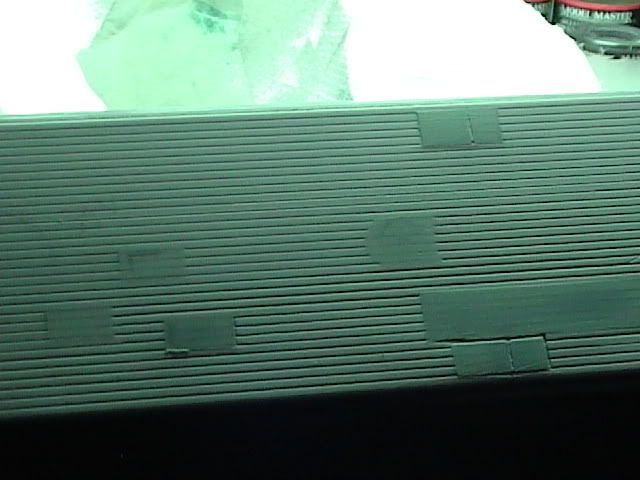
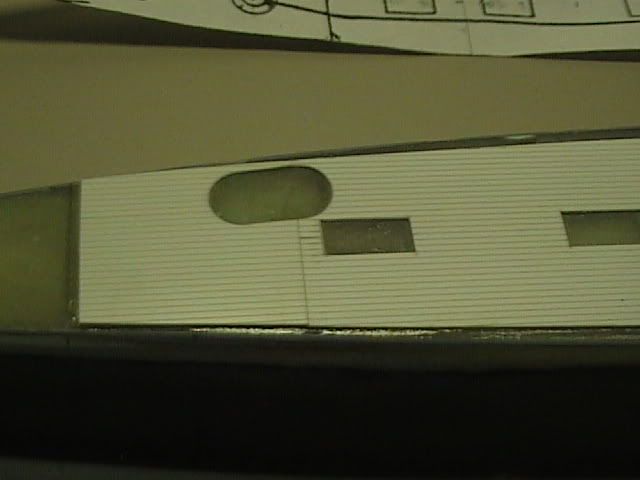
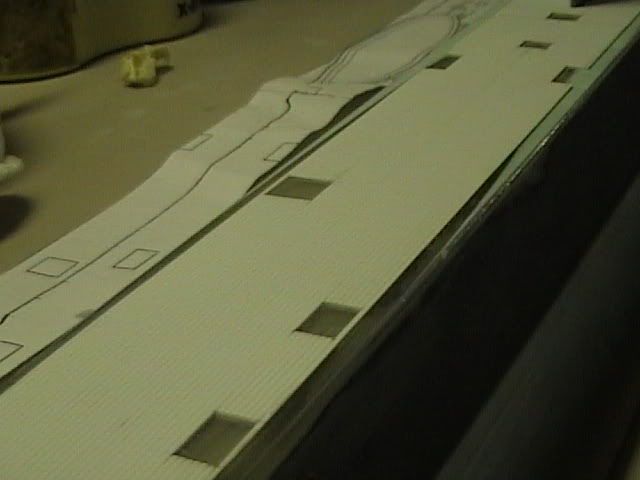
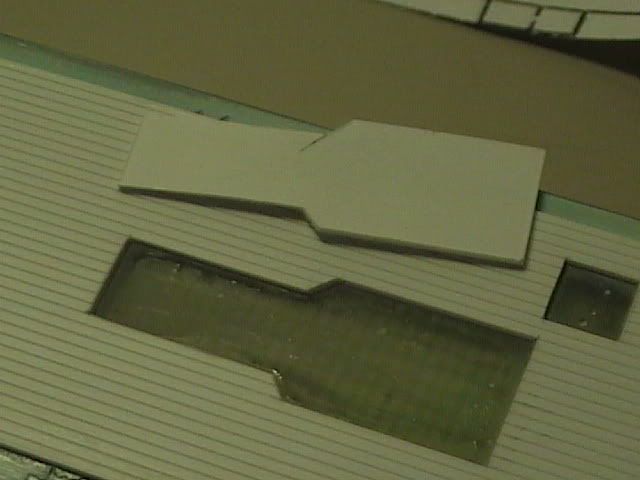
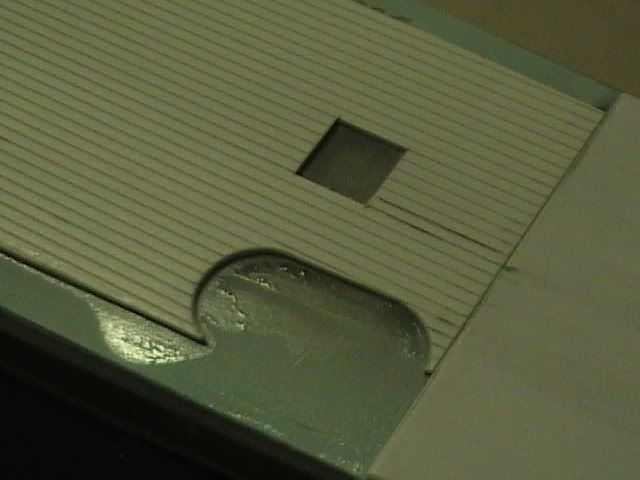
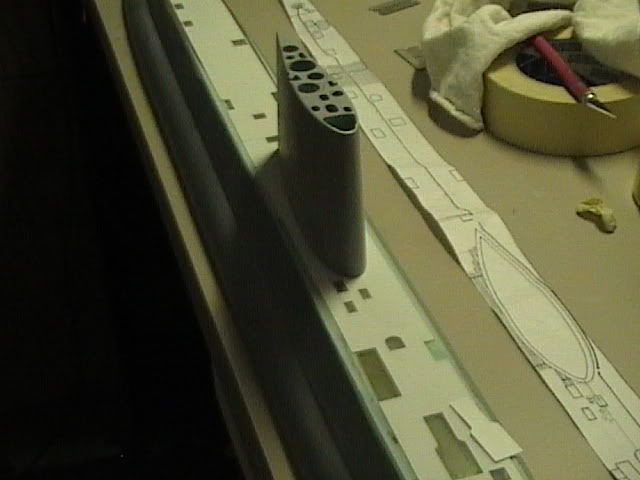
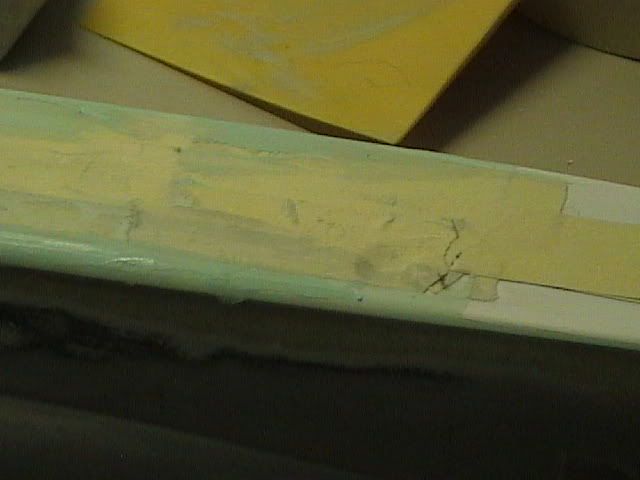
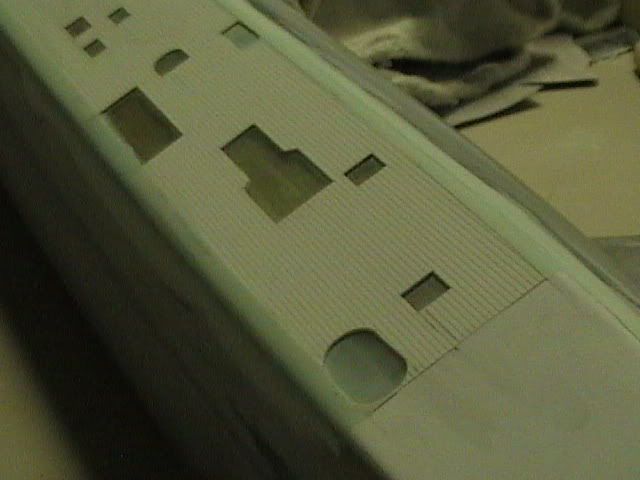
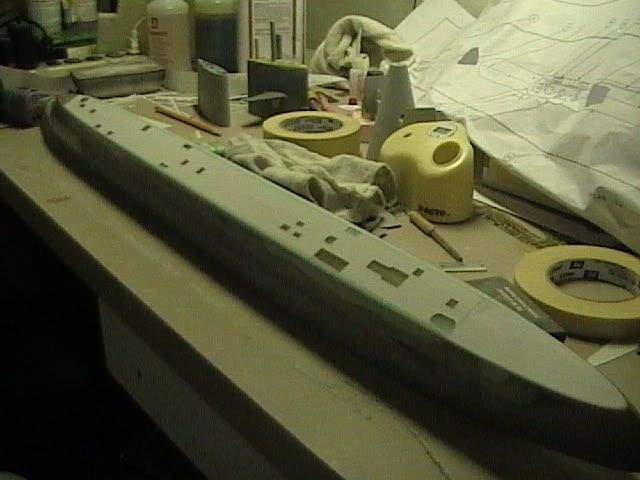
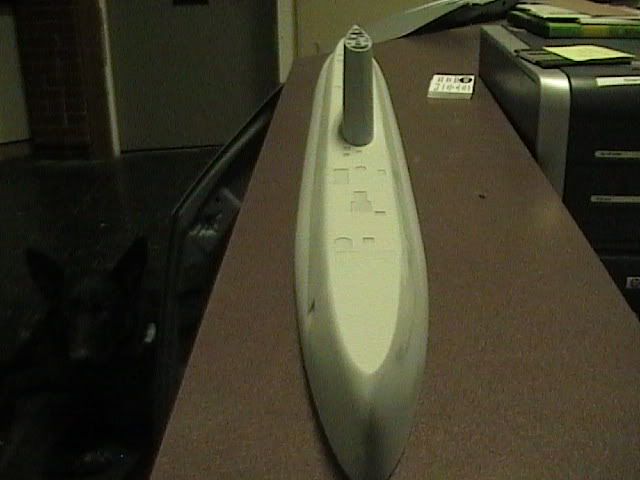
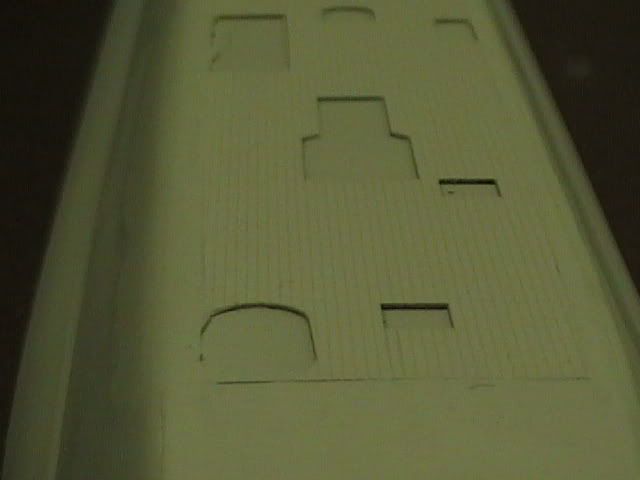
With each section in place I taped over the plastic to protect it form sticky fingers, I can’t tell how many times in the past I learned the hard way until I took the 5 second step! With all for sections in place I trimmed off the excess plastic form the deck and blocked edge to the superstructure. With that done I went to my plans and a 1/96th measuring ruler to begin the placement of detail in pencil to the deck. Again with the center line measured and a Mechanic’s square in front of the bow to pull length from, all the placement of the hatches, cleats, torpedo loading doors, and such can be place very precisely!
MORE TO COME
Brian


[img]
[/img]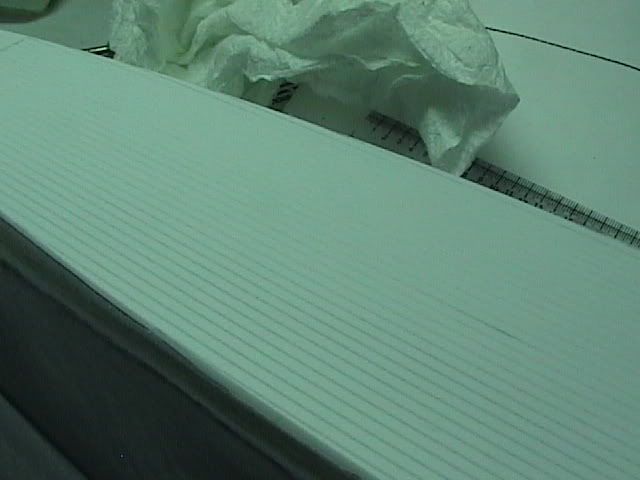
The begining of the build post can be seen at SP.
As I did 13 years ago on the first scratch build Nautilus I have done the same method on this one, but I have taken more time to ensure this one is much better that the copies floating around out their today. Buy this I mean it is going to be more accurate than the first, this time around I had three sources of photos to go on.
Pete Piekarski, Chris Nutting, and James Christly all sent me what they had taken or did some research for the effort! Steve Neill even stopped his plan to scratch build a Vac kit of the boat so I would not be out sourced in my effort to sell a few one day! Thanks Steve!!
With the deck blocked down to the height needed so the Plastruct preformed plastic sheet could be CA on the deck, it was a simple matter of re establishing the Datum line of the model for center placement of the material. I used Thick CA for this job to give me time for proper placement & to lock it down tight!
With each section in place I taped over the plastic to protect it form sticky fingers, I can’t tell how many times in the past I learned the hard way until I took the 5 second step! With all for sections in place I trimmed off the excess plastic form the deck and blocked edge to the superstructure. With that done I went to my plans and a 1/96th measuring ruler to begin the placement of detail in pencil to the deck. Again with the center line measured and a Mechanic’s square in front of the bow to pull length from, all the placement of the hatches, cleats, torpedo loading doors, and such can be place very precisely!
MORE TO COME
Brian
[img]
[/img]
The begining of the build post can be seen at SP.


 Tweet
Tweet


Comment