
The Hull Detail
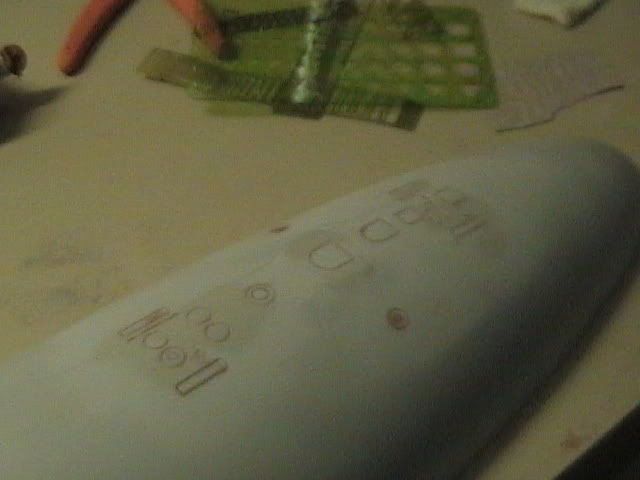
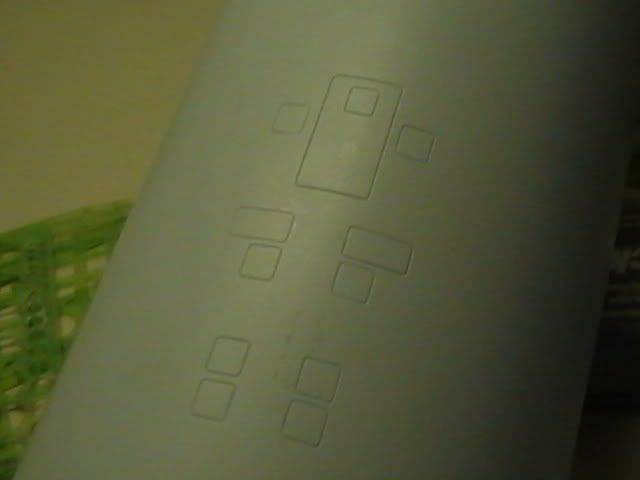
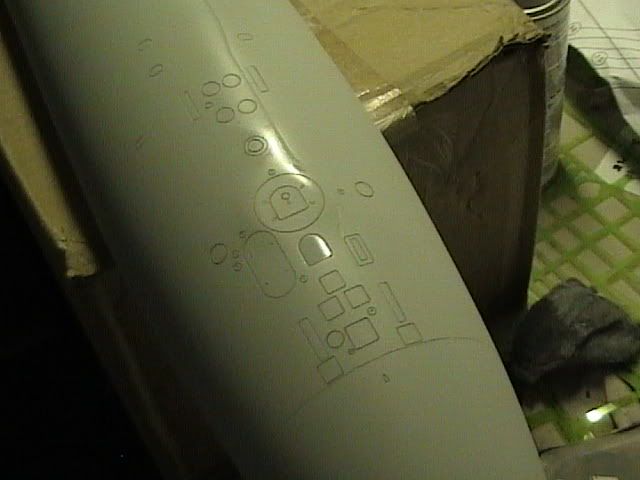
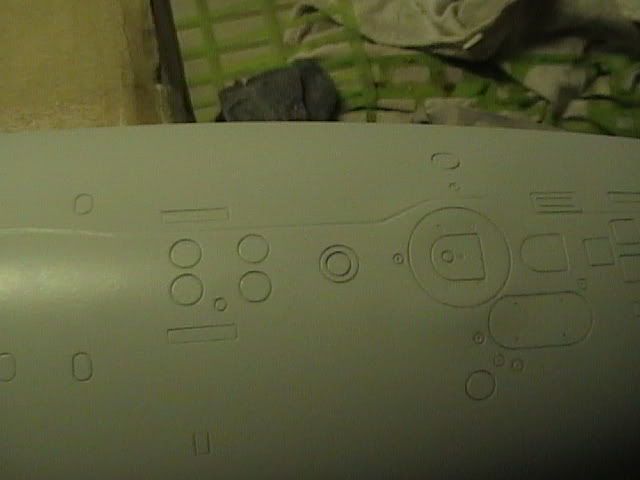
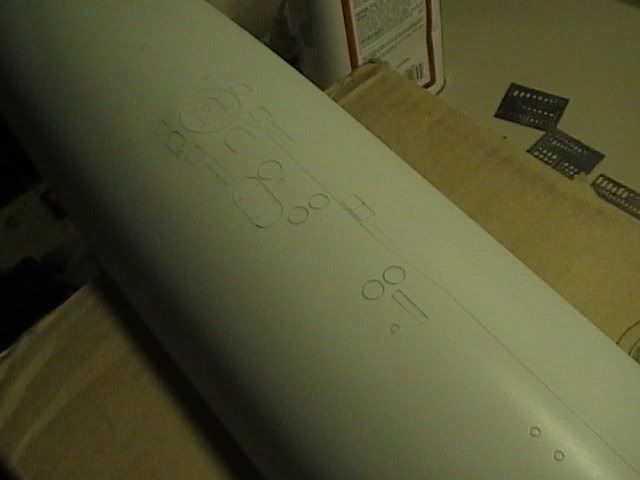
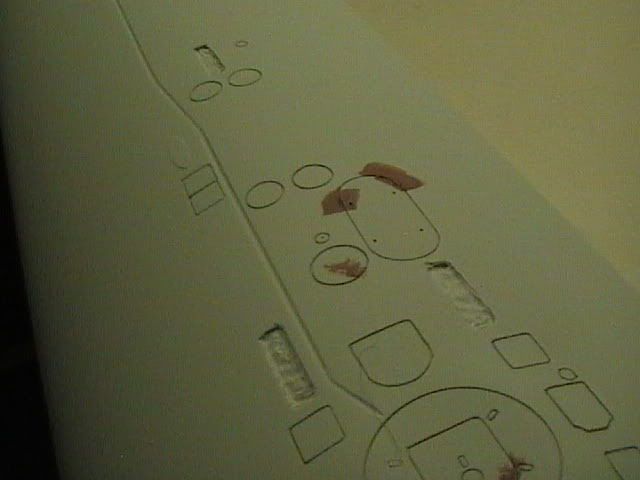
So I was near leaving this boat behind with the 212 never ending story , but I found new wind in the sails to get me going on the near complete project here. I set out doing some scribing on the hull top here and their and wound up going over all that was their, and found items on the plans that were not scribed in before.
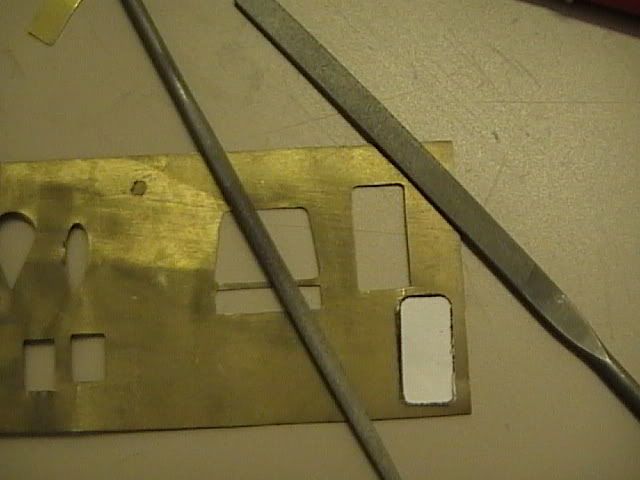
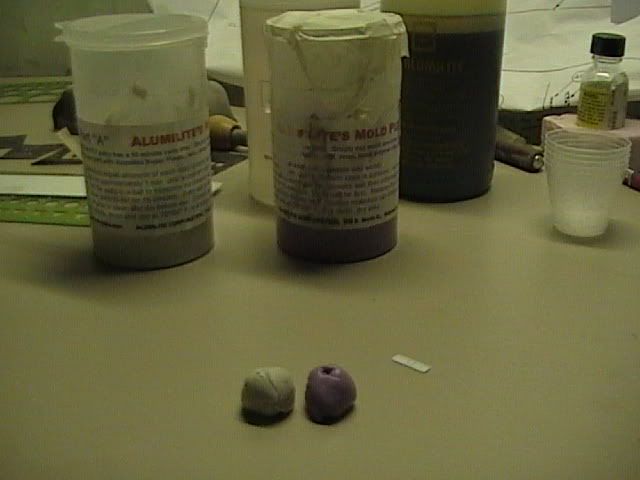
Using the Greg Sharp plans, I found that a lot of little bit’s were left off the hull from Dan, and I like a finer scribe line on my models. Most of the shapes were found in my Template collection, but others had to be made by the old fashion way of filing brass sheet to get my scribing template. There is a second coarse of action and that is Photo Etching your Templates, but I am not that tried and tested in the method.
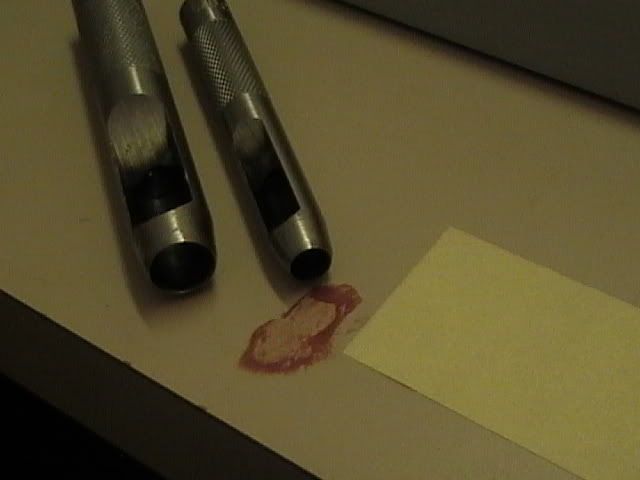
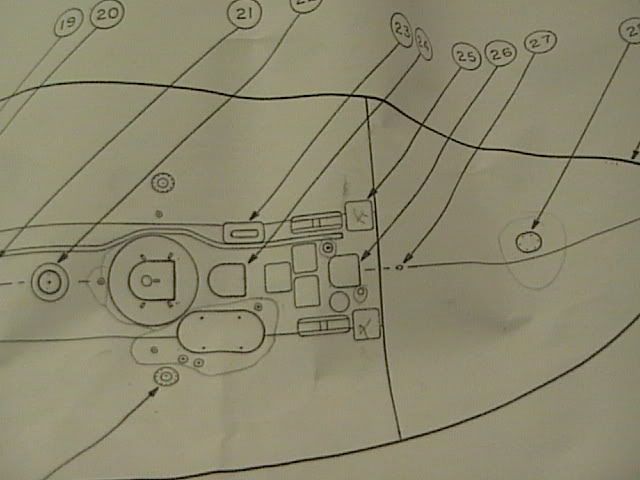
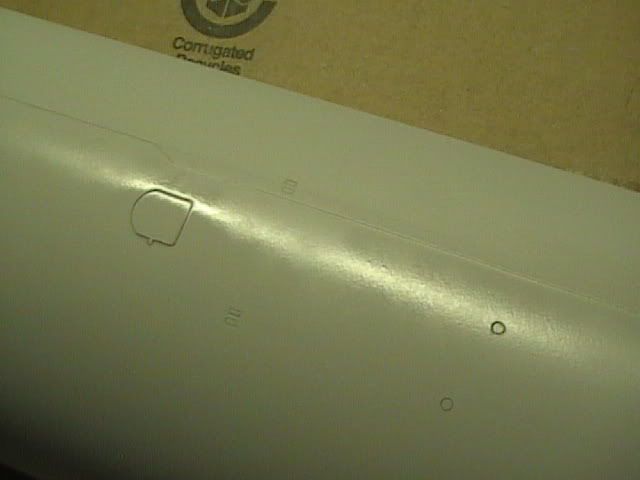
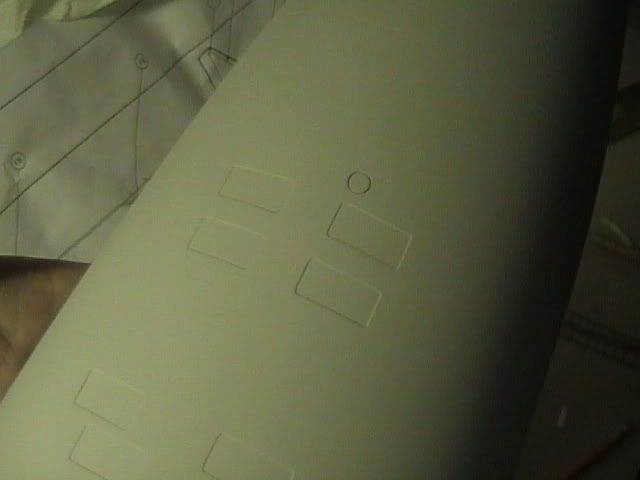
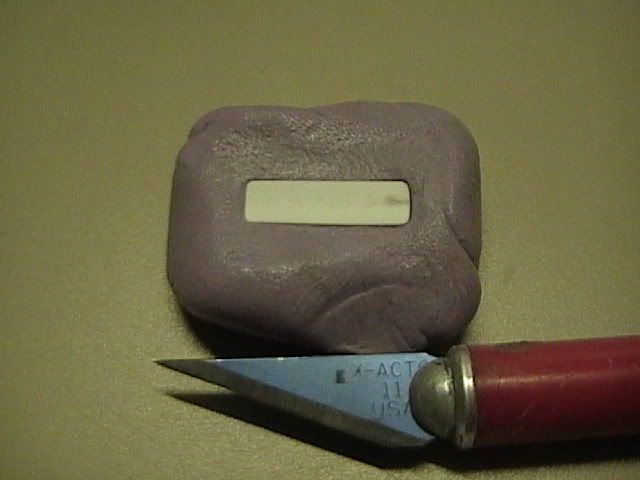
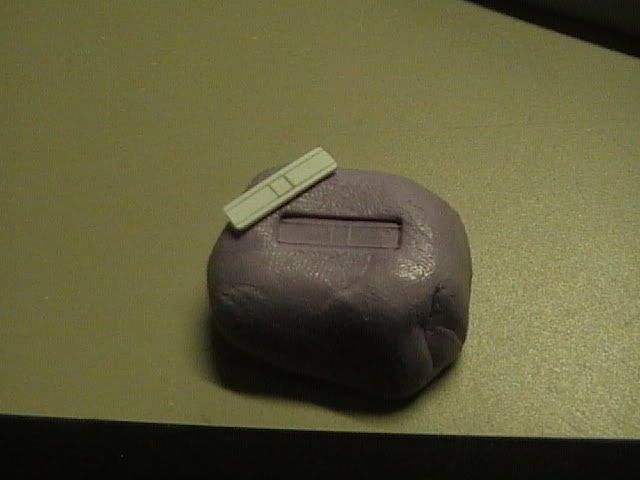
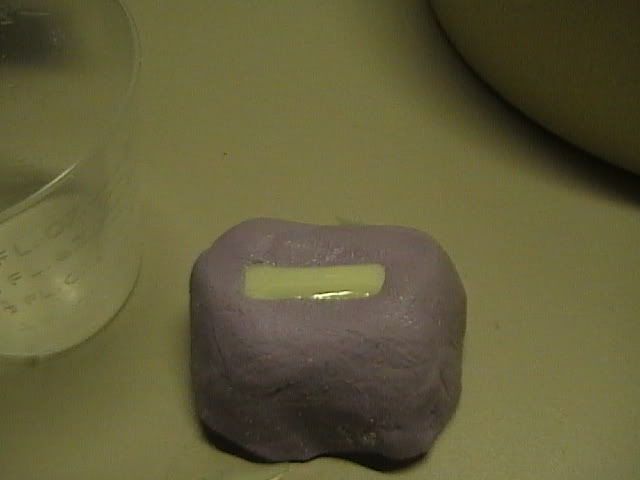
So basically I tend to copy right off the plans the shapes needed to be engraved to the subject. In this case I still had room on the first Template I made by hand for the Sturgeon’s Sail and having them all on one sheet will be good if I needed to redo any of them later. I made the pattern on the brass and then drilled out a few access holes, from here I used my Vertical file tool to do the main filing, then I tighten up the corners by hand file.
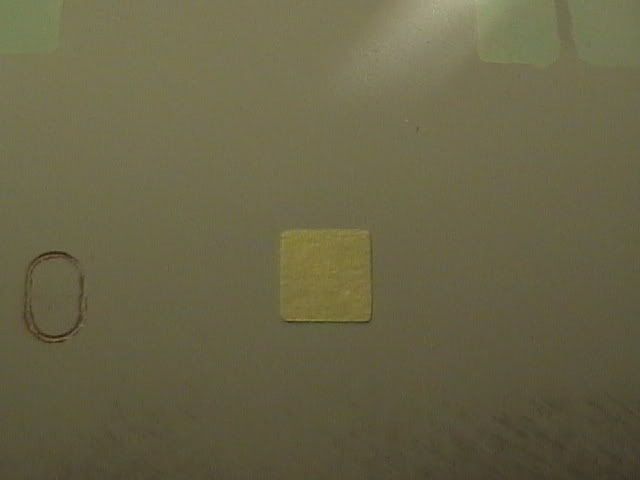
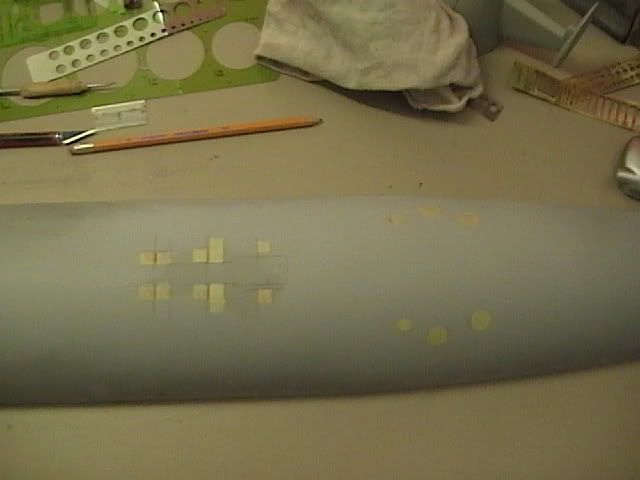
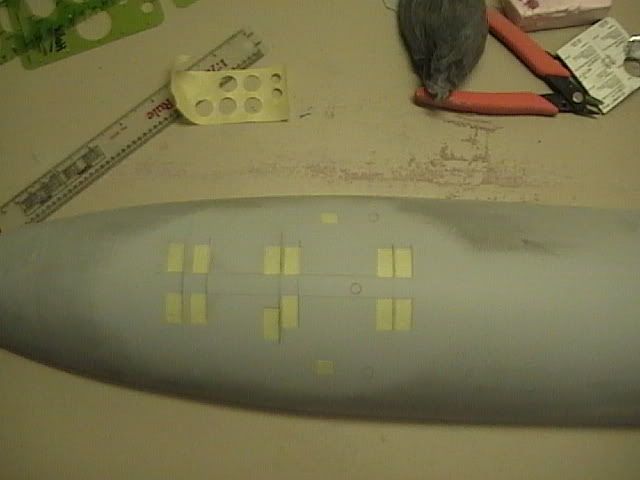
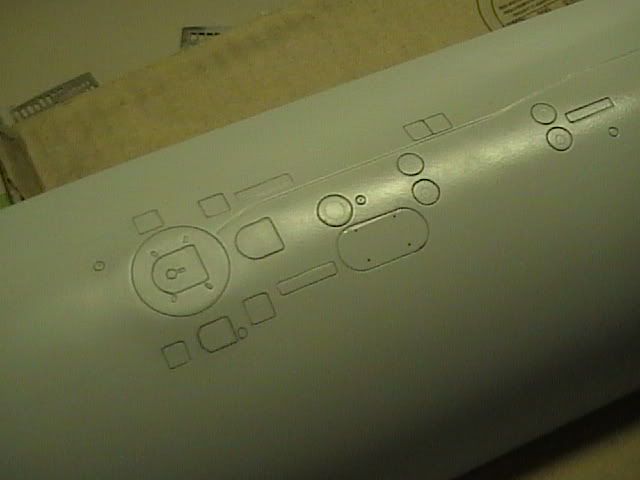
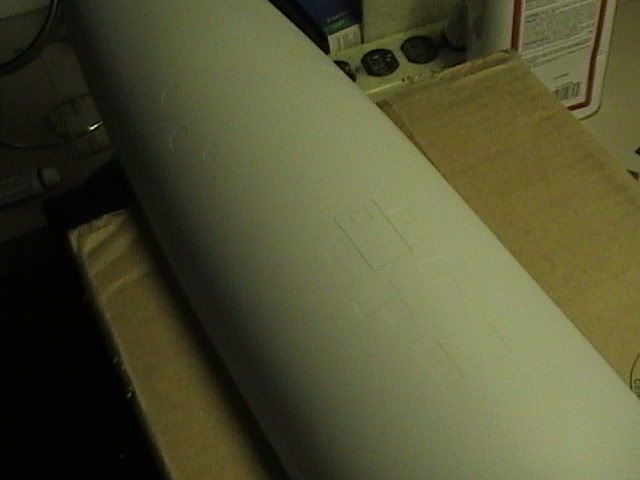
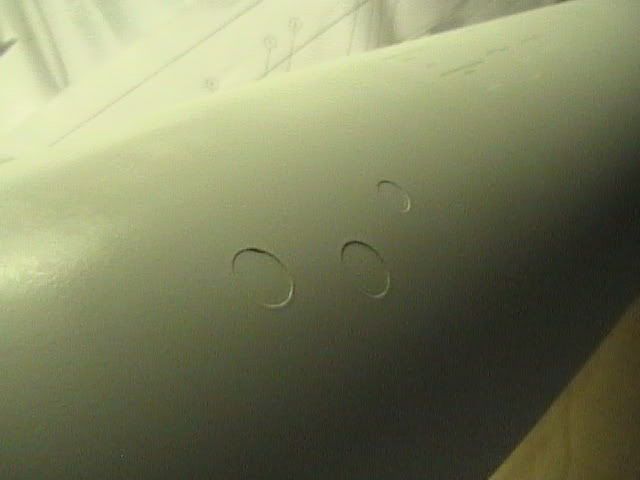
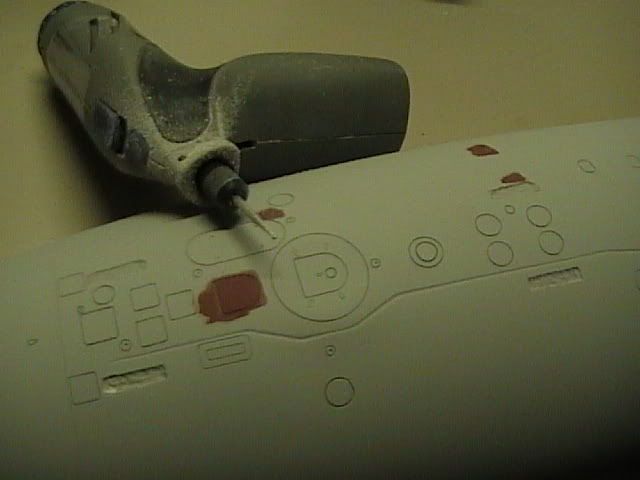
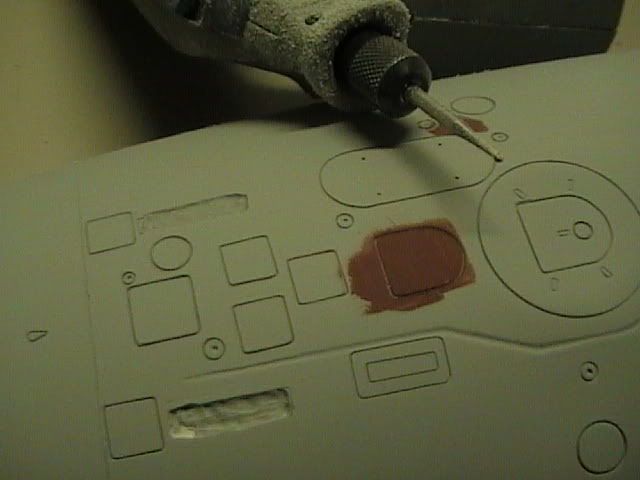
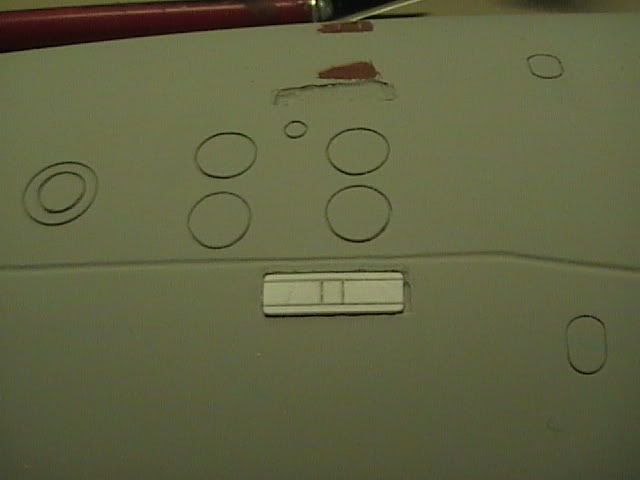
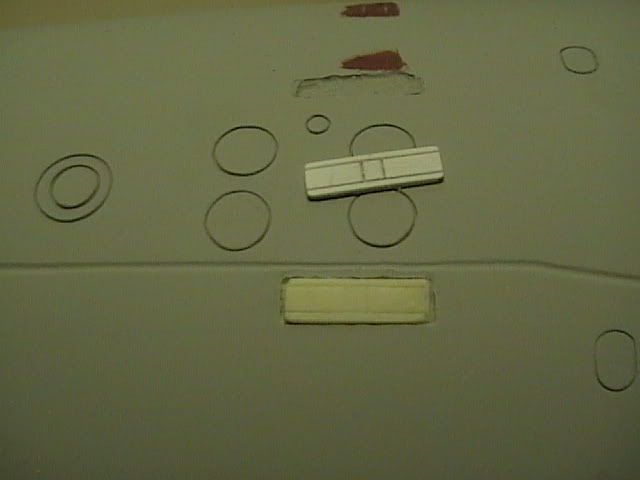
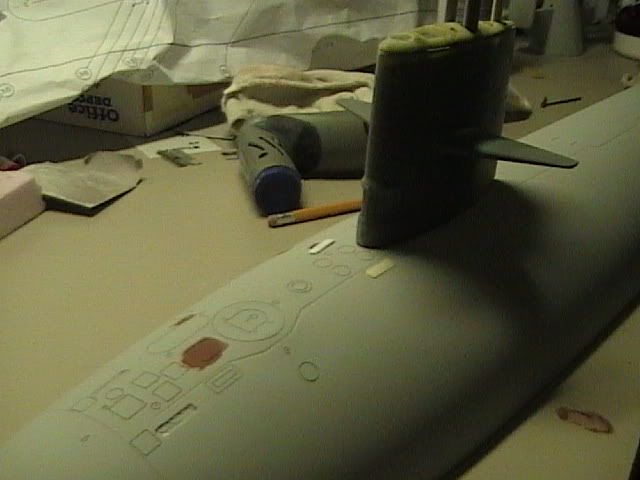
On the bottom I wanted recessed flood drains, I took a Q from Steve and Pete the way they enjoy doing recessed detail areas. Using regular auto body tape and laid my template over it, then cut out the shapes and placed them where the plans showed the flood vents to be. For the circles I used a punch for the tape cut and placed it on the hull. Priming over these later will build up a film so when the tape is removed it will leave a recessed pattern, and the results worked well! With enough primer build up (4 to 5 coats) the look was achieved with great results, and can be done even more efficiently with a vinyl printer set up that will cut the patterns from your drawings. I talked with Joel the other day and some good news for me is he had offered to send me a set of his Photo Etch work to use on the Sturgeon, at first I did not think that would be of any good to me cause of two different subs, but then it would be very nice to have his MBV etch part’s for the model. My plan for that is to simply dig out the round vents you see on the model, and apply the etch parts in to the sub’s hull, I will set the pieces so they are just a tad raised to the hulls surface skin. The mold process will pick the finest detail when done and their will be no need to include them as PE part’s for the boat, I will however make up grills for the bottom floods. Also I have made the Cleats for the top of the hull and plan to dig out the upper hull spot’s on the model and insert them. Later a modeler can fill in the fine engraved lines and set the cast cleat itself in they wish!
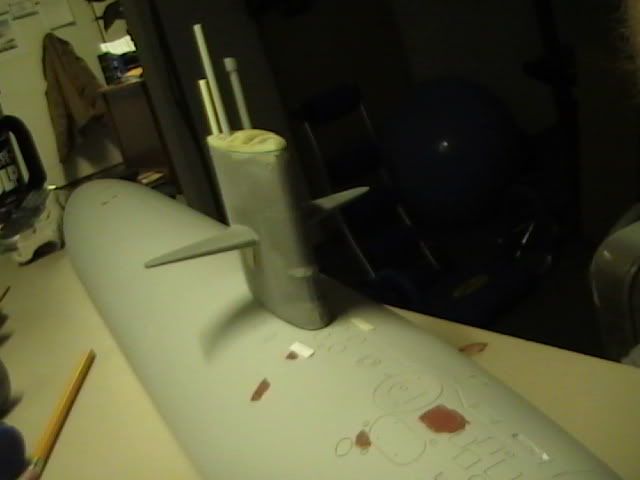
Still plan on adding a few other things in the way of detail to the hull but the look of the deck is getting closer now, when this is done I am off to molds for this boat.
MORE TO COME
Brian
Photos in order of Before to now.


So I was near leaving this boat behind with the 212 never ending story , but I found new wind in the sails to get me going on the near complete project here. I set out doing some scribing on the hull top here and their and wound up going over all that was their, and found items on the plans that were not scribed in before.
Using the Greg Sharp plans, I found that a lot of little bit’s were left off the hull from Dan, and I like a finer scribe line on my models. Most of the shapes were found in my Template collection, but others had to be made by the old fashion way of filing brass sheet to get my scribing template. There is a second coarse of action and that is Photo Etching your Templates, but I am not that tried and tested in the method.
So basically I tend to copy right off the plans the shapes needed to be engraved to the subject. In this case I still had room on the first Template I made by hand for the Sturgeon’s Sail and having them all on one sheet will be good if I needed to redo any of them later. I made the pattern on the brass and then drilled out a few access holes, from here I used my Vertical file tool to do the main filing, then I tighten up the corners by hand file.
On the bottom I wanted recessed flood drains, I took a Q from Steve and Pete the way they enjoy doing recessed detail areas. Using regular auto body tape and laid my template over it, then cut out the shapes and placed them where the plans showed the flood vents to be. For the circles I used a punch for the tape cut and placed it on the hull. Priming over these later will build up a film so when the tape is removed it will leave a recessed pattern, and the results worked well! With enough primer build up (4 to 5 coats) the look was achieved with great results, and can be done even more efficiently with a vinyl printer set up that will cut the patterns from your drawings. I talked with Joel the other day and some good news for me is he had offered to send me a set of his Photo Etch work to use on the Sturgeon, at first I did not think that would be of any good to me cause of two different subs, but then it would be very nice to have his MBV etch part’s for the model. My plan for that is to simply dig out the round vents you see on the model, and apply the etch parts in to the sub’s hull, I will set the pieces so they are just a tad raised to the hulls surface skin. The mold process will pick the finest detail when done and their will be no need to include them as PE part’s for the boat, I will however make up grills for the bottom floods. Also I have made the Cleats for the top of the hull and plan to dig out the upper hull spot’s on the model and insert them. Later a modeler can fill in the fine engraved lines and set the cast cleat itself in they wish!
Still plan on adding a few other things in the way of detail to the hull but the look of the deck is getting closer now, when this is done I am off to molds for this boat.
MORE TO COME
Brian
Photos in order of Before to now.


Comment