hi again all...
ive got more free time on my hands while in between careers, and trying to ride the wave of momentum from getting the copeland los angeles running... so, project #2.
back in feb 2006 i purchased a small world models lafayette class boat, rtr, from tom carroll. unfortunately, for the past 2+ years its more or less sat in storage.
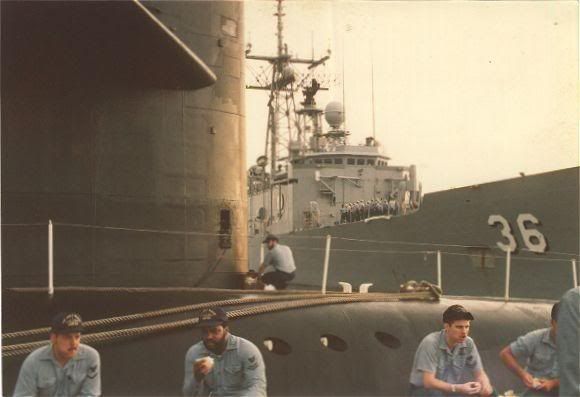
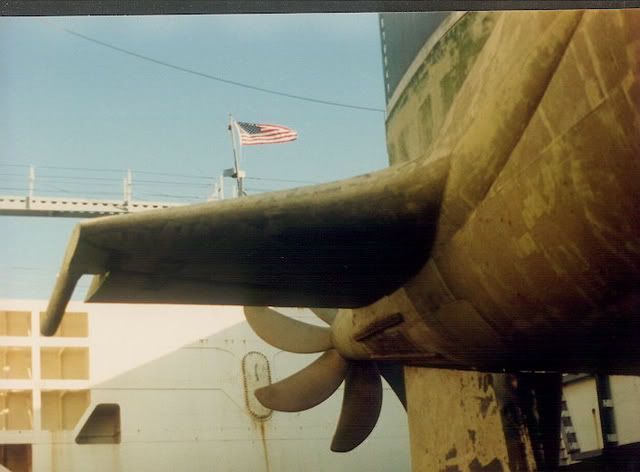
my brother in law served on the tecumseh, roughly the same class boat. ive always wanted to build a tecumseh, and finally have the time to refit this boat. so here goes...
this will be basically a photo commentary. descriptions are below each photo... feel free to bash me or offer suggestions...
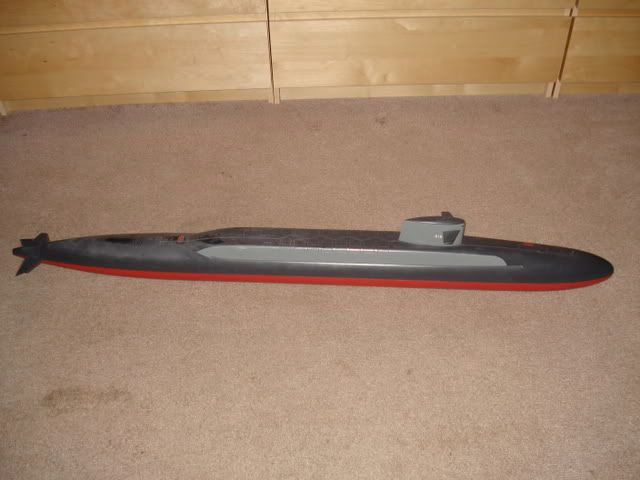
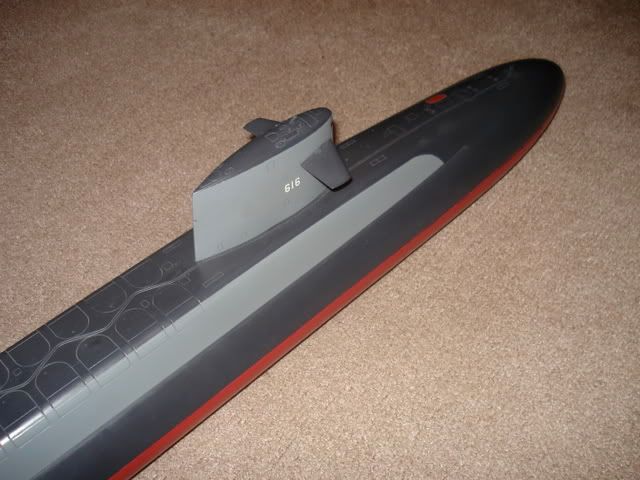
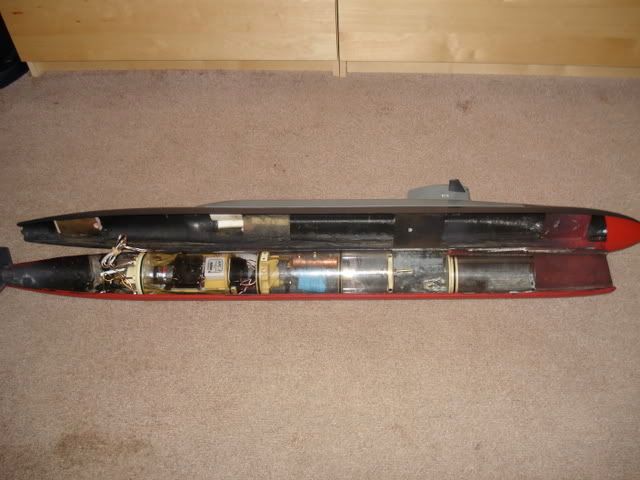
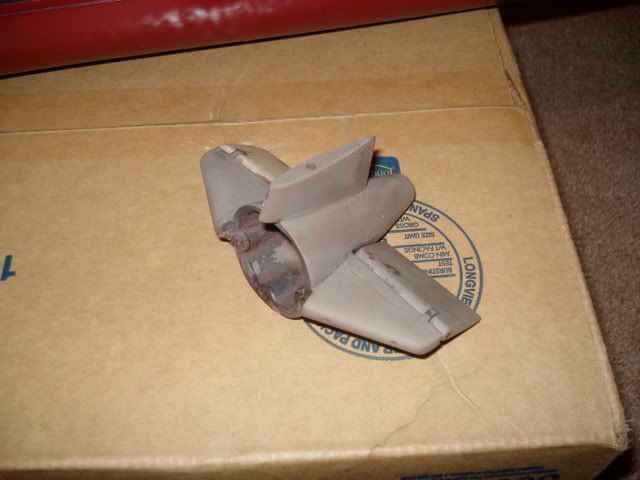
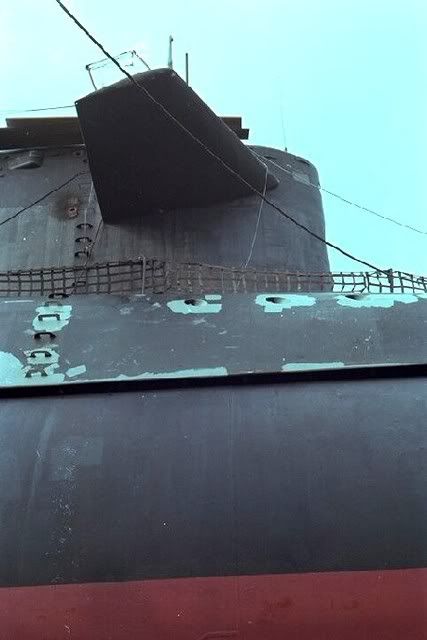
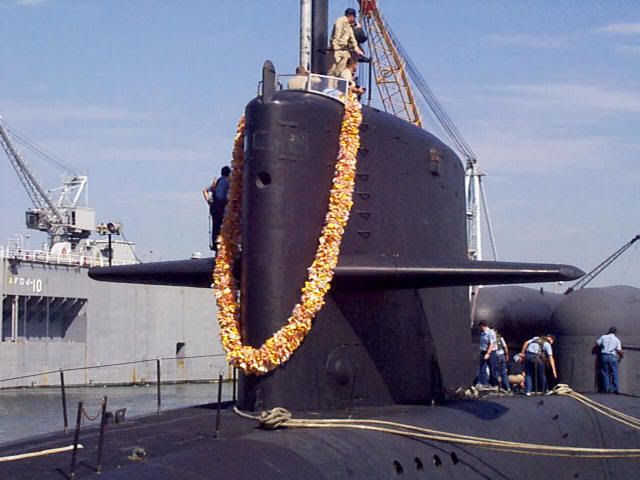
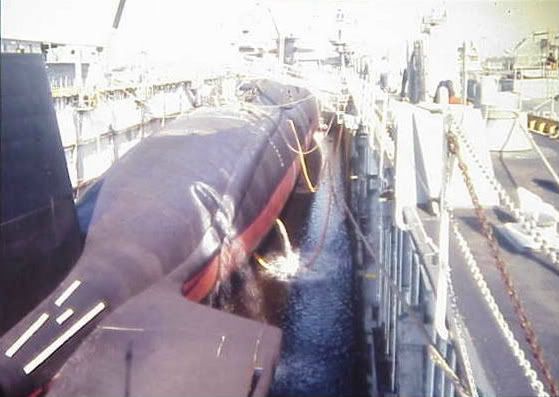
the lafayette as it was purchased. i did remove the rudders and prop for transportation purposes.
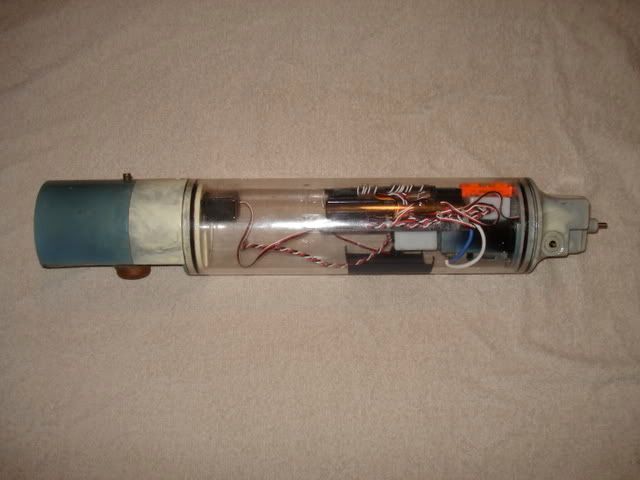
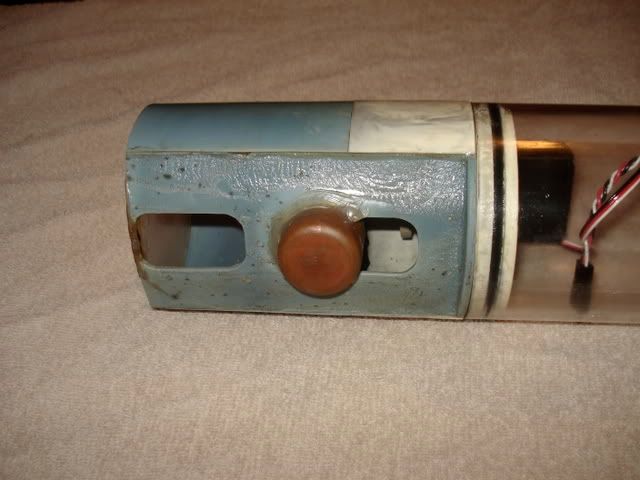
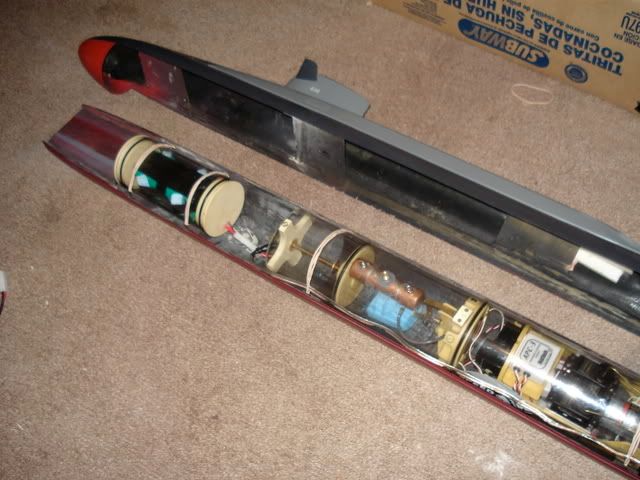
the wtc that came with the boat. the radio and electronics were also included.
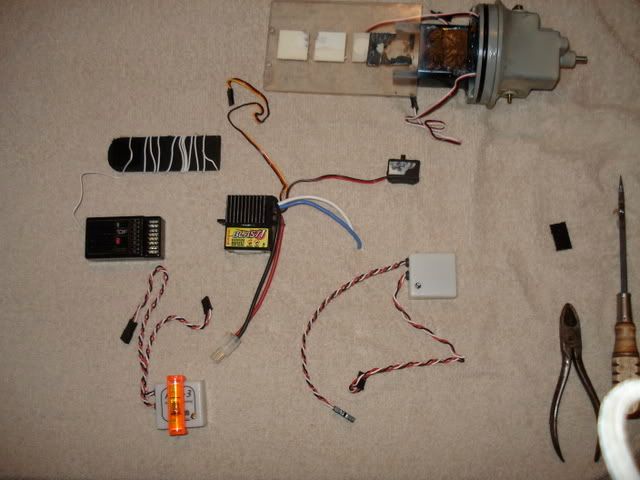
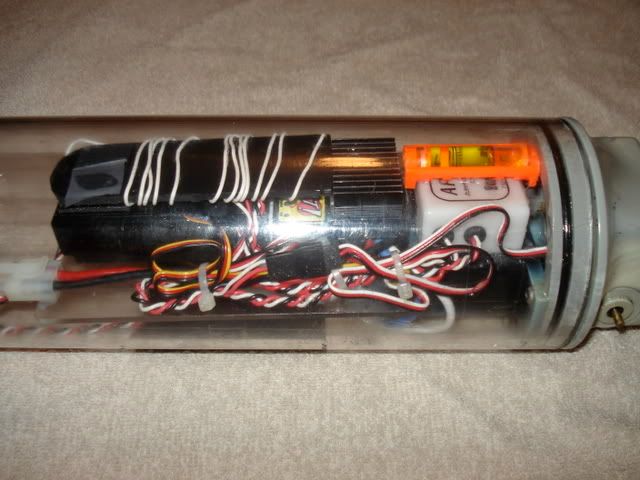
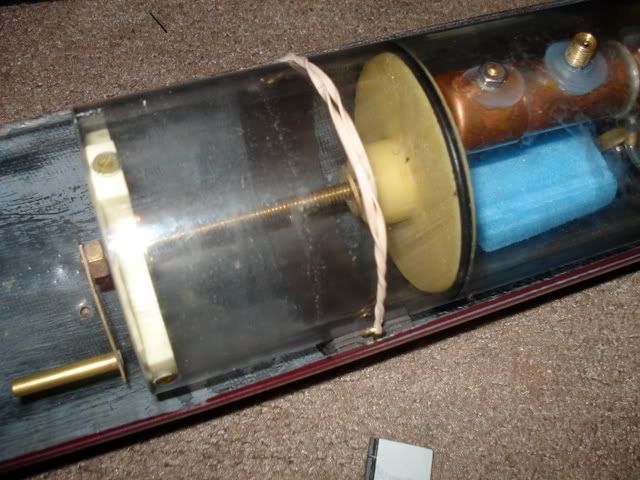
i ripped the guts out of the original wtc to transfer to a merriman wtc 3.5
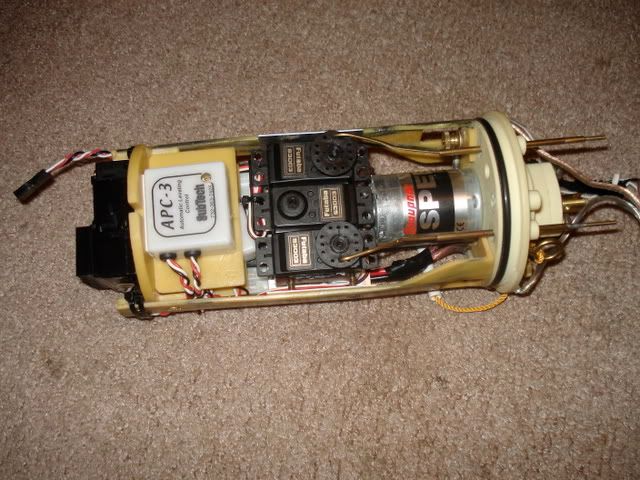
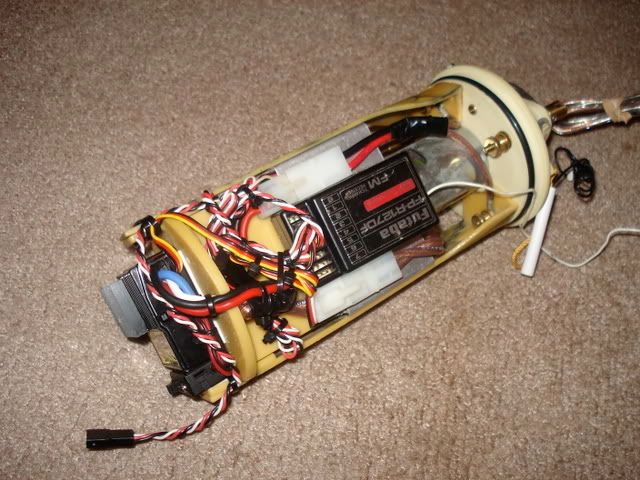
luckily everything still worked fine, and made an easy transition to the new wtc. it also gave me something to do after halftime of the monday night green bay game
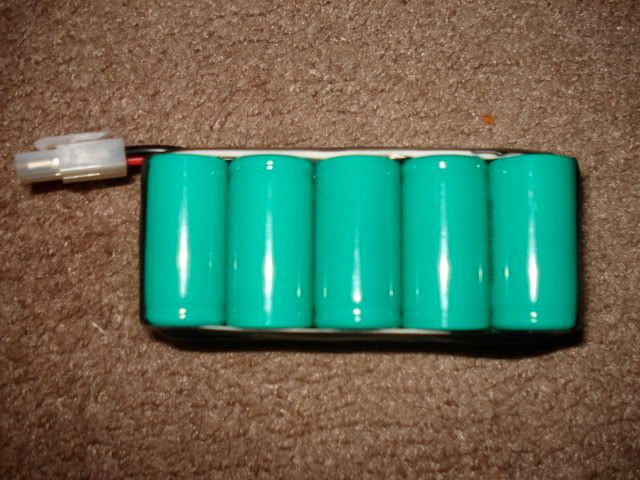
ill be using 10 1.2v 3000mah c-sized batteries in a small wtc forward of the wtc3.5
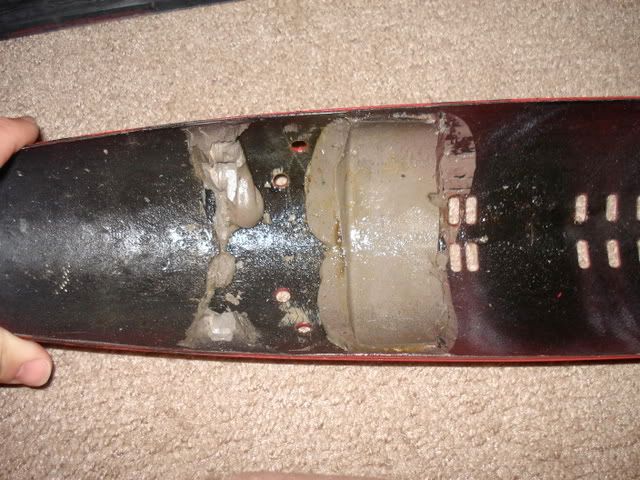
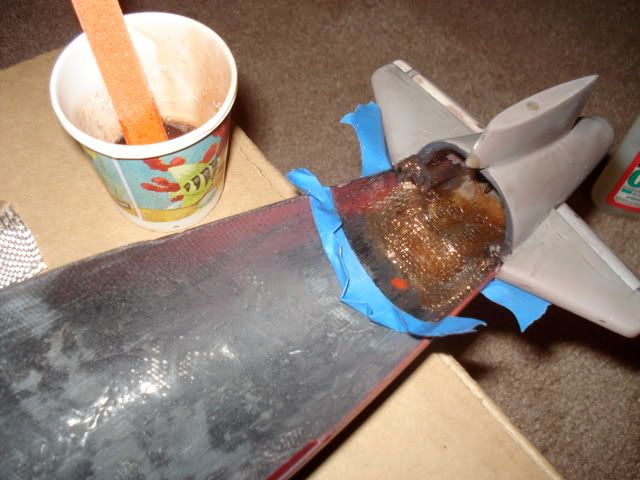
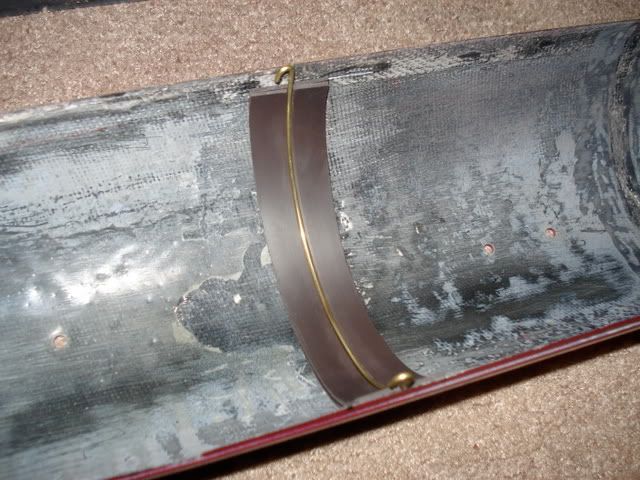
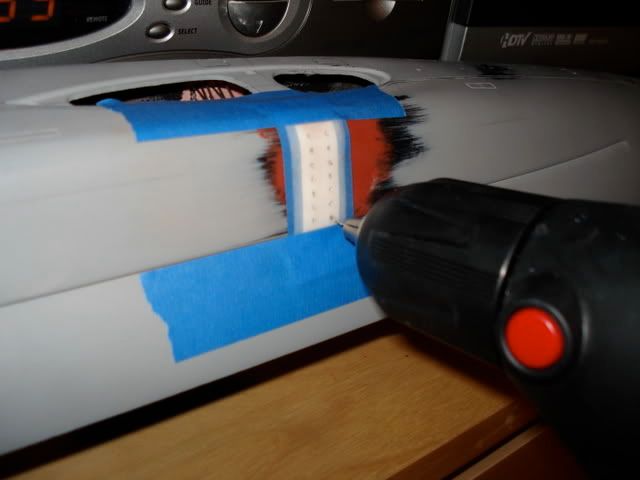
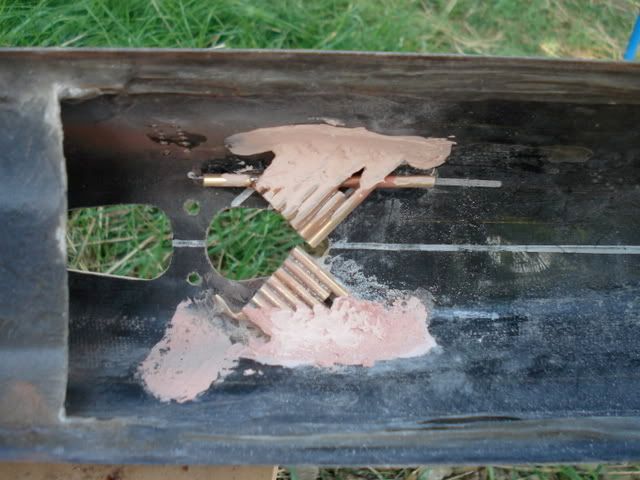
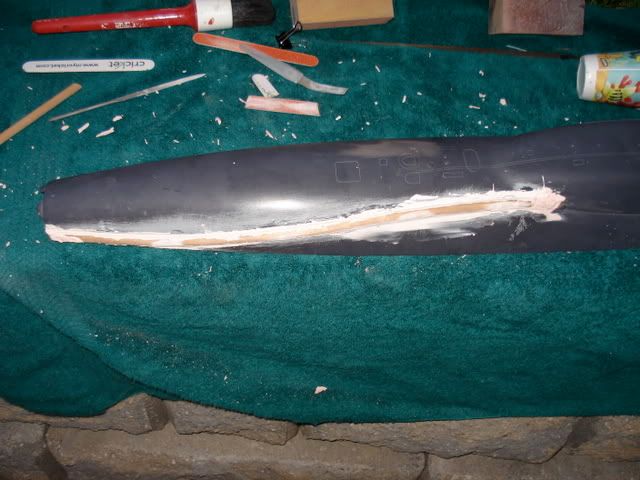
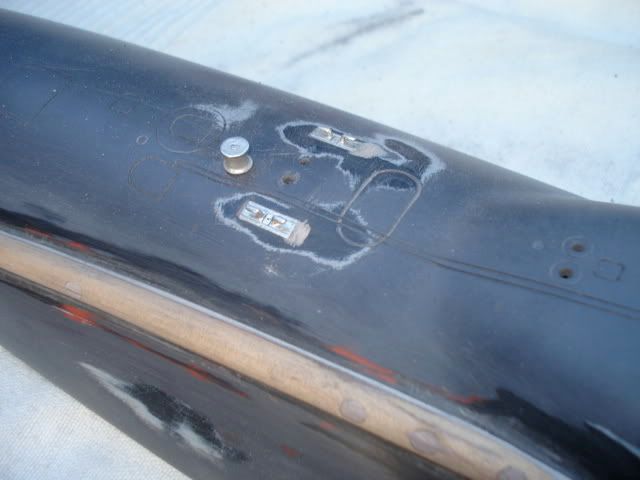
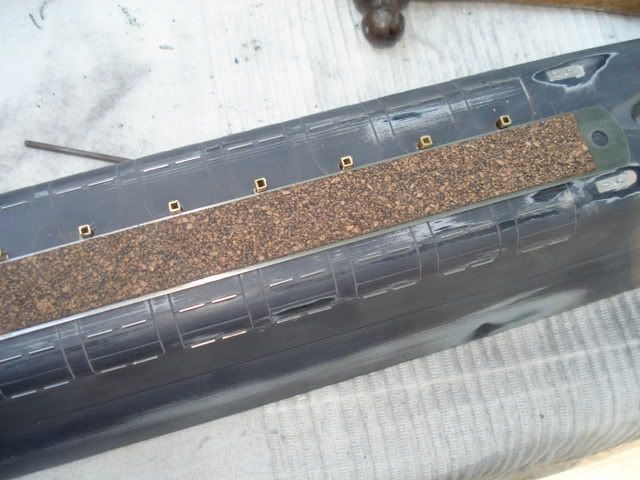
the saddles for the original wtc were made of bondo. they had to go....
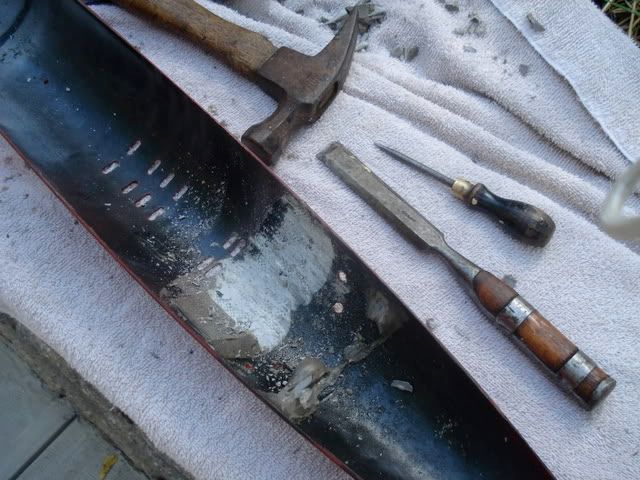
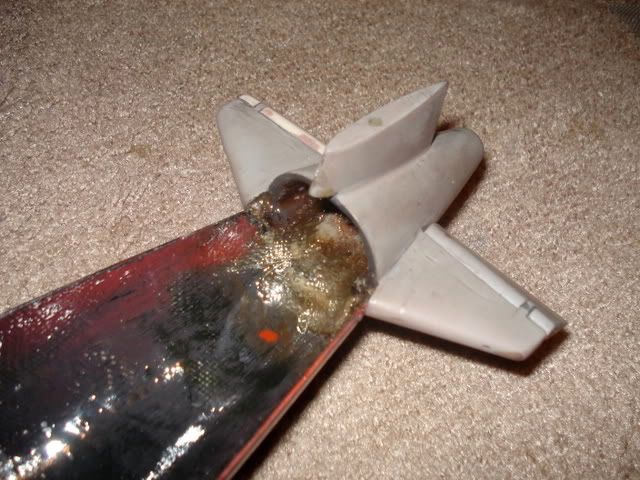
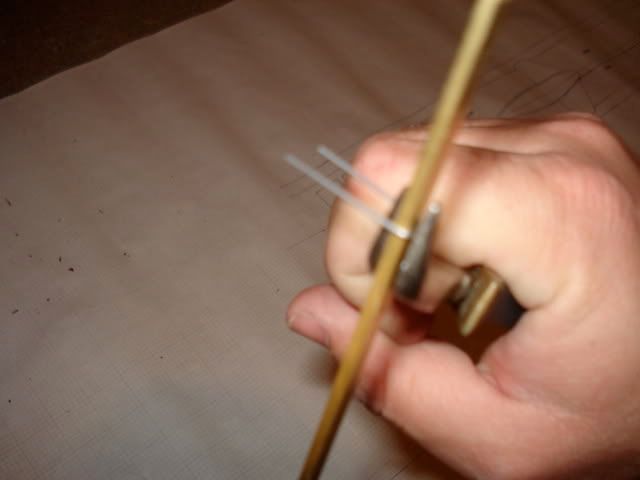
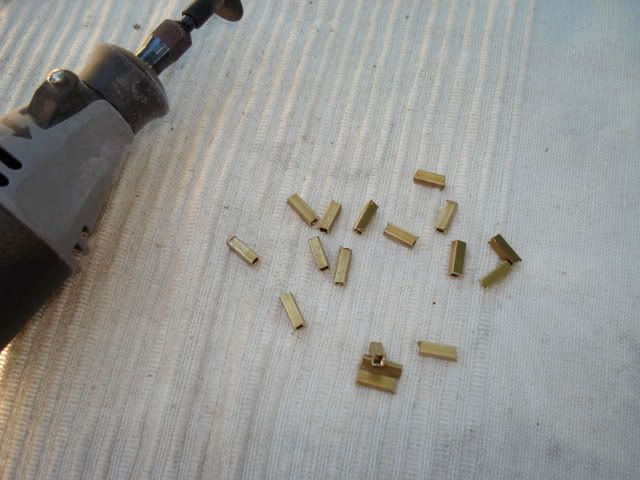
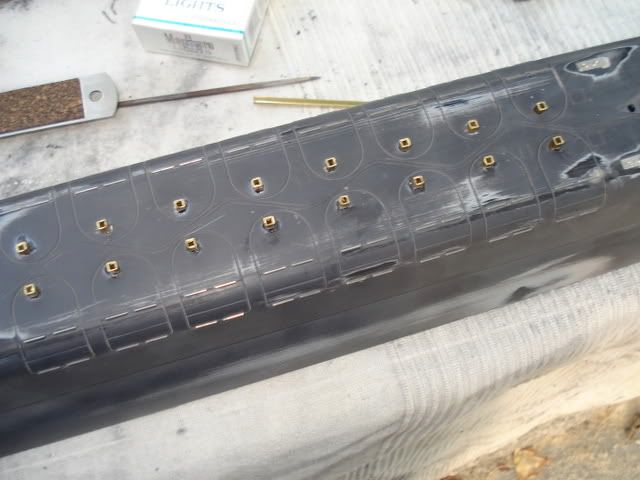
...so i had to chisel it all out, one painfully frustrating piece at a time
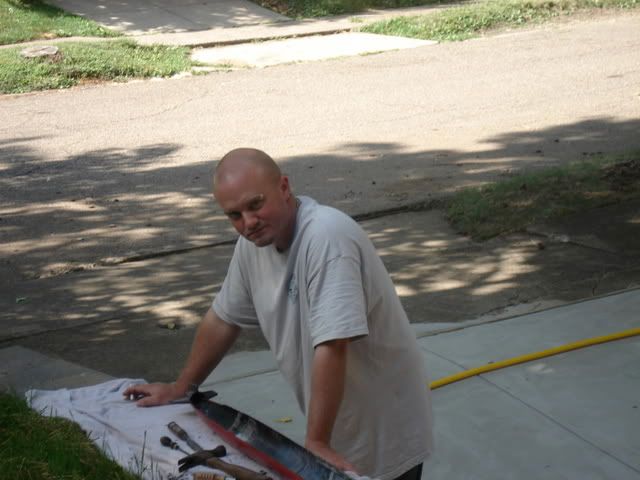
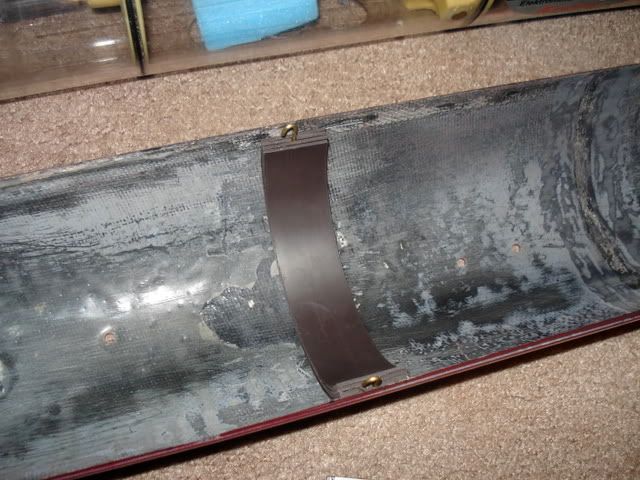
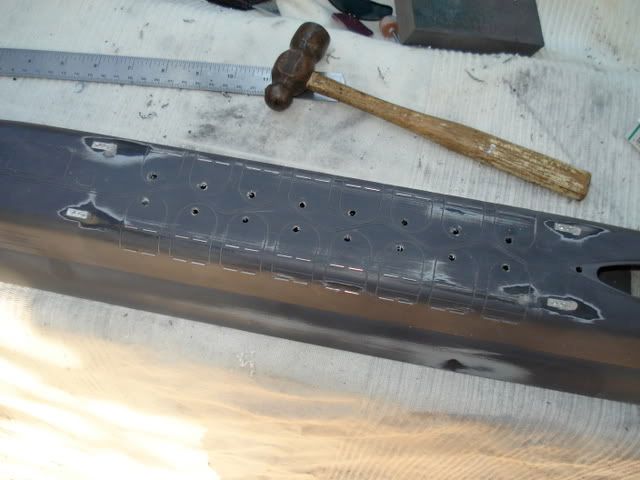
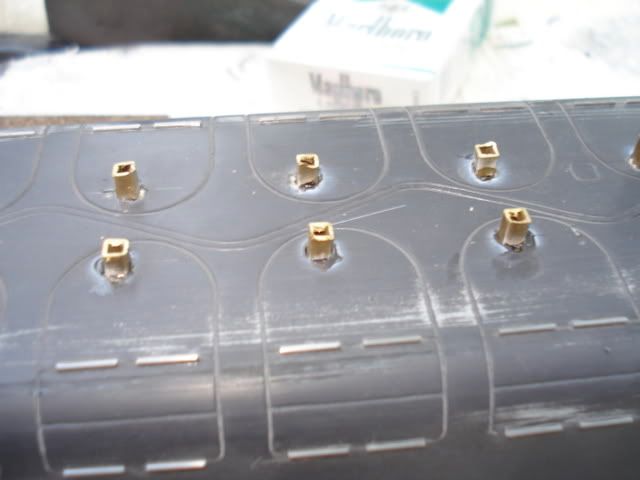
can i PLEASE quit scraping crap outta the bottom hull yet? seriously..... my freakin' hands are bleeding....
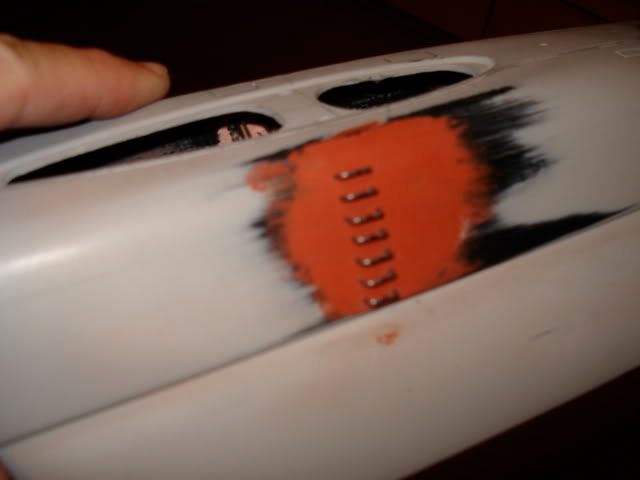
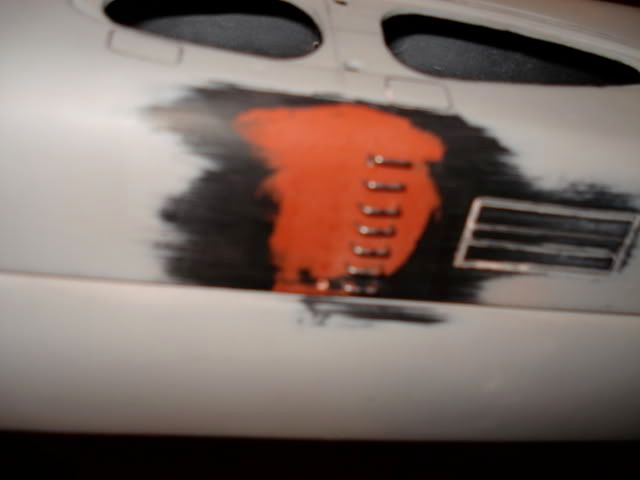
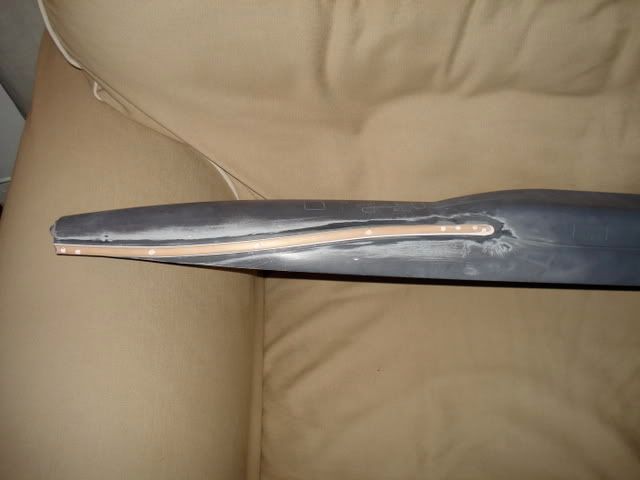
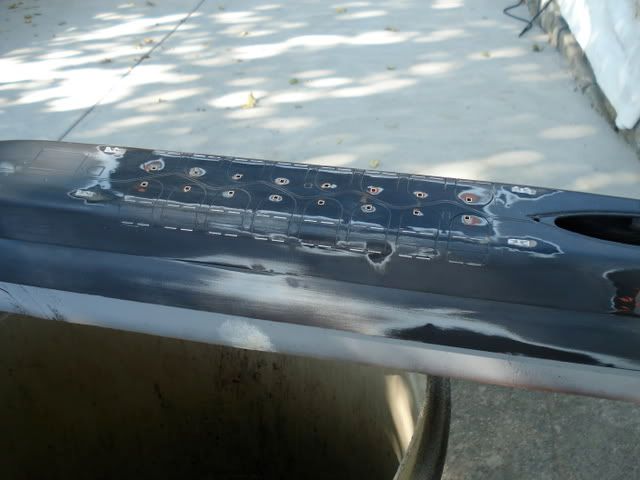
its all out and sanded down. ugh...
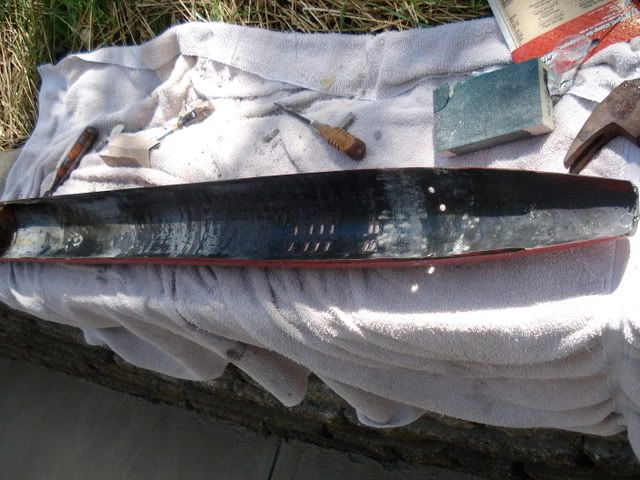
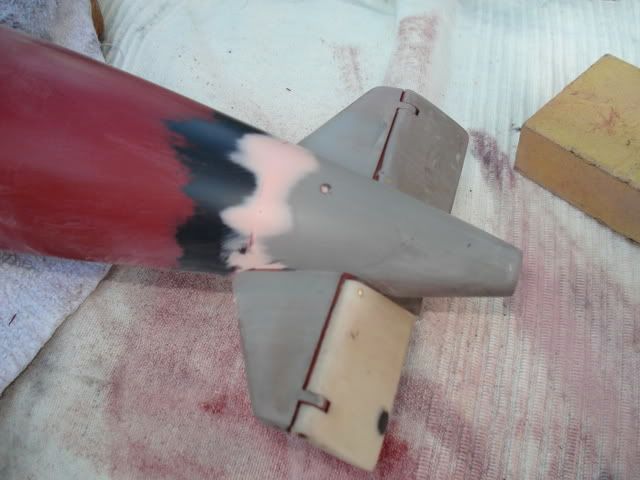
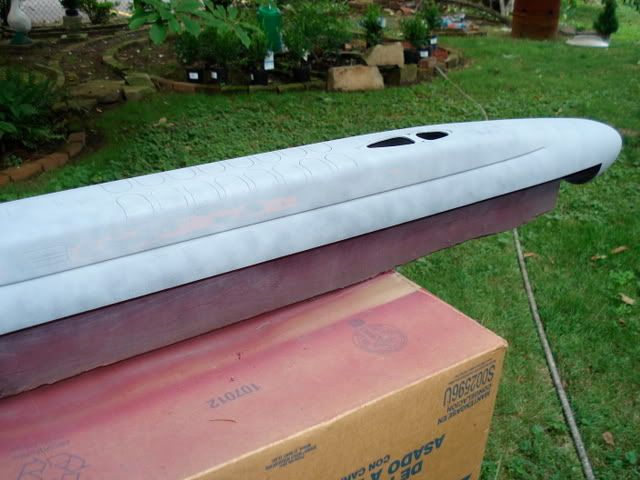
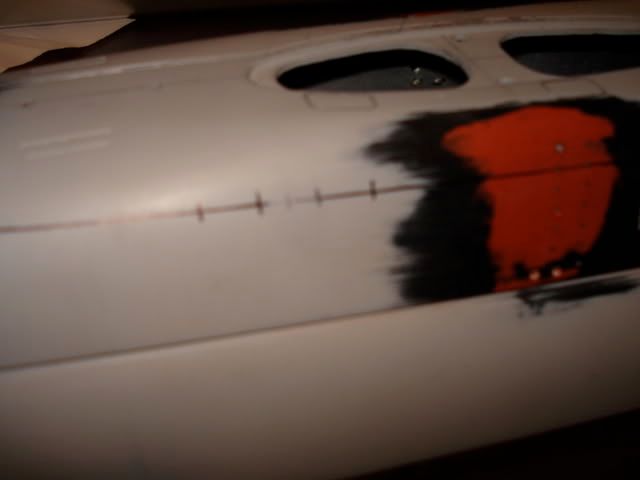
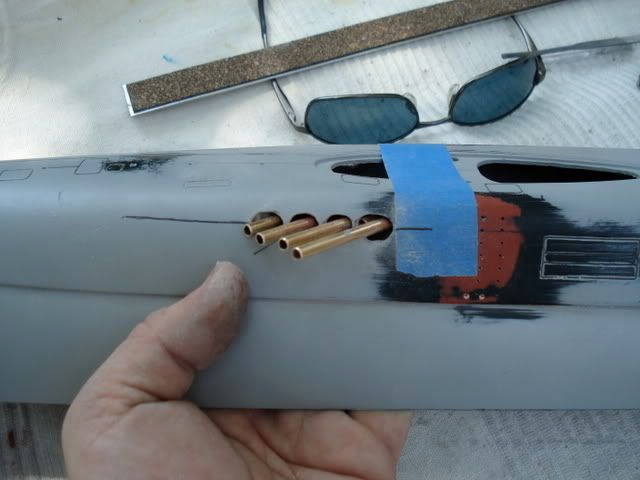
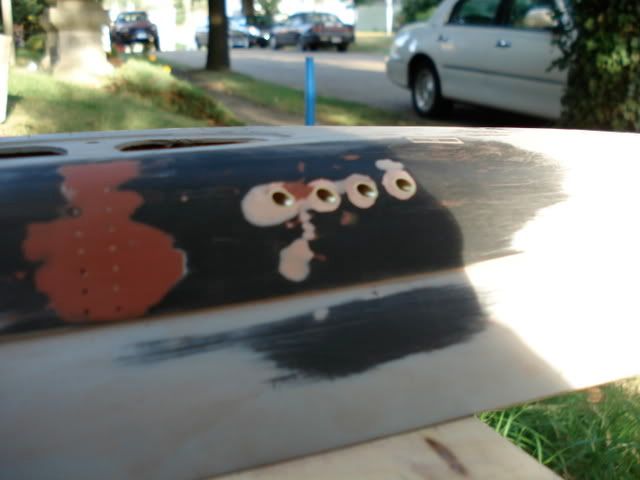
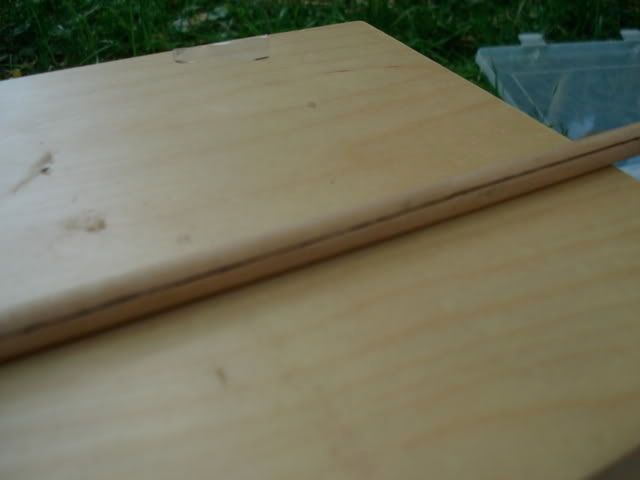
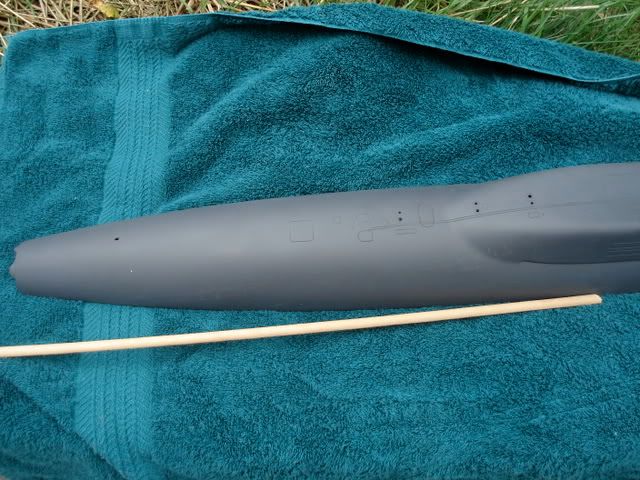
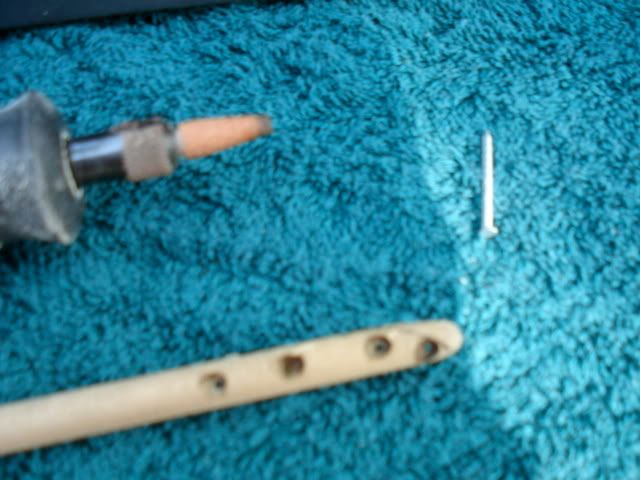
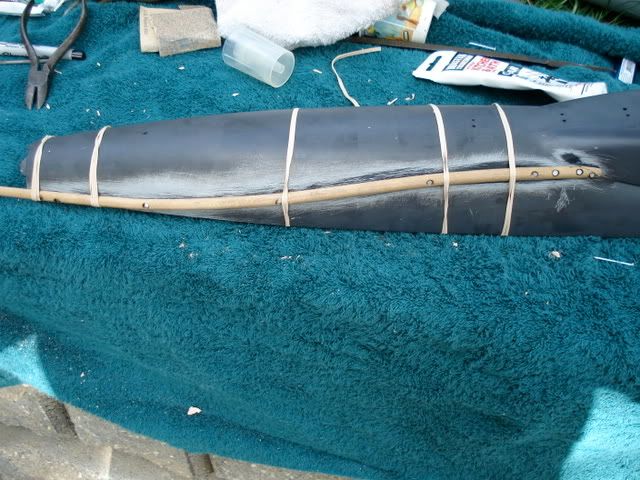
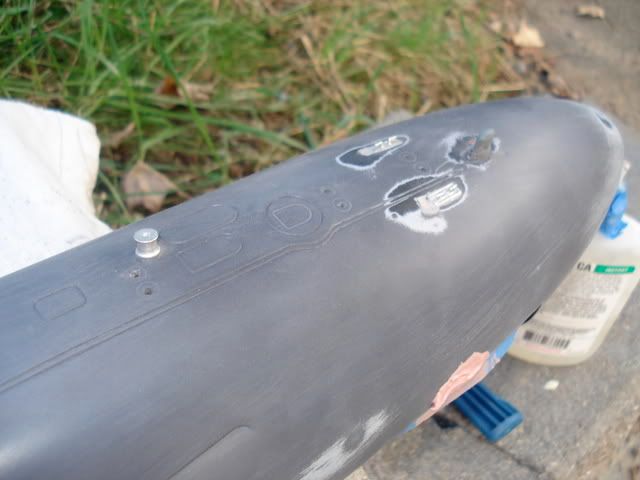
this ones getting a new paint job right from the get go. starting with the the lower hull.
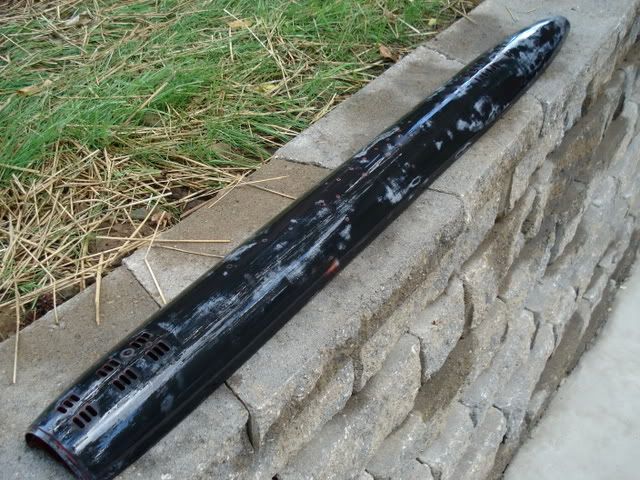
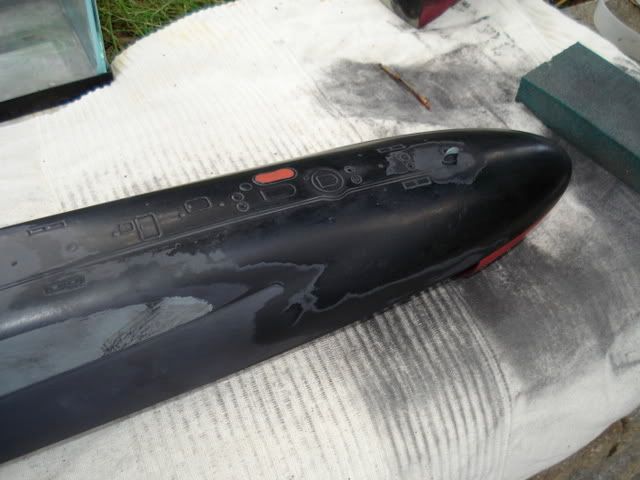
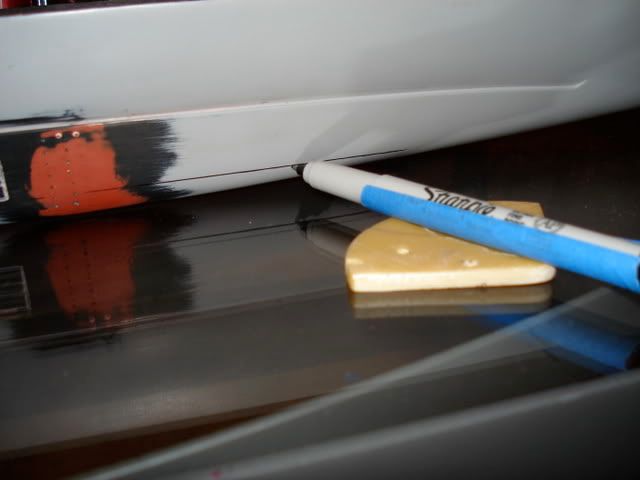
red paint removed. its shiny because its wet...
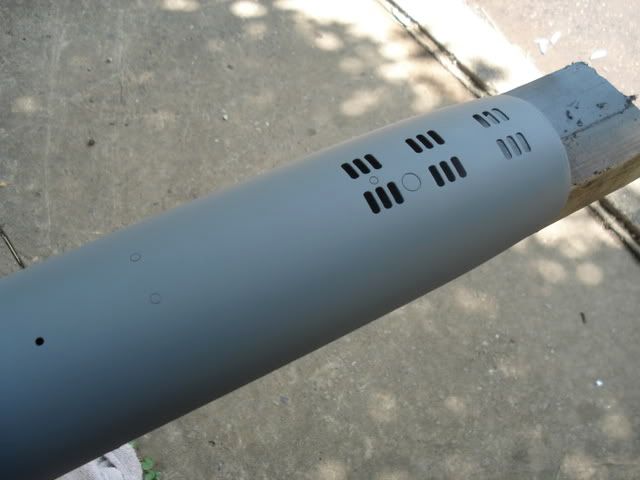
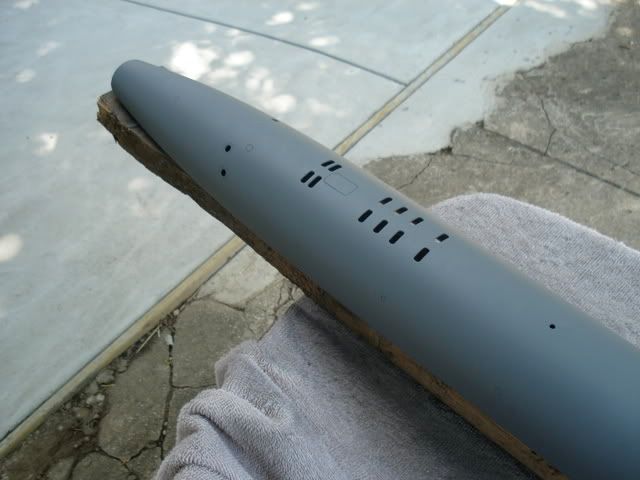
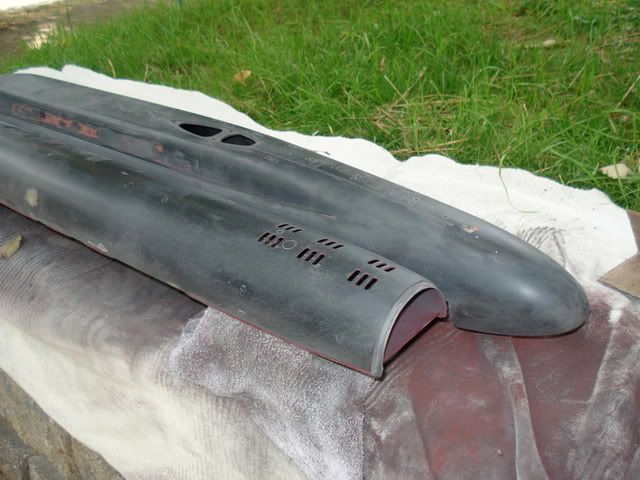
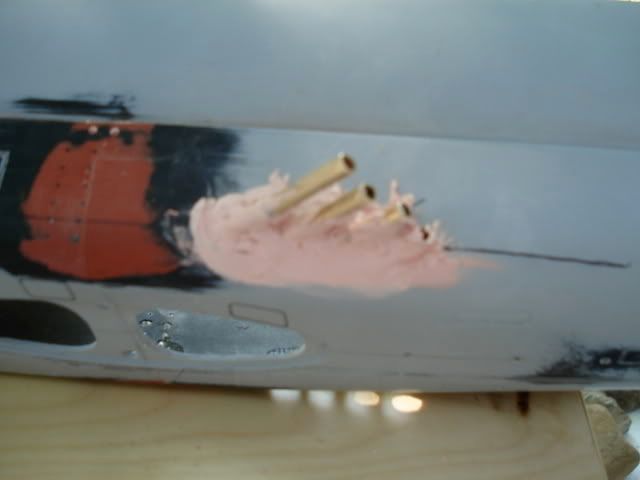
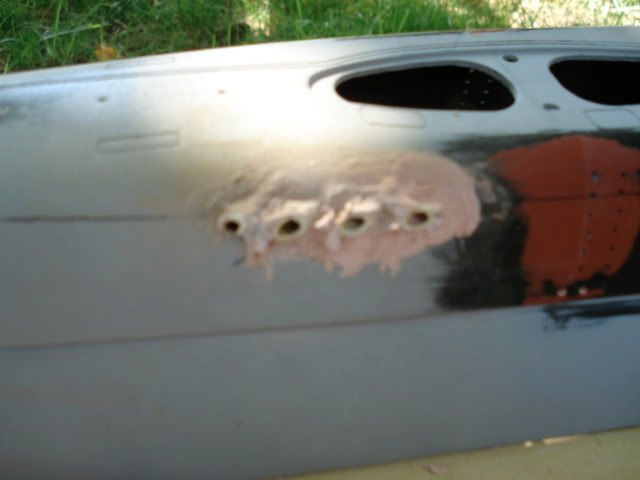
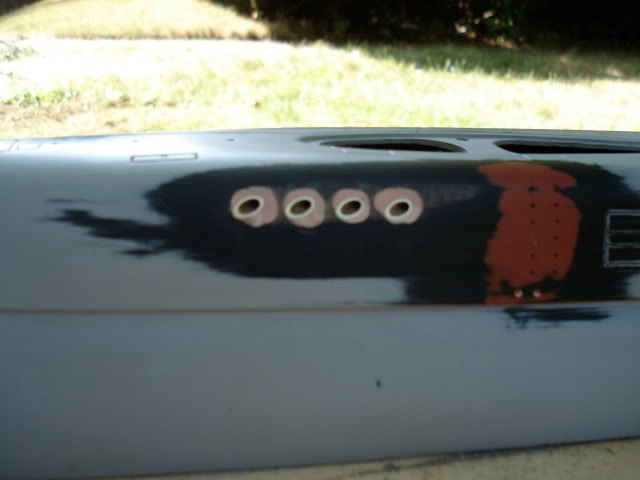
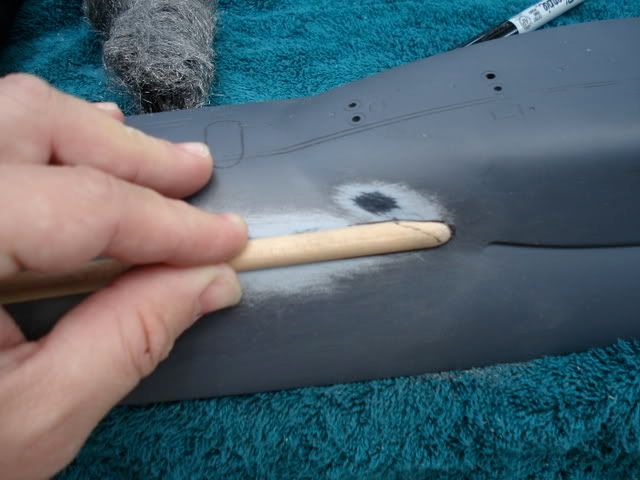
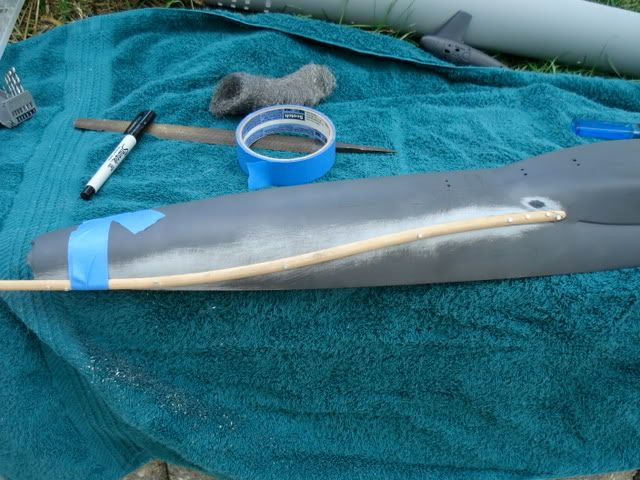
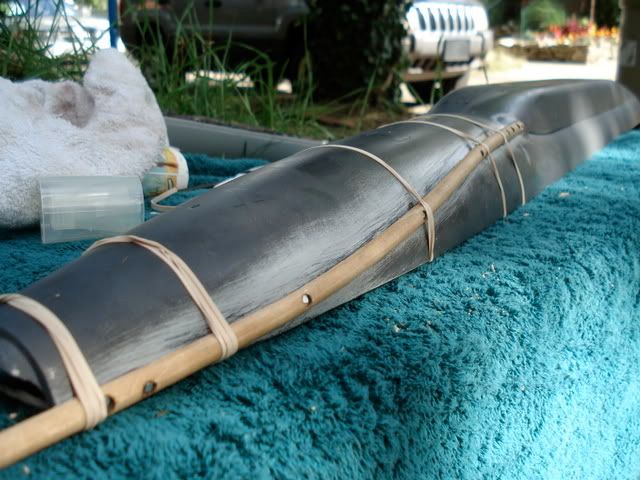
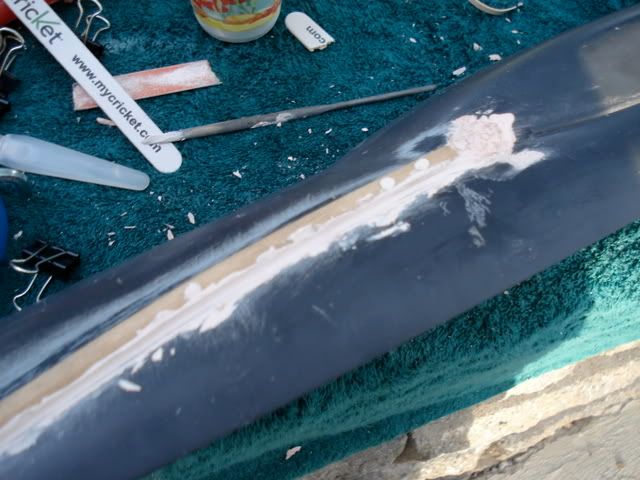
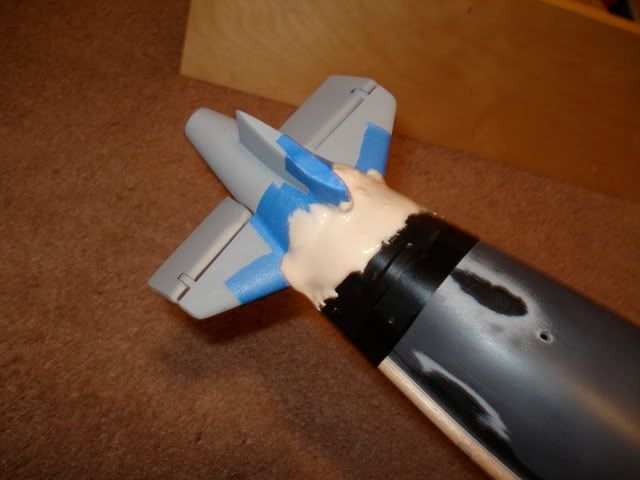
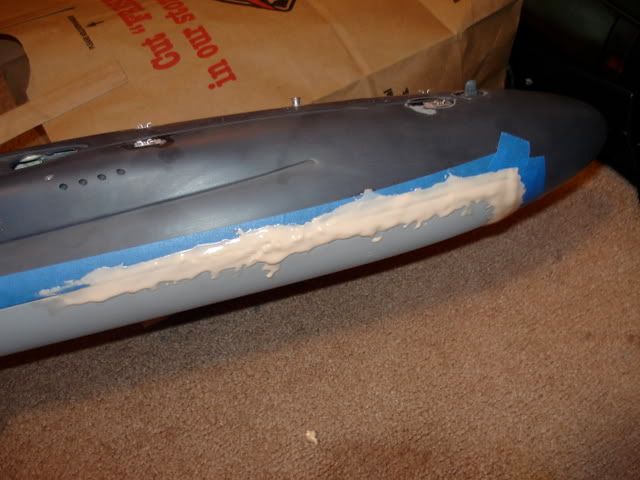
a first blast of primer. nitro stan touch up to follow.
enough for today. time to go play with the kid...
erich
ive got more free time on my hands while in between careers, and trying to ride the wave of momentum from getting the copeland los angeles running... so, project #2.
back in feb 2006 i purchased a small world models lafayette class boat, rtr, from tom carroll. unfortunately, for the past 2+ years its more or less sat in storage.
my brother in law served on the tecumseh, roughly the same class boat. ive always wanted to build a tecumseh, and finally have the time to refit this boat. so here goes...
this will be basically a photo commentary. descriptions are below each photo... feel free to bash me or offer suggestions...
the lafayette as it was purchased. i did remove the rudders and prop for transportation purposes.
the wtc that came with the boat. the radio and electronics were also included.
i ripped the guts out of the original wtc to transfer to a merriman wtc 3.5
luckily everything still worked fine, and made an easy transition to the new wtc. it also gave me something to do after halftime of the monday night green bay game
ill be using 10 1.2v 3000mah c-sized batteries in a small wtc forward of the wtc3.5
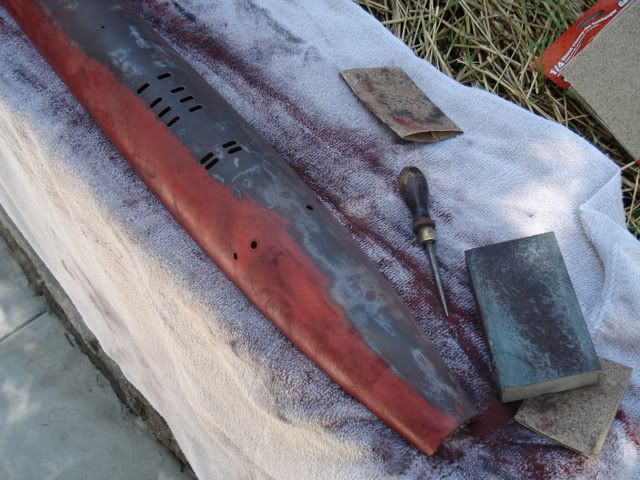
the saddles for the original wtc were made of bondo. they had to go....
...so i had to chisel it all out, one painfully frustrating piece at a time
can i PLEASE quit scraping crap outta the bottom hull yet? seriously..... my freakin' hands are bleeding....
its all out and sanded down. ugh...
this ones getting a new paint job right from the get go. starting with the the lower hull.
red paint removed. its shiny because its wet...
a first blast of primer. nitro stan touch up to follow.
enough for today. time to go play with the kid...
erich


Comment