Hull line up problem, still

Collapse
X
 
  • Time
  • Show
Clear All
new posts
  • corsaire
    Junior Member
    • Mar 2003
    • 166

    #1

    Hull line up problem, still

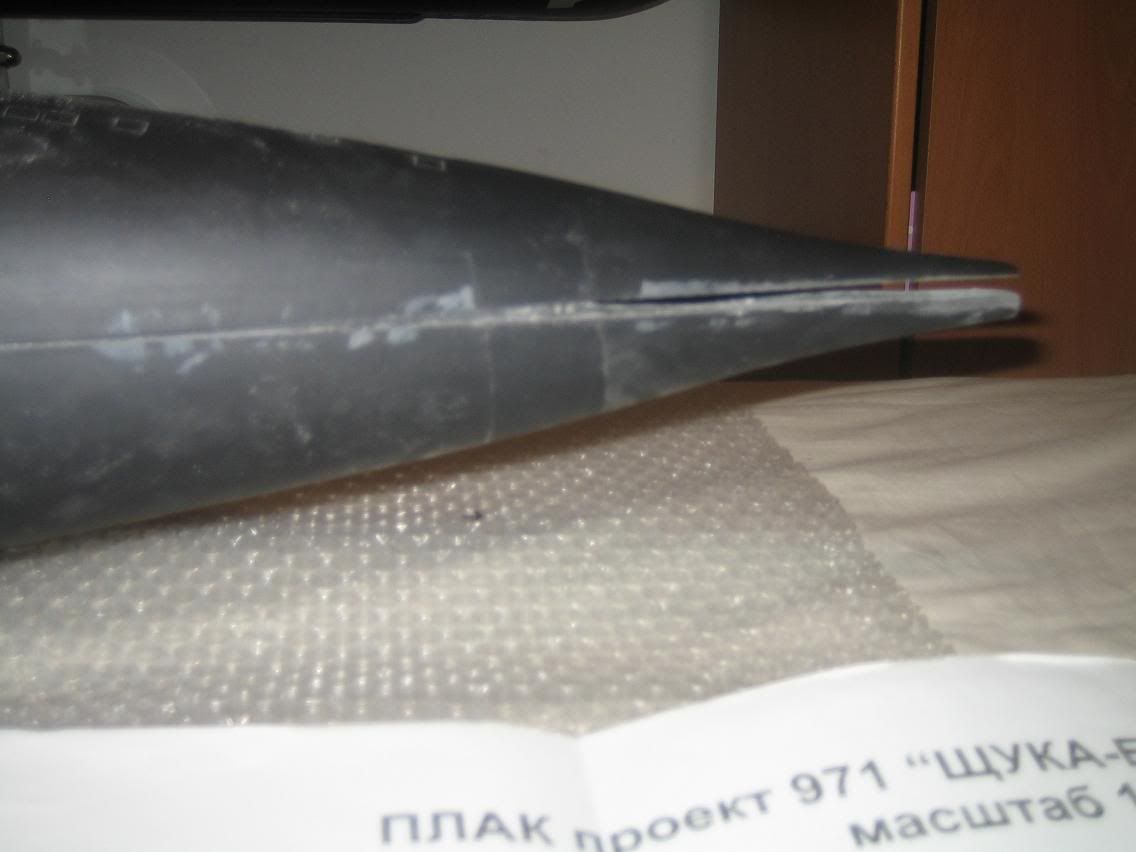
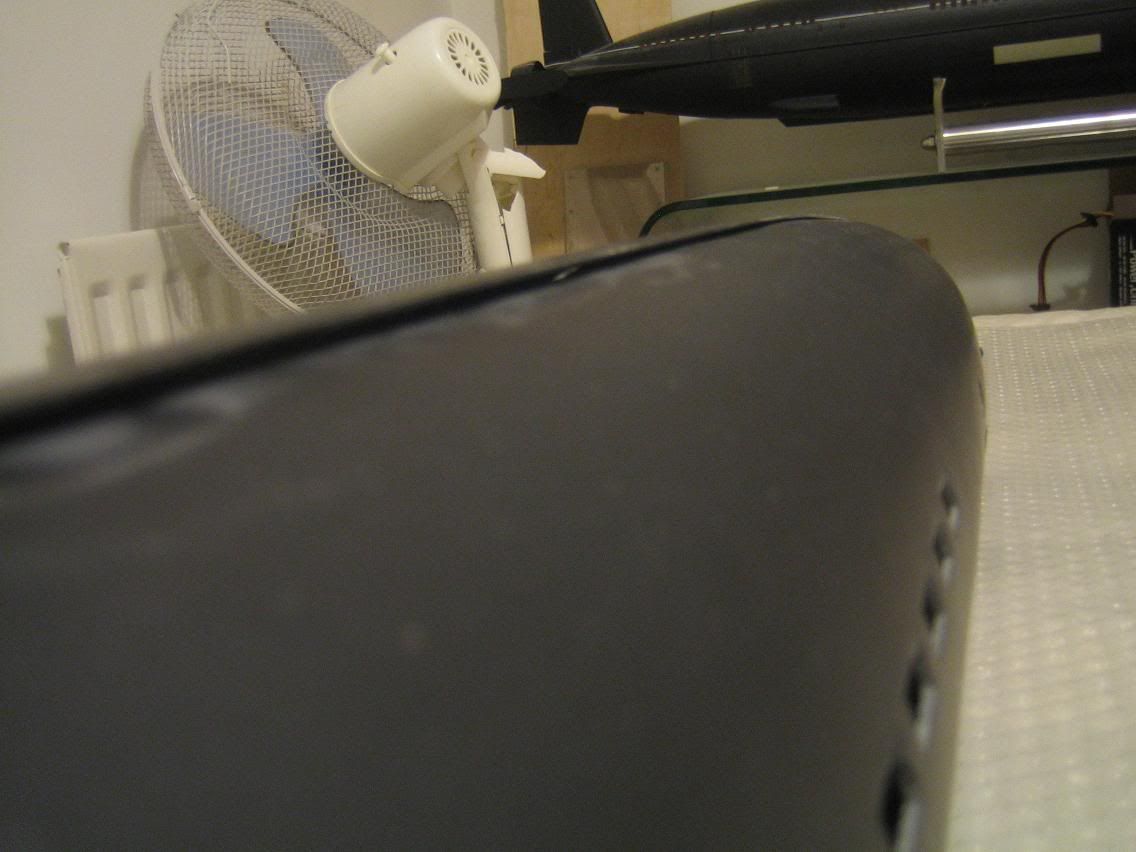
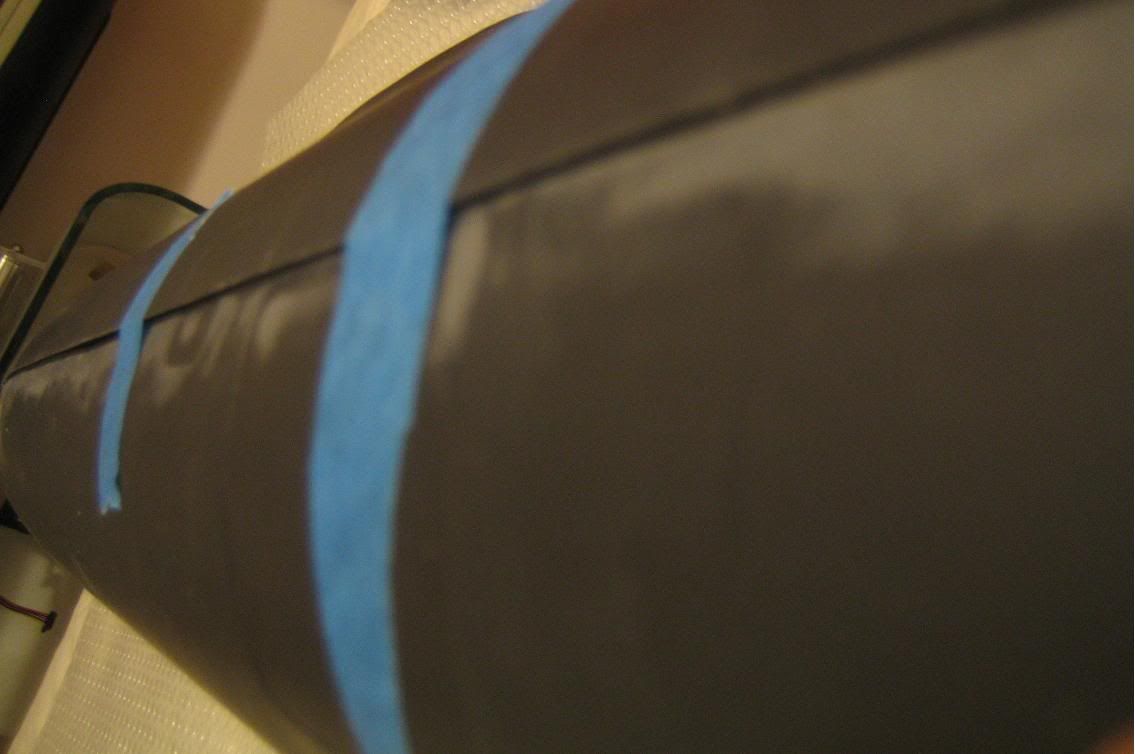
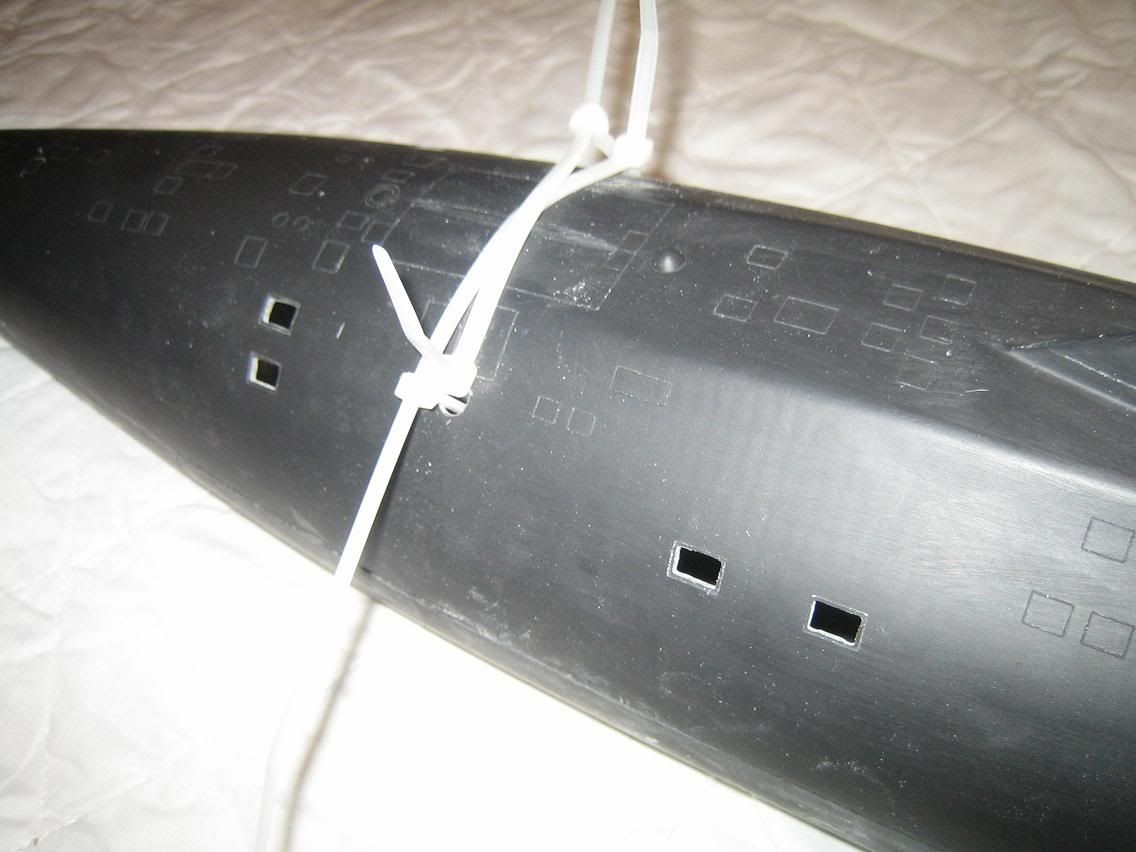
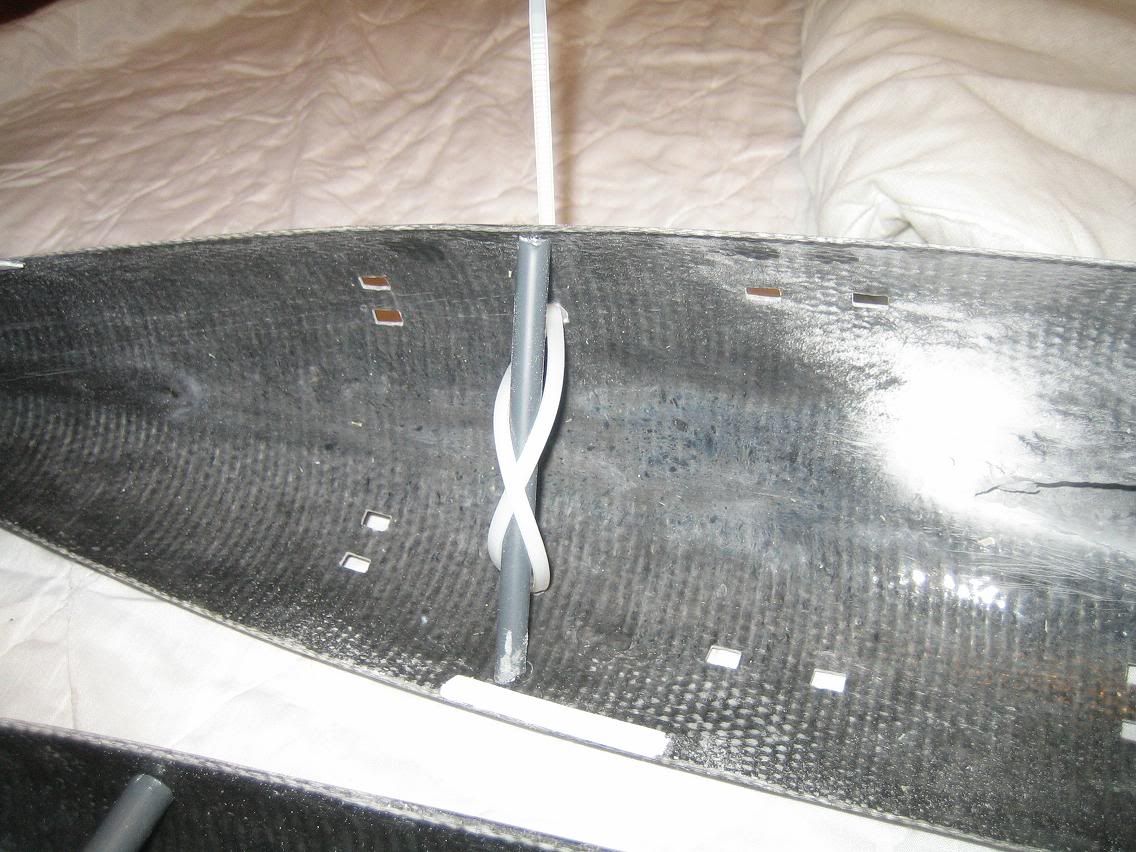
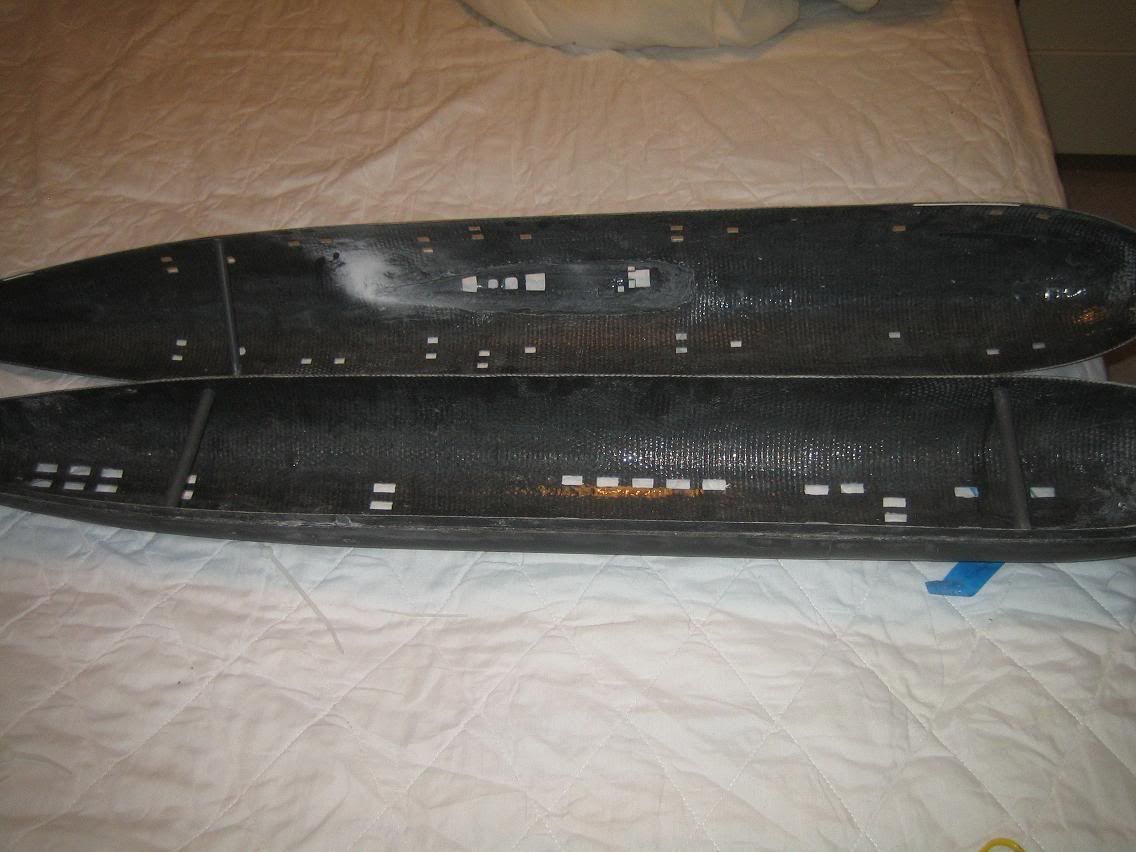
    I still have a problem which is the only thing holding me up from getting ahead. I'm attaching pics to explain it better, it's about the upper and lower hull line-up.

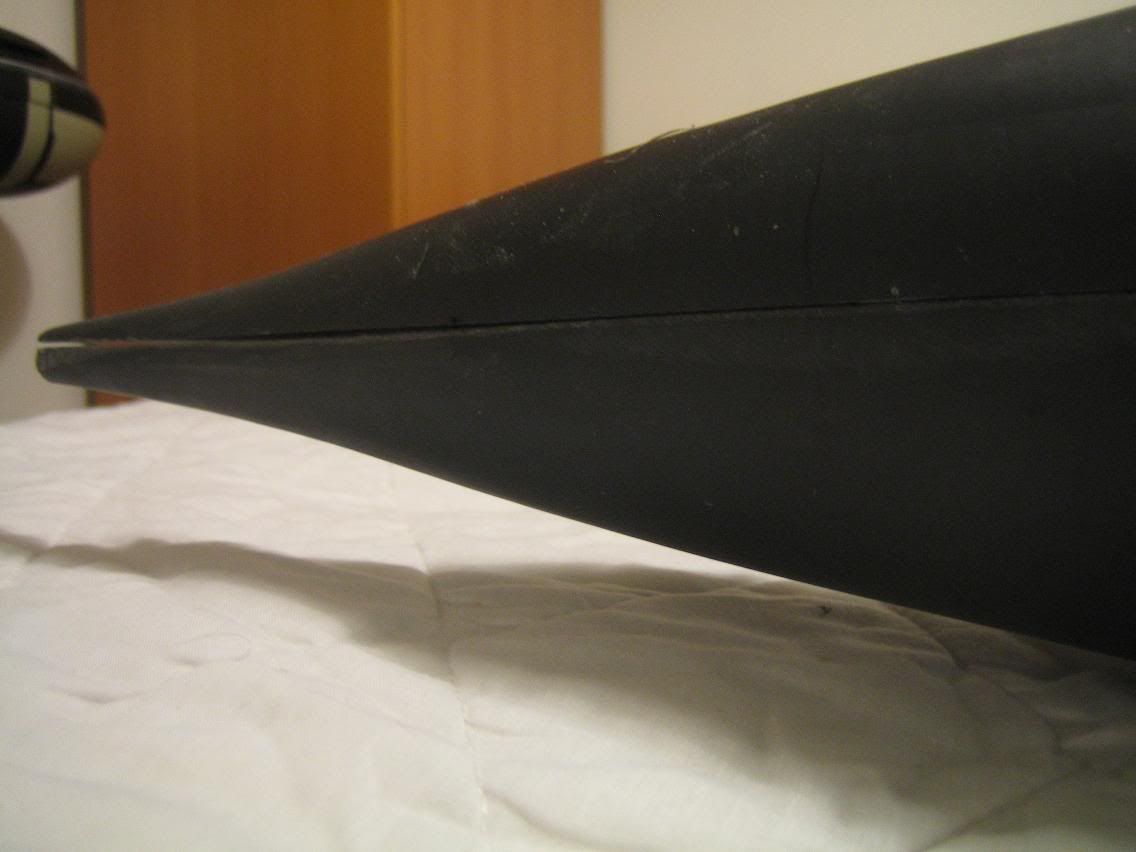
    I made a FG lip on the upper hull to engage the already glued stern top piece. But the problem is this, as you can see in the pics there's a gap as the upper hull sits on the lower hull, everything else alongside the all around lip sits perfectly towards the bow, but if I try to engage the FG lip into the stern top piece it'll throw everything out of alignment, in other words the upper hull will overlap the lower hull at the seam line. I hope my explanation makes sense.
    Even if I try to place the FG lip inside the stern top piece I'd still had the same problem!
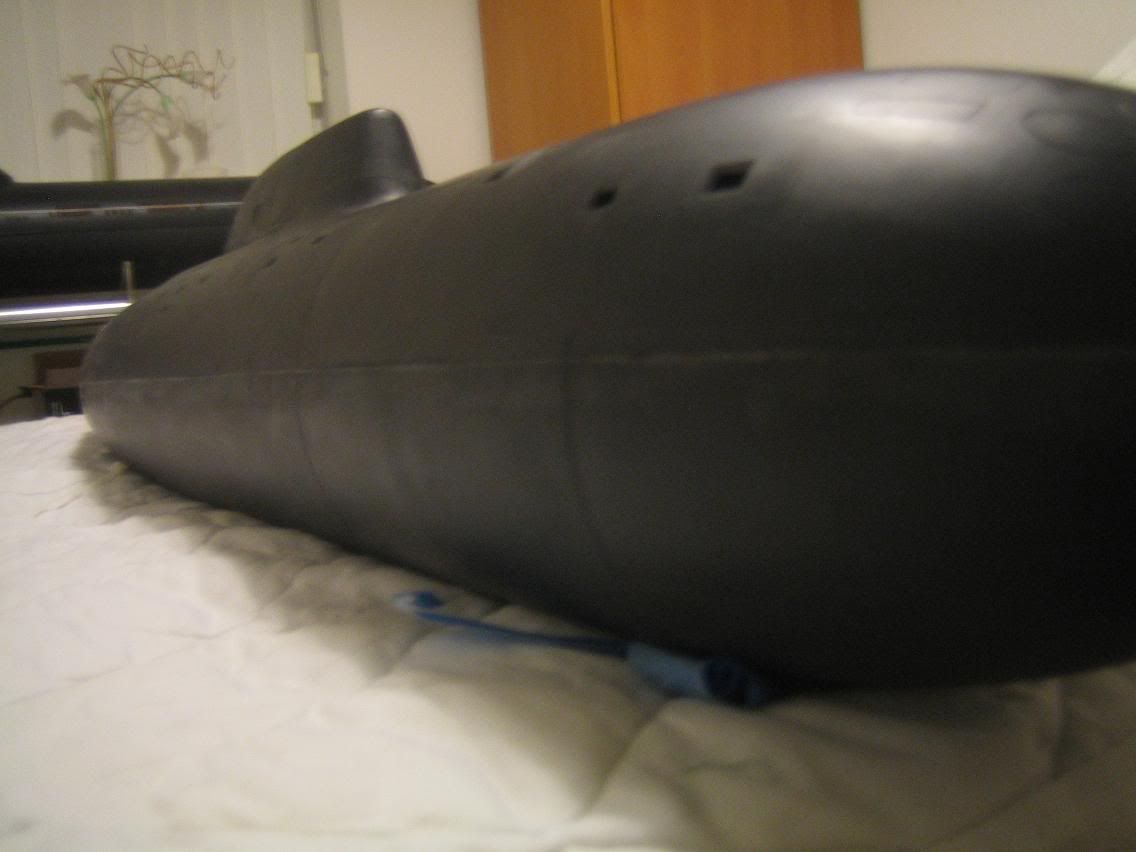
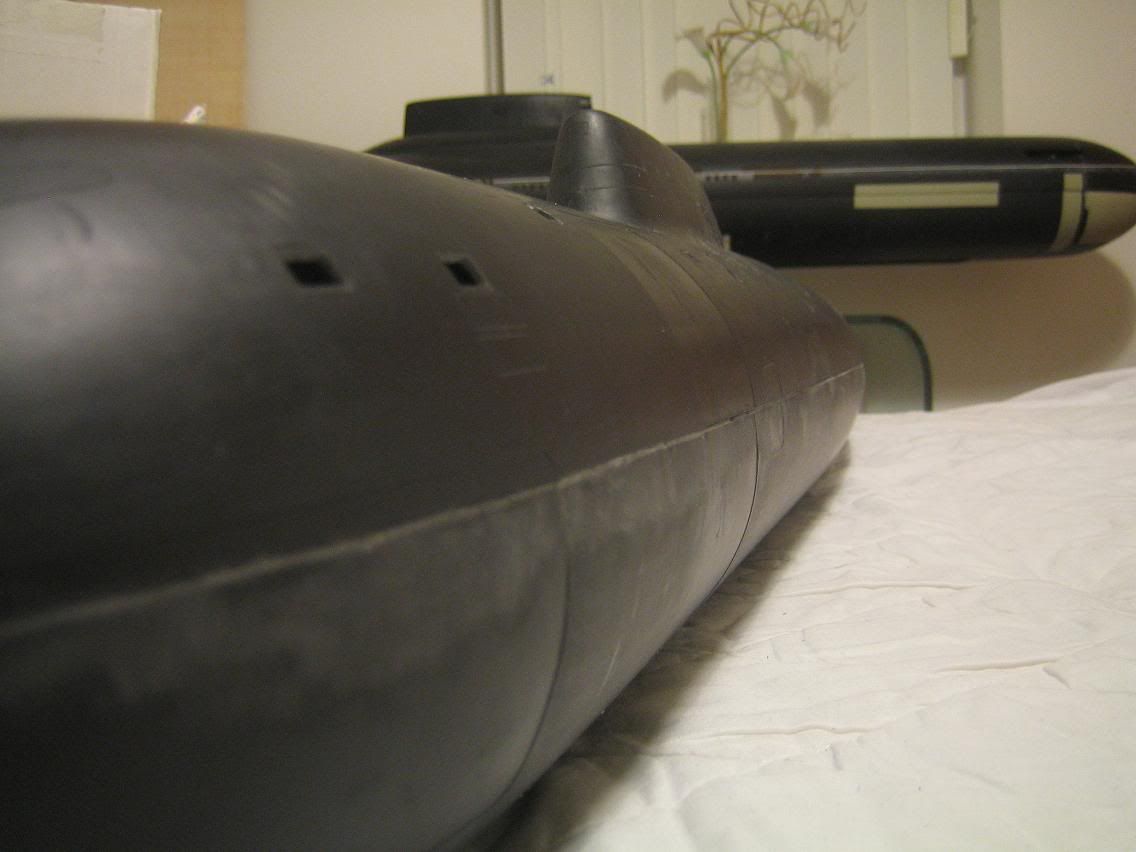
    Pic # 28 shows the gap I'm talking about and # 29 the seam towards the bow which upper hull sits just fine over the lower one.

    Thanks,
    Brian


  • mylo
    Junior Member
    • Aug 2005
    • 723

    #2
    Brian,

    Here's how I would

    Brian,

    Here's how I would fix that. I would tape a piece of paper tightly to the inside of the upper hull so that when the upper hull is put back in place, you could see the paper when you look into the gap. Using a hobby knife, I would cut near the bottom hull piece by pulling the knife towards me, so that the lower hull acts as a rest for the paper, allowing the knife to cut it (super sharp blade). Once the cut was made, I would take the upper hull part off, mark on the paper where the upper hull is, remove the paper, cut it out where I marked the upper hull, and use that piece of paper as my template to shape a piece of styrene of the right thickness. Once the styrene piece was cut out, I would put the piece in where the gap is, make pencil mark indications where it needs trimming / adjustment, pull piece out, sand slightly, put piece in....repeat until you have a sliver of a piece that fits nicely in the gap. I would epoxy it in place on the upper hull and sand smooth once the epoxy cured. If after that it needed a little touchup, I would use Bondo Putty and sand, until you could no longer tell that the part was added to the hull.

    Nothing that ..... 10 hours or so....shouldn't fix.

    ......that's how I would go about it.

    It's fun when stuff like that happens, isn't it.

    Mylo

    Comment

    • corsaire
      Junior Member
      • Mar 2003
      • 166

      #3
      Thanks a lot Mylo, but

      Thanks a lot Mylo, but I'm afraid it's a bit more complex than that.
      If you look at pic # 28 again, closely, you'll see that the top big piece is not level with the top stern piece where the top rudder is. That's what makes the problem really, because as I try to match and level those two the big upper hull goes entirely out of alignment overlappin the lower hull.
      Does it make sense?

      Brian

      Comment

      • JWLaRue
        Managing Editor, SubCommittee Report
        • Aug 1994
        • 4281

        #4
        Brian,

        It looks like the aft

        Brian,

        It looks like the aft end of the top/main piece is warped a bit? Are the lower ends wider than the lower? The photo makes it look like the end is curved upwards....and I'm thinking that this is a trick of the lighting and the photo.

        Can you show us a photo of the two parts moved as close together as possible? ...and one where you push the upper, lower ends togehter to meet the lower?

        -Jeff
        Rohr 1.....Los!

        Comment

        • corsaire
          Junior Member
          • Mar 2003
          • 166

          #5
          Misalignment

          Hi Jeff,

          Thanks. Here are a few more pics showing the problem.

          Pics # 30 & 31 show what happens when trying to make them match.
          # 34 shows the other side, sitting correctly. On # 35 the overlapping continues alongside. On Pic # 36 the side towards the wall is sitting
          "correctly" but the gap widens towards the bow, and the side opposing the
          wall is overlapping the lower hull.
          Only by using both arms, hands and fingers under extreme pressure I could make them match hardly.


          Hope this helps explain it better.

          Brian

          Comment

          • JWLaRue
            Managing Editor, SubCommittee Report
            • Aug 1994
            • 4281

            #6
            Brian,

            Okay...here's what I think I

            Brian,

            Okay...here's what I think I am seeing.

            It looks like the top is now too short. This based on the photos showing either the pencil/ink marks that you made or the kit scribing. What happens if you line up the various marks? If you ignore the gap between the aft part of the top and the stern cone, does the line of the top fall correctly into the stern cone? Assuming that this is the case, you'll need to make the top part longer.

            Finally, the one bow shot. Perhaps the top was trimmed (from the mold?) incorrectly.....that will need to be filled in as well.

            Does any of this sound like it might be the cause?

            -Jeff
            Rohr 1.....Los!

            Comment

            • mylo
              Junior Member
              • Aug 2005
              • 723

              #7
              Brian,

              For sure, your problem

              Brian,

              For sure, your problem is more complex than I first thought. I would have to agree with Jeff in that the upper hull appears warped. Is it at all possible to purchase an entire new upper hull half from the vendor ? You may have your hands full getting that to match up 'perfectly' from the looks of the pics anyway. You may have to settle for 'less than perfect' for a fix.

              Lots of help I am....... I know.

              Mylo

              Comment

              • Wheelerdealer
                Junior Member
                • Jun 2006
                • 315

                #8
                Hi Brian, Looking at those

                Hi Brian, Looking at those pictures, the panel lines on the top and bottom half dont match. Are you able to undo the rear potion of the top hull that you have bonded on? It will be an easy fix if you can, as its much easier to get that smaller piece to match the rest of the hull than it is to get the entire front of the top hull to match. As I have shown already, my hull was pretty warped but easily sorted with 3 braces before bonding the tail section.

                Before.....


                The fix....


                After...


                In the last photo can see that the only part that does not quite match up is the the stern tip. You can also see the faint vertical black line on the top hull indicating where I will make the cut. It will be easy to fill the small gap at the back and make the rear tail top half match with the rest of the hull. The tail of my hull wasn't cut accuratly from the mould and too much material was removed, that is why I left the gap to be filled, rather than trying to brace it further so it matched.

                Comment

                • anonymous

                  #9
                  Not a specific answer but

                  Not a specific answer but a more general question:

                  Has anyone tried using heat (hair dryer or hot air gun?) on epoxy or polyester hulls to correct minor warps?? Would it/ does it work??

                  It seems to be a common problem.

                  Davy

                  Comment

                  • PaulC
                    Administrator
                    • Feb 2003
                    • 1542

                    #10
                    Love the creative use of

                    Love the creative use of zip ties!
                    Warm regards,

                    Paul Crozier
                    <><

                    Comment

                    • corsaire
                      Junior Member
                      • Mar 2003
                      • 166

                      #11
                      Fist off, thanks a lot

                      Fist off, thanks a lot for all the replies. Secondly, I have to admit my mistake of not taking care of the flaw prior to doing any work on the hull, for starters. It looks like Wheelerdealer, per his pics, had the same problem like me but took care of the flaw first.
                      Having said that, undoing the small attached top stern piece is out of the question.
                      Wheelerdealer, even if I could manage to do that and fill in the gap at the stern it would make the stern end very out of scale looking. My thoughts based on the plans that came with the kit and confirmed as one tries to match hulls with the plan drawings.
                      Jeff, amazingly the top half is not shorter, length wise fits just perfect!
                      Weird, isn't it?

                      After staring at it and fiddiling with it for some time, I think a solution could be to sand off the bigger top piece at the seams toward the stern
                      to "lower" the big top half to match the already attached small stern piece, avoiding at the same time top hull overlapping, as the FG lip makes those two top pieces flush. After that, any mismatch could be fixed by bondo or any other technique if needed?
                      What do you guys think?
                      Brian

                      Comment

                      • raalst
                        Senior Member
                        • Feb 2003
                        • 1229

                        #12
                        it's in dutch, but maybe

                        it's in dutch, but maybe this helps (the photo's should do the trick)

                        clingwrap does not adhere to polyester based filler, for some reason.
                        therefore you can easily fill out gaps.
                        be sure to provide some backing, as the filler itself will break off
                        easily without.

                        Comment

                        • Wheelerdealer
                          Junior Member
                          • Jun 2006
                          • 315

                          #13
                          Love the creative use of

                          Love the creative use of zip ties!
                          By slowly tightening the zip ties I was able to to note the effect pulling the brace up and widening the hull had. When everything lined up, I glued in place.

                          I found the widening the top and bottom hulls at the the rear also reduced the gap between the top and bottom hulls. When I recieved my hul land layed the top half flat on the floor, the front was flat and level but started to lift off the floor from where it strarts to taper at the stern end. The single brace in the back, and the hull now lays flat through out its length.

                          Comment

                          • JWLaRue
                            Managing Editor, SubCommittee Report
                            • Aug 1994
                            • 4281

                            #14
                            So....before cutting the stern cone

                            So....before cutting the stern cone off the top hull half, did the top half fit the lower?
                            Rohr 1.....Los!

                            Comment

                            • Guest

                              #15
                              @ Cosaire and WheelerDealer -

                              @ Cosaire and WheelerDealer - Are these the 1.5mm hulls or the dry hull 2.5mm versions

                              Comment

                              Working...