
To expand my model building skill set, I decided to take on another sub project, since my VIIc/41 doesn't seem to take enough of my time. Once again, I expected a somewhat steep learning curve with this new GATO project.
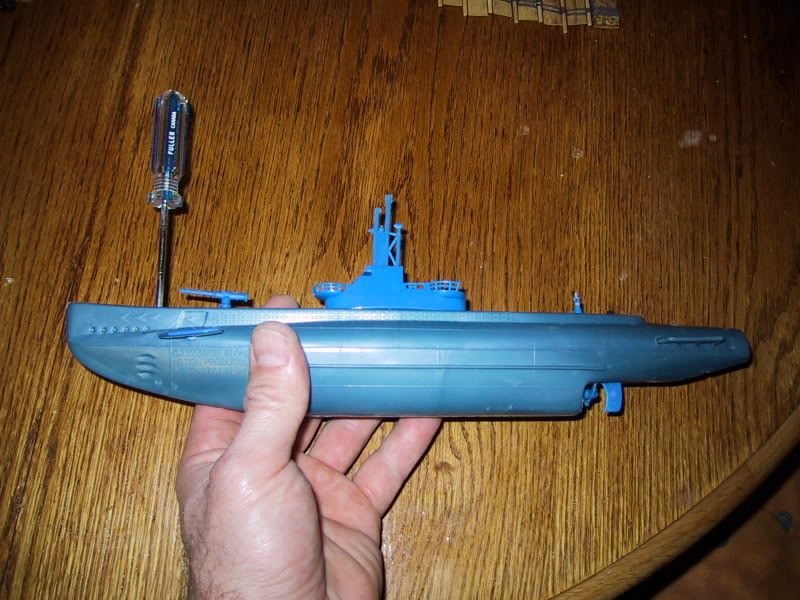
[b]Step 1]
Disassembling the GATO hull took very fine mechanical skill. A special tool was required for this step, this tool being called....a small screw driver. After reading the manual to operate this special tool, I was able to utilize it properly and in doing so, was able to divide the GATO into it's two halves.
[b]Step 2]
With the GATO in two parts, I was able to gain access to the battery casing hidden deep within the confines of the hull. After insertion of the AA battery power supply, a modification was added to the GATO by applying duct tape for a further seal on the battery compartment.
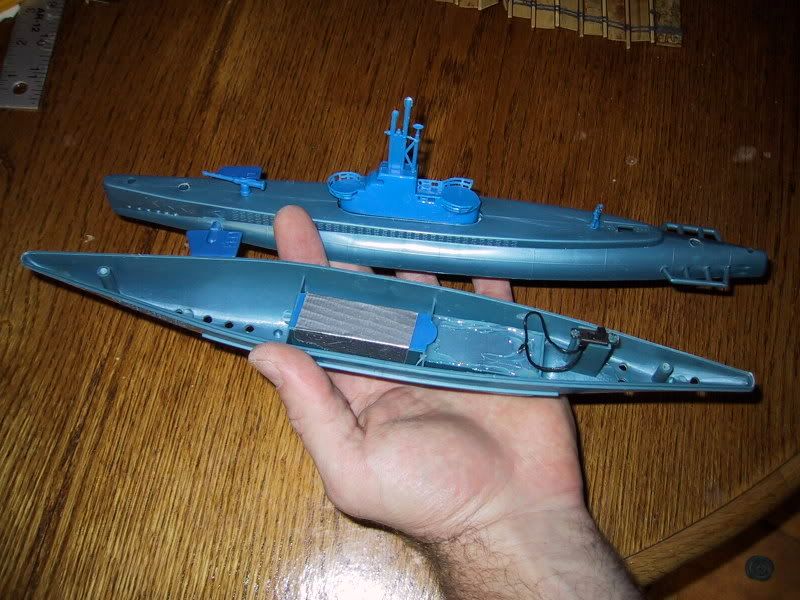
[b]Step 3]
....repeat step 1, but in reverse. Use tool manual if required.
Step 4 ]http://i119.photobucket.com/albums/o153/Mylo42/IMG_1946.jpg[/img]
[b]
TOTAL TIME for GATO project ]
I hope some of you were able to find something of value in this GATO build thread.
Happy sailing.
Mylo
[b]Step 1]
Disassembling the GATO hull took very fine mechanical skill. A special tool was required for this step, this tool being called....a small screw driver. After reading the manual to operate this special tool, I was able to utilize it properly and in doing so, was able to divide the GATO into it's two halves.
[b]Step 2]
With the GATO in two parts, I was able to gain access to the battery casing hidden deep within the confines of the hull. After insertion of the AA battery power supply, a modification was added to the GATO by applying duct tape for a further seal on the battery compartment.
[b]Step 3]
....repeat step 1, but in reverse. Use tool manual if required.
Step 4 ]http://i119.photobucket.com/albums/o153/Mylo42/IMG_1946.jpg[/img]
[b]
TOTAL TIME for GATO project ]
I hope some of you were able to find something of value in this GATO build thread.
Happy sailing.
Mylo


Comment