
This step is the re-doing
This step is the re-doing of the main deck molds/castings so, there is no additional "Time to Complete" added to the build. As a note it did take 30 hours to build the masters, molds, and then finally, the castings. The cost was $270 in materials.
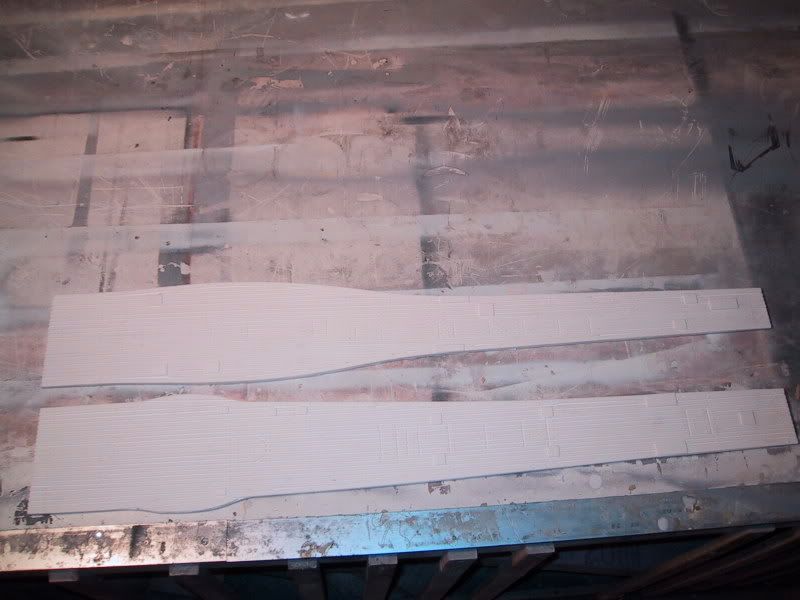
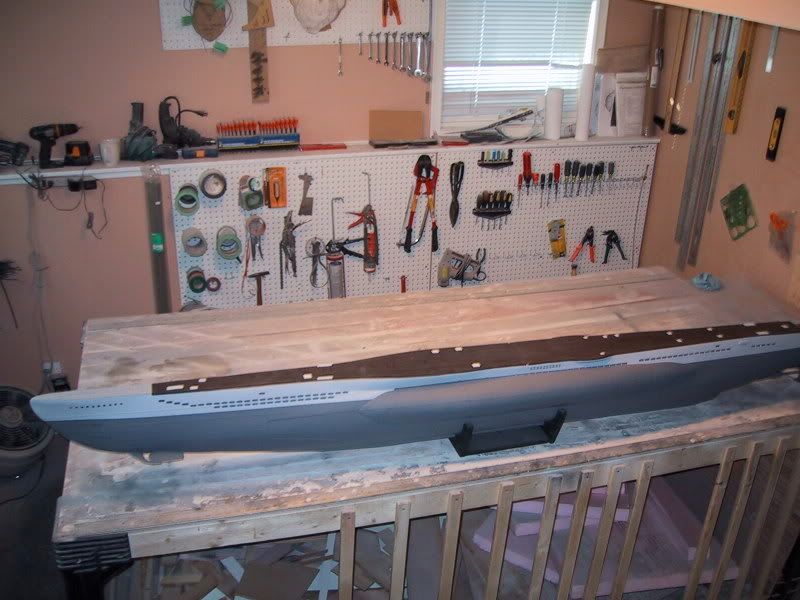
In re doing the main deck mold, I decided to change a couple things. The most notable being that I separated the main deck into two pieces instead of one. Reasons:
1) Easier to handle.
2) Allows for some minor adjustment upon assembly where the two halves meet.
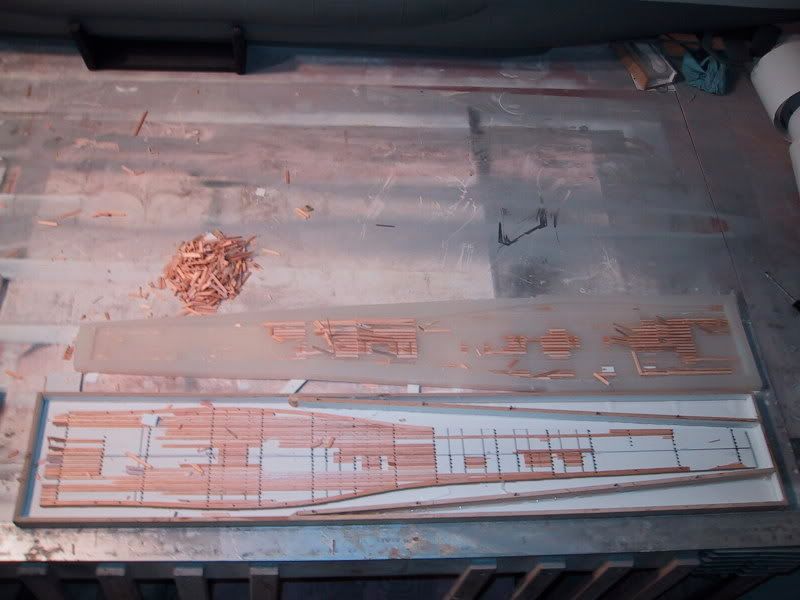
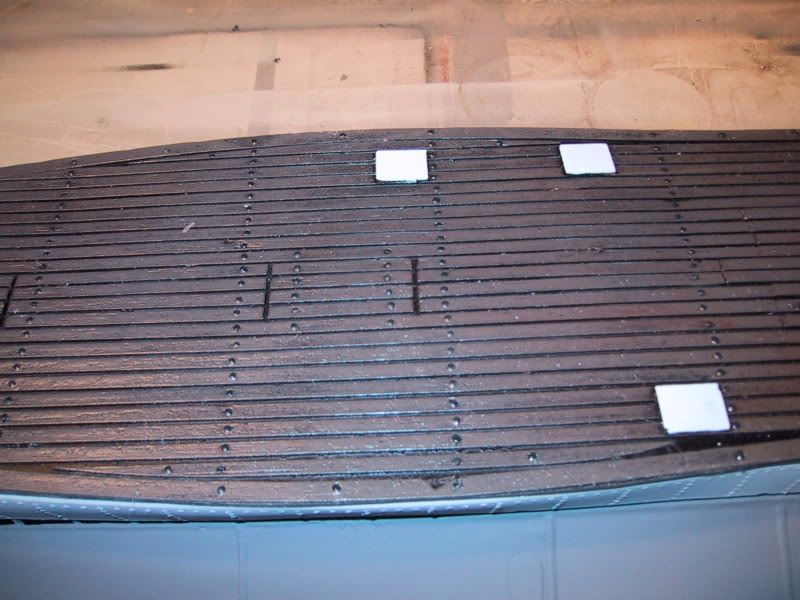
In all, I was able to make better masters for the molds in particular giving more attention to how far I was driving the nail into the balsa strip which was to represent the plank bolt heads. On my first master, I put this nail in a little too far which dimpled the balsa more than I wanted. I made sure not to repeat that on these new/improved ones.
Just as the first had done, the process of making the rubber mold destroyed the master. There is a bit of "pucker factor" picking all the tiny pieces of balsa out of the mold because if something went wrong with the mold, the entire master would have to be rebuilt...again. (to the tune of another 20 hours and $30 in balsa stripwood). I was happy to discover that although the master was toast, the rubber molds turned out very well. The rubber molds were then inverted and placed back in their mold box to provide a rigid support, so that I wouldn't cast a slightly curved part should the rubber mold have a slight bend in it. (these are big chunks of rubber).
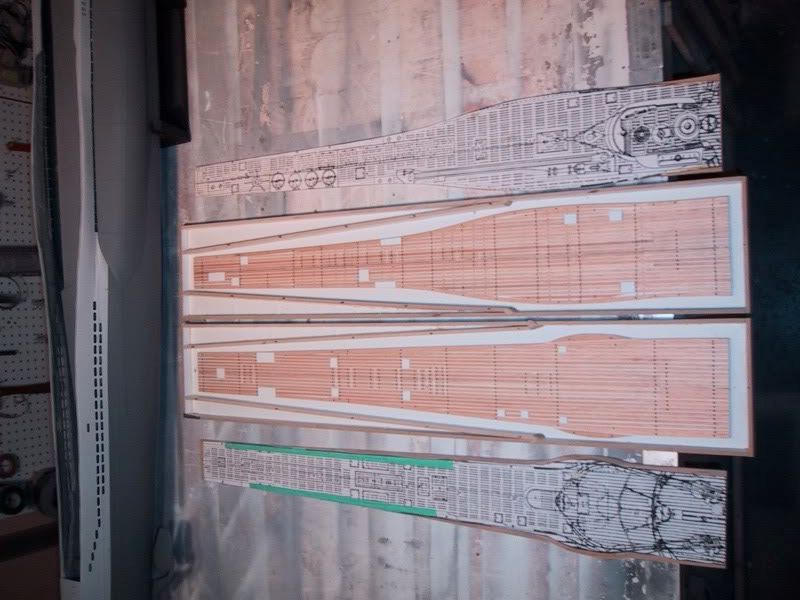
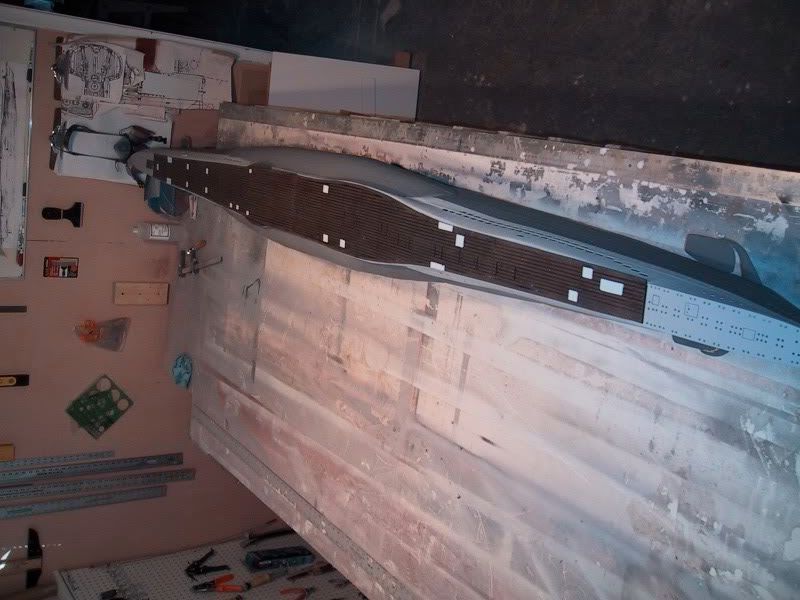
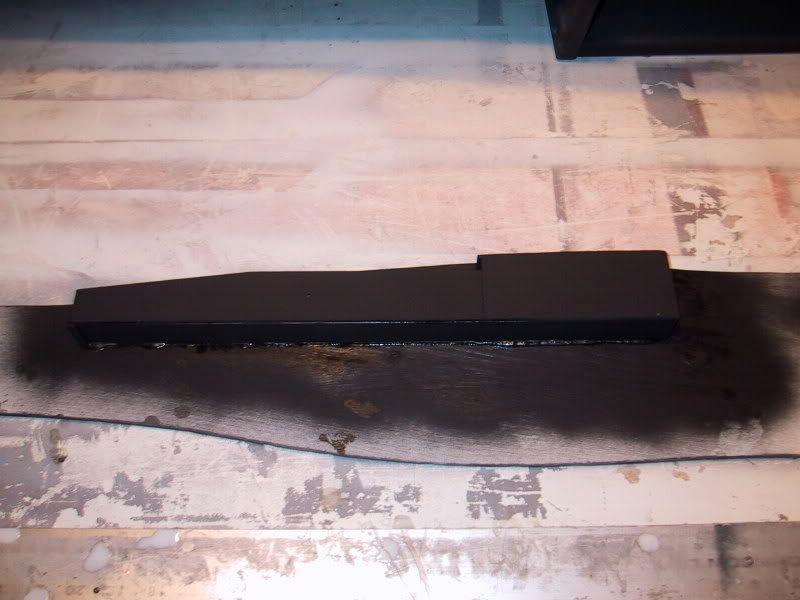
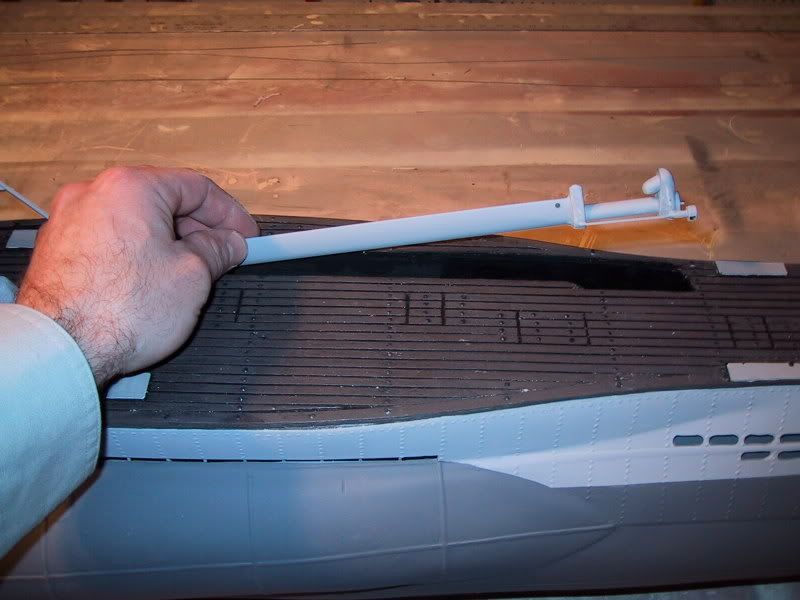
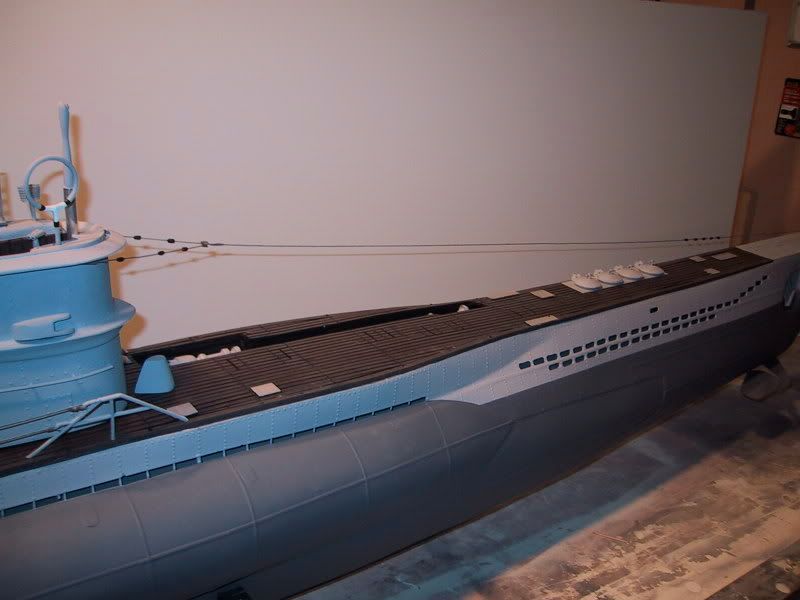
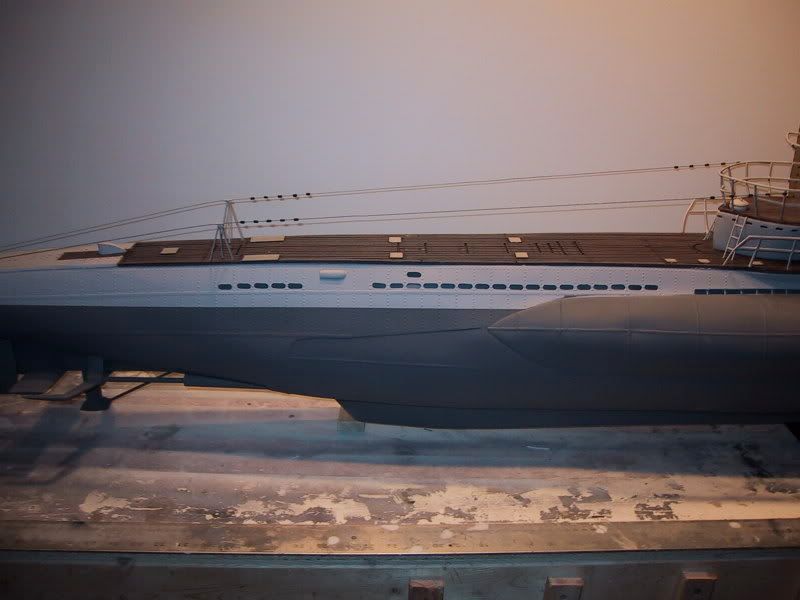
Castings were made from the molds. Both pieces turned out nicely. They were then sanded down to uniform thickness of approx 3/16".
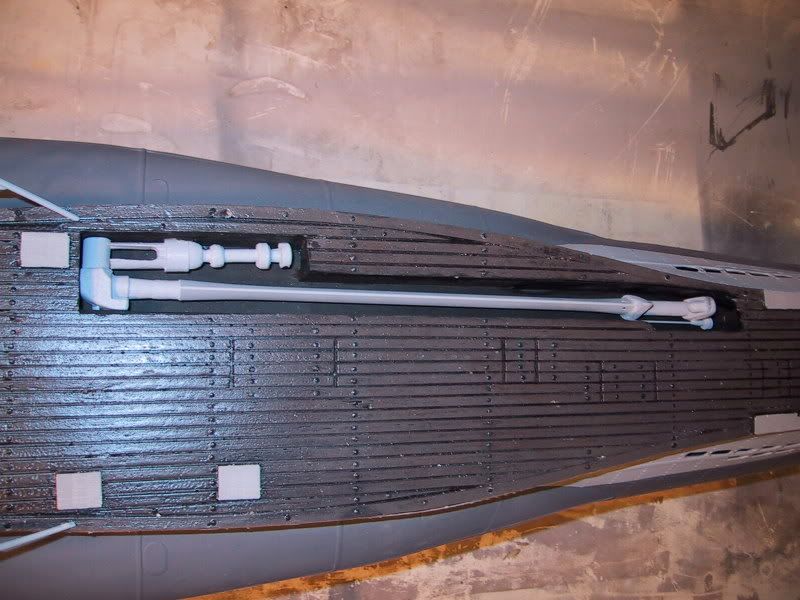
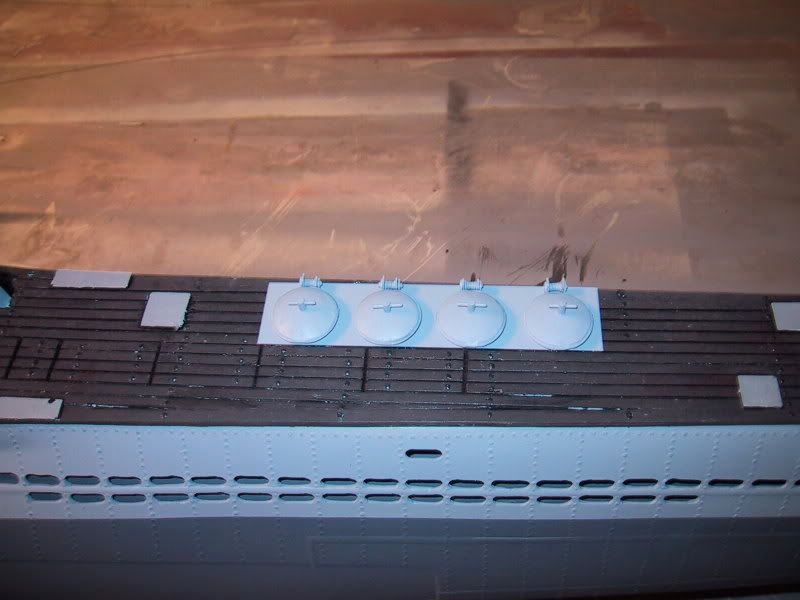
To finish the castings, I first sprayed the entire part with flat black. This was to fill in the gaps between the planks. After that dried, I rolled on a medium brown rust paint, applying very light pressure with the roller, one of those fine sponge rollers, so as to not fill in any of the flat black gaps between the planks. After that dried, I brushed on some pastel chalks just to give the planks a better, more weathered appearance as well as take some of the shine off the brown. Then....I applied two coats of satin finish out of a spray can. Then....the hatch and deck bolt details were painted.
.....that's a wrap for Christmas. I'll be back at 'er in the new year.
Mylo
This step is the re-doing of the main deck molds/castings so, there is no additional "Time to Complete" added to the build. As a note it did take 30 hours to build the masters, molds, and then finally, the castings. The cost was $270 in materials.
In re doing the main deck mold, I decided to change a couple things. The most notable being that I separated the main deck into two pieces instead of one. Reasons:
1) Easier to handle.
2) Allows for some minor adjustment upon assembly where the two halves meet.
In all, I was able to make better masters for the molds in particular giving more attention to how far I was driving the nail into the balsa strip which was to represent the plank bolt heads. On my first master, I put this nail in a little too far which dimpled the balsa more than I wanted. I made sure not to repeat that on these new/improved ones.
Just as the first had done, the process of making the rubber mold destroyed the master. There is a bit of "pucker factor" picking all the tiny pieces of balsa out of the mold because if something went wrong with the mold, the entire master would have to be rebuilt...again. (to the tune of another 20 hours and $30 in balsa stripwood). I was happy to discover that although the master was toast, the rubber molds turned out very well. The rubber molds were then inverted and placed back in their mold box to provide a rigid support, so that I wouldn't cast a slightly curved part should the rubber mold have a slight bend in it. (these are big chunks of rubber).
Castings were made from the molds. Both pieces turned out nicely. They were then sanded down to uniform thickness of approx 3/16".
To finish the castings, I first sprayed the entire part with flat black. This was to fill in the gaps between the planks. After that dried, I rolled on a medium brown rust paint, applying very light pressure with the roller, one of those fine sponge rollers, so as to not fill in any of the flat black gaps between the planks. After that dried, I brushed on some pastel chalks just to give the planks a better, more weathered appearance as well as take some of the shine off the brown. Then....I applied two coats of satin finish out of a spray can. Then....the hatch and deck bolt details were painted.
.....that's a wrap for Christmas. I'll be back at 'er in the new year.
Mylo


Comment