May 1, 2021 the rescue barge was in the water for the 2nd and 3rd time.
Our group gathering in more than a year with a good turn out.
Water was very dirty and algae was grouping wild.
My first run of the day was to get use to the controls and make some adjustments.
I reduced the rudder turning from 95 degrees to about 40 degrees.
Made driving the barge so much easier.
About 20 minutes in to my run, Jon's home made sub had a problem.
He was only out about 30 feet.
I get to try my hand at a real rescue.
Went out to the stranded sub and slowly bumped up against it.
Then turned the sub so I could push it to shore.
It only took a few minutes.
Looks like I might raise the forward speed from 30% to 35%.
Maybe not.
At about 45 minutes I took the barge out of the water and put it on the table.
I decided not to run my Akula II.
Wanted to talk and ask questions of the others there.
About 2.5 hours later, I hear a call for help.
I looked around and Tom was asking for help.
His Walrus was stranded out about 35'.
Will got his tug in the water as I was going out to he the Walrus.
Will's tug and move much faster.
Will pushed on the sub several times but ended up riding up on to the back deck.
I went back out and maneuvered around the sub until I could push the sub to shore.
Here is where the speed was noticeable.
Full throttle and it was a slow push.
Got it to shore where Tom could reach his boat.
All good.
Second time out and 2 rescues.
========================
Now the observations.
When I first water tested the barge, the stern was very low in the water because all the electronics and motor are in the back.
I put lead ballast in the bow to bring the barge level.
This gave me 1.25" of free board.
I did not like the look but the barge was operational.
After the day at the pond, I decided I did not like the low look and would see about raising the free board.
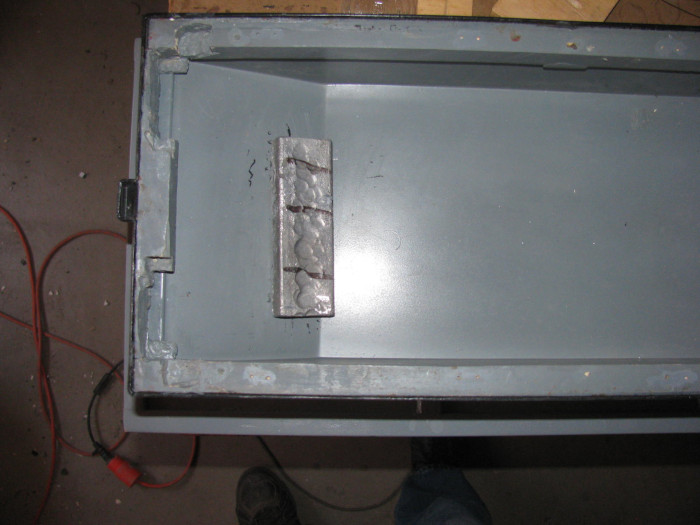
Took the lead ballast weight out of the bow.
Now this is a lot of ballast. (2.5"x7"x1/2") or so
Between 4 an 5 pounds.
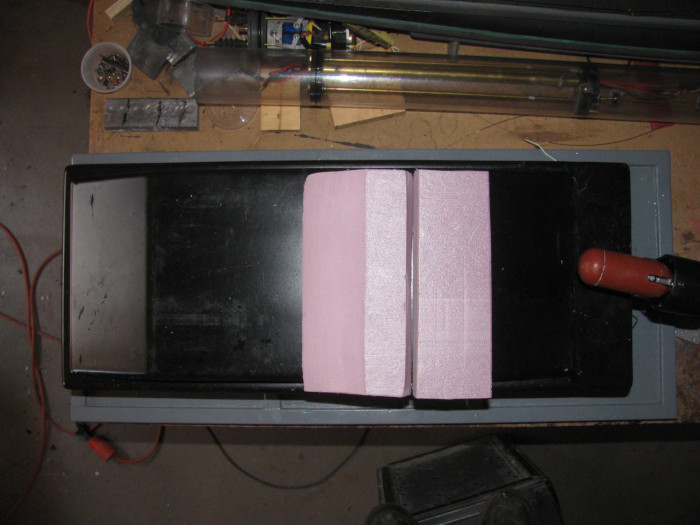
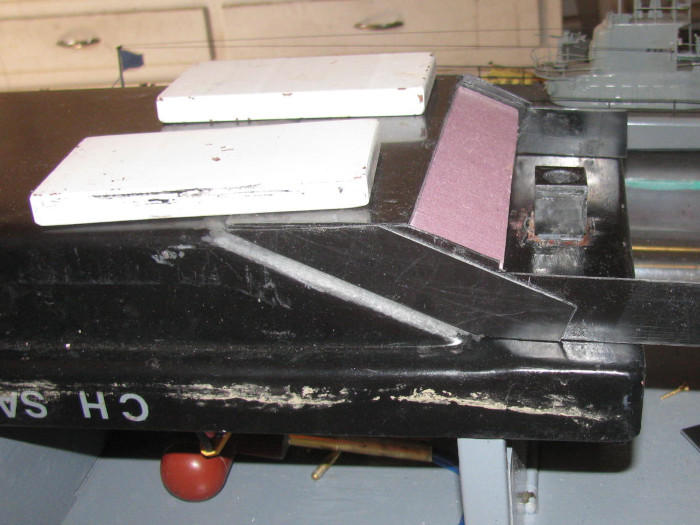
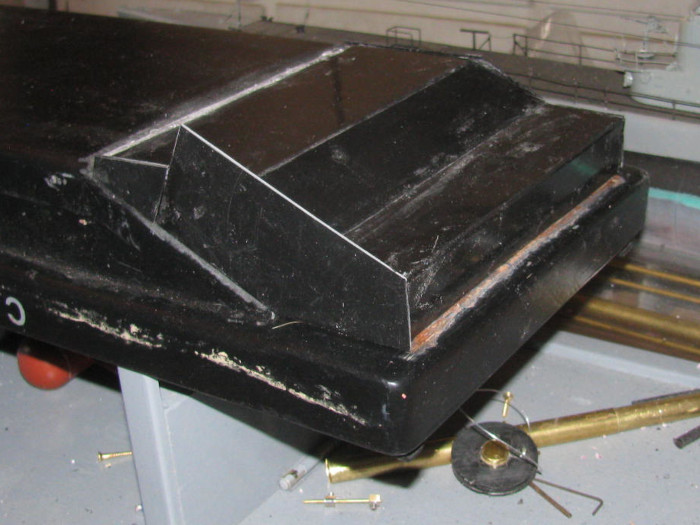
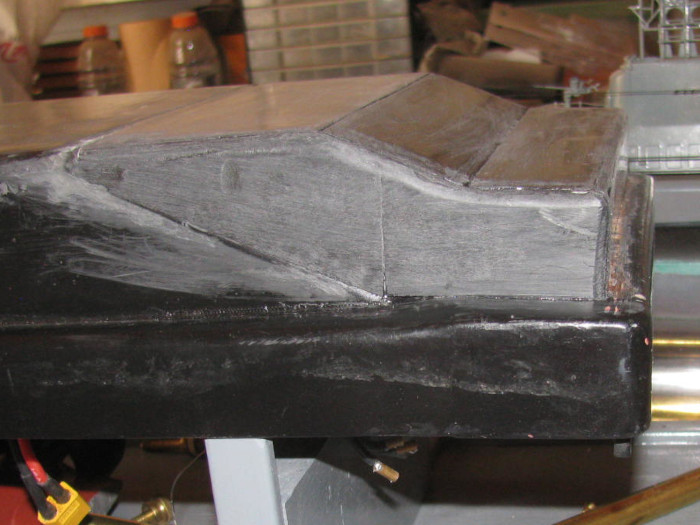
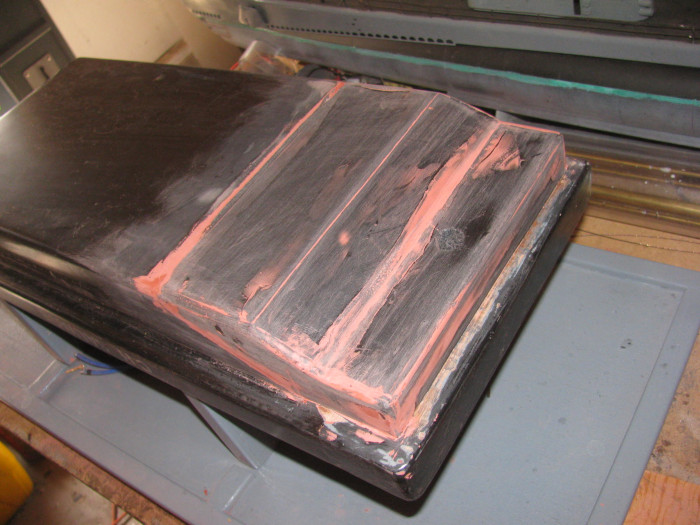
I made a foam block to go under the hull at the stern to extent the hull shape.
I also made a block of foam to put under the stern block.
In the water test tank, I put the foam under the stern.
The first block raised the stern but not enough.
That's when I made the second block.
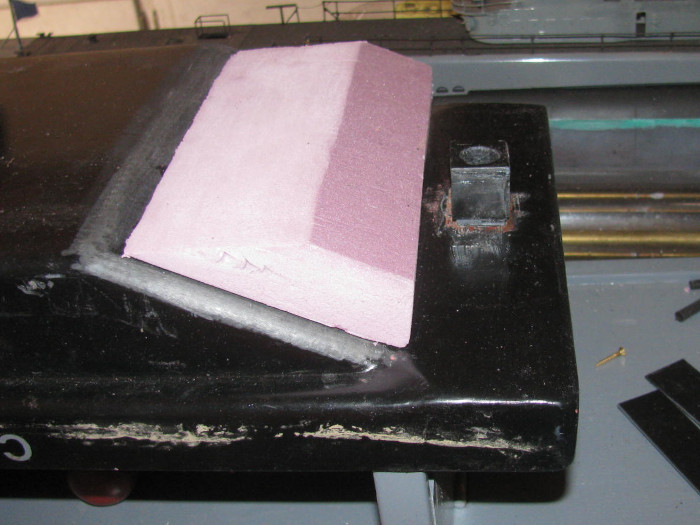
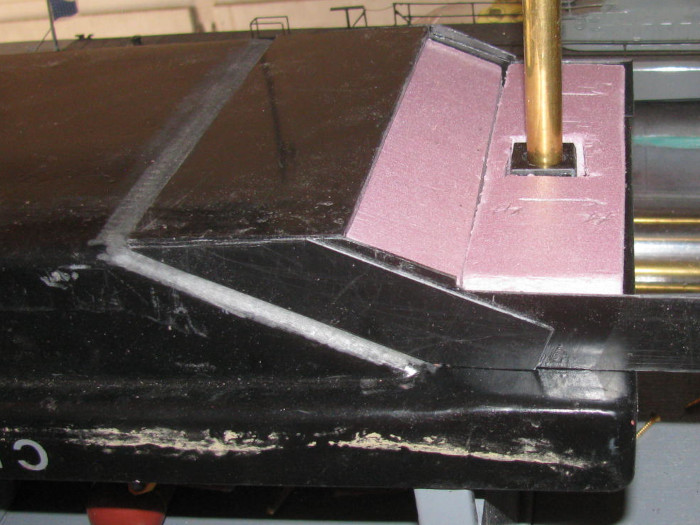
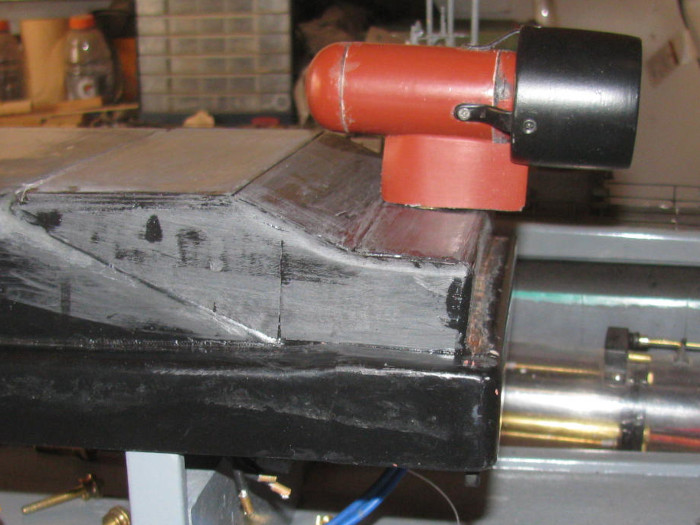
I have to remove the ruder/pod to fit these in place.
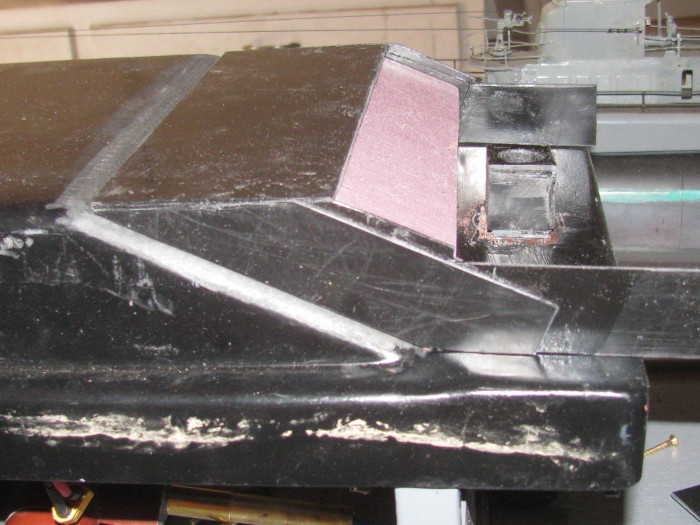
Going to cover with sheet plastic or maybe epoxy and cloth.

It needs to be shaped but the stern was now higher than needed.
I have foam to work with.
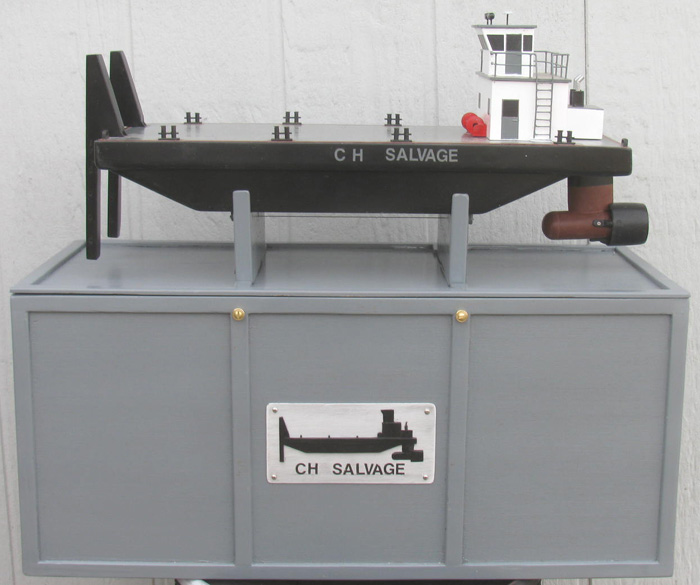
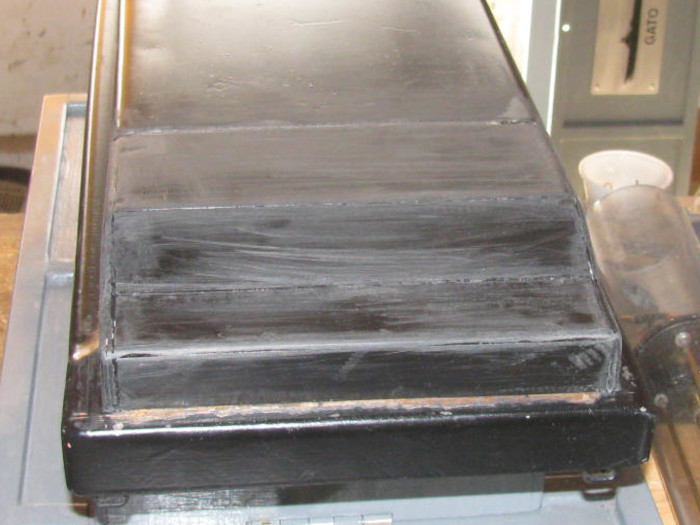
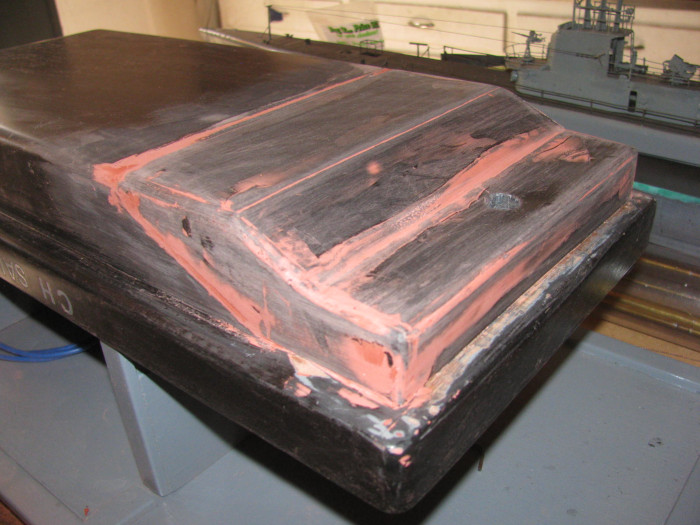
Using this photo, the waterline was at the side shoulder.
Just under the name on the side.
Now the waterline should end up being 3/8" to 1/2" below the shoulder.
About where the shadow is on the rudder.
I had a second issue.
Servo jitters.
I had them both times I went to the lake.
Yesterday and today, I can not get the servos to jitter at all.
I think I know what is causing it and I plan to use the accepted fix.
Get some Ferrite rings and give it a go.
Our group gathering in more than a year with a good turn out.
Water was very dirty and algae was grouping wild.
My first run of the day was to get use to the controls and make some adjustments.
I reduced the rudder turning from 95 degrees to about 40 degrees.
Made driving the barge so much easier.
About 20 minutes in to my run, Jon's home made sub had a problem.
He was only out about 30 feet.
I get to try my hand at a real rescue.
Went out to the stranded sub and slowly bumped up against it.
Then turned the sub so I could push it to shore.
It only took a few minutes.
Looks like I might raise the forward speed from 30% to 35%.
Maybe not.
At about 45 minutes I took the barge out of the water and put it on the table.
I decided not to run my Akula II.
Wanted to talk and ask questions of the others there.
About 2.5 hours later, I hear a call for help.
I looked around and Tom was asking for help.
His Walrus was stranded out about 35'.
Will got his tug in the water as I was going out to he the Walrus.
Will's tug and move much faster.
Will pushed on the sub several times but ended up riding up on to the back deck.
I went back out and maneuvered around the sub until I could push the sub to shore.
Here is where the speed was noticeable.
Full throttle and it was a slow push.
Got it to shore where Tom could reach his boat.
All good.
Second time out and 2 rescues.
========================
Now the observations.
When I first water tested the barge, the stern was very low in the water because all the electronics and motor are in the back.
I put lead ballast in the bow to bring the barge level.
This gave me 1.25" of free board.
I did not like the look but the barge was operational.
After the day at the pond, I decided I did not like the low look and would see about raising the free board.
Took the lead ballast weight out of the bow.
Now this is a lot of ballast. (2.5"x7"x1/2") or so
Between 4 an 5 pounds.
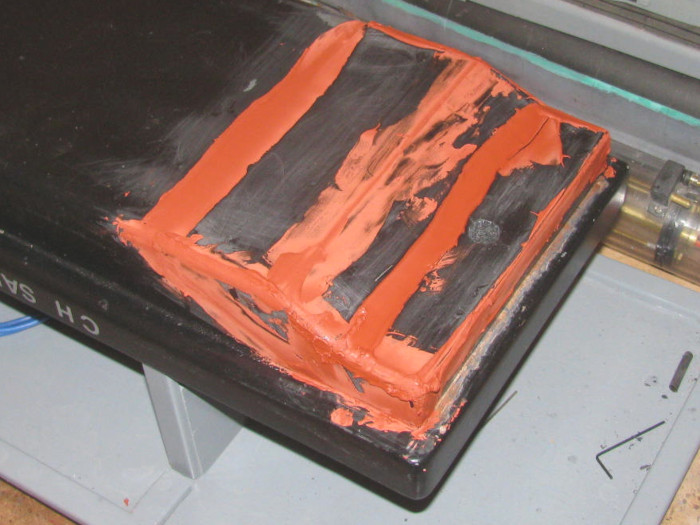
I made a foam block to go under the hull at the stern to extent the hull shape.
I also made a block of foam to put under the stern block.
In the water test tank, I put the foam under the stern.
The first block raised the stern but not enough.
That's when I made the second block.
I have to remove the ruder/pod to fit these in place.
Going to cover with sheet plastic or maybe epoxy and cloth.
It needs to be shaped but the stern was now higher than needed.
I have foam to work with.
Using this photo, the waterline was at the side shoulder.
Just under the name on the side.
Now the waterline should end up being 3/8" to 1/2" below the shoulder.
About where the shadow is on the rudder.
I had a second issue.
Servo jitters.
I had them both times I went to the lake.
Yesterday and today, I can not get the servos to jitter at all.
I think I know what is causing it and I plan to use the accepted fix.
Get some Ferrite rings and give it a go.


Comment