OTW R Class R-10 build

Collapse
X
 
  • Time
  • Show
Clear All
new posts
  • steveneill
    SubCommittee Member
    • Jul 2009
    • 716

    #1

    OTW R Class R-10 build

    Yet another build for my client Steve Fisher of the R Class WW1 boat I built for myself awhile back. As usual another great kit from Bob Dimmack.

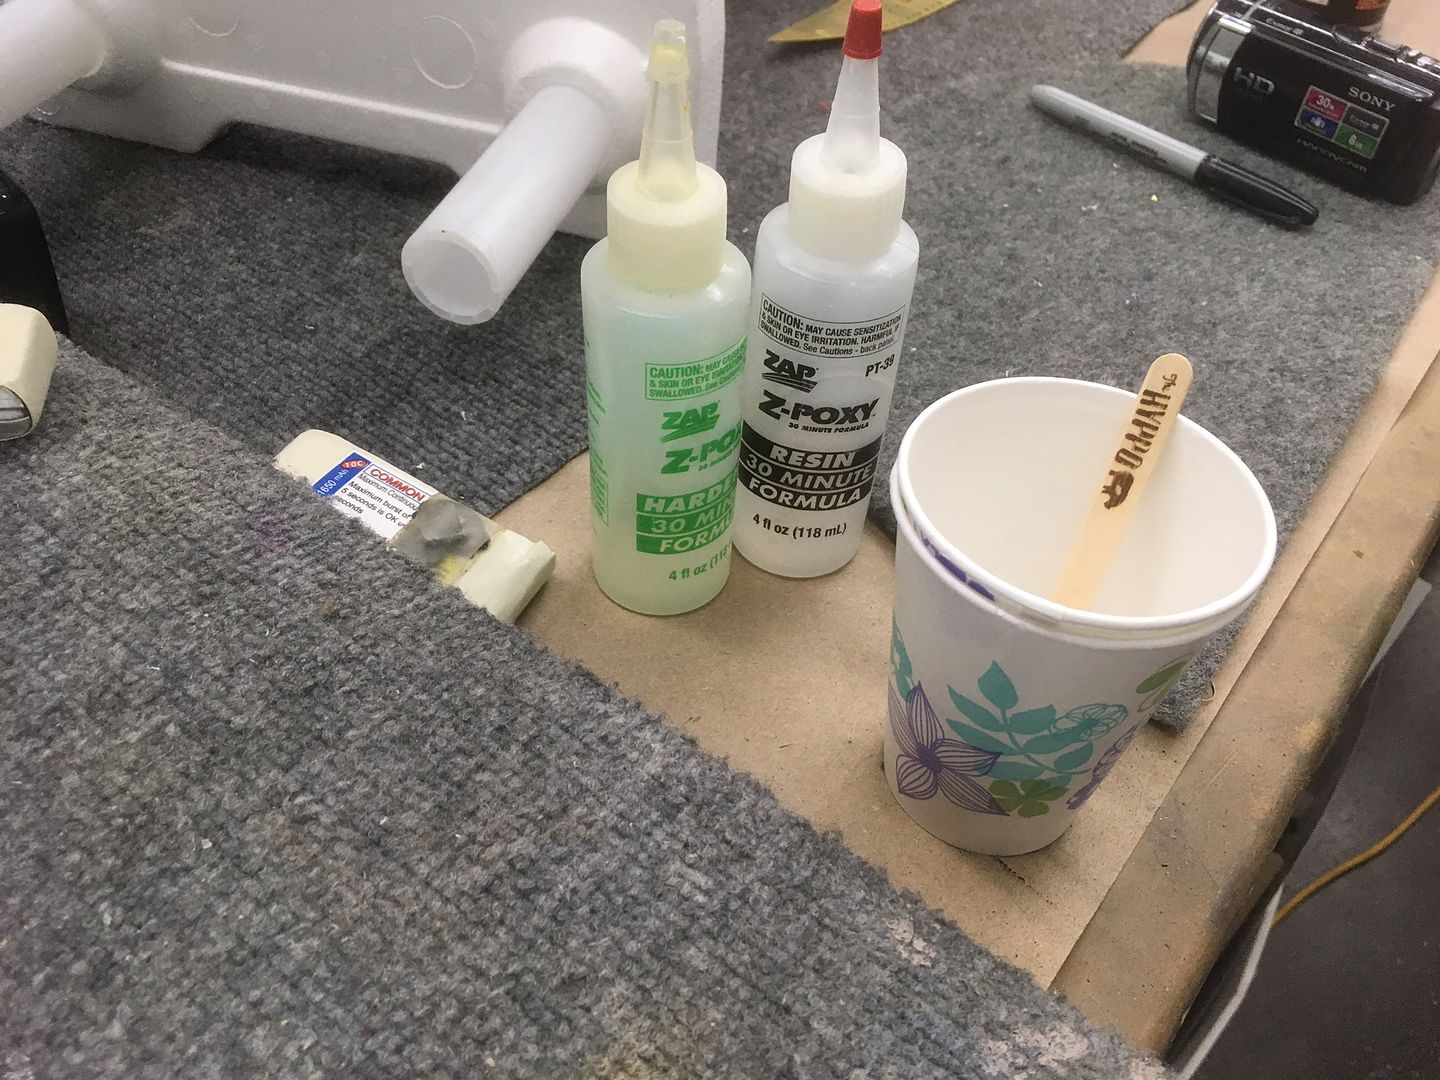
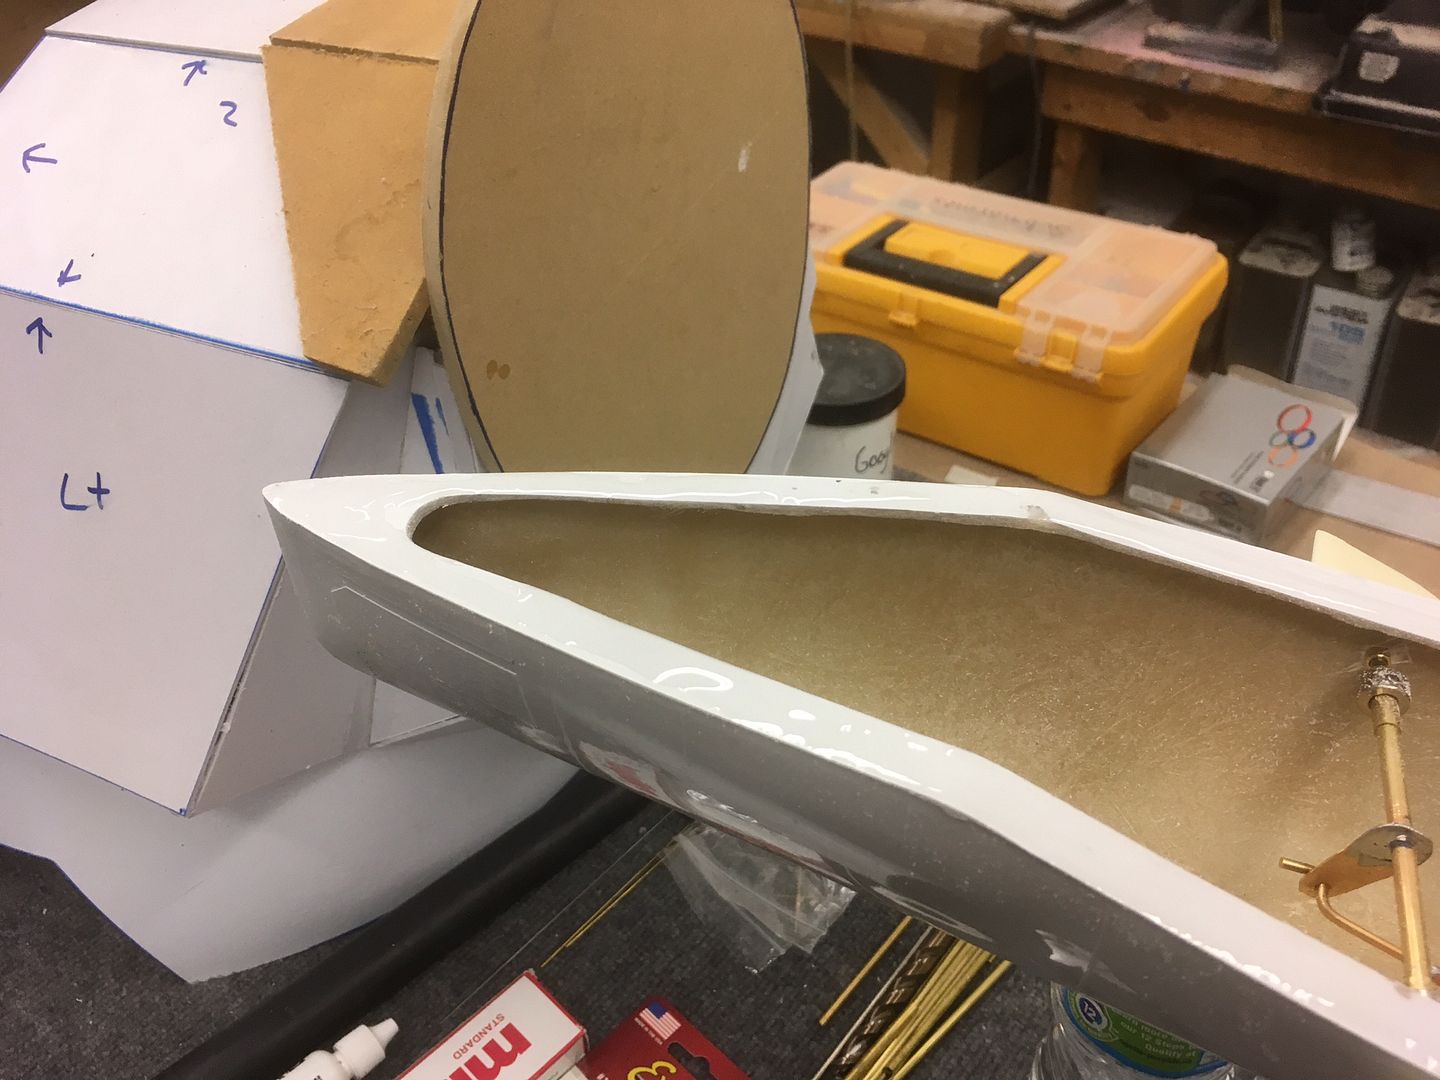
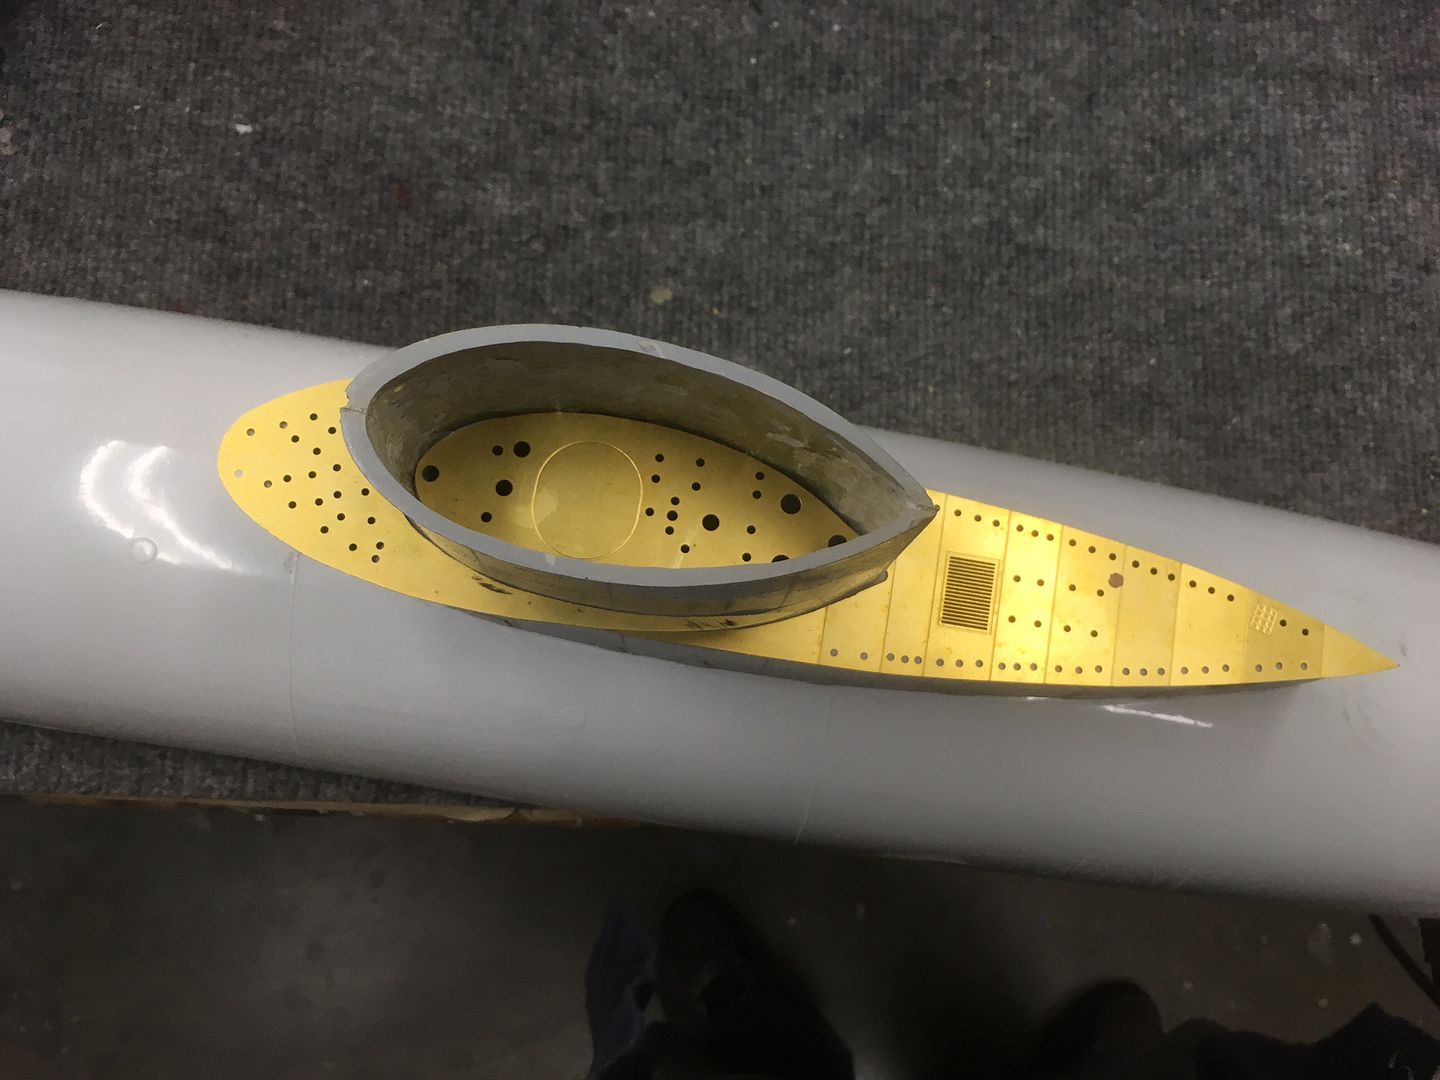
    Made a nice beefy prop shaft support and mounted the rudder bearings using Dental Acrylic. Highly strong and very water proof this acrylic sets up hard as a rock in minutes. Been using it for years in my movie industry work works perfect for boats too.

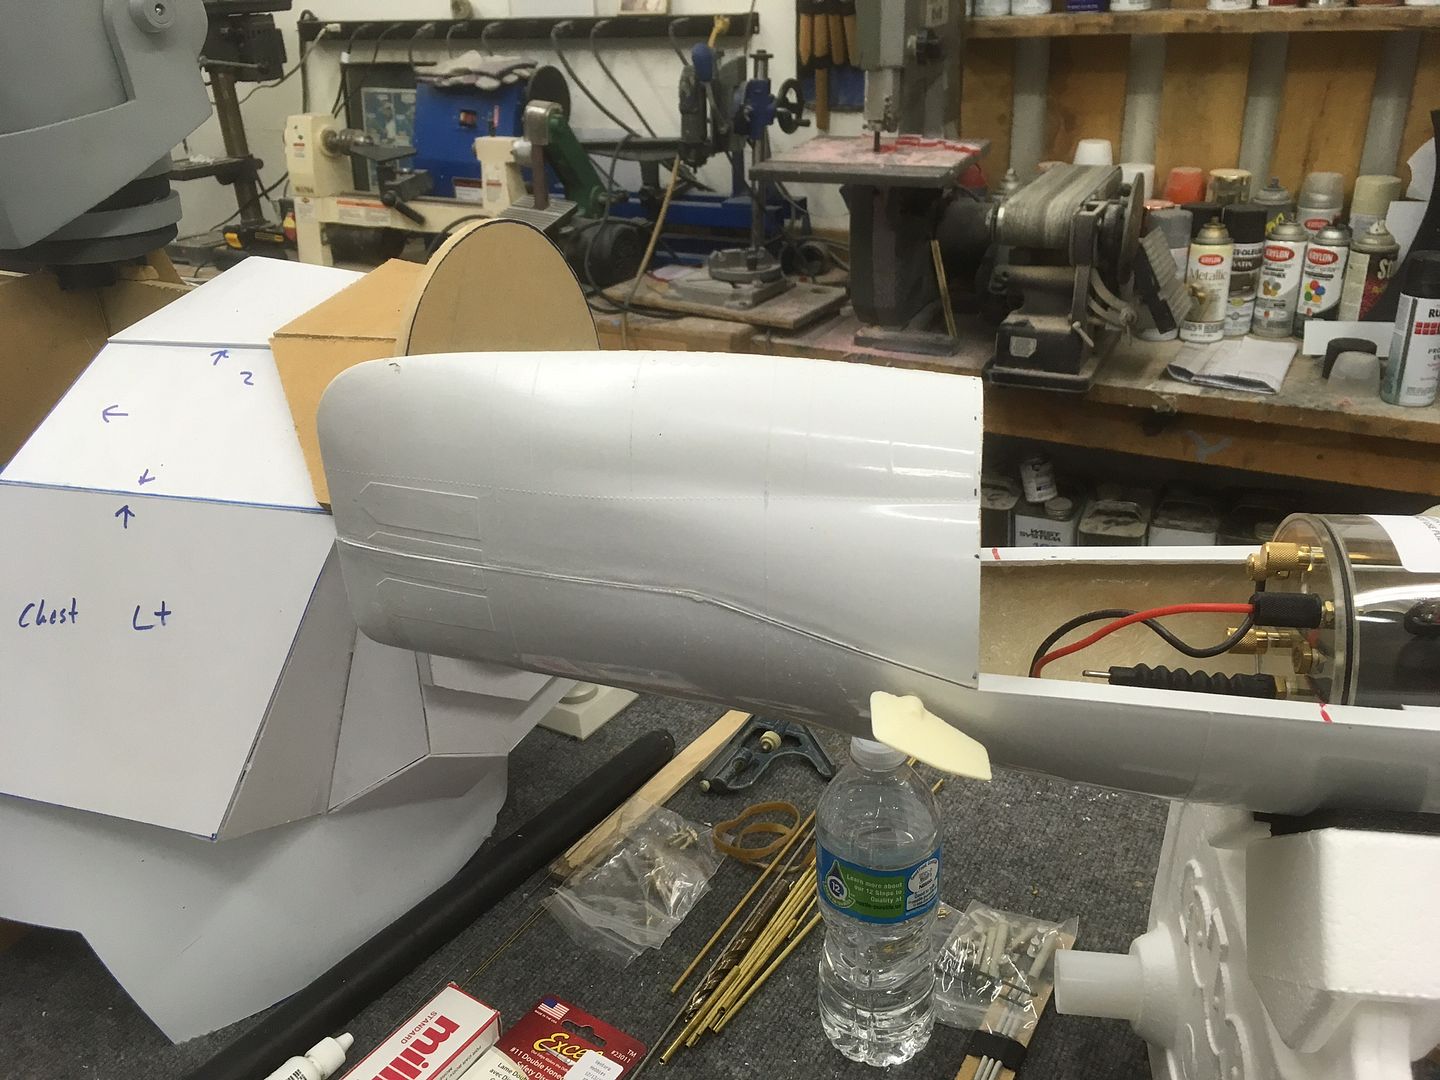
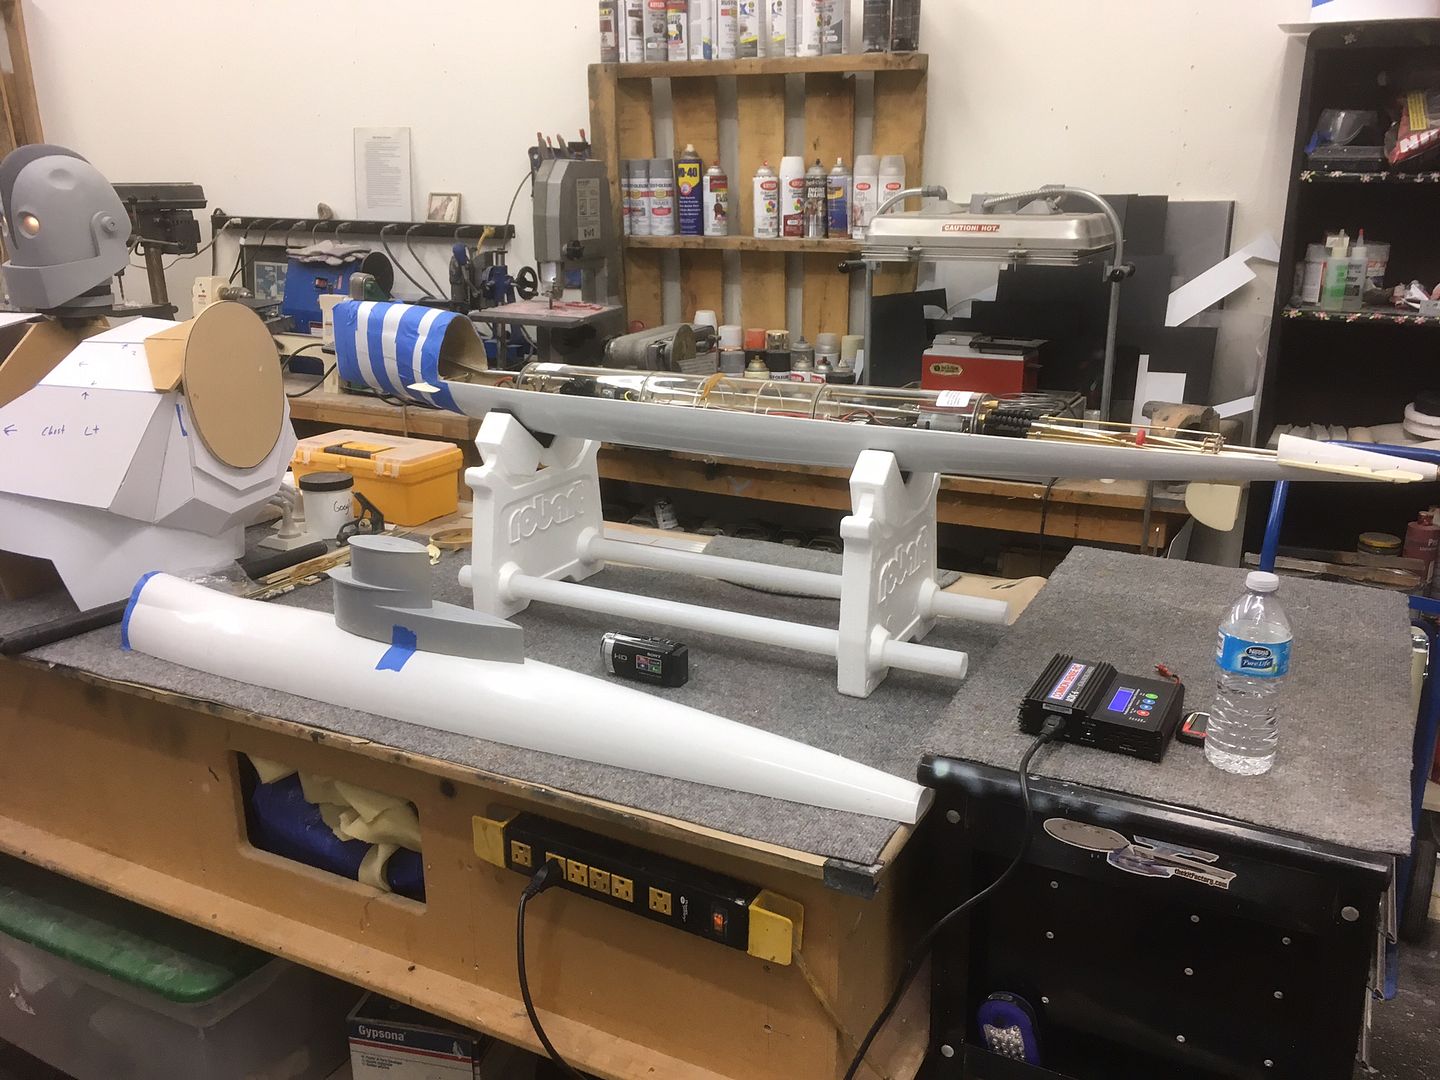
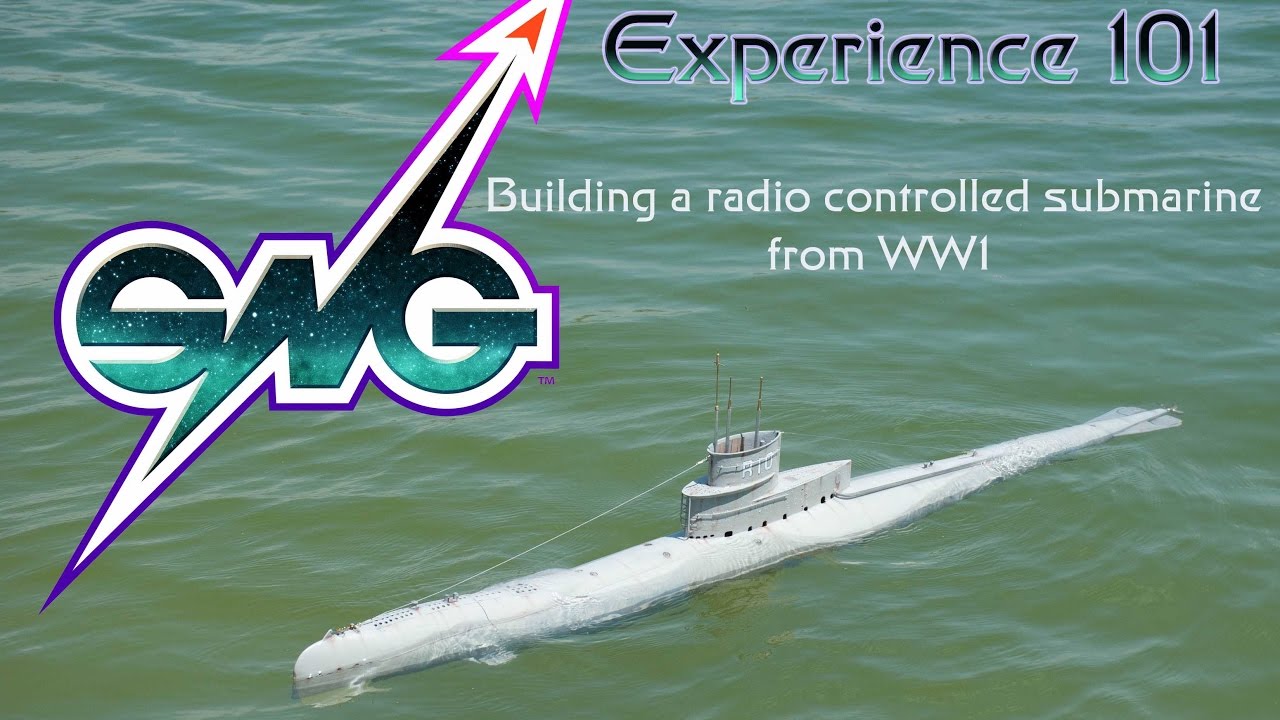
    See here is Bob's new 3.5 inch cylinder. It's a real beauty. Will be mounting it today. I am shooting a video log of it for our show, "the SNG Experience" that will cover most of the steps up to her first trials.

    More tomorrow.

    Click image for larger version

Name:	IMG_1612.jpg
Views:	1
Size:	83.4 KB
ID:	136950

    Click image for larger version

Name:	IMG_1613.jpg
Views:	1
Size:	79.0 KB
ID:	136951

    Click image for larger version

Name:	IMG_1614.jpg
Views:	1
Size:	80.6 KB
ID:	136952

    Click image for larger version

Name:	IMG_1616.jpg
Views:	1
Size:	78.6 KB
ID:	136953
    www.steveneillsgarage.com
  • steveneill
    SubCommittee Member
    • Jul 2009
    • 716

    #2
    A few more.

    Click image for larger version

Name:	IMG_1618.jpg
Views:	1
Size:	78.1 KB
ID:	129952

    Click image for larger version

Name:	IMG_1619.jpg
Views:	1
Size:	96.1 KB
ID:	129953

    Click image for larger version

Name:	IMG_1620.jpg
Views:	1
Size:	93.0 KB
ID:	129954

    Click image for larger version

Name:	IMG_1622.jpg
Views:	1
Size:	95.5 KB
ID:	129955
    www.steveneillsgarage.com

    Comment

    • JWLaRue
      Managing Editor, SubCommittee Report
      • Aug 1994
      • 4281

      #3
      Steve,

      Always learn something from your builds. Can you tell me/us more about the dental acrylic? How does it compare to resin with micro balloons? I'm assuming that you buy it at some sort of dental supply store?

      -tnx,
      Jeff
      Rohr 1.....Los!

      Comment

      • salmon
        Treasurer
        • Jul 2011
        • 2342

        #4
        I just watched a youtube on using dental acrylic just a couple of weeks ago, here it is:

        Cool to see you using it.
        If you can cut, drill, saw, hit things and swear a lot, you're well on the way to building a working model sub.

        Comment

        • steveneill
          SubCommittee Member
          • Jul 2009
          • 716

          #5
          Lots more progress. Ran out of brass and need to get more this morning. Hard to find a brass rack in Ventura. This town has no interest in RC hobbies. Not a runway or pond to be found or people with the interest. But I digress.

          Got the WTC mounted with bulkhead supports and stops. Got most of the control rods in place and prop shaft hook ups. All appendages are in place, rudders, dive planes fore and aft.

          Nearly impossible without losing more hair then I have already to do internal hook ups for the stern planes. So I used Bob's recommended external hook ups using his template to make brass control horns that are installed to the inside surface of the dive planes. Works great. To small holes on the outside of the hull much like a RC airplane and your in business with nice smooth movement. Hard to see the control rods where they are.

          Next more brass, finish off the dive planes controls and bow planes and I move on to the cosmetics of build the boat.

          Stay tuned for more.


          www.steveneillsgarage.com

          Comment

          • JWLaRue
            Managing Editor, SubCommittee Report
            • Aug 1994
            • 4281

            #6
            Tom,

            Thanks for the youtube link....that was a very good tutorial.

            -Jeff
            Rohr 1.....Los!

            Comment

            • steveneill
              SubCommittee Member
              • Jul 2009
              • 716

              #7
              Jeff I use the cold cure for my applications and in the upcoming video I explain where to get it and how I use it.

              More done yesterday. Got the guide pins in, the forward flange and the aft brass mount to screw down the top of the boat. I also gaped the the top to the bow. As the top section of this casting was a bit warped and wouldn't sit flat to the bottom I was able to get it out through.

              It would have been nice to have the cut be on the lower hull section but that would allow me easy access to the bow planes. But the gaped closed well.

              Got the sail mounted via stainless steel screws. I contour sanded it to the deck first. I also cut out all the sail sections fro the brass and fitted the brass.

              She's getting closer to being a boat. more tomorrow.


              www.steveneillsgarage.com

              Comment

              • steveneill
                SubCommittee Member
                • Jul 2009
                • 716

                #8
                This weekly show shows much of the current build along with some highlights of the LA Subron fun run this last Saturday the 15th of April.

                www.steveneillsgarage.com

                Comment

                • steveneill
                  SubCommittee Member
                  • Jul 2009
                  • 716

                  #9
                  A lot more done on the hull. Got every last part from the kit on the boat except for the ladder and the teak. Got every last hole drilled out and filed too. Including the main drains and vents. I had to make the exhaust pipe it's not included.

                  Next up today to clean the boat. Or preen it I meant. Evercoat and filler. Fill gaps and get ready for primer. I do have to build a few scratch details for the conning tower.

                  More tomorrow.


                  www.steveneillsgarage.com

                  Comment

                  • steveneill
                    SubCommittee Member
                    • Jul 2009
                    • 716

                    #10
                    Photo Bucket is down so I'm posting small images here. If they are posted from a PC and not a iPad you can at least click on them for a bigger image. Weird but its what I have found out through trial and error.

                    I have finally got a base coat of paint on the hull. the pictures unfortunately washed out and don't do it justice.

                    In getting the two halves of the hull to mate up properly we have lost much of the weld lines but i found a way to put them back that works very well and takes little time. Use a glazing two part putty and painters tape. Put the tape on and wipe in some putty and before it sets up slowly lift the tape and you have a nice weld line. It worked for the deck skids too. But better than fabric tape or strips of polystyrene.

                    Tomorrow I'll finish off the tower, paint and weather the tower and hull and on Tuesday we are looking at a finished boat. Cosmetically anyway. Next up will be trimming the boat in the pool.

                    I really like this old boat and I'm so pleased to have one myself. It's just neat as hell and unusual. People always think its a U-boat from WW2 and are surprised to find out it's a WW1 boat.

                    Click image for larger version

Name:	IMG_1692.jpg
Views:	1
Size:	93.1 KB
ID:	129970

                    Click image for larger version

Name:	IMG_1693.jpg
Views:	1
Size:	81.9 KB
ID:	129971

                    Click image for larger version

Name:	IMG_1696.jpg
Views:	1
Size:	88.4 KB
ID:	129972

                    Click image for larger version

Name:	IMG_1705.jpg
Views:	1
Size:	92.3 KB
ID:	129973

                    Click image for larger version

Name:	IMG_1707.jpg
Views:	1
Size:	93.0 KB
ID:	129974

                    Click image for larger version

Name:	IMG_1723.jpg
Views:	1
Size:	80.0 KB
ID:	129975
                    www.steveneillsgarage.com

                    Comment

                    • steveneill
                      SubCommittee Member
                      • Jul 2009
                      • 716

                      #11
                      The hull fits very clean now.


                      Click image for larger version

Name:	IMG_1731.jpg
Views:	1
Size:	89.6 KB
ID:	129976

                      Click image for larger version

Name:	IMG_1729.jpg
Views:	1
Size:	90.5 KB
ID:	129977

                      Click image for larger version

Name:	IMG_1716.jpg
Views:	1
Size:	93.1 KB
ID:	129978
                      www.steveneillsgarage.com

                      Comment

                      • JWLaRue
                        Managing Editor, SubCommittee Report
                        • Aug 1994
                        • 4281

                        #12
                        Steve,

                        Very nice and clean. I especially like the two-tone gray paint scheme.

                        -Jeff
                        Rohr 1.....Los!

                        Comment

                        • steveneill
                          SubCommittee Member
                          • Jul 2009
                          • 716

                          #13
                          Thanks Jeff!
                          www.steveneillsgarage.com

                          Comment

                          • steveneill
                            SubCommittee Member
                            • Jul 2009
                            • 716

                            #14
                            So lets call her finished aside from the missing sanctions for the railings which I will get from Bob. But she is all tested and running. Foam and ballast in at my best guess and from balancing at the CG. But I am after all these years getting good at guessing.

                            Next week she goes to the Doctors house in Ojai for pool trimming and testing and she's a done deal. The new 3.5 inch cylinder from OTW works great! Tested her in my fish tank, no leaks and the new pumps are much faster at putting water in and out of the ballast tank. I also like the new neoprene tubing they are using for the intake and out take of water it is much easier to install when taking the cylinder apart.

                            Looking forward to playing next week in the pool! I'll also be testing and re trimming my 66 inch Disney Nautilus with a new cylinder in her as well. Video to follow.

                            Steve


                            www.steveneillsgarage.com

                            Comment

                            • JWLaRue
                              Managing Editor, SubCommittee Report
                              • Aug 1994
                              • 4281

                              #15
                              Steve,

                              That weathering and specifically the rust streaks really sets the model off. Some day you are going to have to show me how you achieve that effect.

                              -Jeff
                              Rohr 1.....Los!

                              Comment

                              Working...