I hear the lake calling me! (An invite)

Collapse
X
 
  • Time
  • Show
Clear All
new posts
  • Ralph --- SSBN 598
    Junior Member
    • Oct 2012
    • 1417

    #1

    I hear the lake calling me! (An invite)

    Today was a long day at the VA clinic.
    7:30 am for first appointment.
    Finished quickly.
    Second appointment with the 2 doctors at 8:20 am.
    This is my yearly checkup.

    Finished before 9:00 am.
    I had a lot of profile data input incorrectly when the VA move everyone's records.
    I have been trying to fix it since December.

    Today I found 2 people who could go in to the system and edit it to make it correct.
    It took to 3:30 pm to get this done.
    But it got done and I can say the stress level had gone down a lot.

    My next hospital visit is in the middle of May.
    -------------------------
    So, I am feeling like I need a morning at the lake.
    The Rescue Barge is done and ready to go for it's first run. (after charging)
    And I have not run my Skipjack in 18 months.
    That just sounds wrong.

    Here is what I thought I would do.
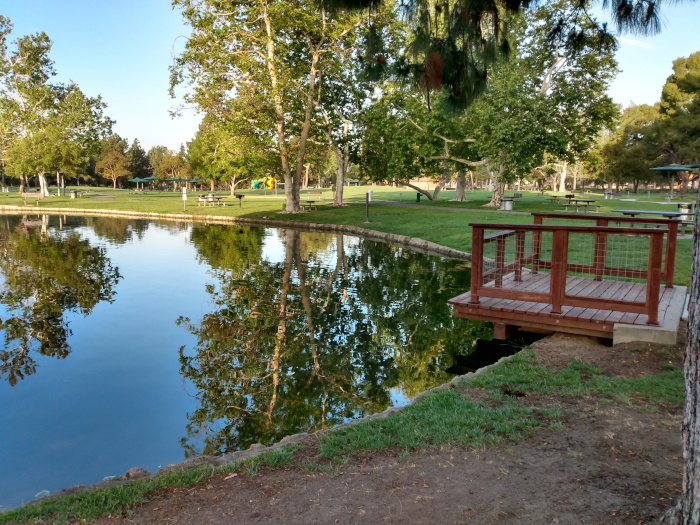
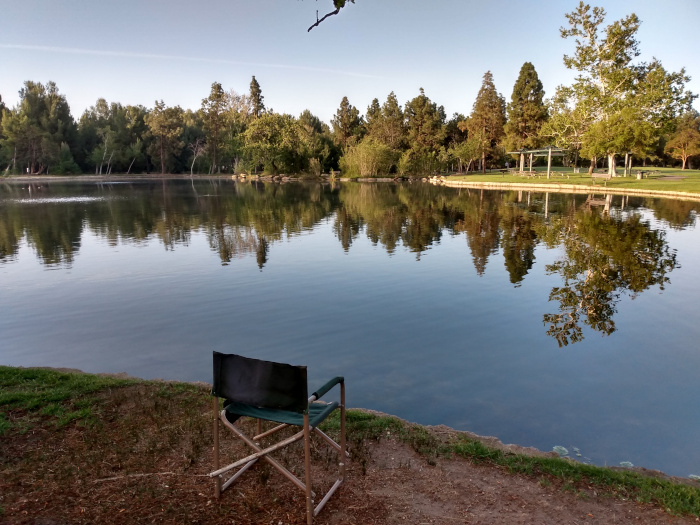
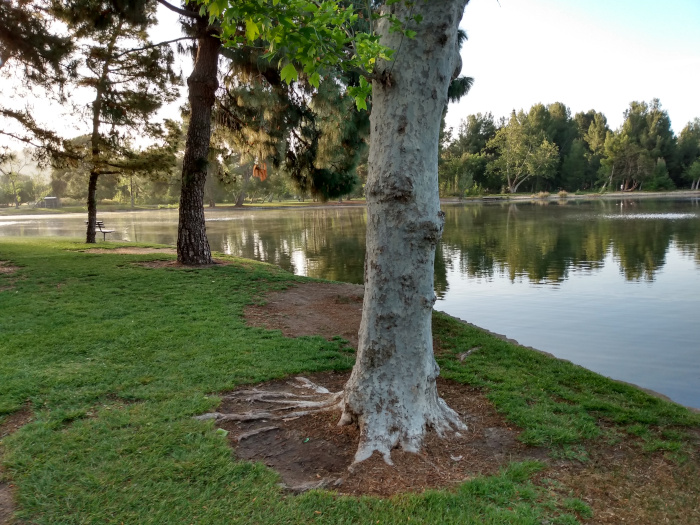
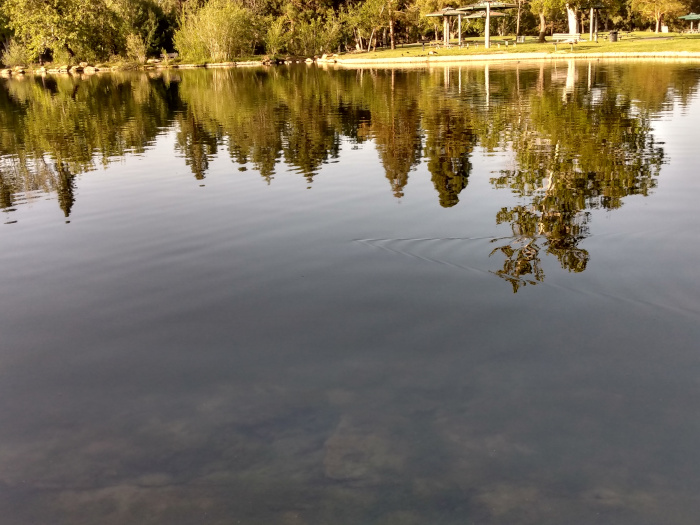
    I am going to go to the lake. (Yorba State Park)
    I am thinking this coming Saturday April 10th or the following April 17th.

    Both are good for me.
    Anyone who would like to join me, let me know what day is good for you and I will adjust.
    Gate opens at 7:00 am.
    I get there between 7:00 and 8:00am.(usually early)
  • Ralph --- SSBN 598
    Junior Member
    • Oct 2012
    • 1417

    #2
    Preparations have begun.
    Batteries on charger.
    Next, I need to gather up the tools that go in the tool box.
    Should have everything gathered up today and will double check tomorrow before loading vehicle.
    Chair, don't forget the chair.

    Comment

    • Ralph --- SSBN 598
      Junior Member
      • Oct 2012
      • 1417

      #3
      Today, I learns something.
      The barge is not using a lot of battery.
      I have been bench testing for a couple of months.
      The battery in the barge was only down 15%.
      Took less than a half hour to bring charge up to 100%
      The barge Tx was down 30%.
      It looks like the barge will run 3 to 4 hours on a single charge.
      I do not plan to run that long.
      It's a rescue barge.
      I did not make it to run it as a primary boat.

      Moving on to the Skipjack which has not been in the water in a year and half or more.
      The Tx is shared with the Akula II so the Tx was charge last November.

      All is going well towards this Saturday at the lake.

      Comment

      • secrtwpn1
        SubCommittee Member
        • Feb 2003
        • 269

        #4
        I would join you, but April Saturdays are busy for me.....maybe May

        Comment

        • Ralph --- SSBN 598
          Junior Member
          • Oct 2012
          • 1417

          #5
          May? Let me know what day in May and I should be able to work around for it.
          -----------------------
          Rescue Barge and Skiipjack have been prepared.
          Grease o-rings in Skipjack.
          Both batteiers charged.
          Batteries in both Tx charged.
          2 spare Tx batteries charge.

          Tools gather up but I will do a second look this afternoon.

          Washed chair. (it sits outside on the porch, very dusty)

          I am ready.
          At least I can hope.

          Comment

          • salmon
            Treasurer
            • Jul 2011
            • 2340

            #6
            May is closer to doable for me.
            If you can cut, drill, saw, hit things and swear a lot, you're well on the way to building a working model sub.

            Comment

            • Ralph --- SSBN 598
              Junior Member
              • Oct 2012
              • 1417

              #7
              Farlan, Tom, toss out some dates and let's see if we can make another gathering happen.

              My visits to the VA hospital have slowed down and are farther apart.
              Instead of 2 appointments a day twice a week, they is a month between appointments.

              Comment

              • Ralph --- SSBN 598
                Junior Member
                • Oct 2012
                • 1417

                #8
                April 10th ================================================

                Off to the lake.
                Rescue Barge out for it's first run in the pond.
                Skipjack out after 18 months out of the water.

                Arrived at the pond at 7:10am.
                Took about 10 minutes to unload and move to the park bench at water's edge.

                Panorama
                Looking West.


                Looking South.


                Looking East.


                Removed the deck house and turned on the power. (Tx is on)
                In the water it went.
                Noticed that launching at an angle has water over the hull rail and could put water in the hull.
                Took it out of the water and turned the barge on it's side.
                No water came out.
                All good.

                Back in to the water making sure not to tip the barge on edge.

                I tested every thing.
                Forward, reverse, pusher bars down and tilted.
                Then speed tests.
                I have the Tx set to 30% on speed.
                It looks like it will do nicely.
                Not fast but it will get there quick enough.

                Brought the barge up close so I could see what is going on while testing the new 90 degree plus steering.
                I tested with motor in forward and in reverse.
                Oh boy! It does exactly what I was working for.

                The following is the video of the testing.

                Barge at the lake test video


                At .06 minutes the new 90 degree rudder with motor running forward.
                Both directions.
                Turning in place.
                A little forward drive to test steering.
                It is very sensitive.

                At 1:10 minutes the barge is again turning in place.
                But the difference is the motor is running in reverse.

                At 2:00 minutes I tested the pusher bars.

                At 2:14 minutes I ran the barge in reverse.

                Total run time on the barge was about 20 minutes.

                After retrieving the barge, I took the deck house off and turned the barge up side down.
                I had about a table spoon of water come out of the rudder post and pod.

                I need to work on the pod and get it sealed completely.
                ========================================
                Now the Skipjack.

                Turned on the power and closed up the hull.
                Once in the water , the stern was high.
                It took 3 dives to shake the bubbles loose.

                Then a couple rounds on the surface then work down to periscope depth.
                Here is a pass with the masts exposed.
                Ran this way at will.


                Now for a run at periscope depth.
                This was a bit touchy as I had only about 3/8" of the periscope above the water.
                When I took the photo, the periscope was not above the water but it was making a wake. (center of the photo)
                A little up on the fair water planes and there was the tip of the scope.


                It is not easy running the boat and taking photos.
                I can see the boat without glasses but have to put glasses on to see the cameras.

                After about an hour running the Skipjack, I started having issues with trim.
                As long as I had forward motion the boat was trimmed perfectly.
                When I cut power the stern would come up and broach the surface.
                When I powered up, the stern would drop and then recover as speed got the stern planes working.

                I know this issue.
                There is a little water in the cylinder and it is sloshing back and forth.

                Brought the boat in and opened it up.
                Turned off the power and then lifted teh cylinder out to look at the bottom.
                There was the water.
                Not much but enough to call it a day.
                I removed the front end cap. There is nothing attached to the front end cap so it comes out with no problems.
                Drained the water.
                Put the cylinder back in the hull without the end cap.
                Closed up the hull and made ready to transport home.

                I will look over the Skipjack for leaks and I think I will find a crack in one of the rubber control rod boots.
                I find it the boots sit they crack and need replacing.

                Now for the summary.
                Barge tested great.
                Small leak in pod.
                I will find it.

                Skipjack ran like it was suppose to until it got water.
                This has happened before.
                Can be fixes n 10 minutes if I find the crack.

                All in all a good day at the lake.
                I feel much better now.

                Comment

                • Ralph --- SSBN 598
                  Junior Member
                  • Oct 2012
                  • 1417

                  #9
                  April 14th ================================================

                  The front of the pod has been resealed.
                  Did that late yesterday evening.

                  Finished water testing in bowl.
                  NO air leaks.

                  Now to install the pod back on the barge.
                  This takes about 10 minutes.

                  Slide the rudder post through the stern block.
                  Slip the pulley over the rudder post keeping the steering line in the two pulleys.
                  Get down low so I can see the holes in the rudder post and pulley shoulder line up.
                  Push the pin through.
                  Put the wheel collar keeper on the pin.
                  Pod now installed.

                  Solder the new brass tubes (1/4" long) to the 3 motor wires.
                  Solder the 3 speed controller wires in to the tube.

                  Let cool and slide the heat shrink tubing pieces over the new connectors.
                  DO NOT shrink.
                  Allow to slide but keep the connectors insulated.

                  Motor pod leak sealed.
                  -----------------------
                  While I have the barge on the bench, I am going to check the percentage of movement.
                  I noticed the servo chattering.
                  Usually means the servo has moved to a point that the movement is being stopped before the servo is to it's stop.

                  Change the servo percentage from 35% to 25% and start adjusting from there.
                  Fully down the percentage is 32%.
                  At 33% the pusher bars hit the deck.

                  Fully up at 34%.
                  At 35% it was hitting the deck.

                  The chattering is gone.

                  The Rescue Barge has been repaired and is back in it's transportation box.
                  Only needs batteries charged before next trip to pond.
                  ---------------
                  There is now room on the bench to look in to the Skipjack cylinder.
                  I will reassemble the cylinder then out to the water tank for testing.
                  Just the cylinder.
                  I will put the test rubber hose on the Schreader valve at the front so I can blew pressure in to the cylinder while looking for air bubbles.

                  Comment

                  • Ralph --- SSBN 598
                    Junior Member
                    • Oct 2012
                    • 1417

                    #10
                    I have opened up the Skipjack.
                    Removed the cylinder.
                    Out to the test tank.
                    Powered up everything.
                    It all works correctly.
                    Put the cylinder in the water and held it down to the bottom.
                    8" of water.

                    Cycled the piston ballast tank instead of using the rubber tube to pressurize the cylinder.
                    Sure enough, air bubbles coming from the rear planes rubber control rod boot.
                    In to the shop and opened the cylinder and removed the rubber boot.
                    It has a crack at the small end where the 1/8" brass tube goes through.

                    Replaced it.
                    Also straightened the control rod because it was hanging up on the motor frame.

                    Assembled the cylinder and back out to the test tank.
                    Again I have bubbles but this time it is from the rudder control rod boot.

                    In to the shop.
                    Removed the boot. (with out having to open the cylinder)
                    Checked the boot.
                    No cracks.
                    Slipped the boot on to a short length of brass tubing.
                    I could not get it to leak by blowing on it.

                    Back out to the test tank.
                    This time while pressurizing the cylinder, I twisted the boot on the control rod.
                    This stopped the bubbles.
                    But now I get bubbles at the end cap through tube.

                    I now know what the problem is.
                    The brass tubes have corroded enough to not let the rubber seal.

                    In the shop I removed 1 boot and cleaned the brass tube.
                    Put the boot back on and out to the test tank.
                    This boot now is sealed.

                    So the plan is to remove the 3 boots and clean up the brass tubes and control rods.

                    This boat has sat for over 18 months without use.
                    Got to do a little maintenance.
                    I should have it gone in a hour or so.
                    Tomorrow's work.

                    Comment

                    • Ralph --- SSBN 598
                      Junior Member
                      • Oct 2012
                      • 1417

                      #11
                      Something I forgot but remembered very quickly.

                      When draining the piston ballast system, hold the cylinder with the ballast tank inlet/outlet (rear cap) pointing away from me.
                      I touched the control to drain the piston and got about 2 to 3 ounces of water right in the chest.
                      I comes out with a bit of pressure.

                      I am now wet and the wind is blowing about 25 to 30 mph.
                      That's why I will be working tomorrow instead of finishing today.
                      Got to go get warm.

                      Comment

                      • Ralph --- SSBN 598
                        Junior Member
                        • Oct 2012
                        • 1417

                        #12
                        April 15th ================================================

                        Got out to the shop about noon. ( now 1:30pm)
                        Removed the boots.
                        Removed the control rods.
                        Looking at the control rods, they are very corroded.

                        Looked through my Dremel stuff and found a buffing wheel.
                        I have polishing compound I used to clean ammunition brass.

                        Got to work cleaning the control rods.
                        Noticed 1 has a long groove in it.
                        Don't remember why it was there.
                        Best thing to do, is replace the brass tubing.

                        Cleaned the inlet/outlet in the end cap.
                        They look good now.

                        Rebuilt a new control rod for the one with the groove.
                        While I was at it, I made a second one.
                        These will be for the rudder and stern planes.

                        The sail planes boot has never leaked so I am going to leave it alone for now.

                        The new control rods have been soldered.
                        Letting them cool before installing the nylon clevis.

                        Looks like I will get to water test them today.
                        ========================
                        Now later in the day.

                        Control rods assembled and installed.
                        Electronics tray slid back in to the cylinder.
                        Safety cables attached.

                        Out to the test tank.
                        Power up everything.
                        Put the cylinder in the water and hold it on the bottom.
                        Cycle the rudder, stern planes and sail planes.
                        Evey ran the main motor forward and backwards.

                        Now to fill the ballast tank which puts pressure in the cylinder.
                        Watch the boots to see if they move and looking for bubbles.
                        None!
                        Do it again. Cycle the piston to full empty and then full.
                        Still no bubbles.

                        Remove from water and empty the piston in to the test tank.
                        See, I learned from earlier.

                        I did the testing without the nylon tie wraps on the boots.
                        Took a chance and the boots stayed in place.
                        I will now put the tie wraps on for extra safety.

                        Skipjack is now ready to go again.


                        When I put the cylinder in to the hull, I will have to adjust the control rods but that is just a matter of moving wheel collar connectors.
                        Last edited by Ralph --- SSBN 598; 04-15-2021, 06:03 PM.

                        Comment

                        • Ralph --- SSBN 598
                          Junior Member
                          • Oct 2012
                          • 1417

                          #13
                          April 16th ================================================

                          Cylinder in the hull.
                          Control rod lengths adjusted.
                          Skipjack is back in it's transportation box.
                          Only needs batteries recharge when the time comes.
                          Akula II ready
                          Rescue Barge is ready.

                          I just slid the Gato back on to the work bench.
                          Now I have to go back and read the building log to see where the parts go and reassemble the cylinder.

                          If I remember correctly, the parts where all made and the cylinder was ready for the parts.
                          Then water testing.

                          The Gato had been water tested and worked fine.
                          I took it apart to make the ballast tank 1" longer to get the hull up closer to the waterline.

                          I did test fit the new ballast tank in the cylinder and got it to fit.
                          The linkage to vent and air hose to drain the ballast tank is what needs to be assembled.

                          Comment

                          Working...
                          X